Waitng For Rivets
The wings are on hold while I wait for rivets. So in the mean time…
Pitot/Static/AOA
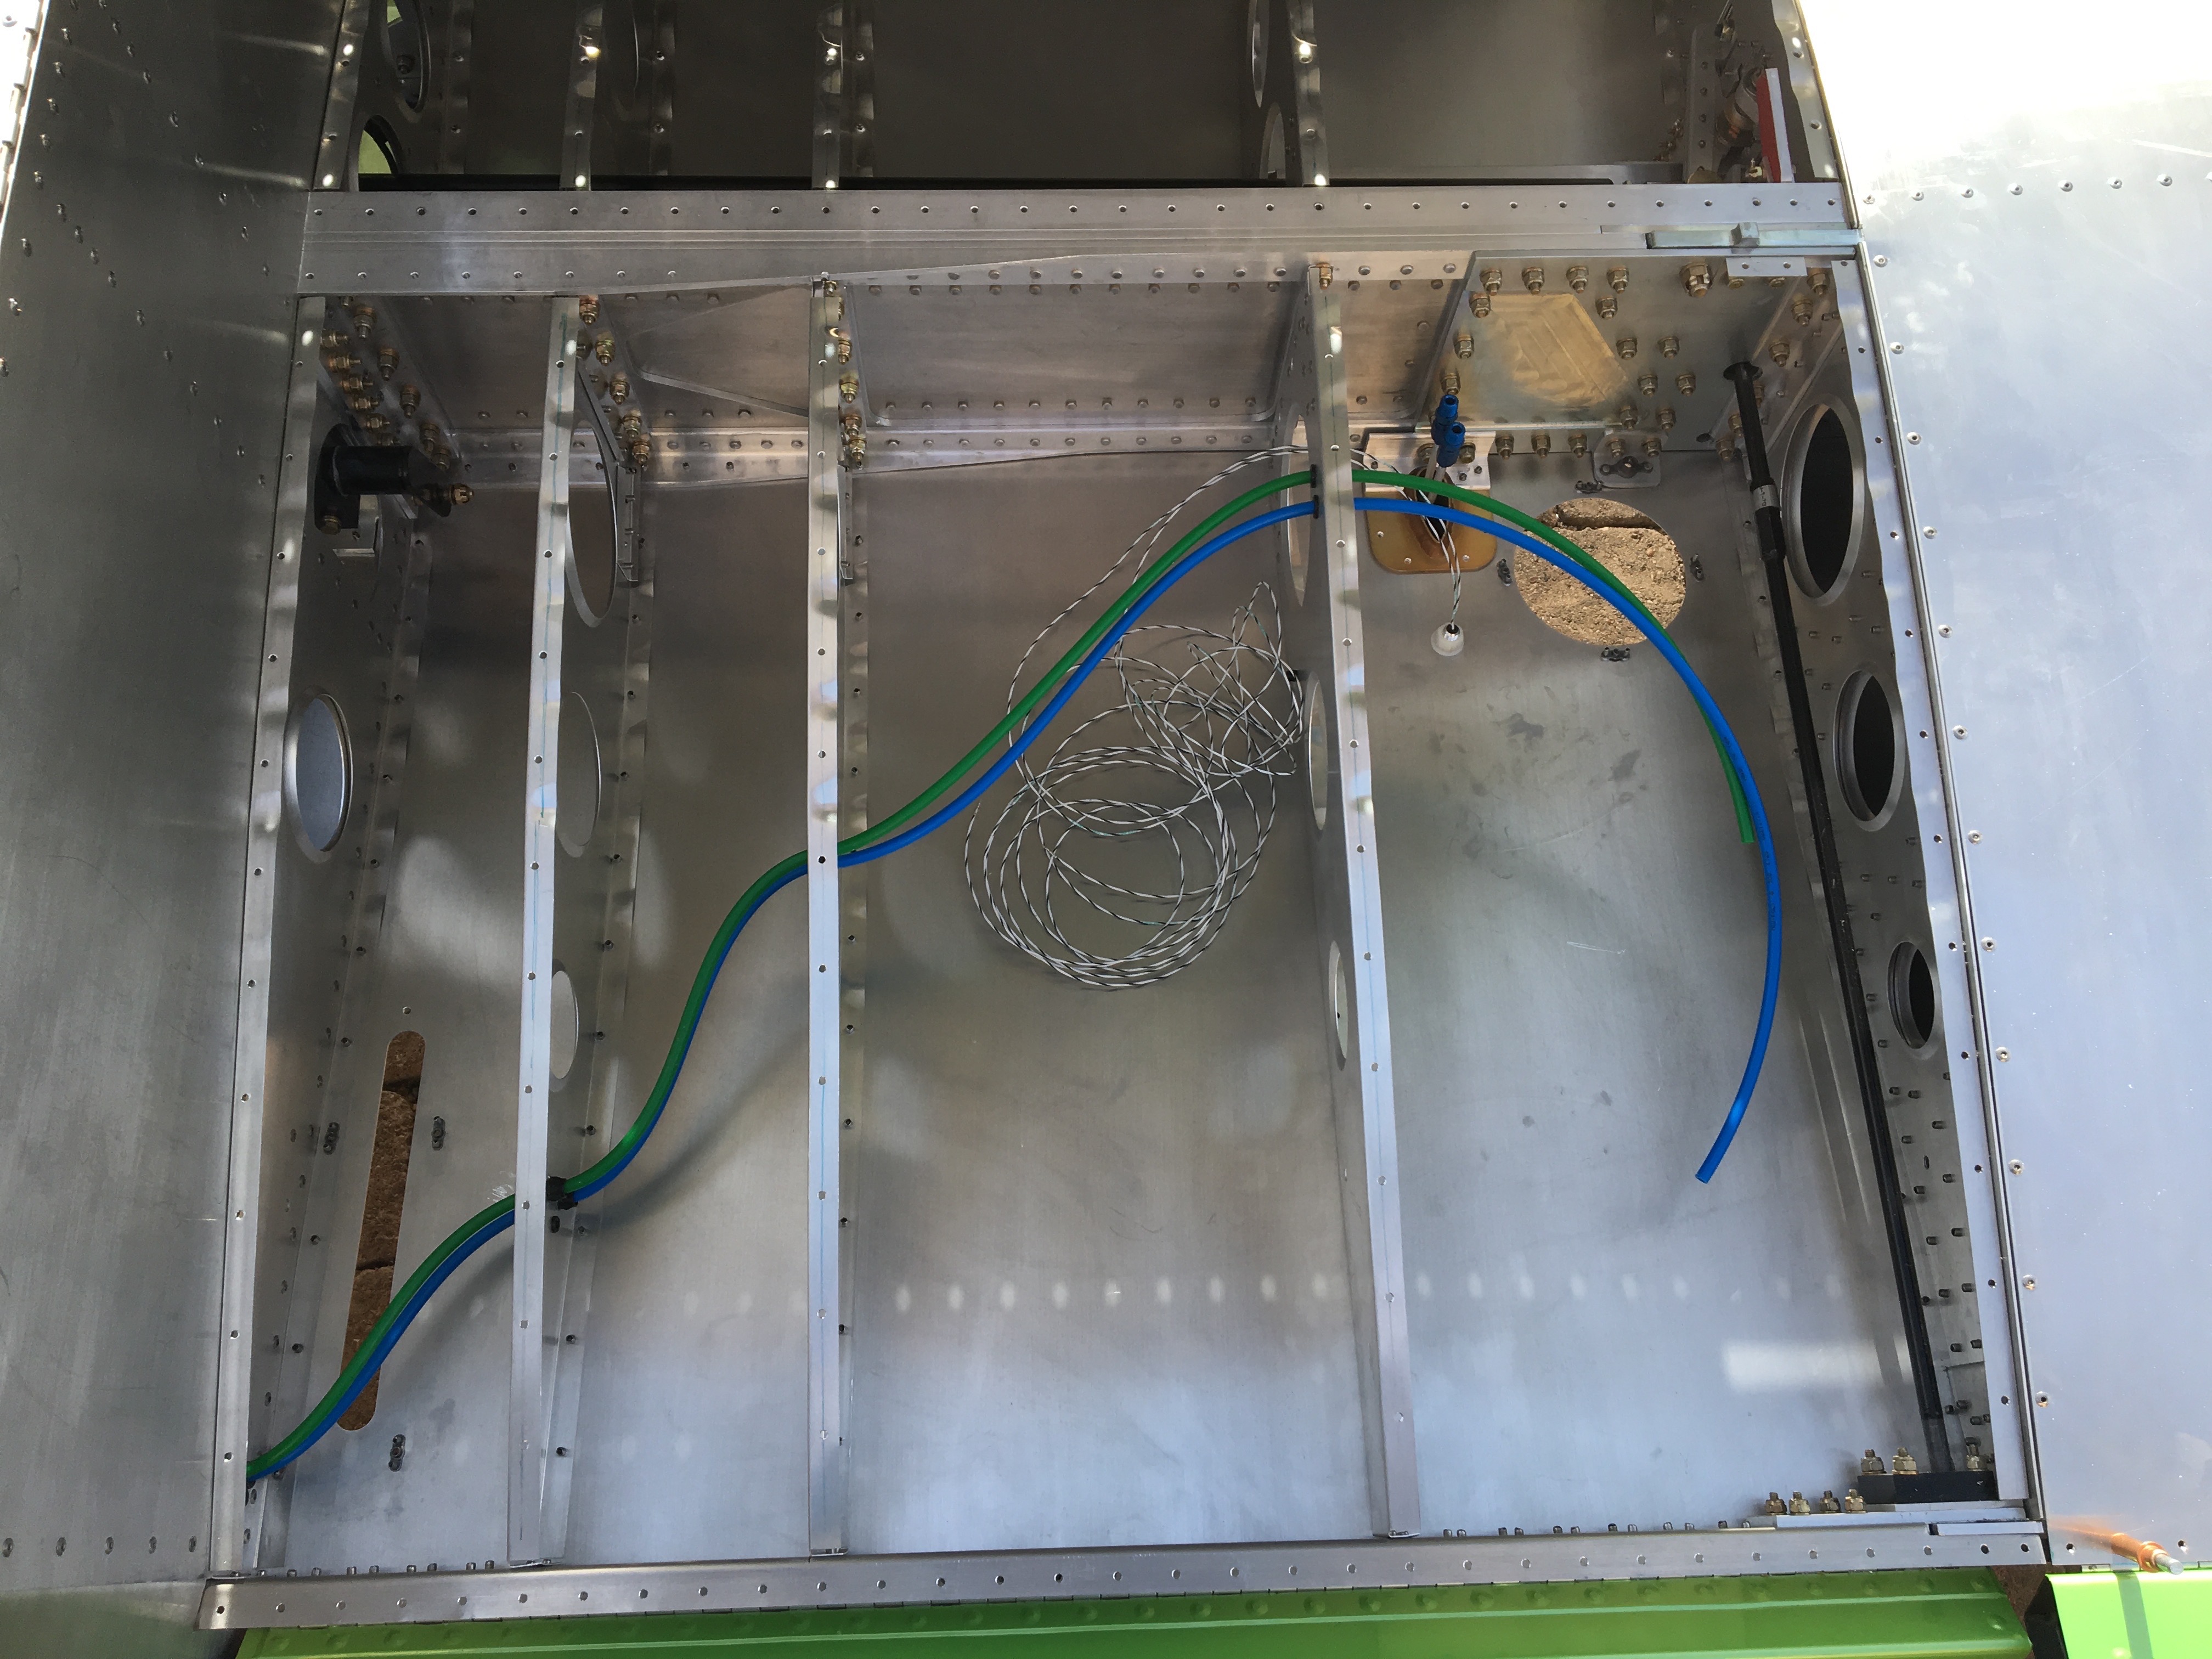
Dynon’s installation kit for the Pitot/Static/AOA is quite convenient. They use fasteners where you simply push the platic tubing in, and it’s sealed. At least I hope it is. So I ran all the plumbing, from the static ports on the side and the pito/AOA tube on the right wing, to the ADAHRS unit. The pitot tube will still be removed so I can wrap the bottom of the wing without making a seam, so it’s not fully connected yet.
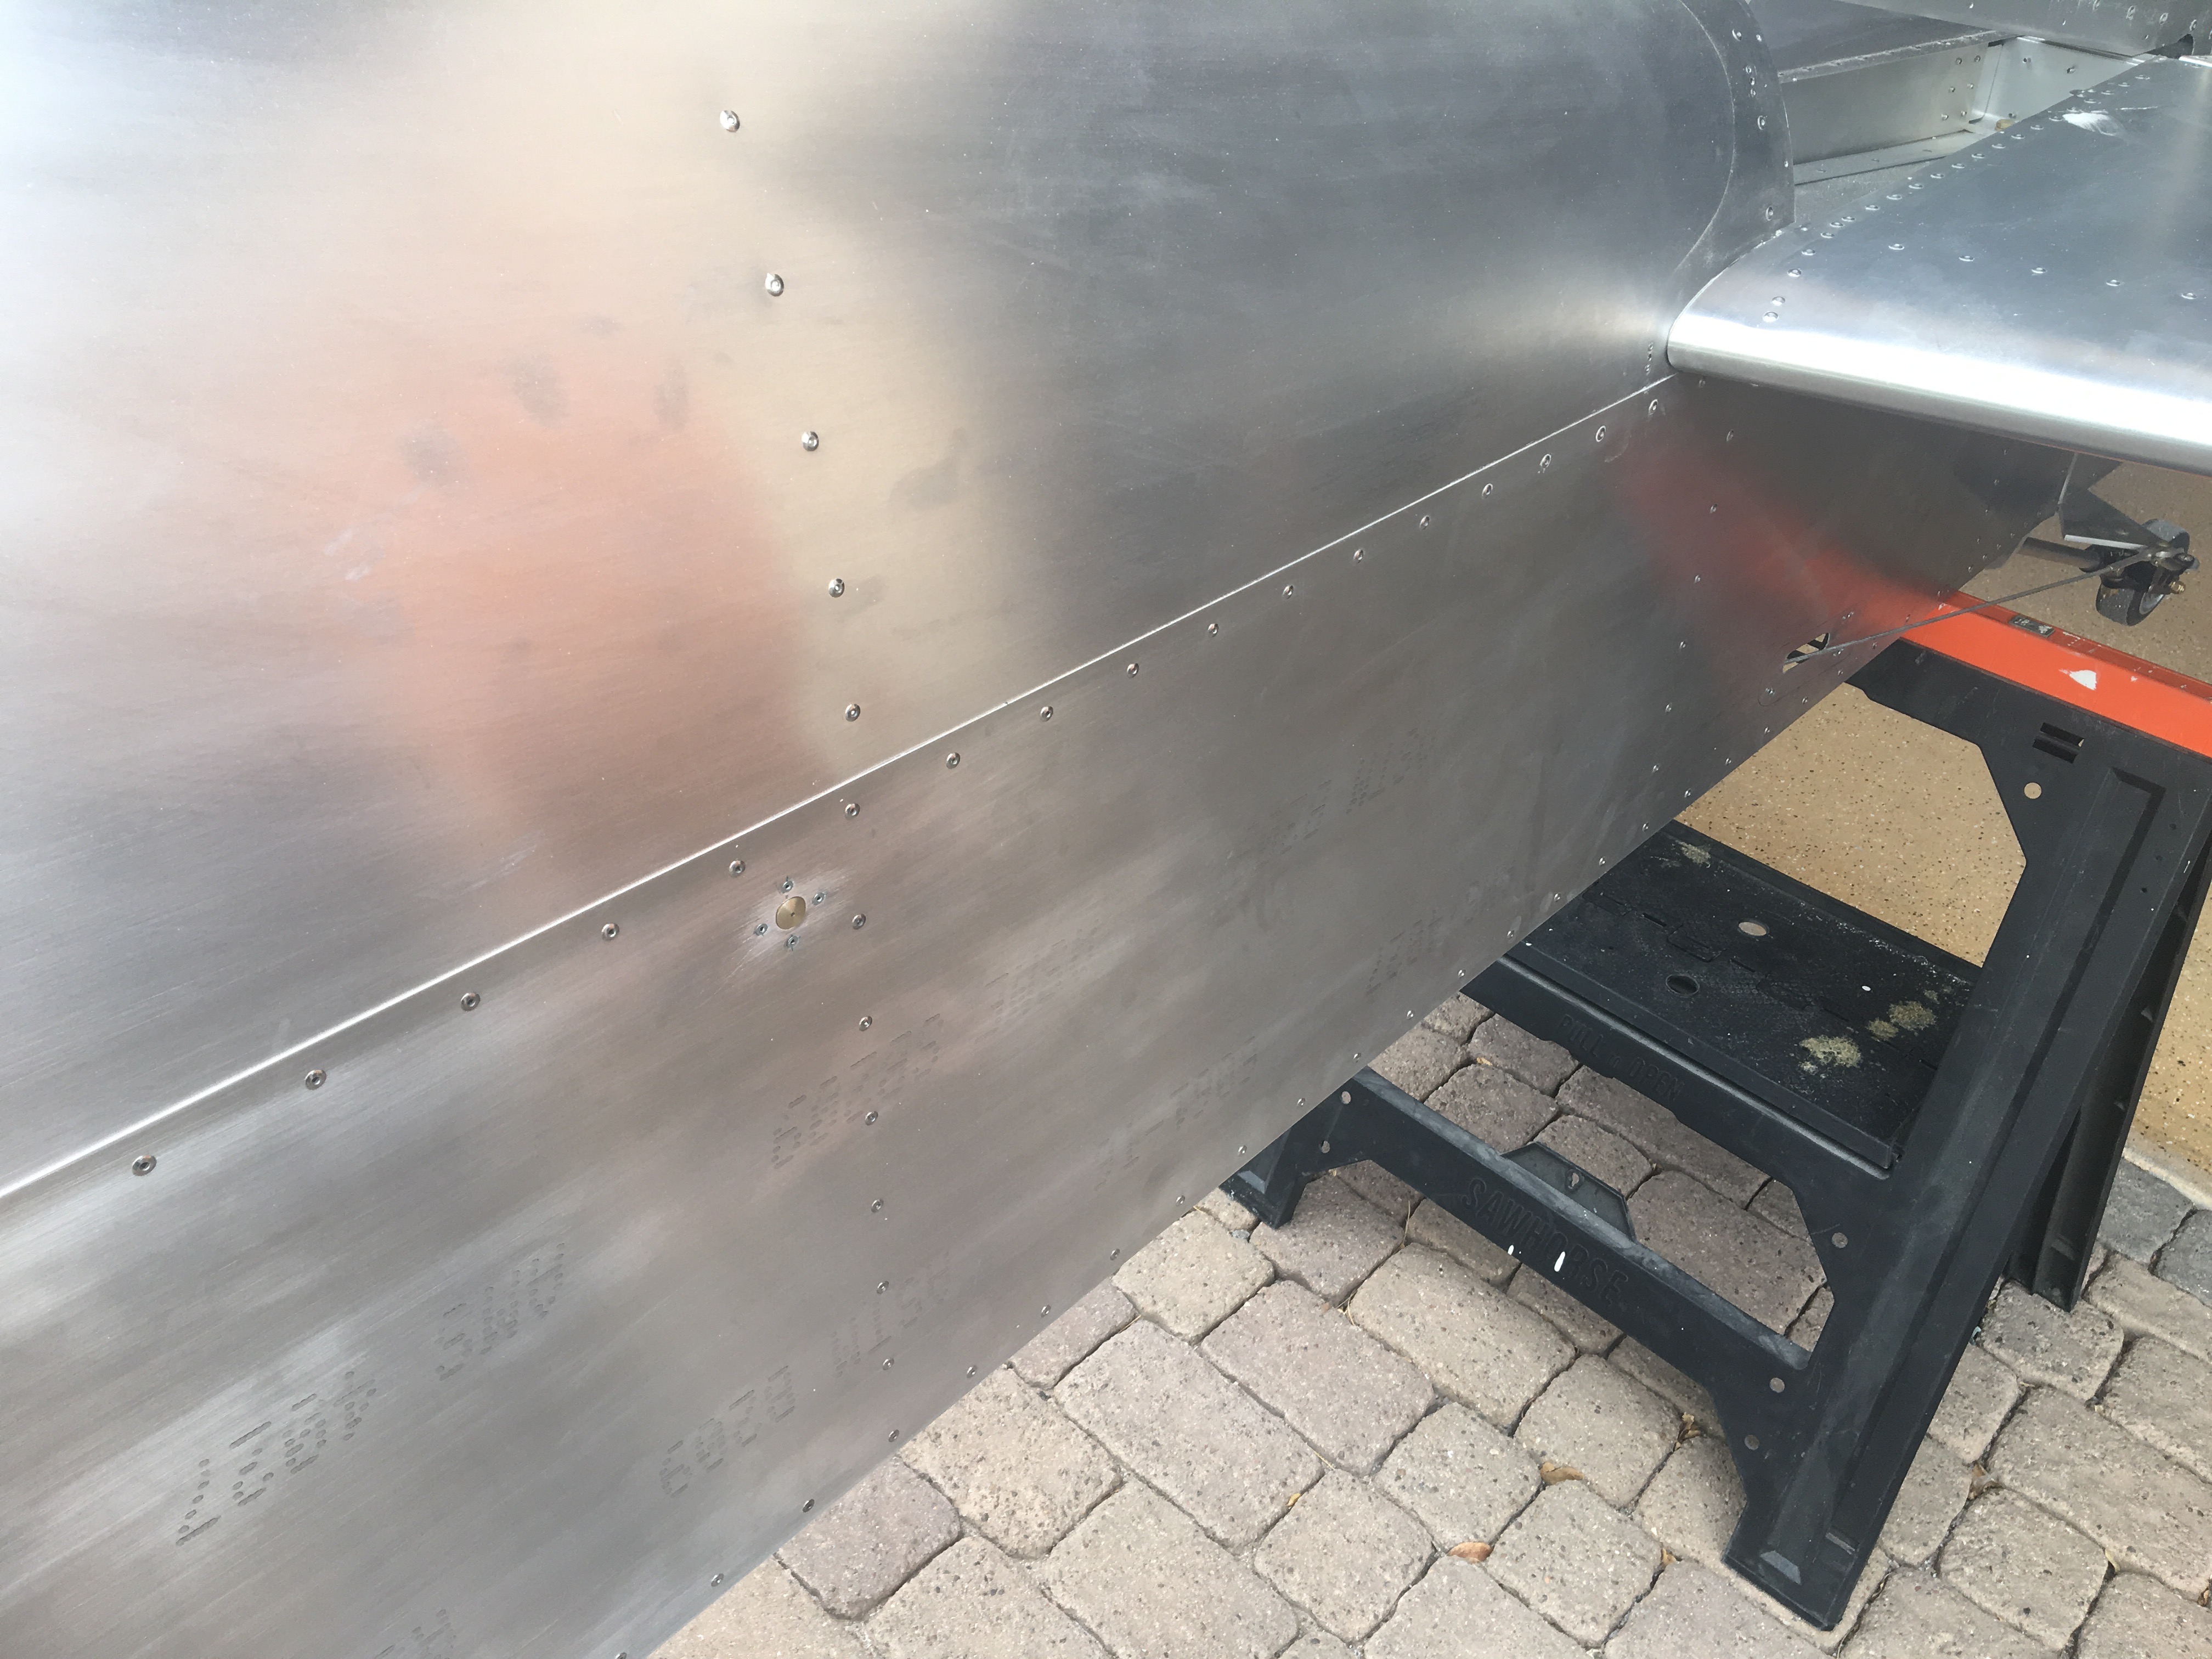
The static ports are installed in roughly the same place they are on most other planes, the rear sides of the fuselage. Flush rivets hole them in place.
Air Vents
Denny Myrick suggested these air vents from Vans. I felt terrible cutting holes into the sife of the plane, but I think they turned out okay. Now I can get some fresh air in the cockpit on those hot Arizona days.
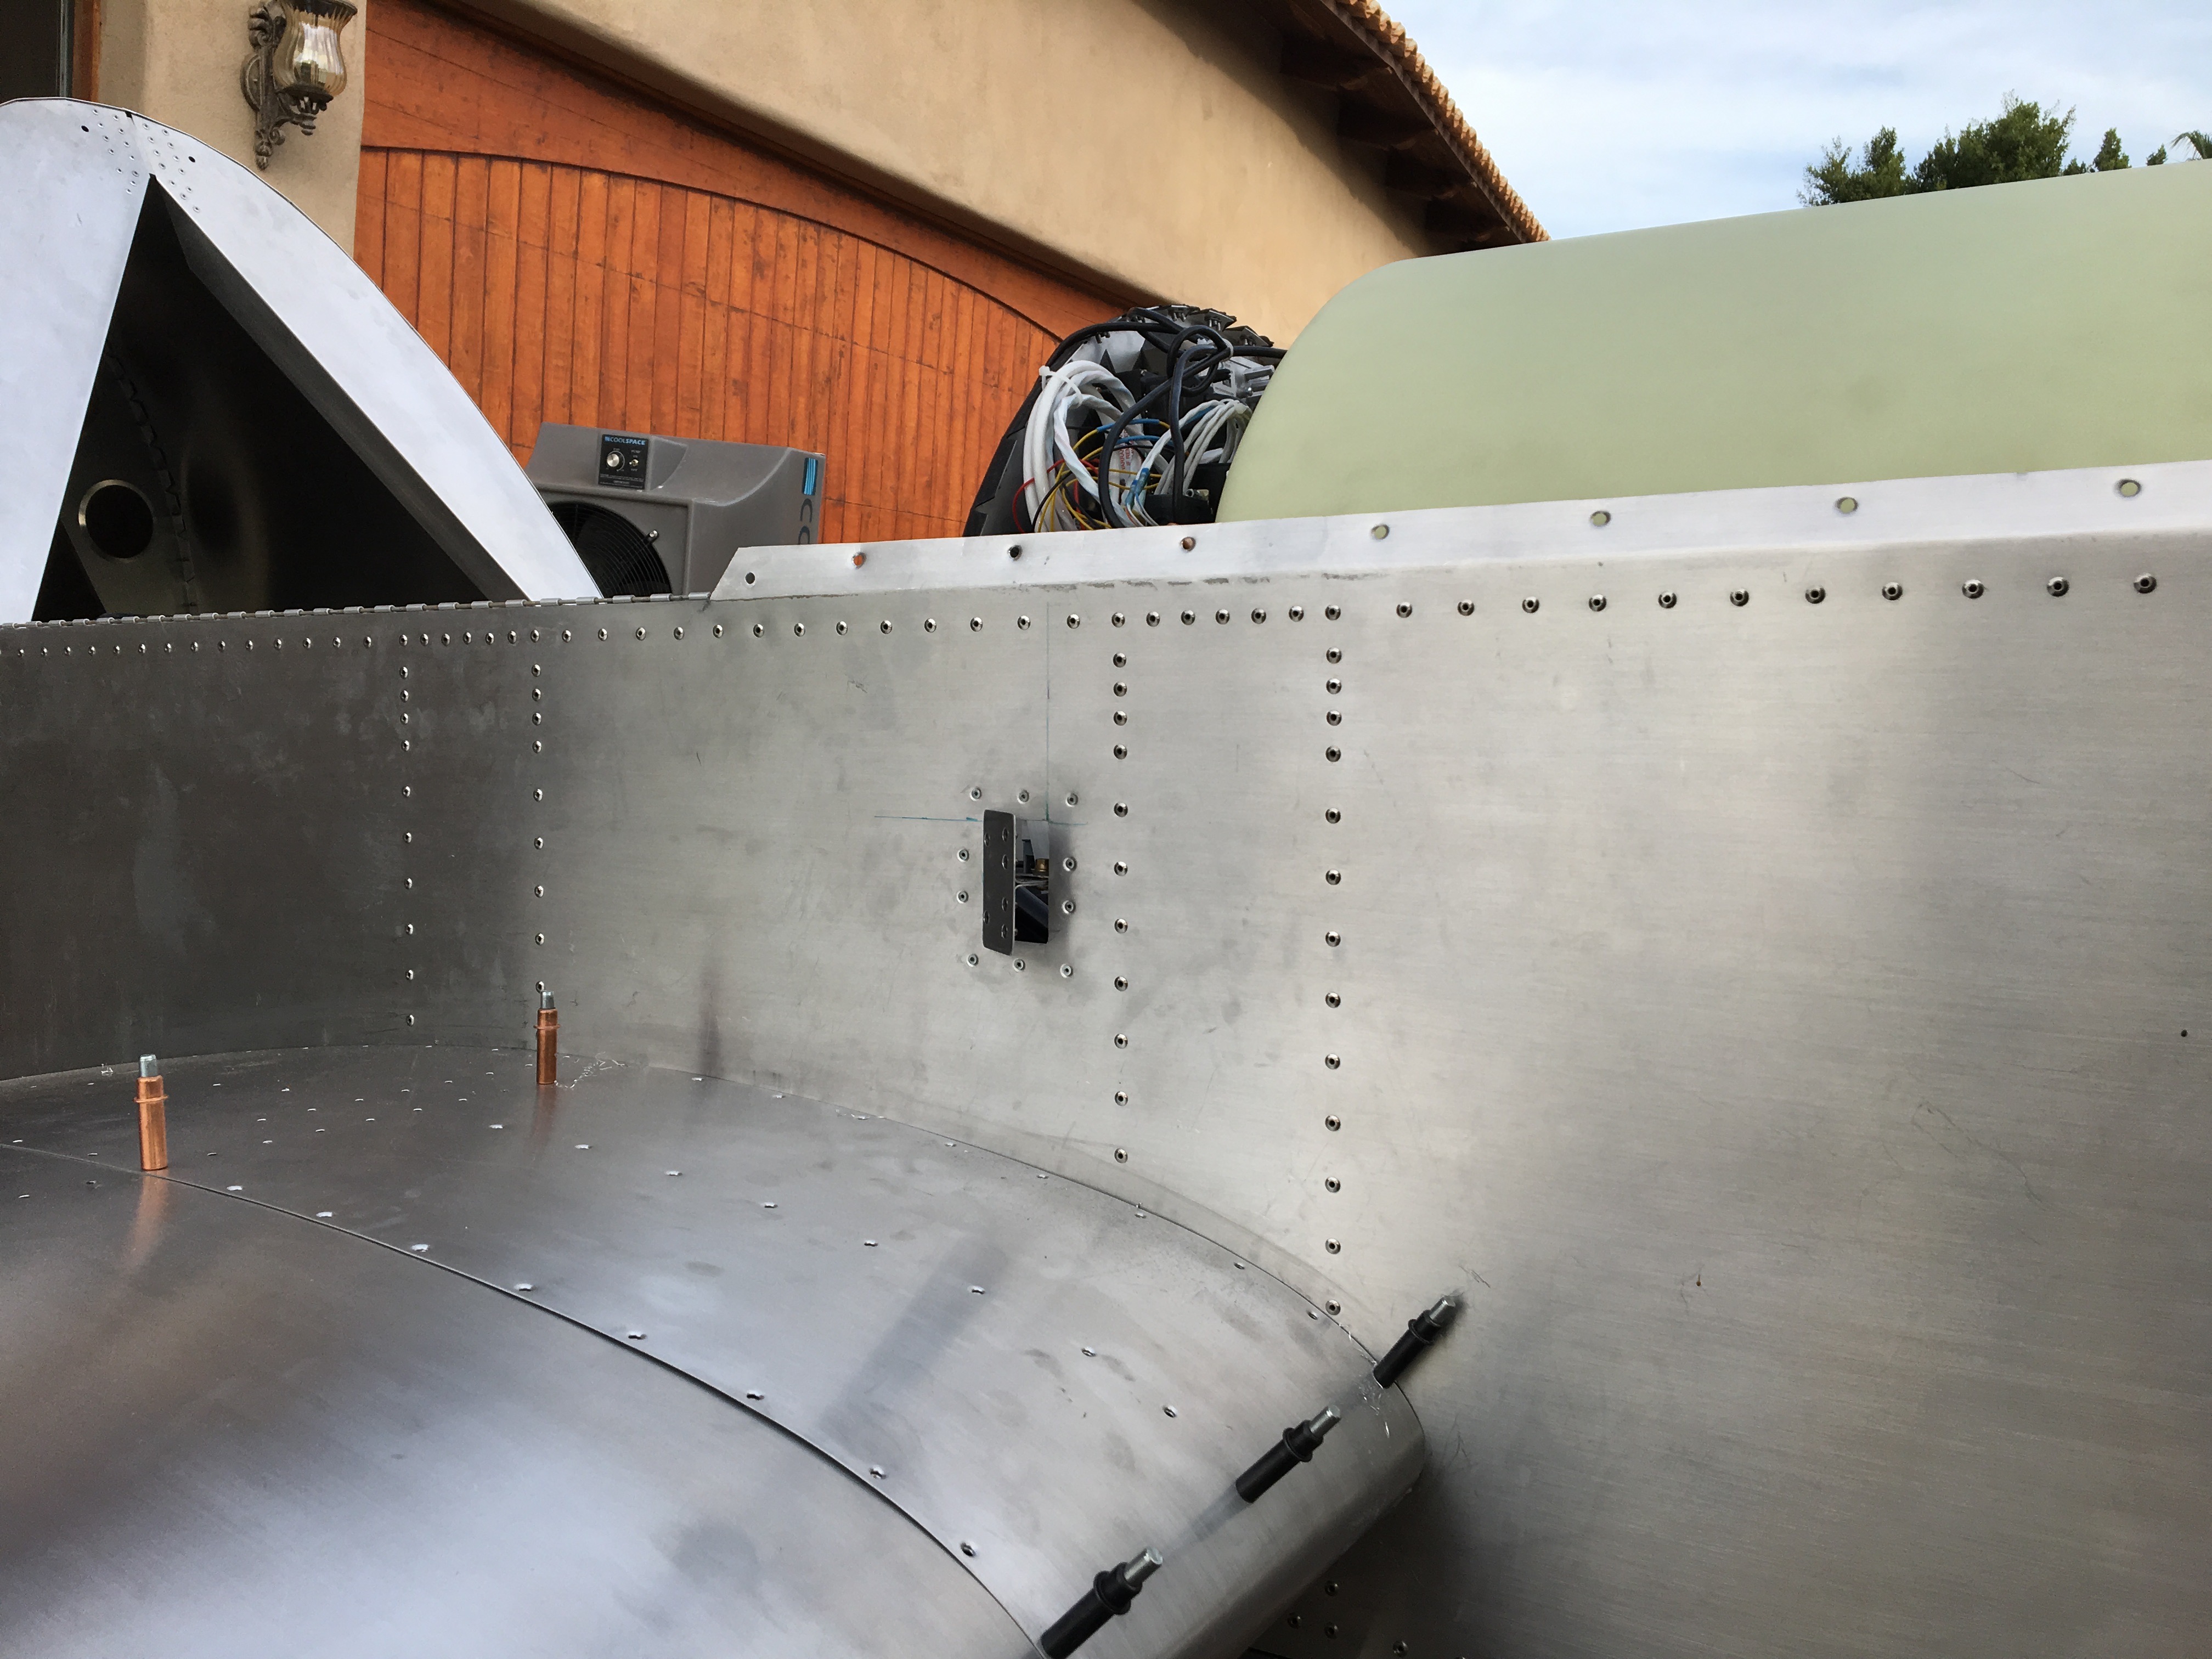
ELT
A while back I decided to get an ELT (Emergency Location Transmitter) even though it’s not required on a single seat experimental aircraft. This is the smalled ELT I could find wwighting in at only a couple pounds. It has to be installed on the left side of the fuselage, with the antenna exposed throuth the canopy so locations where limited. I fabricated a mount attached to the bottom left longeron that should hold it steady enough.

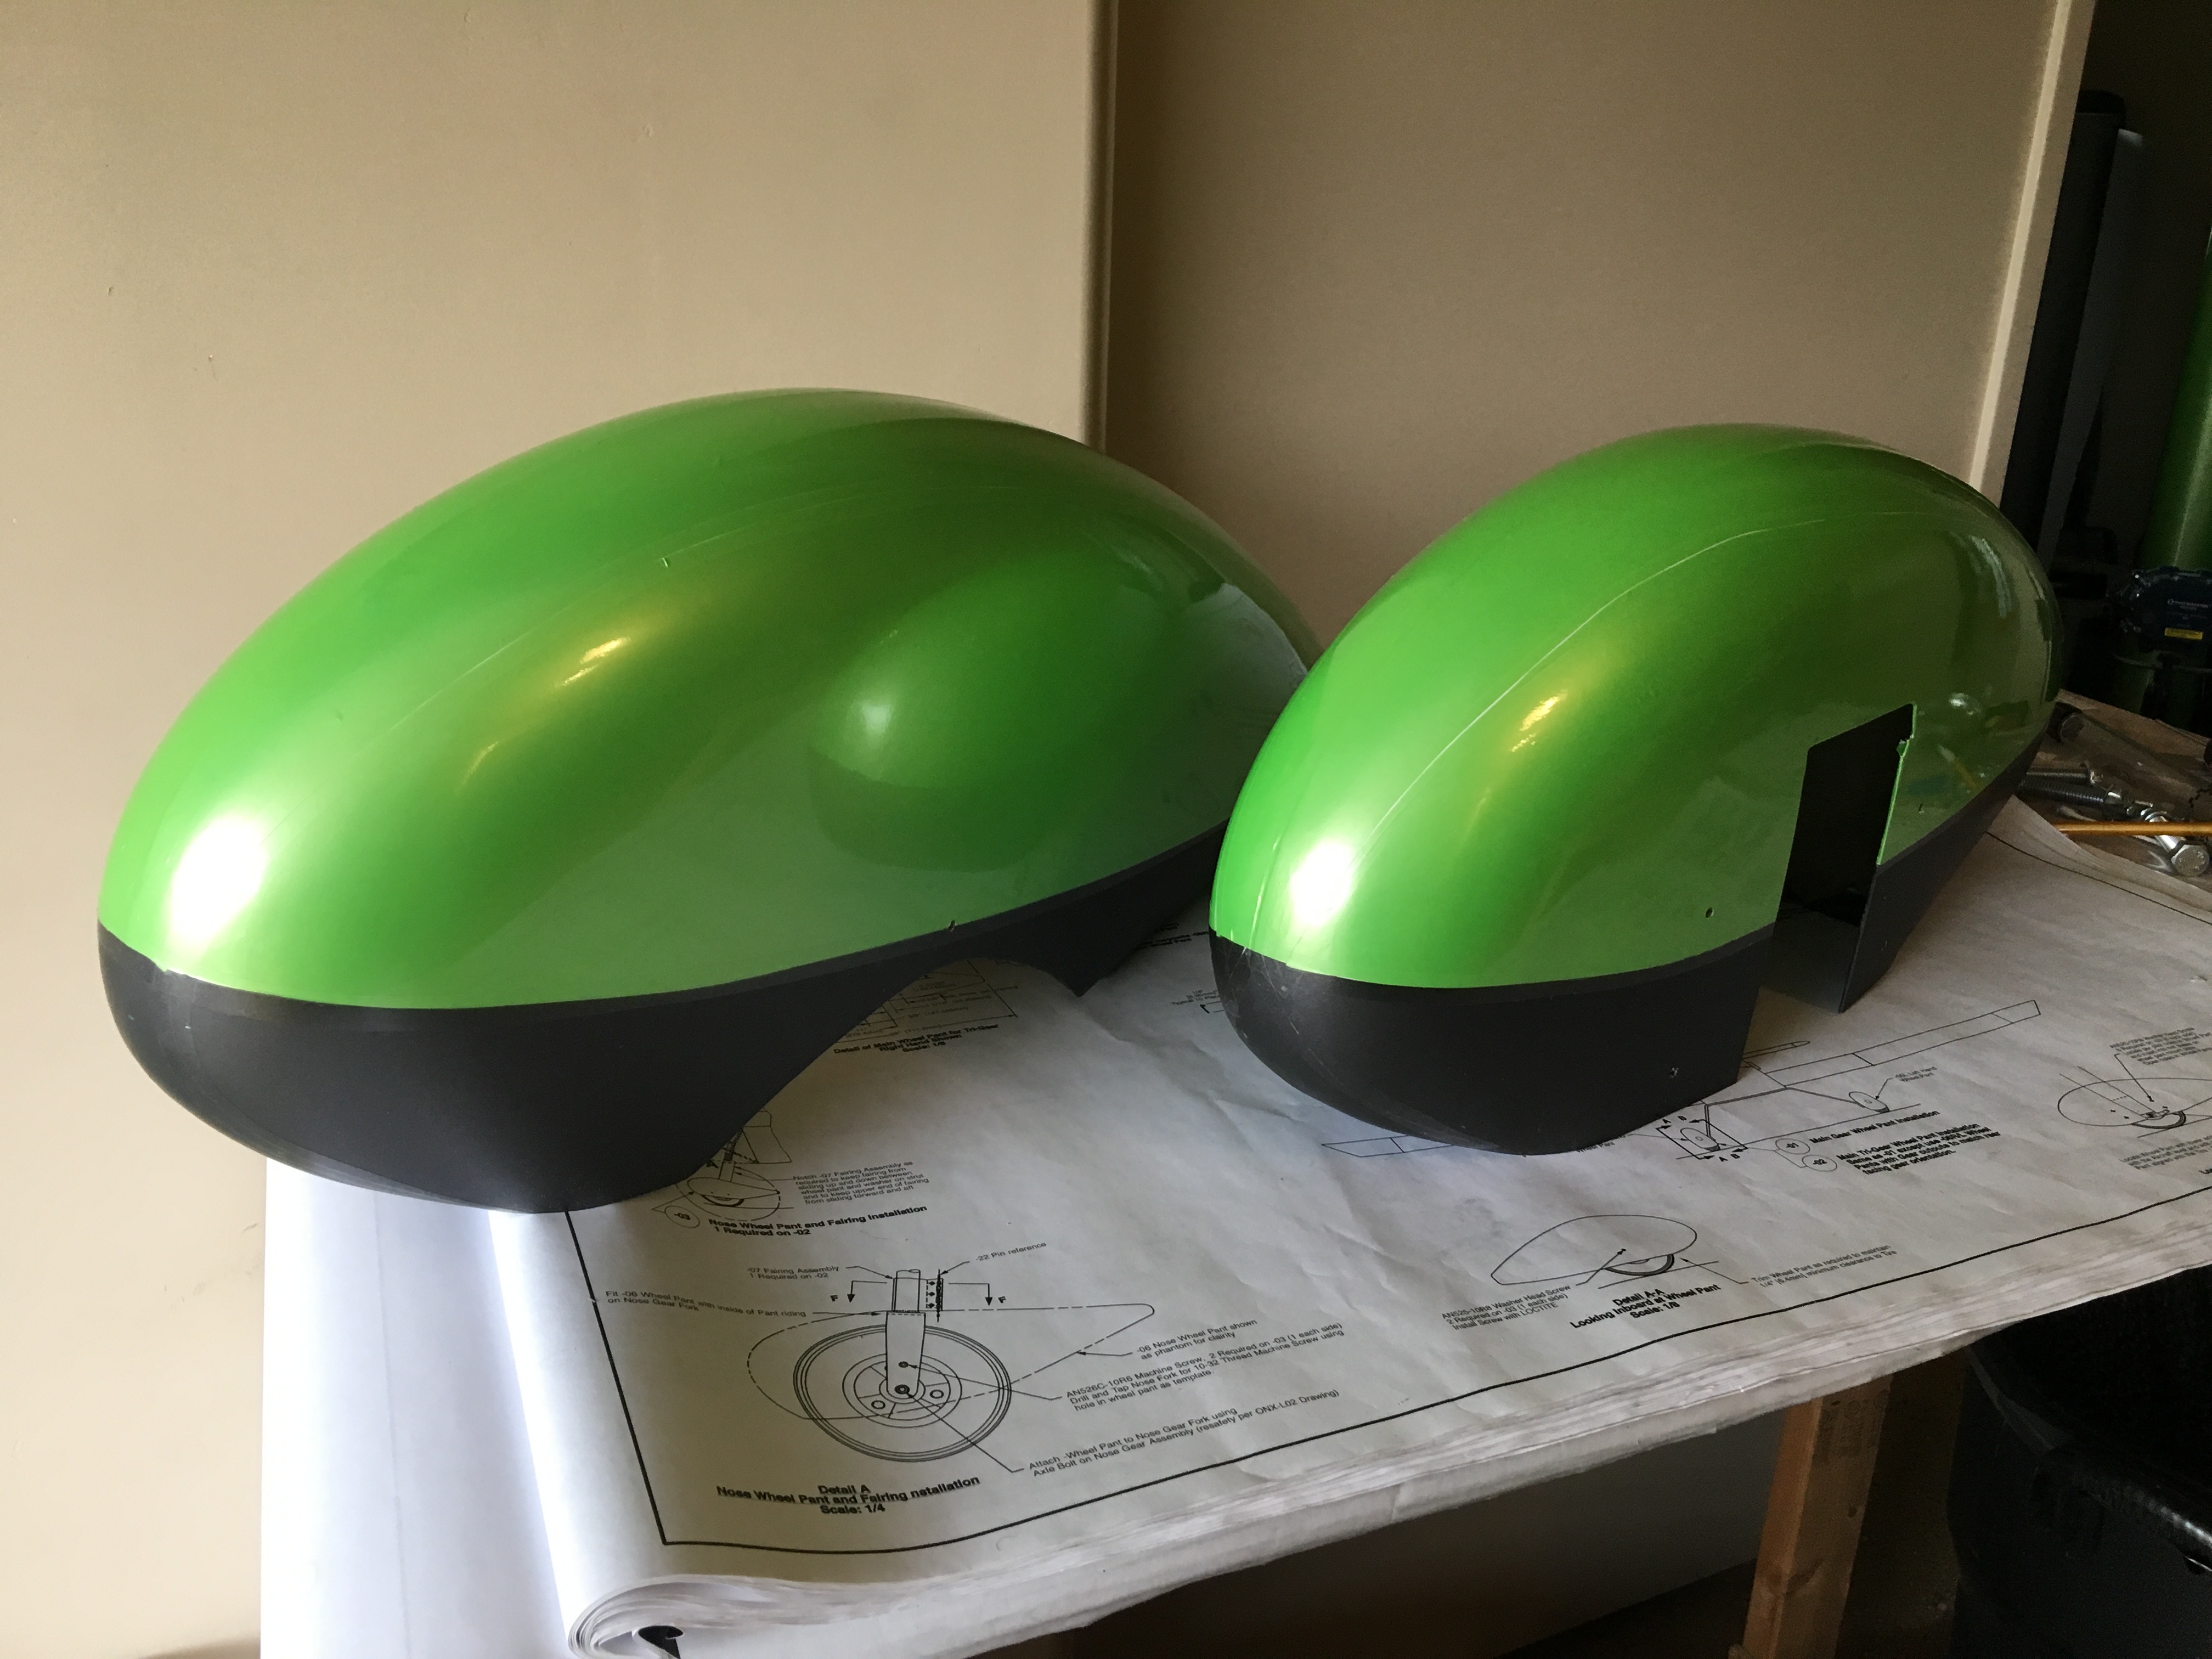
Wheel Pants Skins
I’ve put these off for a while. Now’s the time. I cut them to fit and got them mounted. Then I took them off to wrap them.
Compared the wrapping the ailerons, these wheel pant were much more difficult. It’s the compound curves. The vinyl has to stretch and compress to fit smoothy and sometimes it just can’t do it. At first I tried to wrap them with one piece of each color. Eventually I gave up used three pieces. It still took a good deal of time and effort.
They look good…. from a distance. Up close you’ll notice some white lines between pieces, crooked corners, and sealing tape around all the edges.
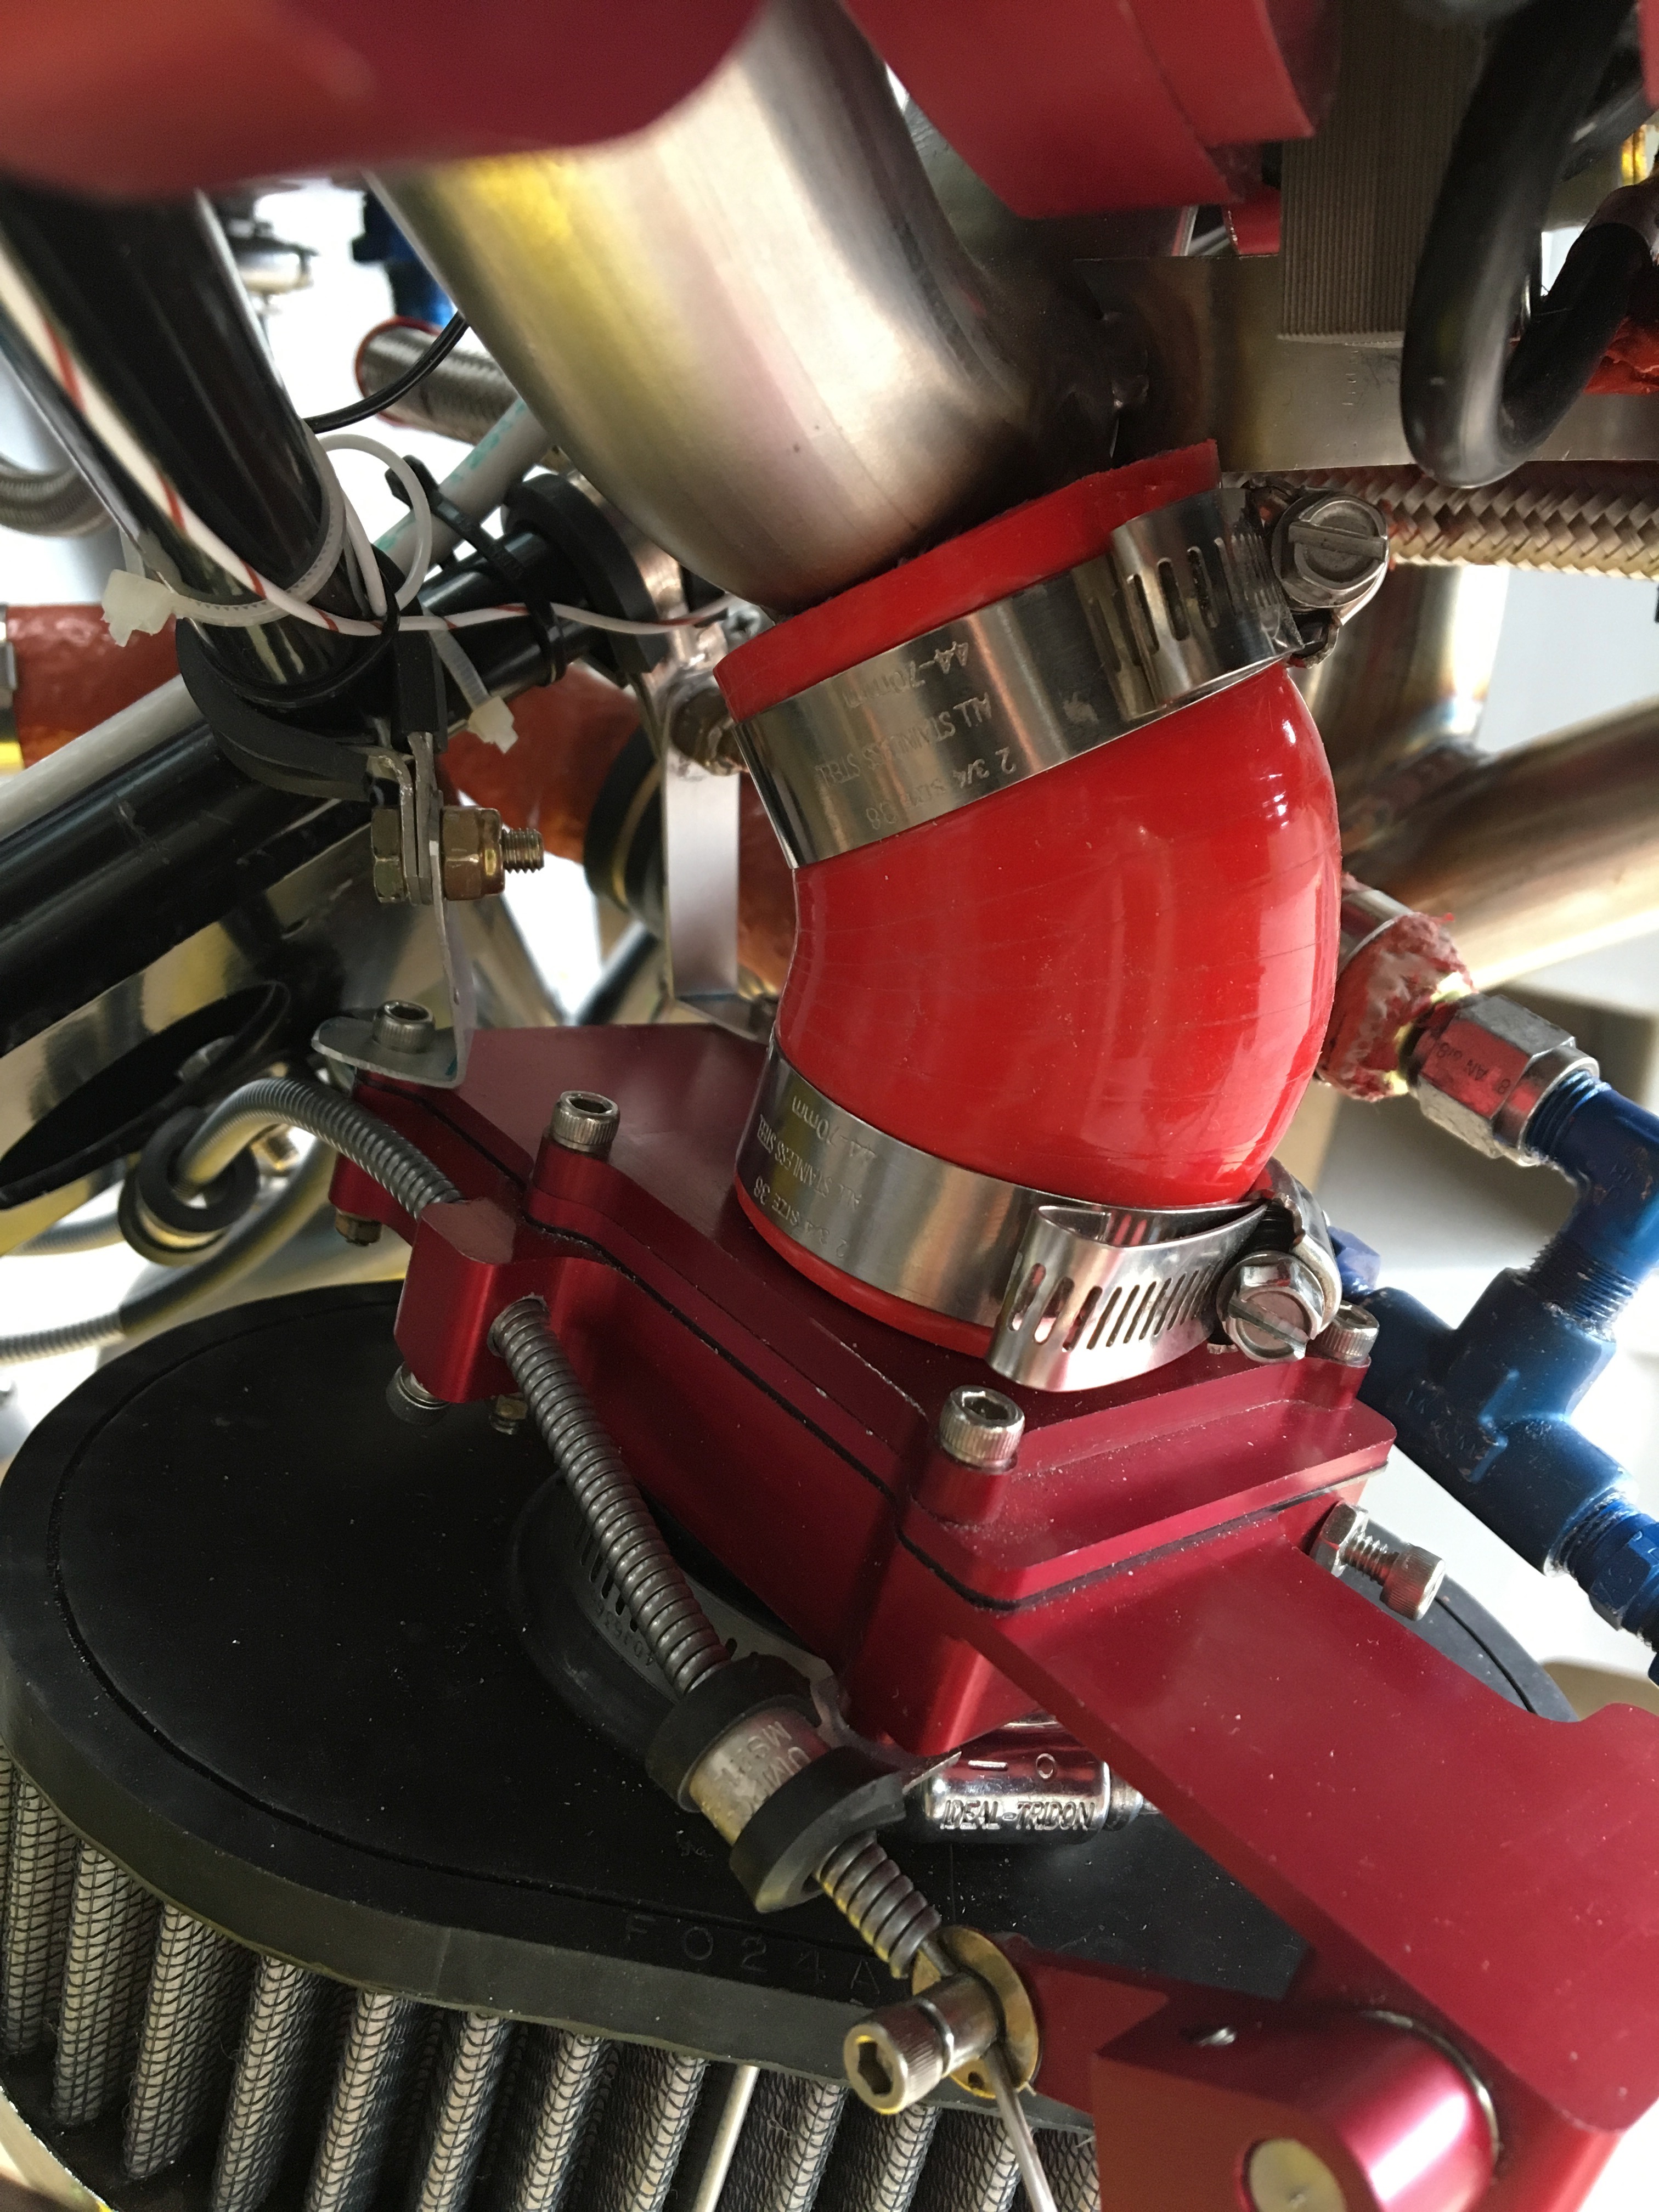
Aeroinjector
The Aeroinjector had to be repositioned to get the needed fuel flow. I cur the 45° silicone tube I had ordered and got it into position. Of course the cowling not longer fit because the air filter was protruding too much. After a few attempts, I figured out that the aeroinjector intake could fit all the way into the airfilter, about 2”, and by adding some material to the perimeter of the intake nozzle, fasten the air filter. Then the cowling fit.
The Aeroinjector is held on by a hose clamp and silicone tube. The seems a bit precarious, so I used some adel clamps and aluminum strips to add extra braces. Now it is fastened to the engine mount and won’t be going anywhere.