End in Sight
MEL Achievement Unlocked
On Thursday and Friday last week I completed my multi-engine training and passed the checkride. I’m now multi-engine certified. This is mostly so I can start training for second in command in Elite Flights Jets’ Eclipse Jet for charter flights.
Exhaust Wrapping
A couple builders suggested insulating the exhaust to protect the inside of the engine compartment from high heat. This fiberglass wrapping kit took months to arrive from Aircraft Spruce, but it finally arrived and the wrapping process was fairly painless, and quite messy.
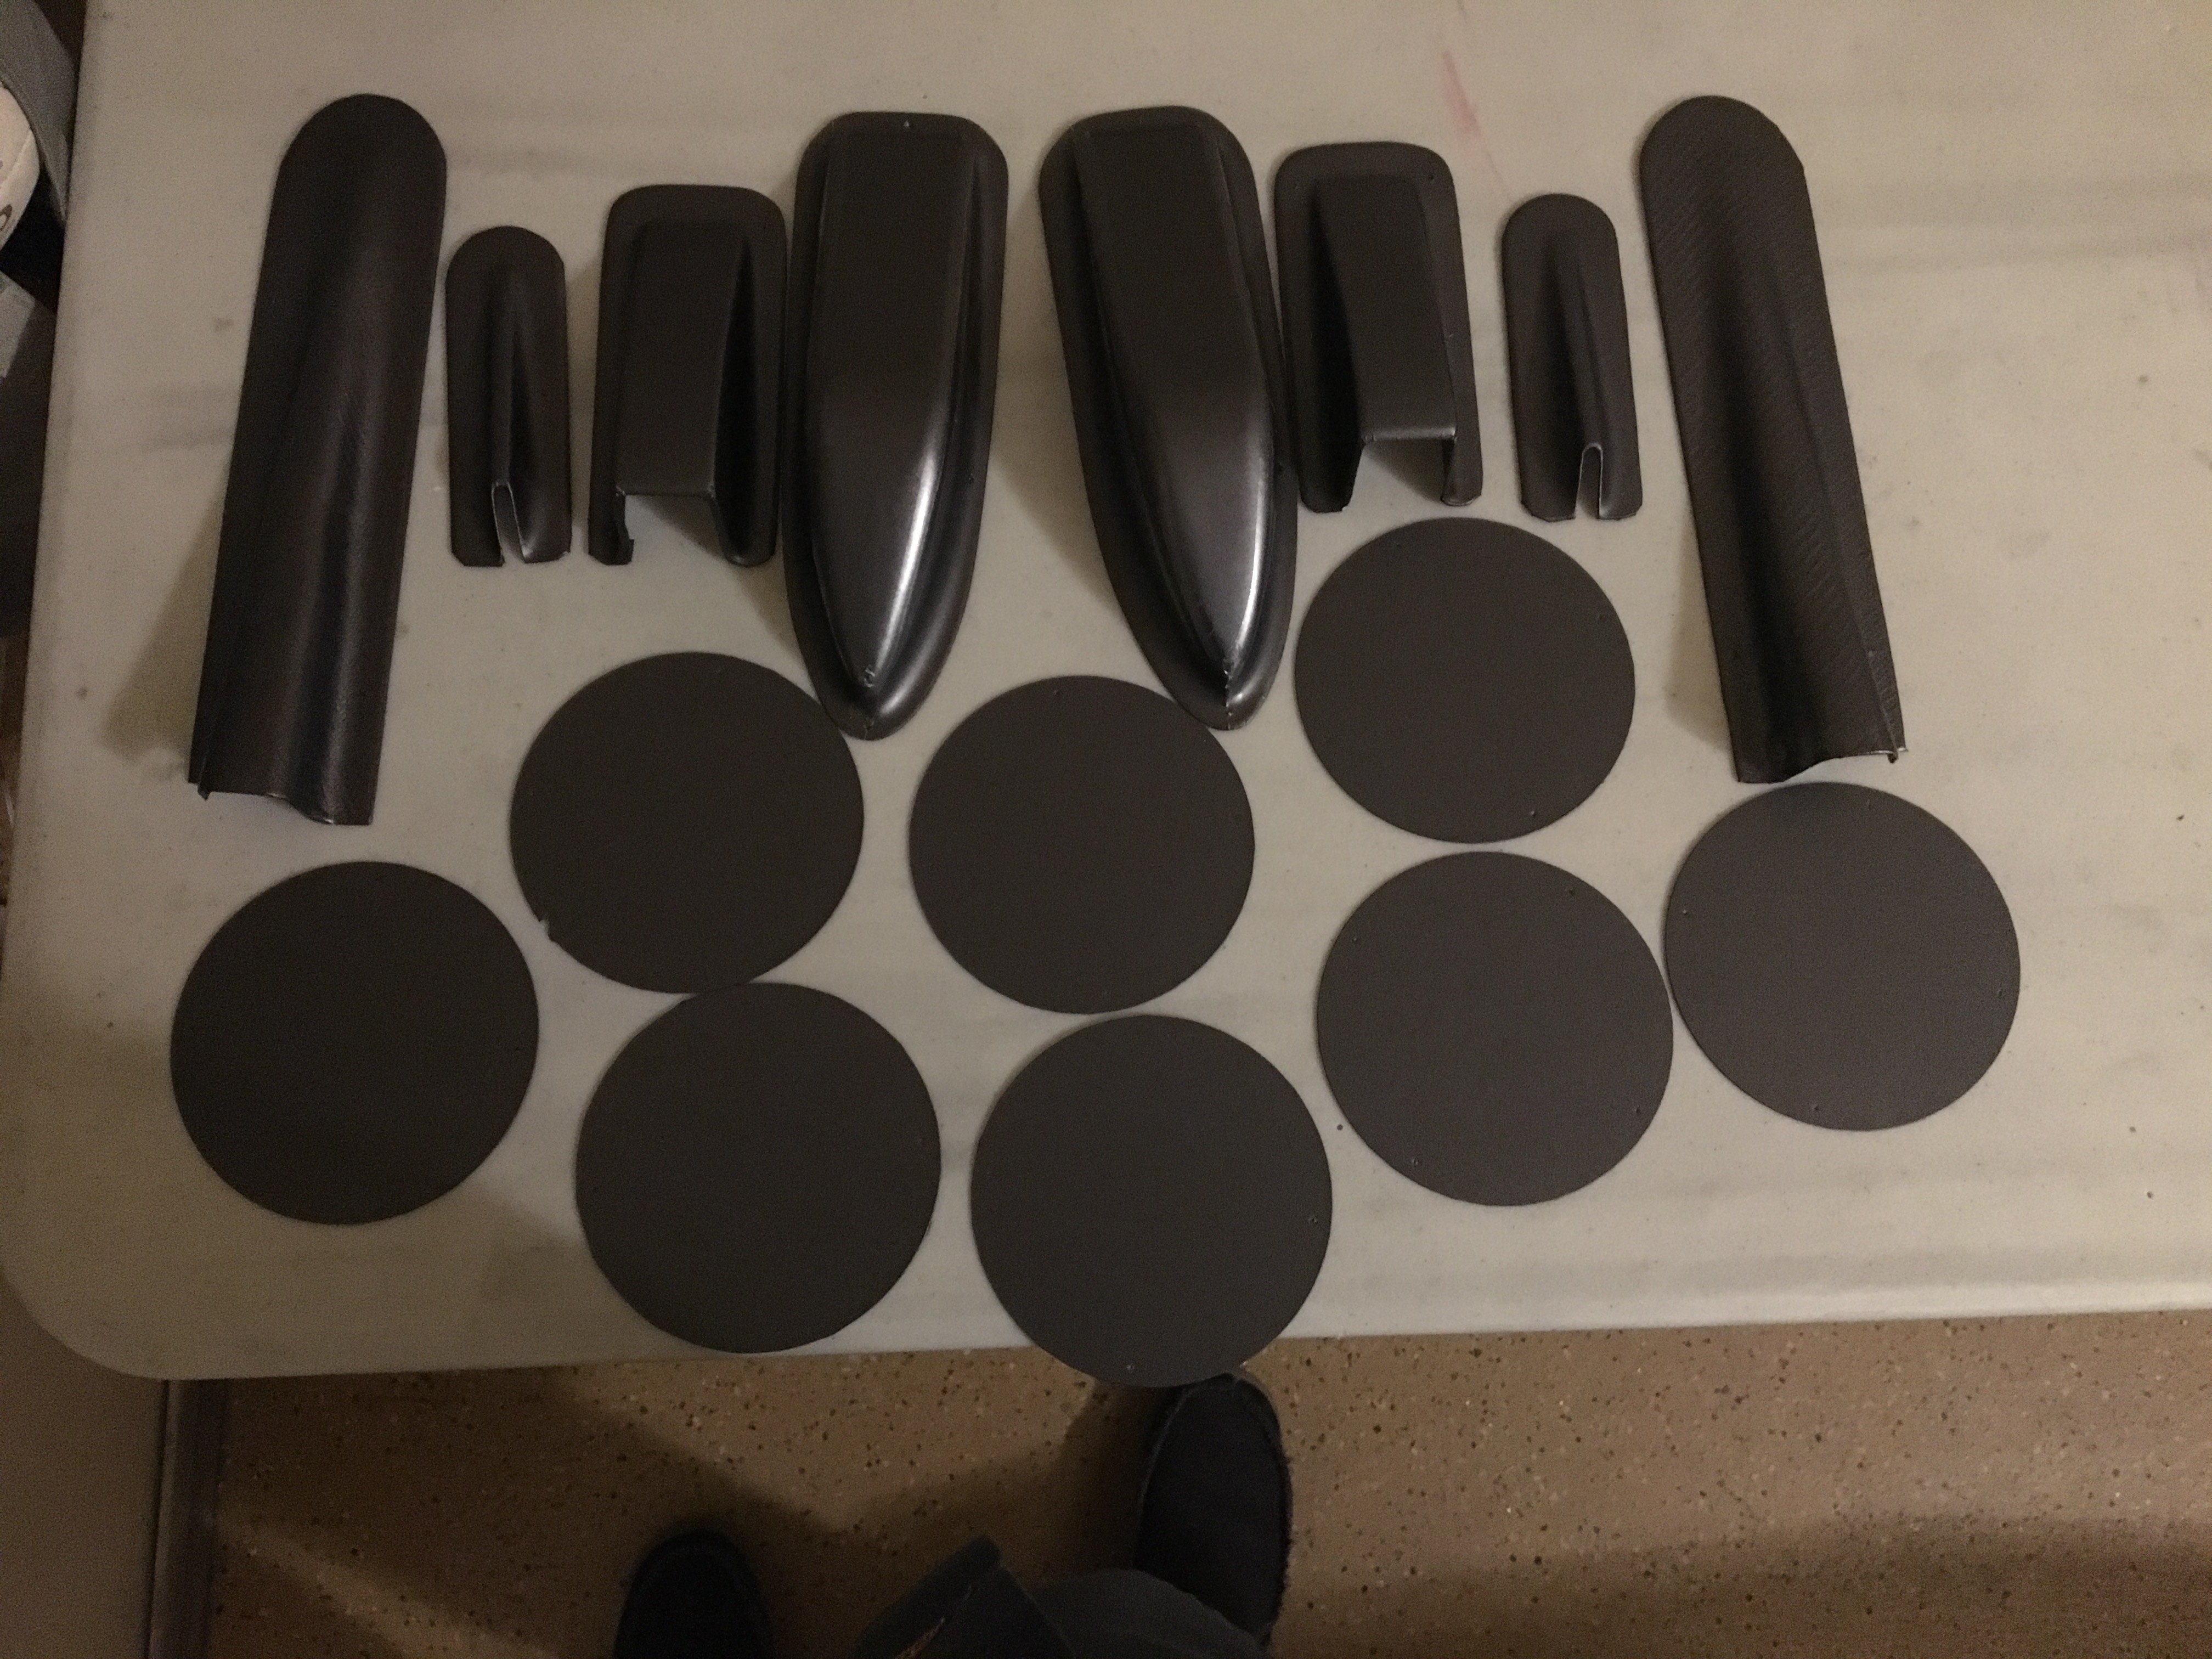
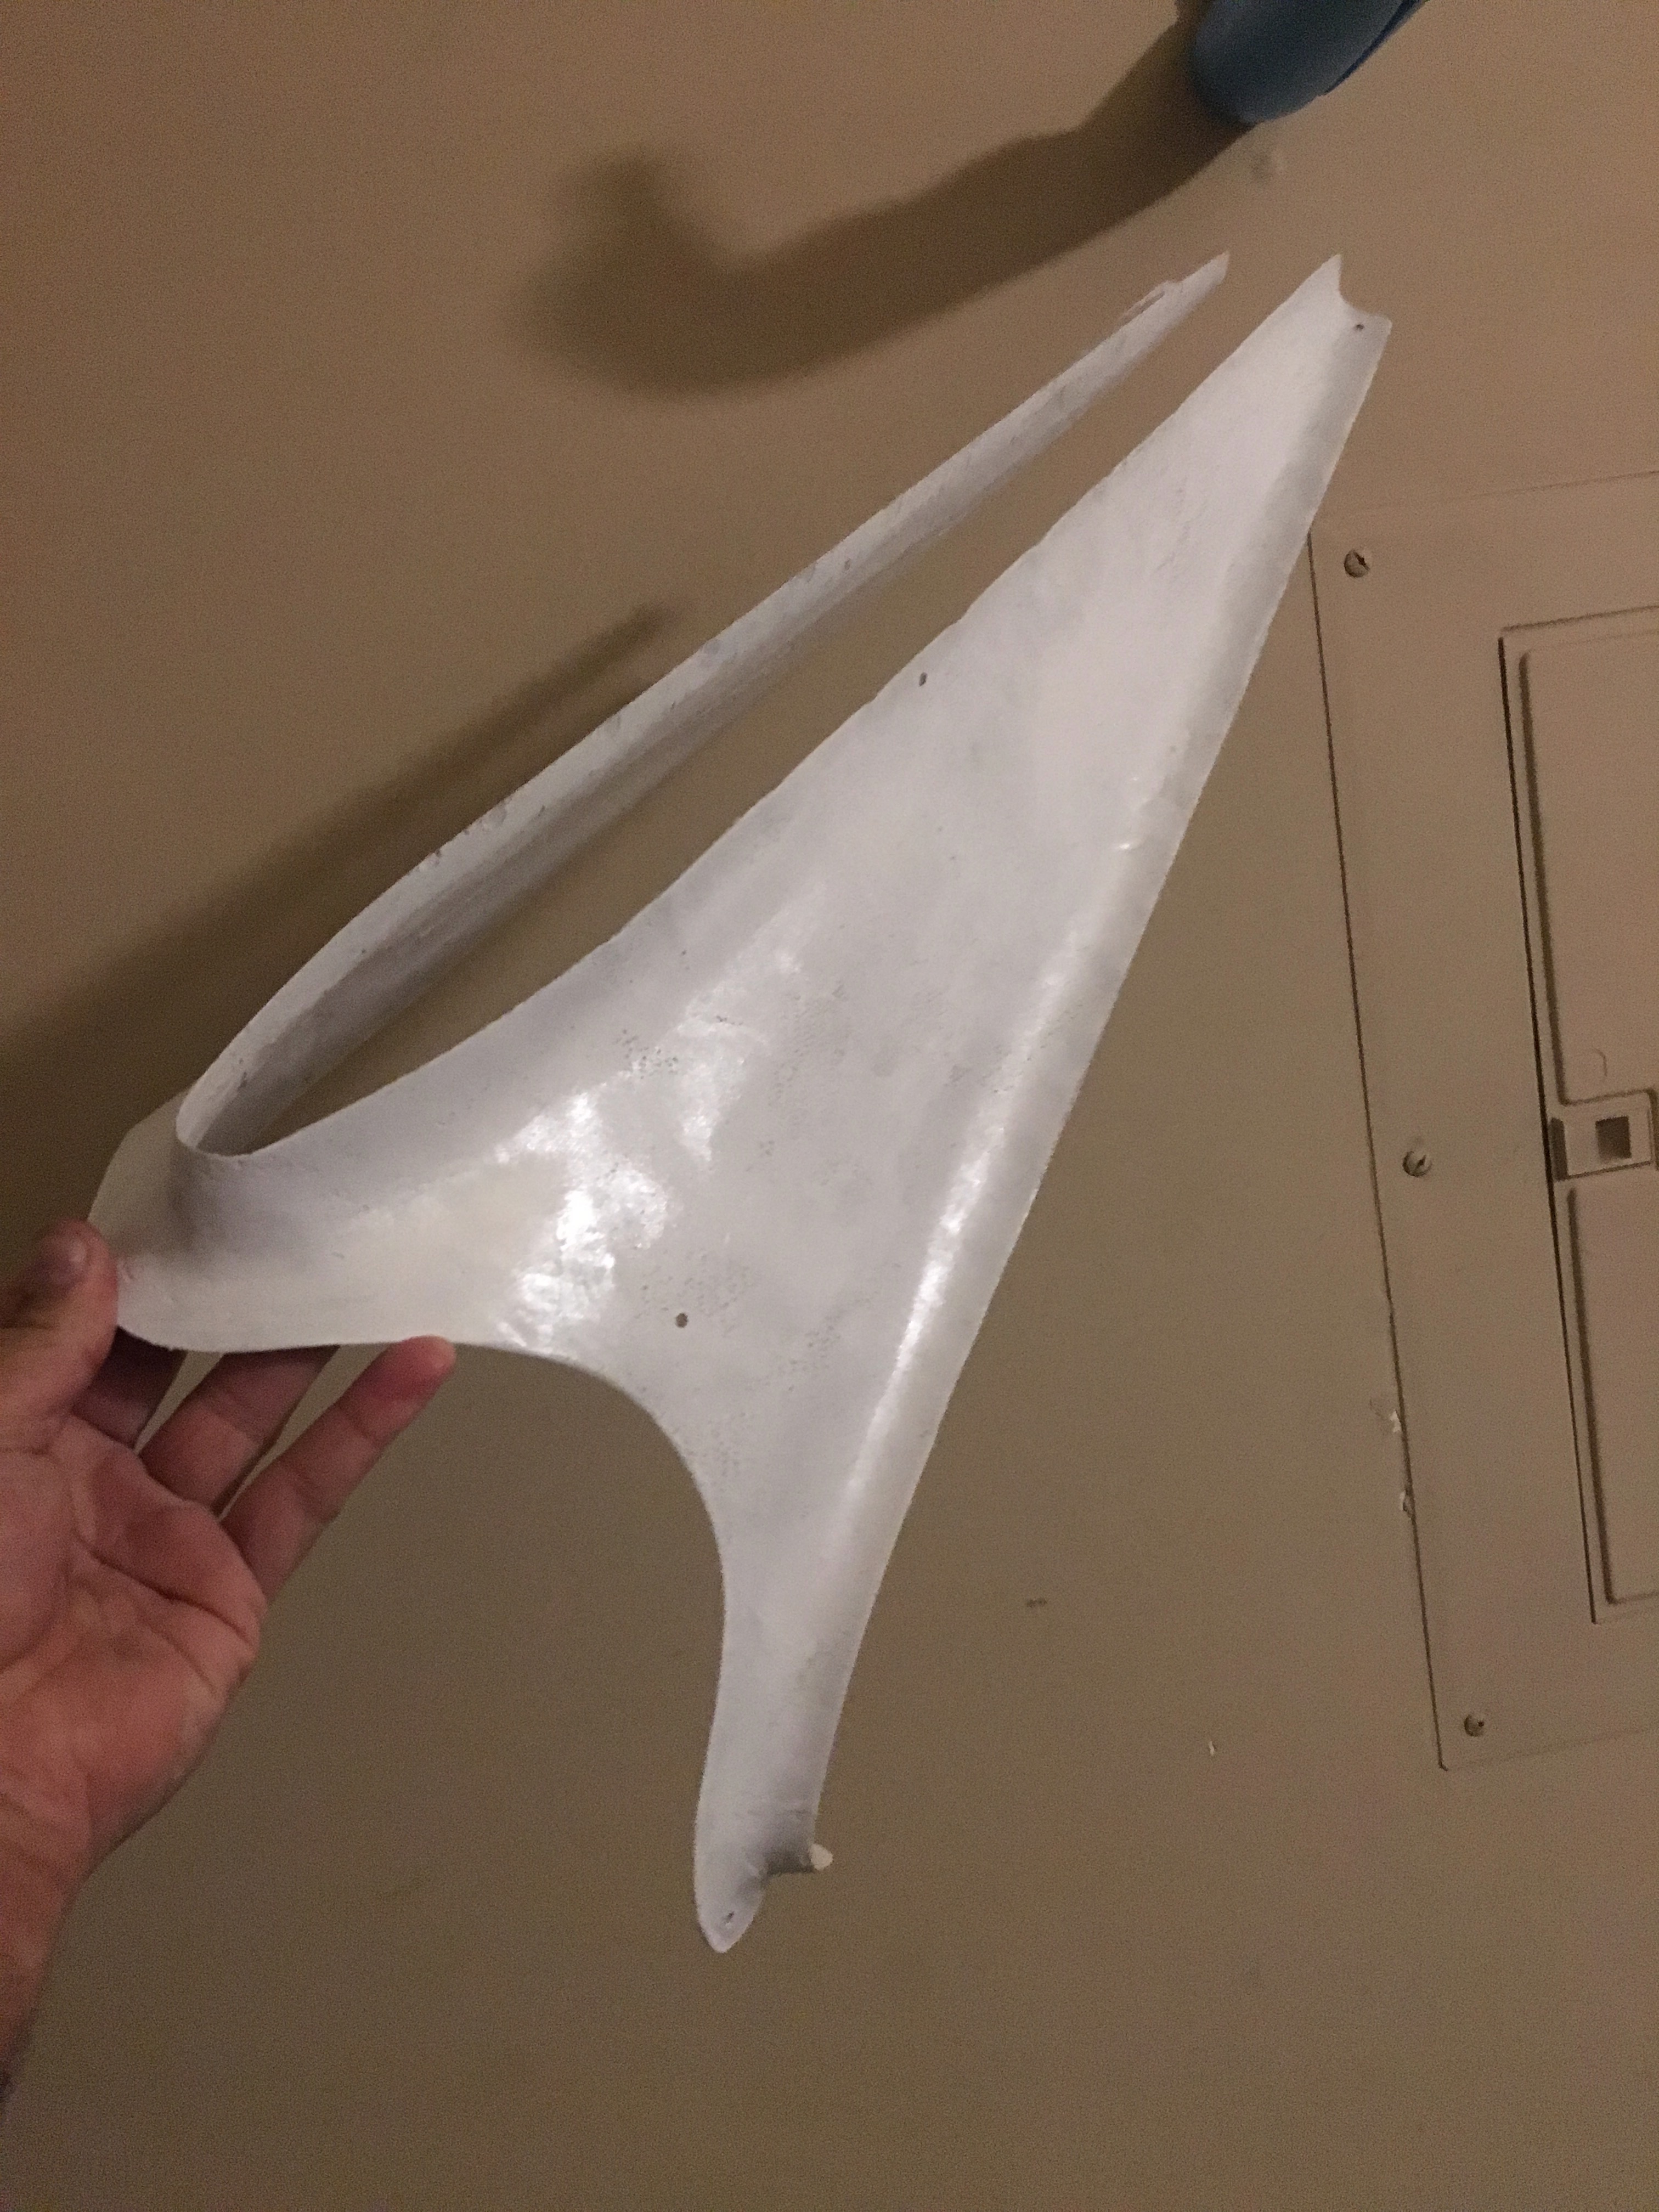
Fairing Wrapping
All the small fairings are wrapped. Those counter weight fairings were just too curvy for one piece of vinyl. All the otheres are seamless.
Wing Preparation
I added some more micro-balloons to the wings because I noticed some spots I missed and incomplete transition from my last application. The next day I sanded, and sanded some more. The boys gave me some weird looks because I was covered in dust. And my arm was SORE. Remember Karate Kid? Sand the Wing.
Bottom Tail Skin
While waiting for the epoxy to dry, I started to work on the bottom tail skin. This is essentially the last part to attach, because once on, the tail is virtually inaccessible. However, I saw on AirWard that there was a kit to make to the tail accessible by using nut plates. Although I didn’t buy the kit, I had enough nut plates to make the rear half unattached, around 50. That leaves about 70 rivets for the remainder of the skin. Using nut plated for all the holes, to make a fully removable skin, was not workable.
While installing nutplates, I observed that the rear two bulkheads could benefit from some bolts. I don’t think rivets or nutplates would do these bulkheads justice. So I installed the bolts and was content with a more secured frame.
The skin is all ready for rivets and screws… but I’ll wait a bit more.
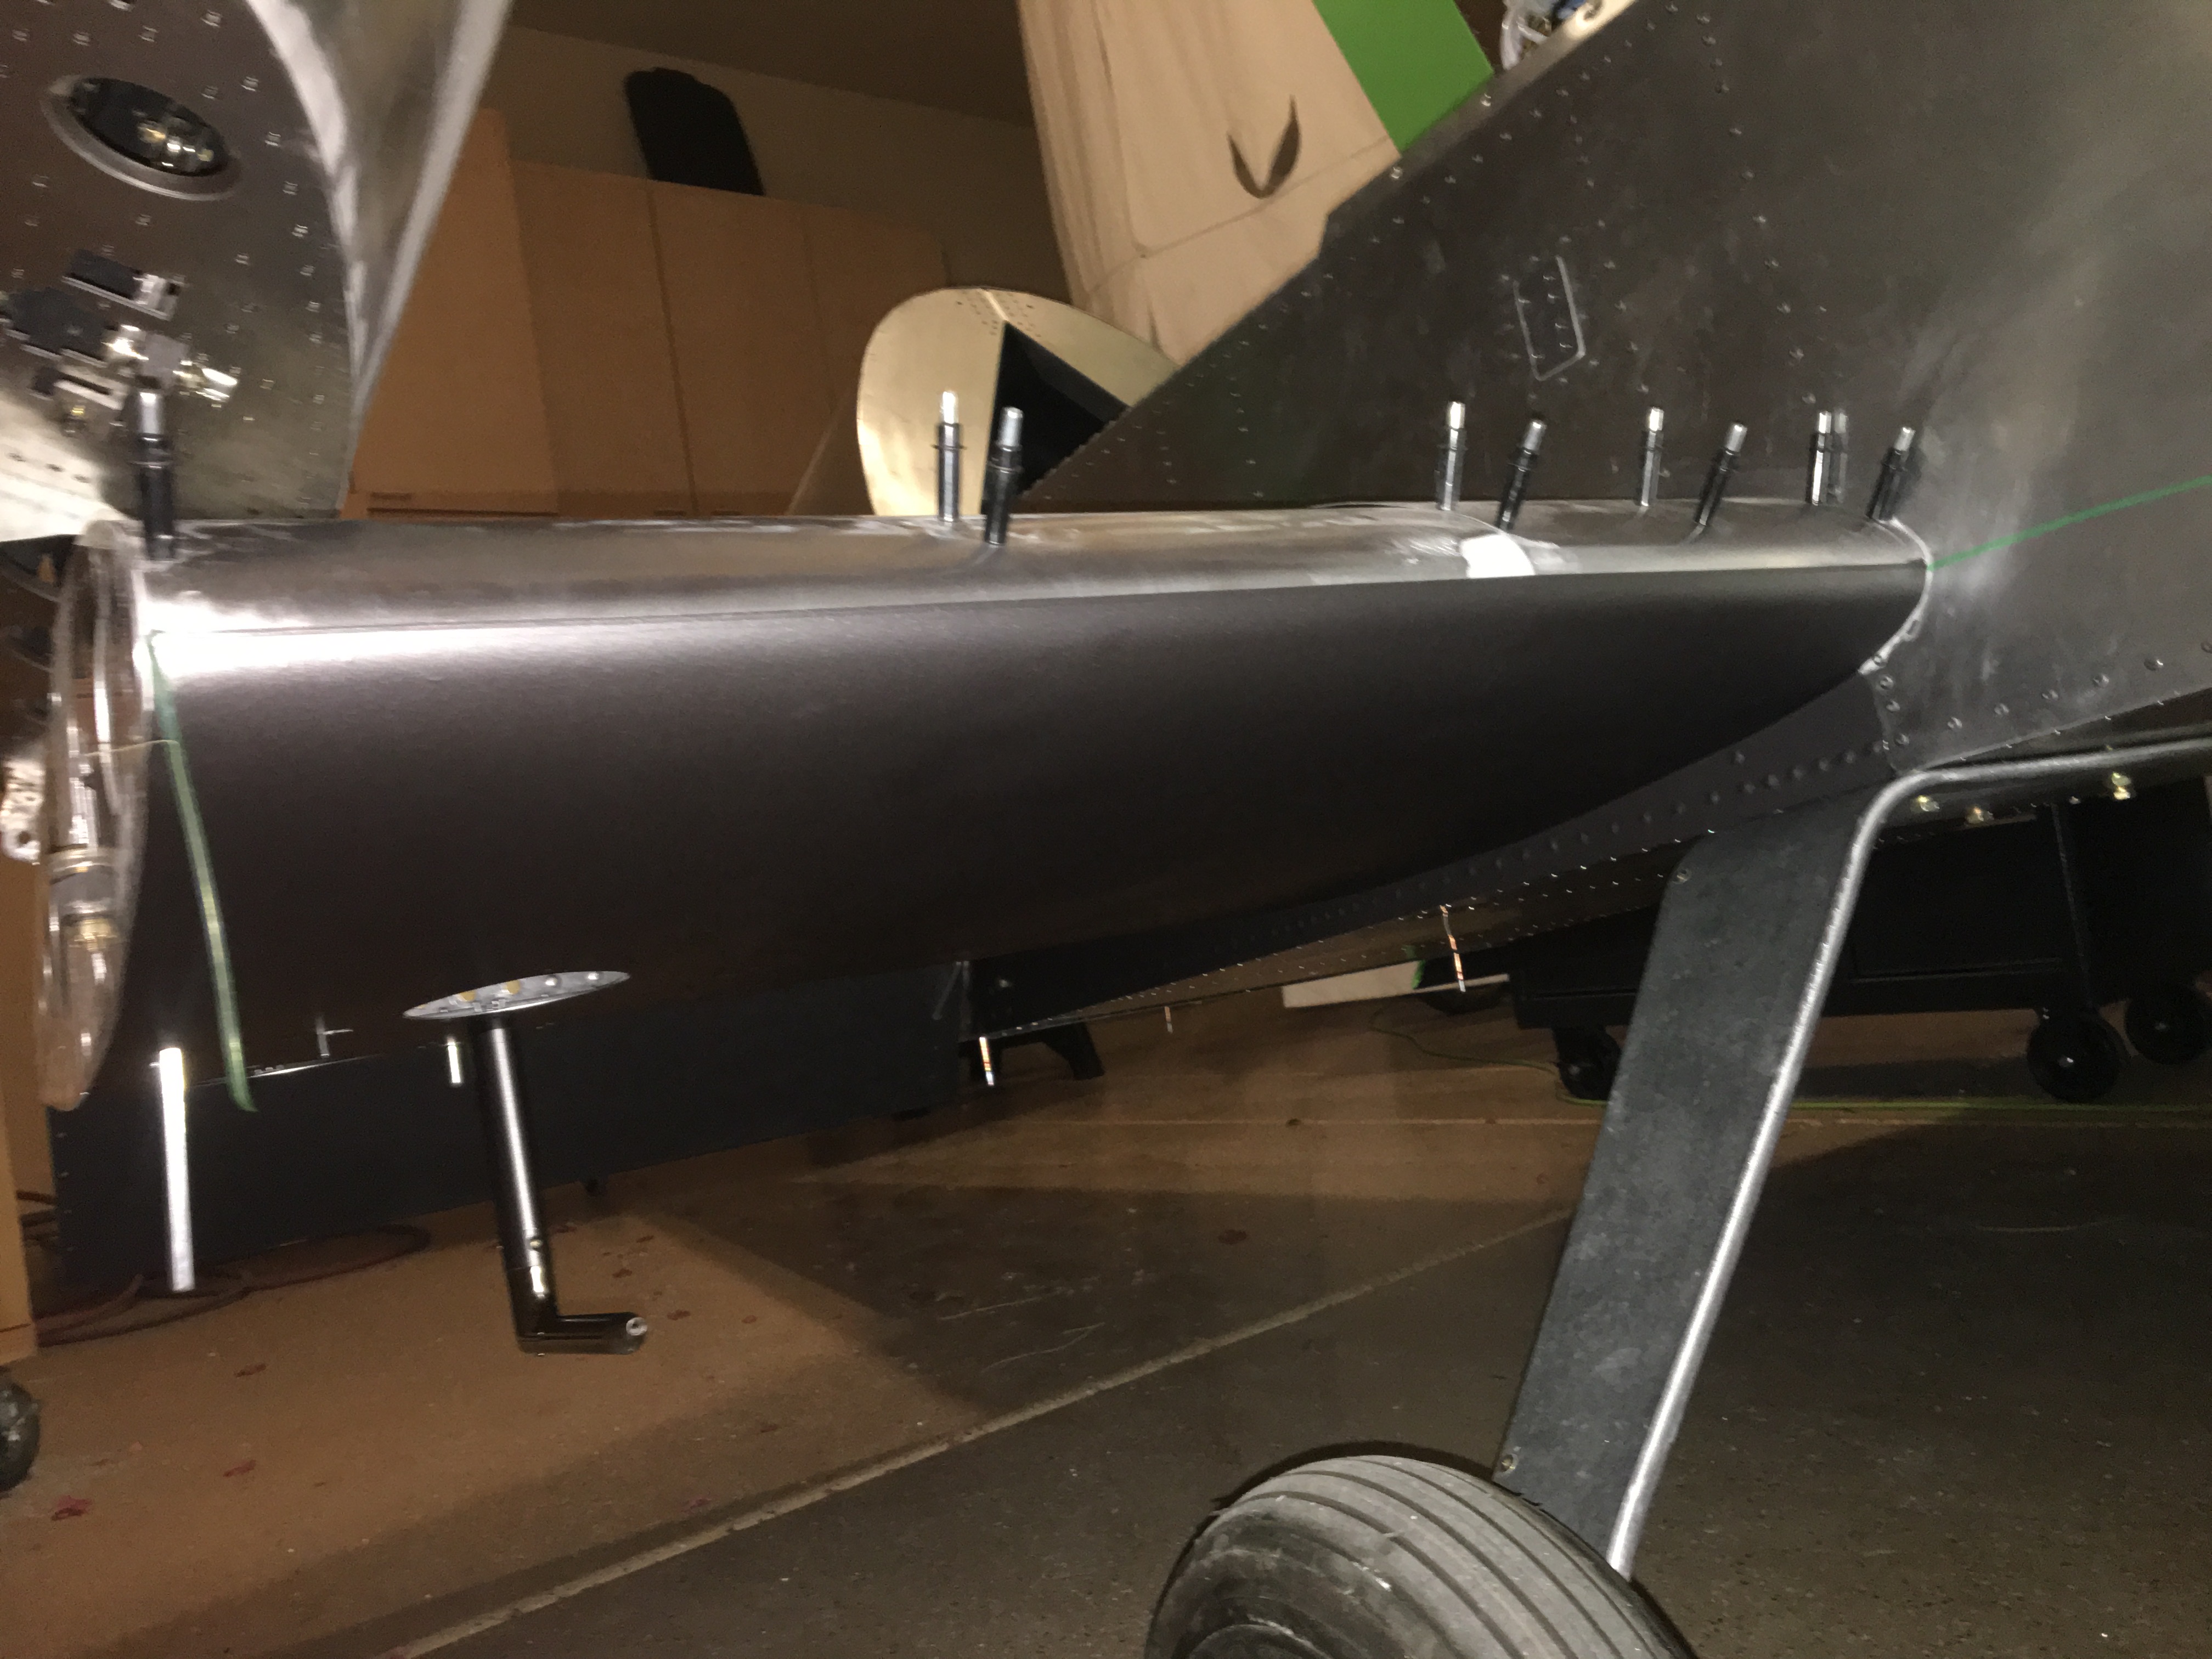
Tail Fairing
I attempted to wrap the tail fairing unsuccessfully. The vinyl just doen’t stick to the composite parts like it does to metal and plastic. Especially back side where there’s a very thin layer of clay, from the mold, that I just can’t seem to remove sufficiently. They vinyl just won’t hold.
So I ripped it all off and threw it out. Then I went to ace and bought some white enamel spray paint. This should help the vinyl stick.
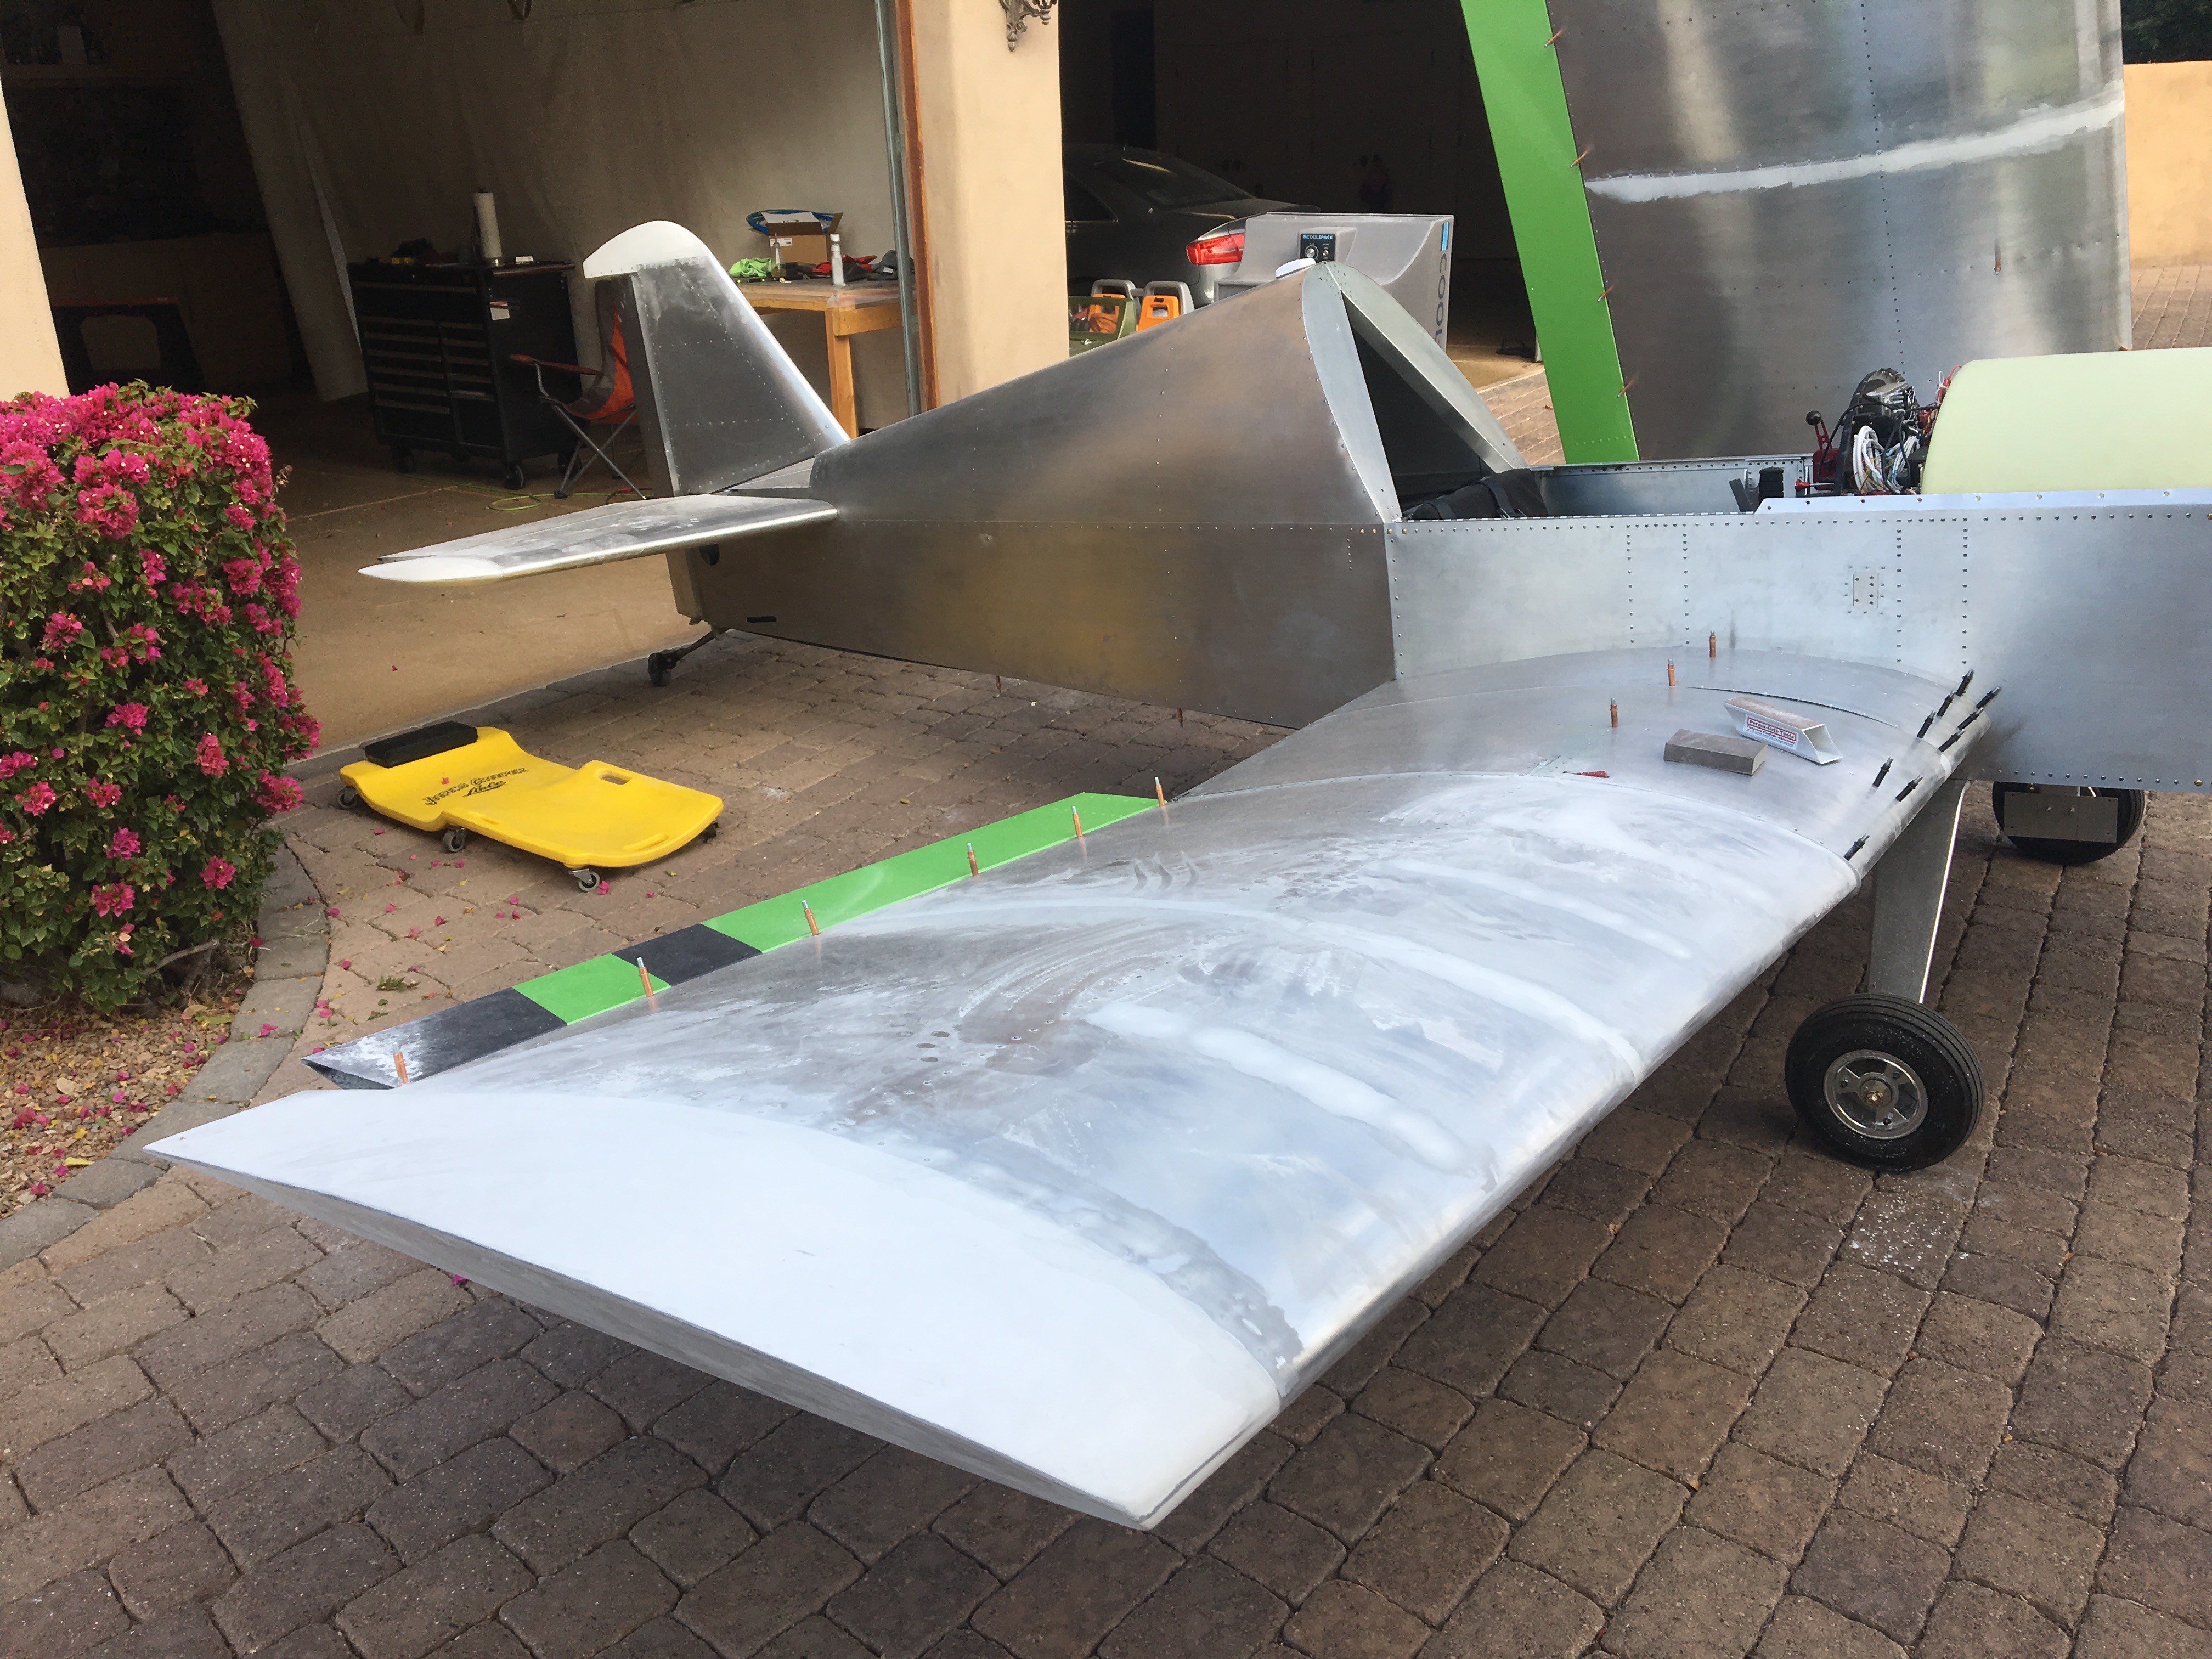
Wrapped Underside of Wings
Let the wrapping begin! I wrapped the underside of both inboard wings. These are the first solid parts of the plane to be wrapped. This is also a key step in closing up the wings.
Working with large sheets of vinyl, upside down is tricky. And it was a windy morning which added to the fun. There’s a couple small boo-boos on the right side which I did first. The left turned out better.
Wing Fold Disaster
While working under the right wing, I heard a loud boom and the whole airplane started to shake and rock side to side. It took a moment for me to realize that the wind had blown the left wing past the balance point and it fell open. Ouch!
Wind opening the wings had been a nightmare of mine which is why I installed the wing locks as soon as the outboard wings were first attached. At the time, the wing’s didn’t close cleanly. Parts would interfere and get caught on eachother. On a few occasions I unknowingly bent skins, clecoes, and other parts when folding and unfolding wings. The leverage on the wings is intense! I repaired all the damage of course. But the thought of wind blowing the wings open with no one to resist the force and detect problems… Disaster!
At this part of the build, I am folding and unfolding the wings multiple time every day so the wing locks were not used. Foolish me.
Incredibly, I could not find any damage. Not one hint of it! This is one tough plane. Still, the thought of that single hinge bolt taking all the force of the falling wing in an instant… I decided to replace it. Fortunately I had spare bolts. Even more fortunately, in the midst of replacing the bolt I noticed that I had not yet installed the cotter pins for these bolts. Good thing. Installing the cotter pins would not have been possible once the wings were sealed and the cotter pins are rather critical. If I had forgotten them and closed the wings, I would have stared at the left over pins scratching my head and probabaly never realizing where they were supposed to go.
The bolt that took the hit was fine too… at least I could not detect any deformity. Disaster turned into good fortune.
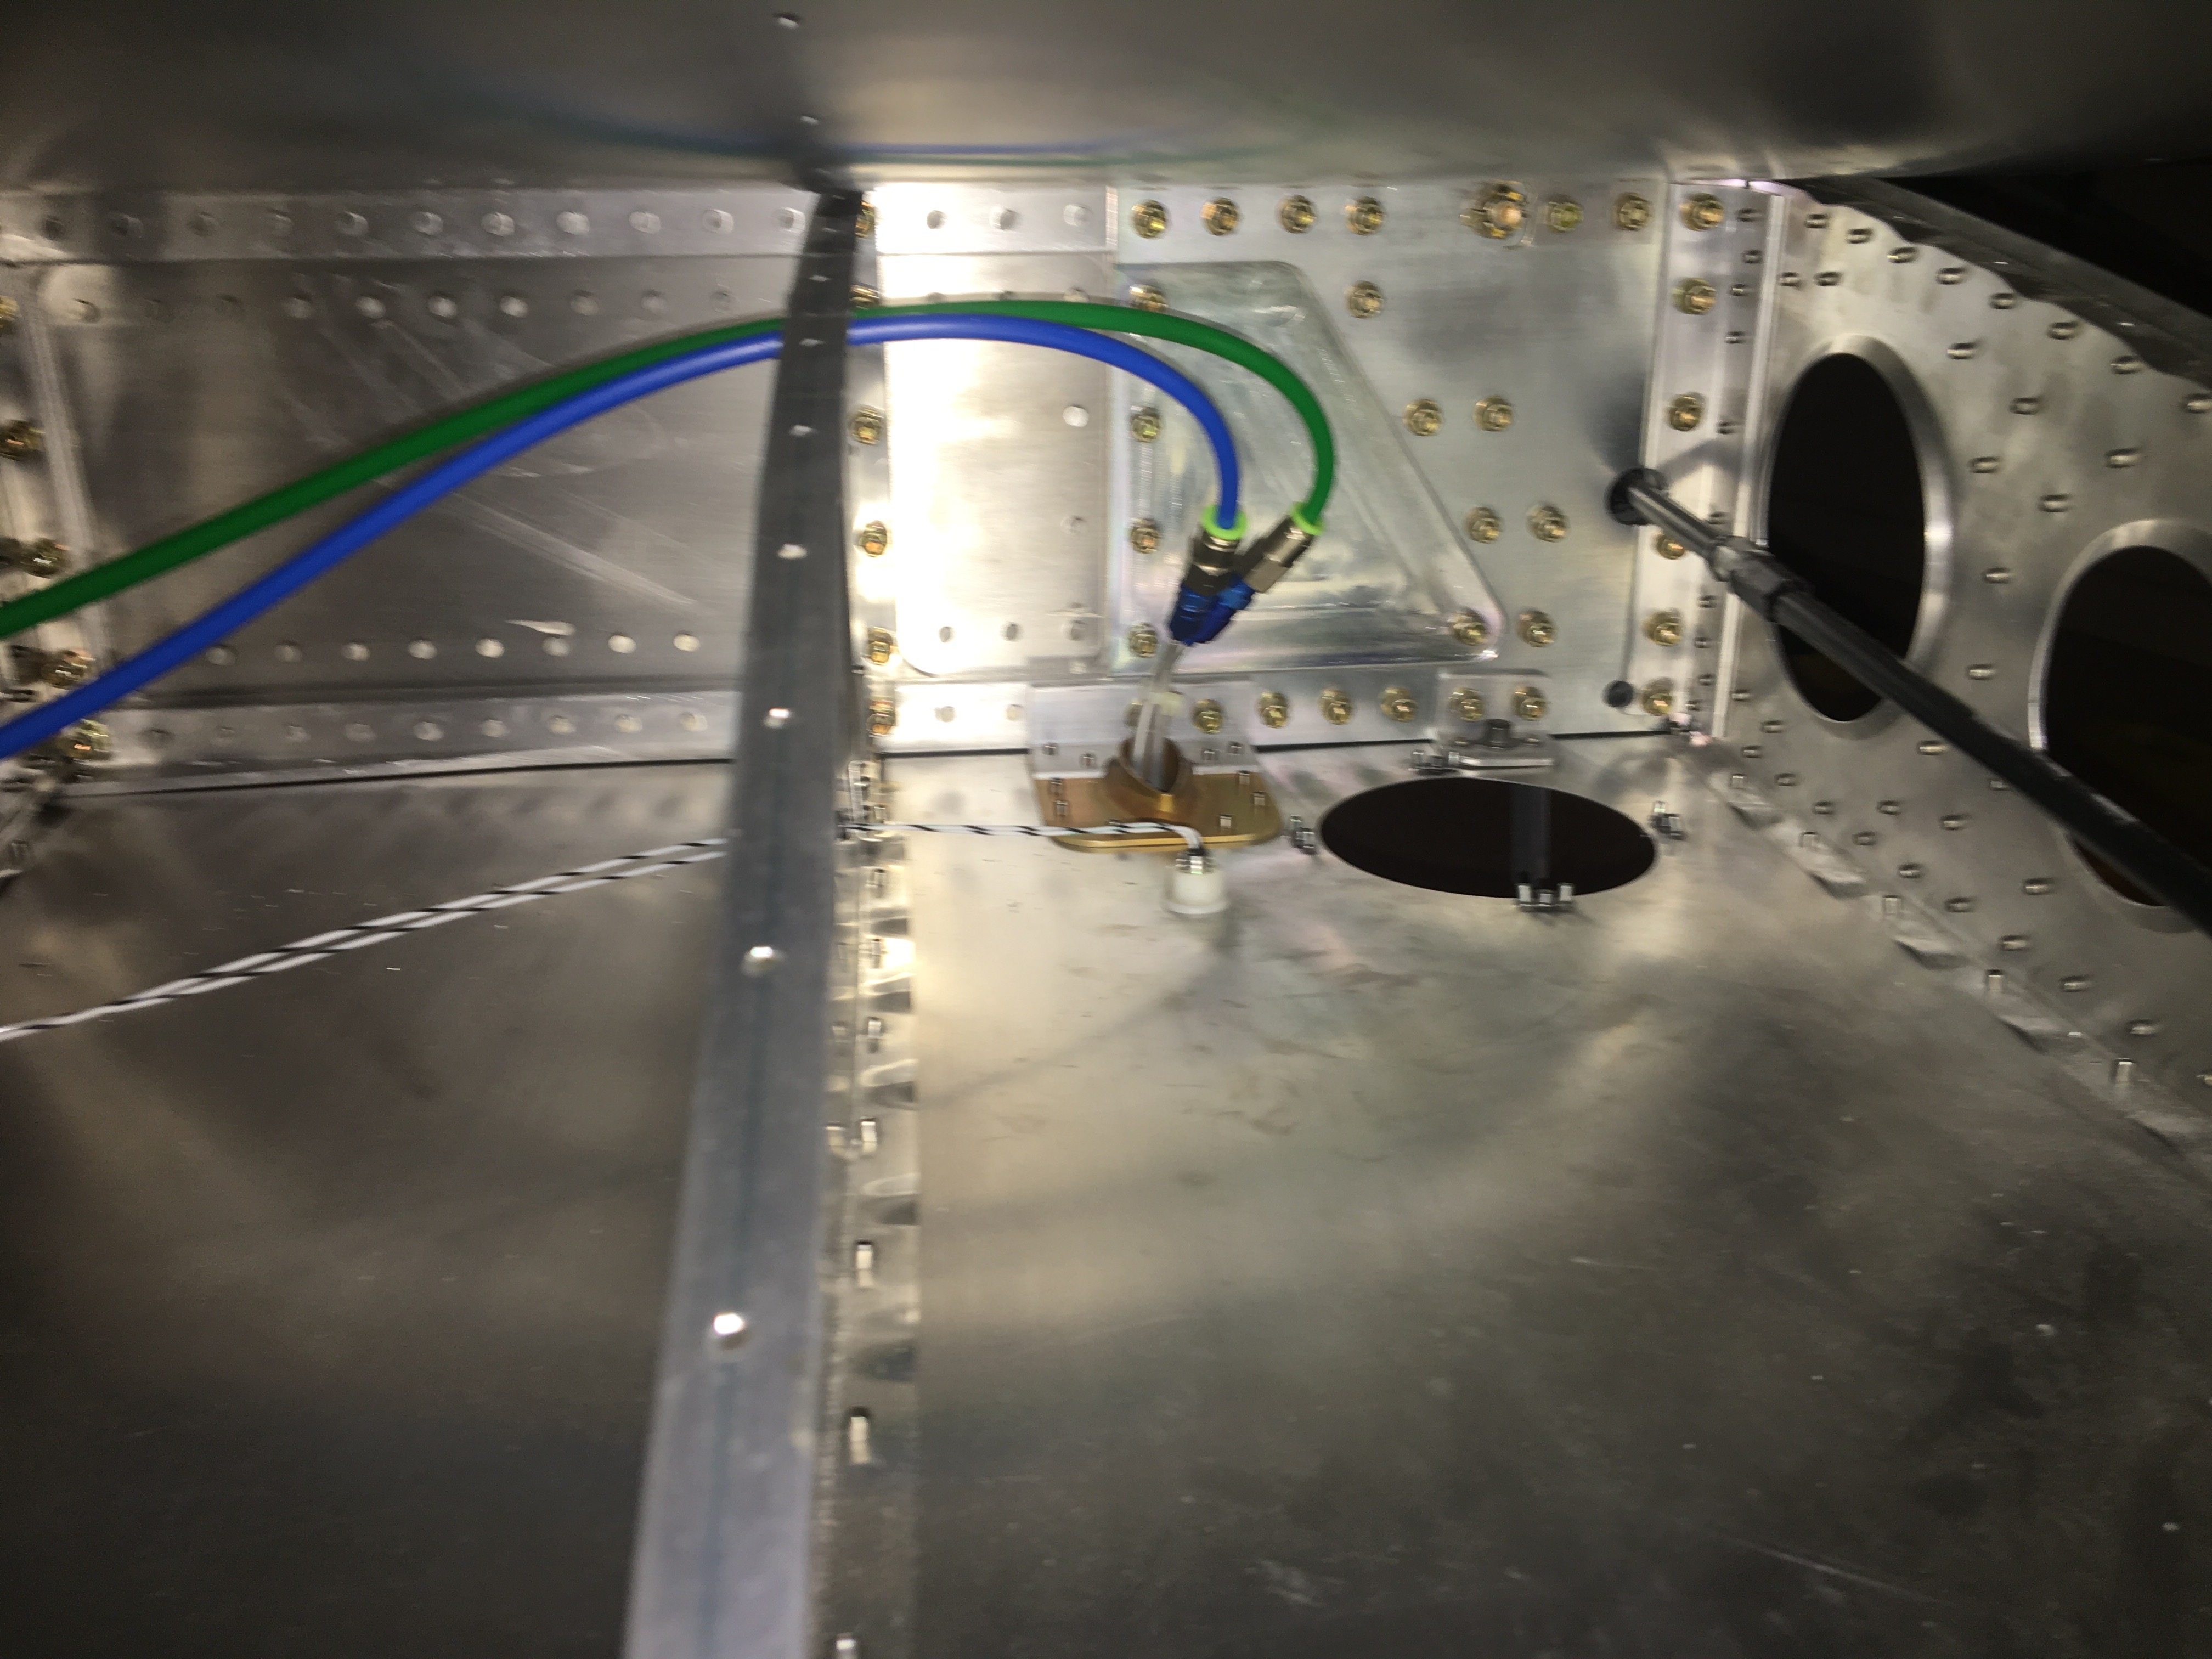
Wing Interior
After the vinyl was on, I was able to install the pitot/AOA probe, and the AOT probe for the final time. I wired the AOT probe and connected the pitot/AOA plumbing. Then I started the final installation of the flap control rods, completing only the left before I had to come in for dinner.