Cherry Fairing Balloons
Charter Flights
I complete my first charter flight as a captain, taking a couple from Las Vegas to Page AZ. Then I did two more flights this week. It was fun, but left less time to work on the OneX.
CherryMax Rivets
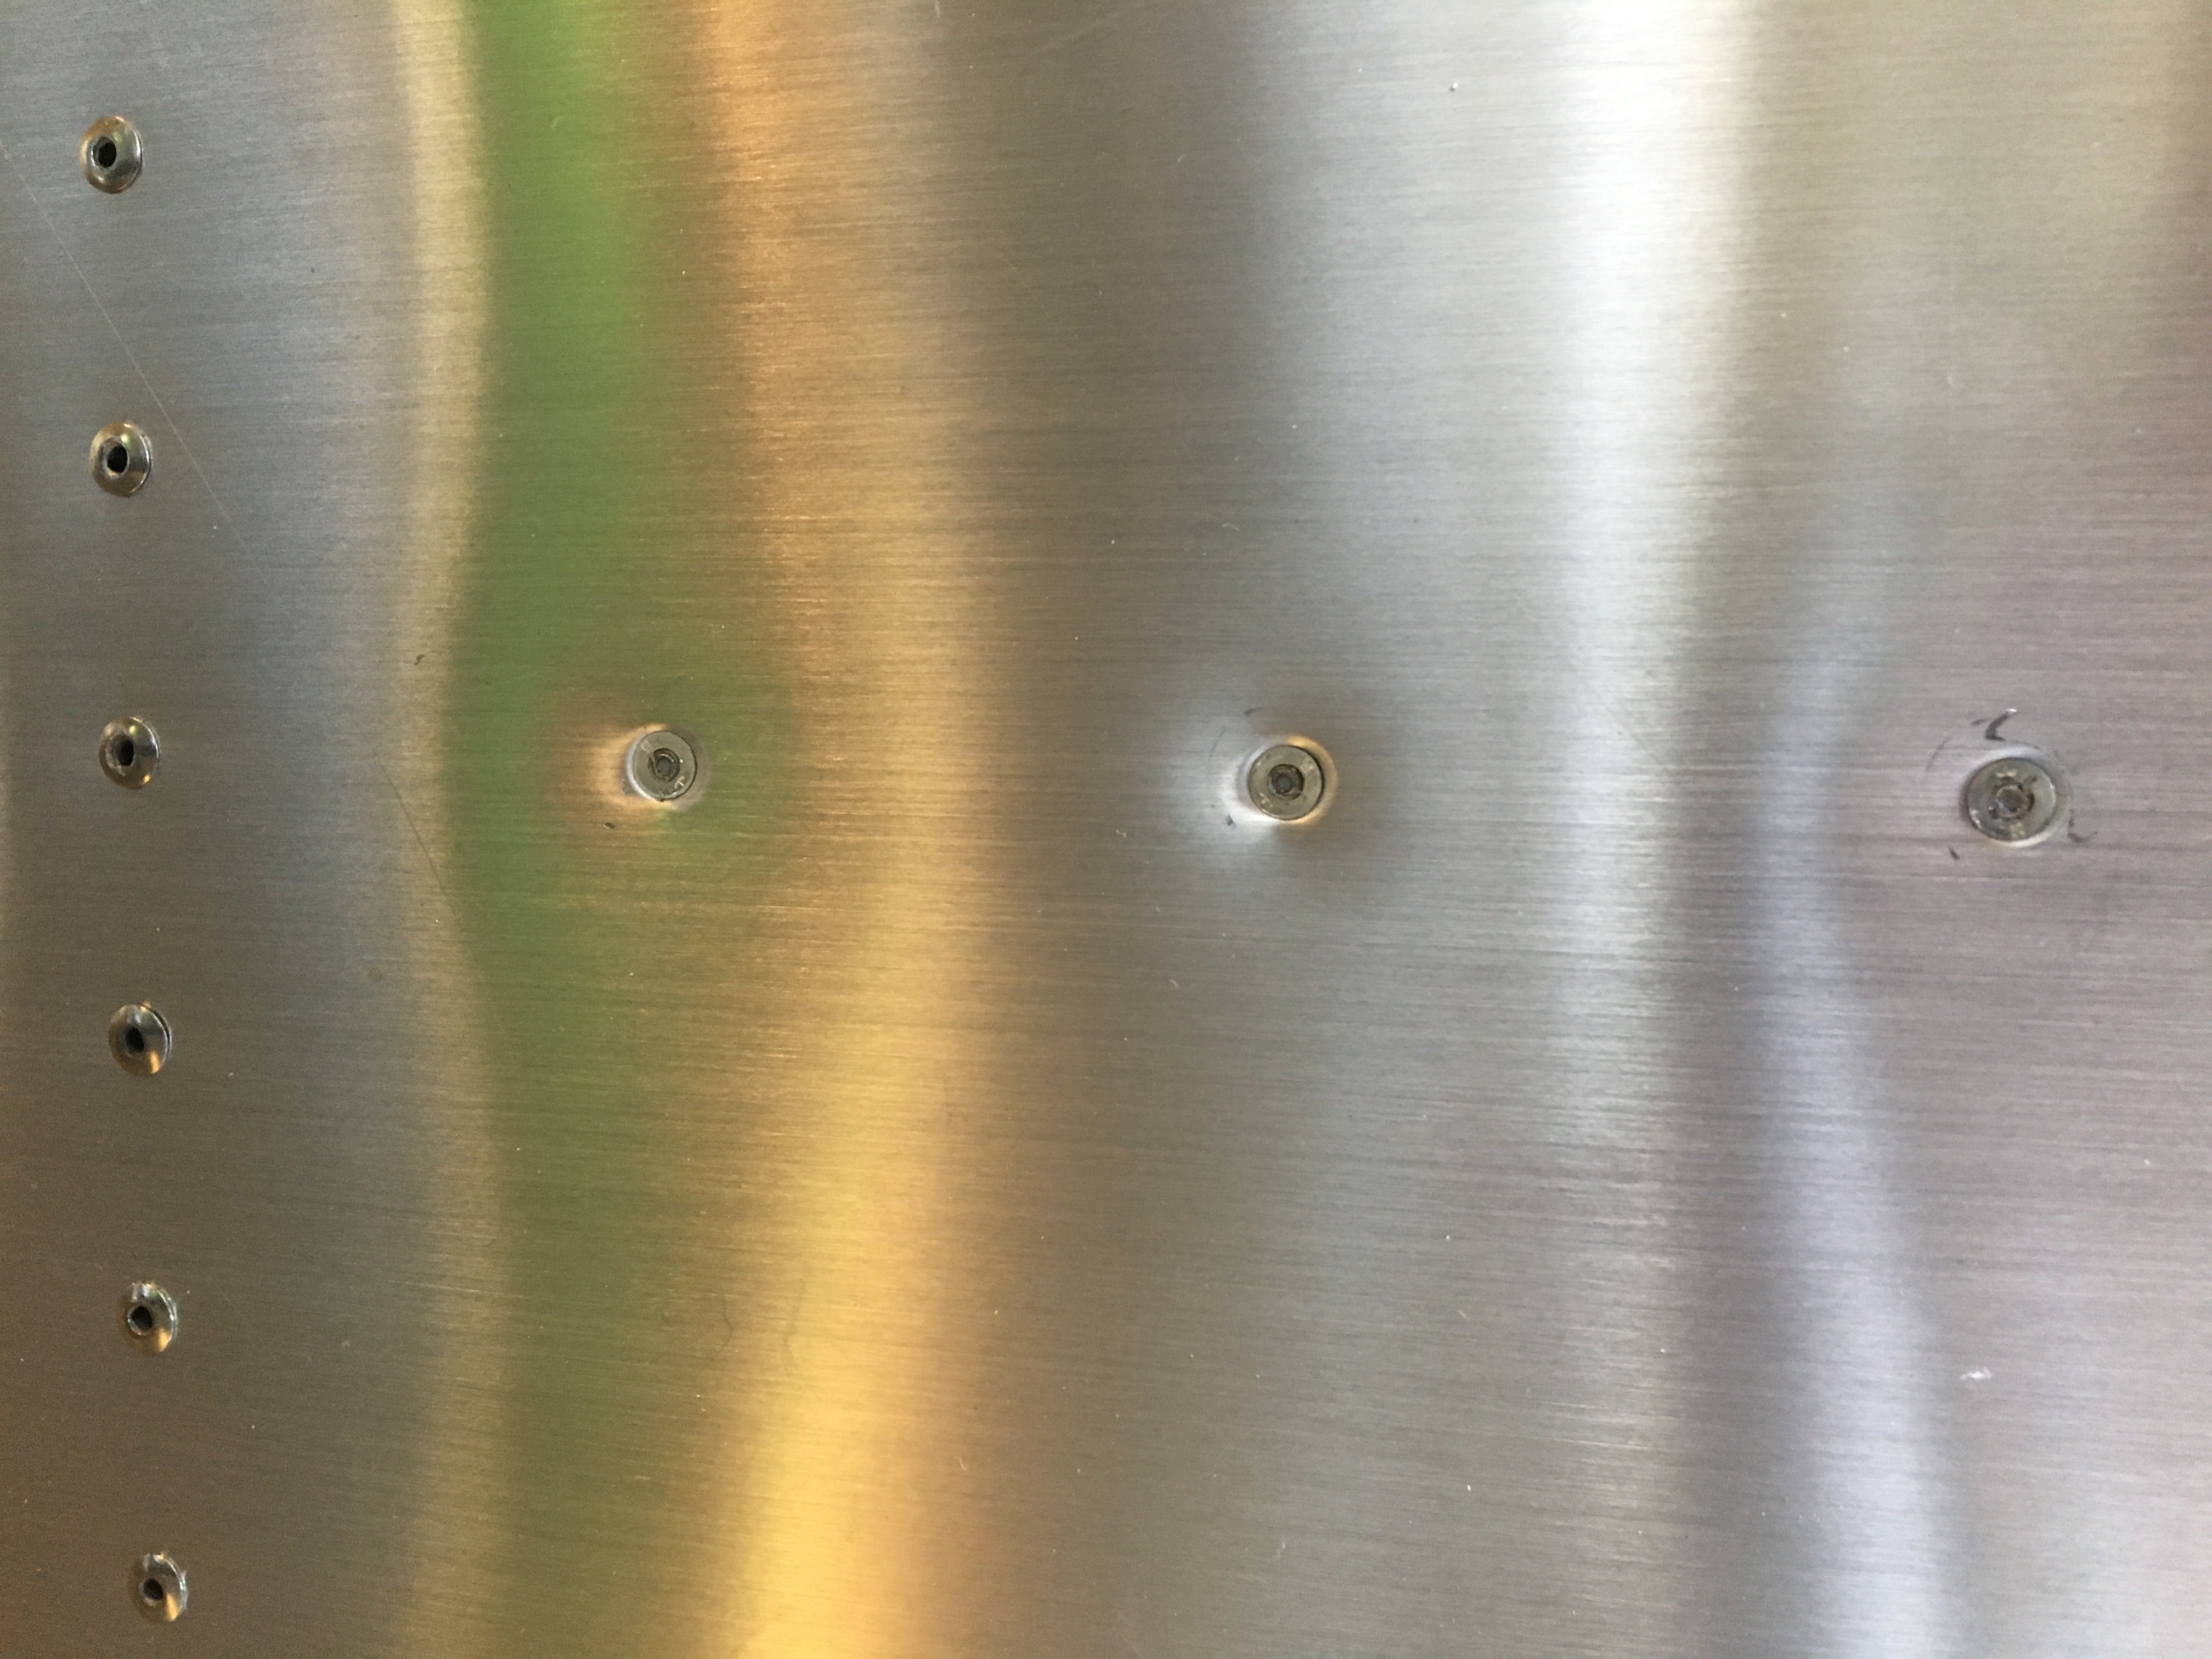
The CherryMax rivets arrived over the weekend. These bad boys look significantly more complex than normal rivets, and they work…. Awesome! Maybe too awesome actually.
First, they are the perfect size. Yes! They fill the oversized holes and, Dang, do they hold on tight. The binded surfaces seem very secure, and the shafts break off flush with the head. How cool is that?! No holes in the center of the rivet. There were a couple new rivets that I wanted to redo, and this is where they are a bit too awesome. I could not drill it out. Without the hole in the factory head, I couldn’t get my drill bit to hold still. The material seem harder as well. It must be the cadmium. So I tried to drill it from the back, but the shaft protrudes and again I can’t get any drill action. So, the moral here is: Don’t mess up a CherryMax rivet. You won’t get it out.
I tested all the flush rivets I had previously installed. about 90% of them fell out with little convincing from my drill. All but a few were replaced with the CherryMax rivets. Then I continued to rivet the outboard panel with the new flush rivets, and I ran out. Oops. I mis calculated how many I needed. No problem, I can order more…. except they are not on backorder and will be for weeks. -sad face-
Micro Paste
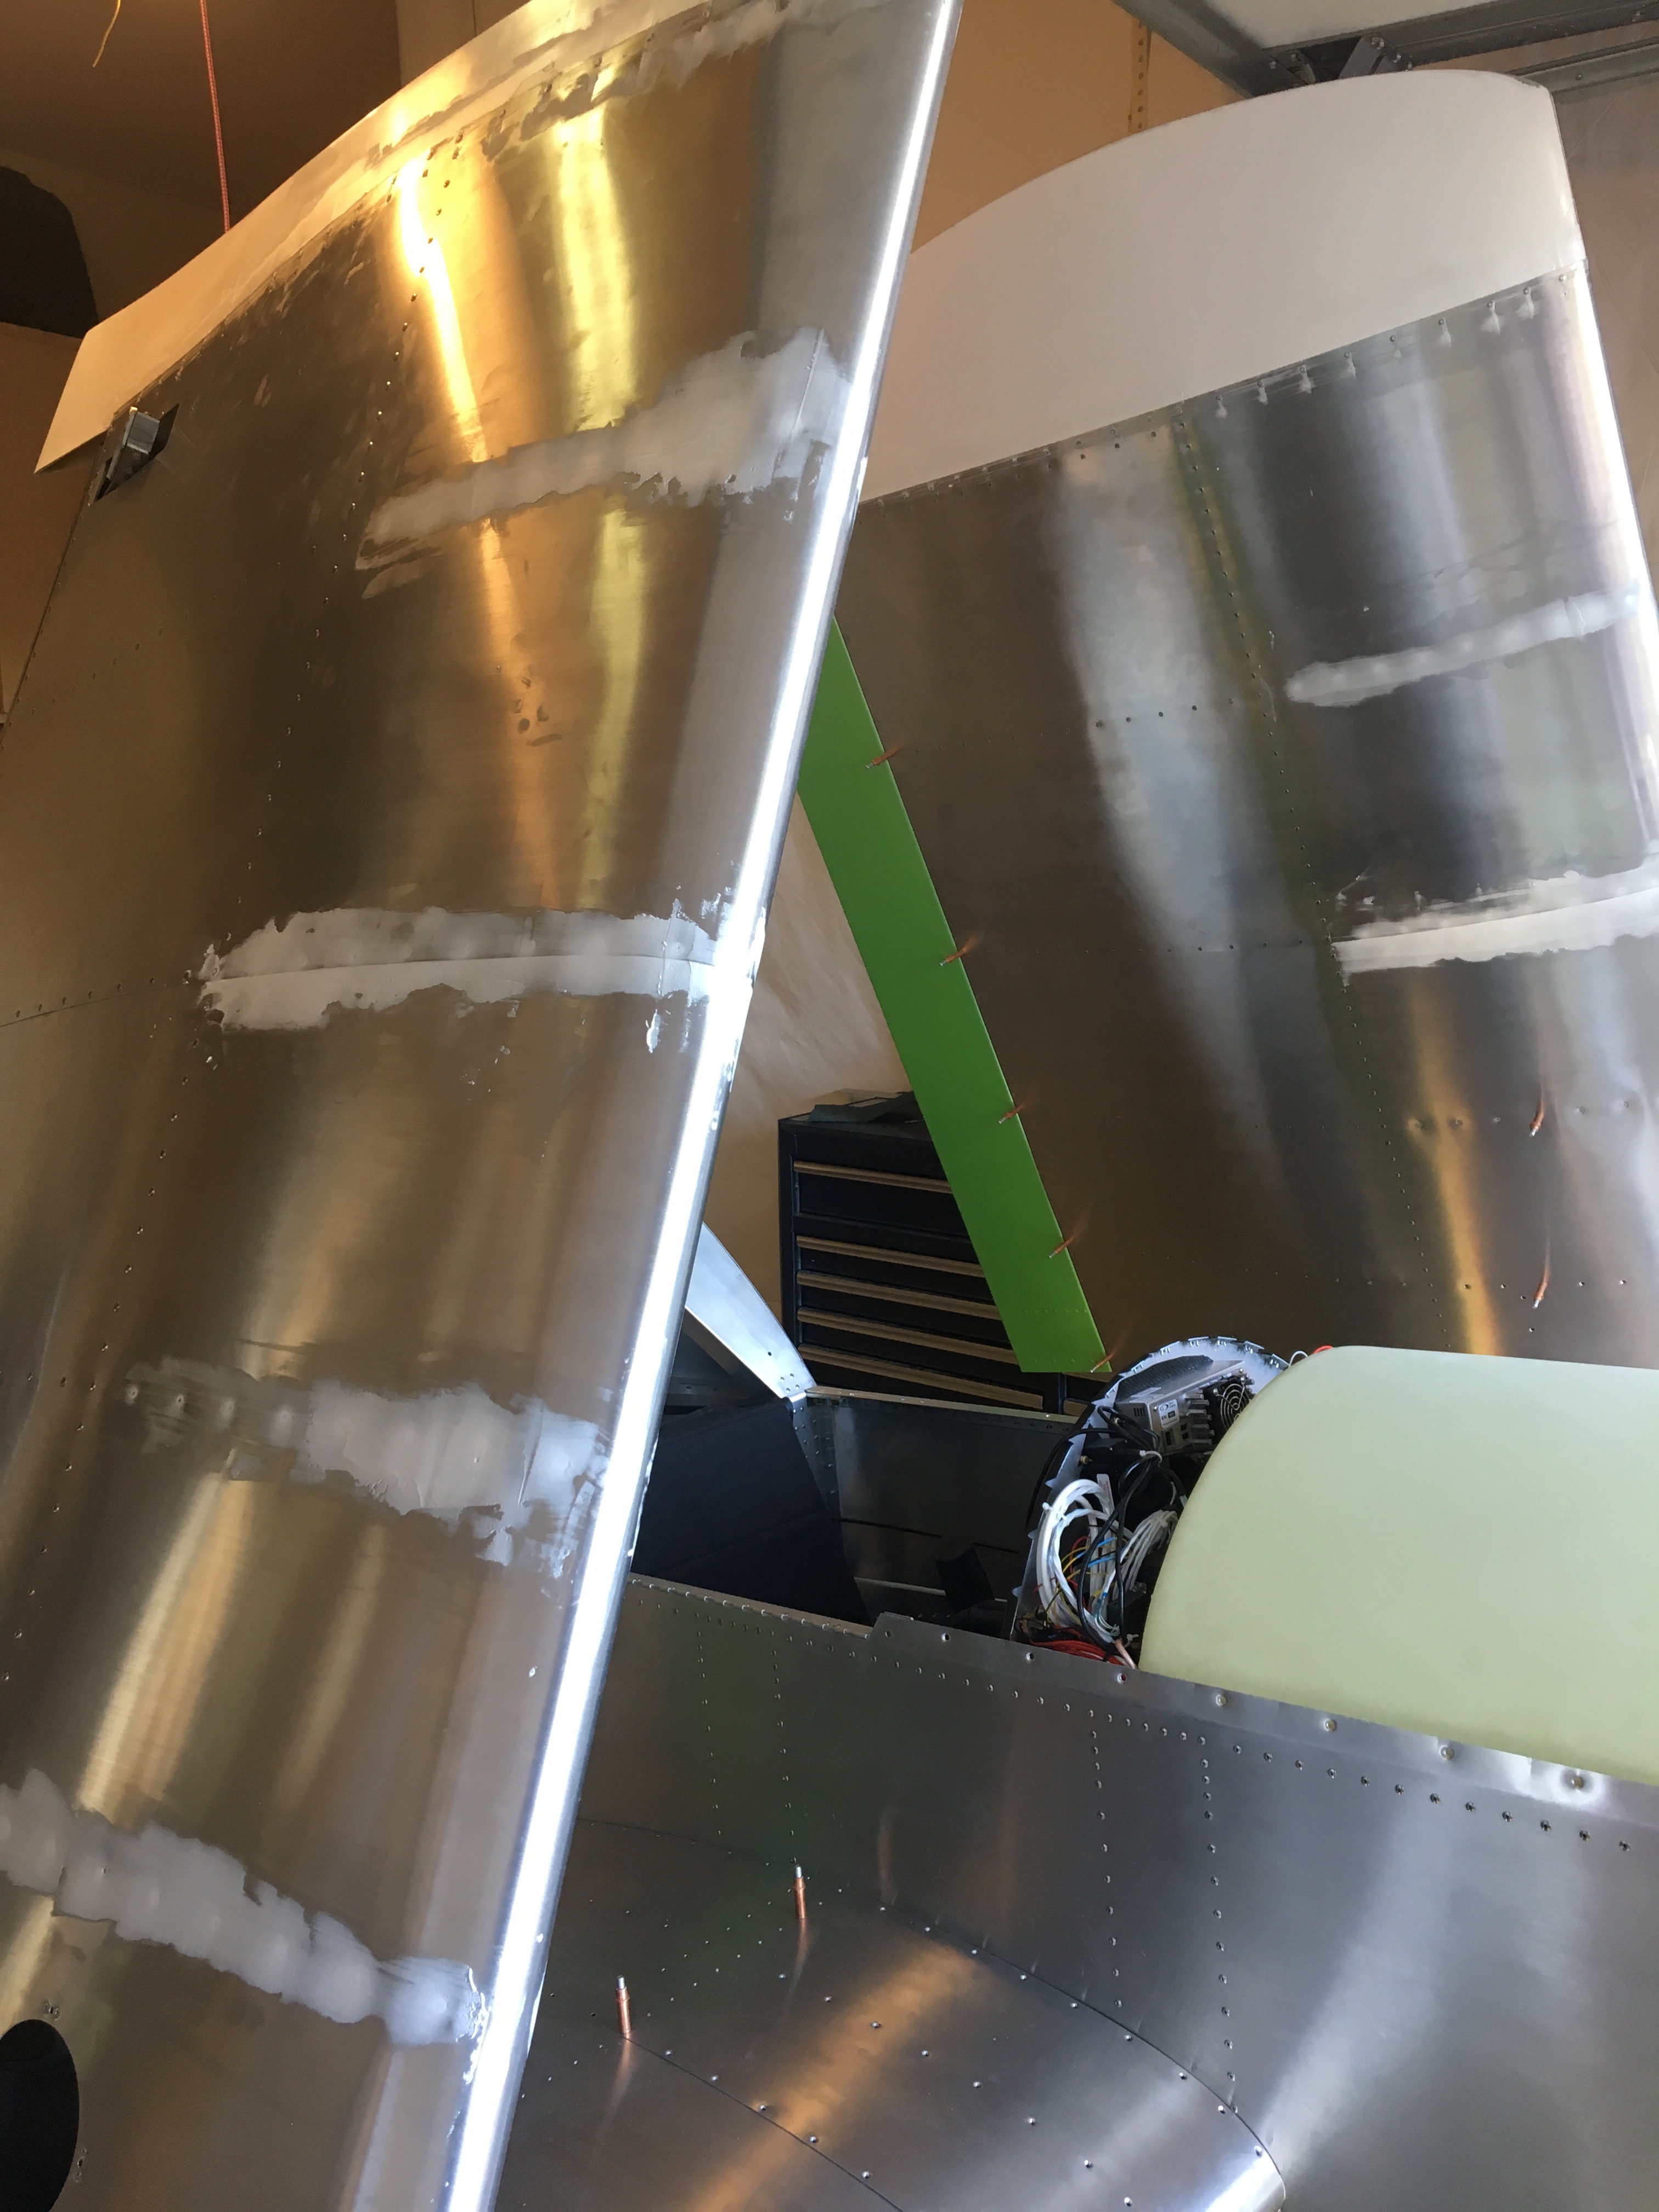
With the flush rivets installed, the front wing skins became a bit puckered. Just slight warping of the skin around each rivet. It didn’t look terrible, but the goal of the flush rivets is laminar flow. The puckered skin won’t help, and I want to be able to show off smooth, flat wings once they’re wrapped.
So I mixed up some micro paste, epoxy with micro balloons, that is comparable to bondo. This I applied to a couple rivet lines, then I mixed some more micro paste, then some more. Fortunately this stuff is really light. I’ve probably applied about 12oz, volumetrically, to smooth our rivets and seems between surfaces. Maybe that’s like a 1/4 pound. I’ve still got a bit more to add.
Hopfully, the sanding is not too laborious.
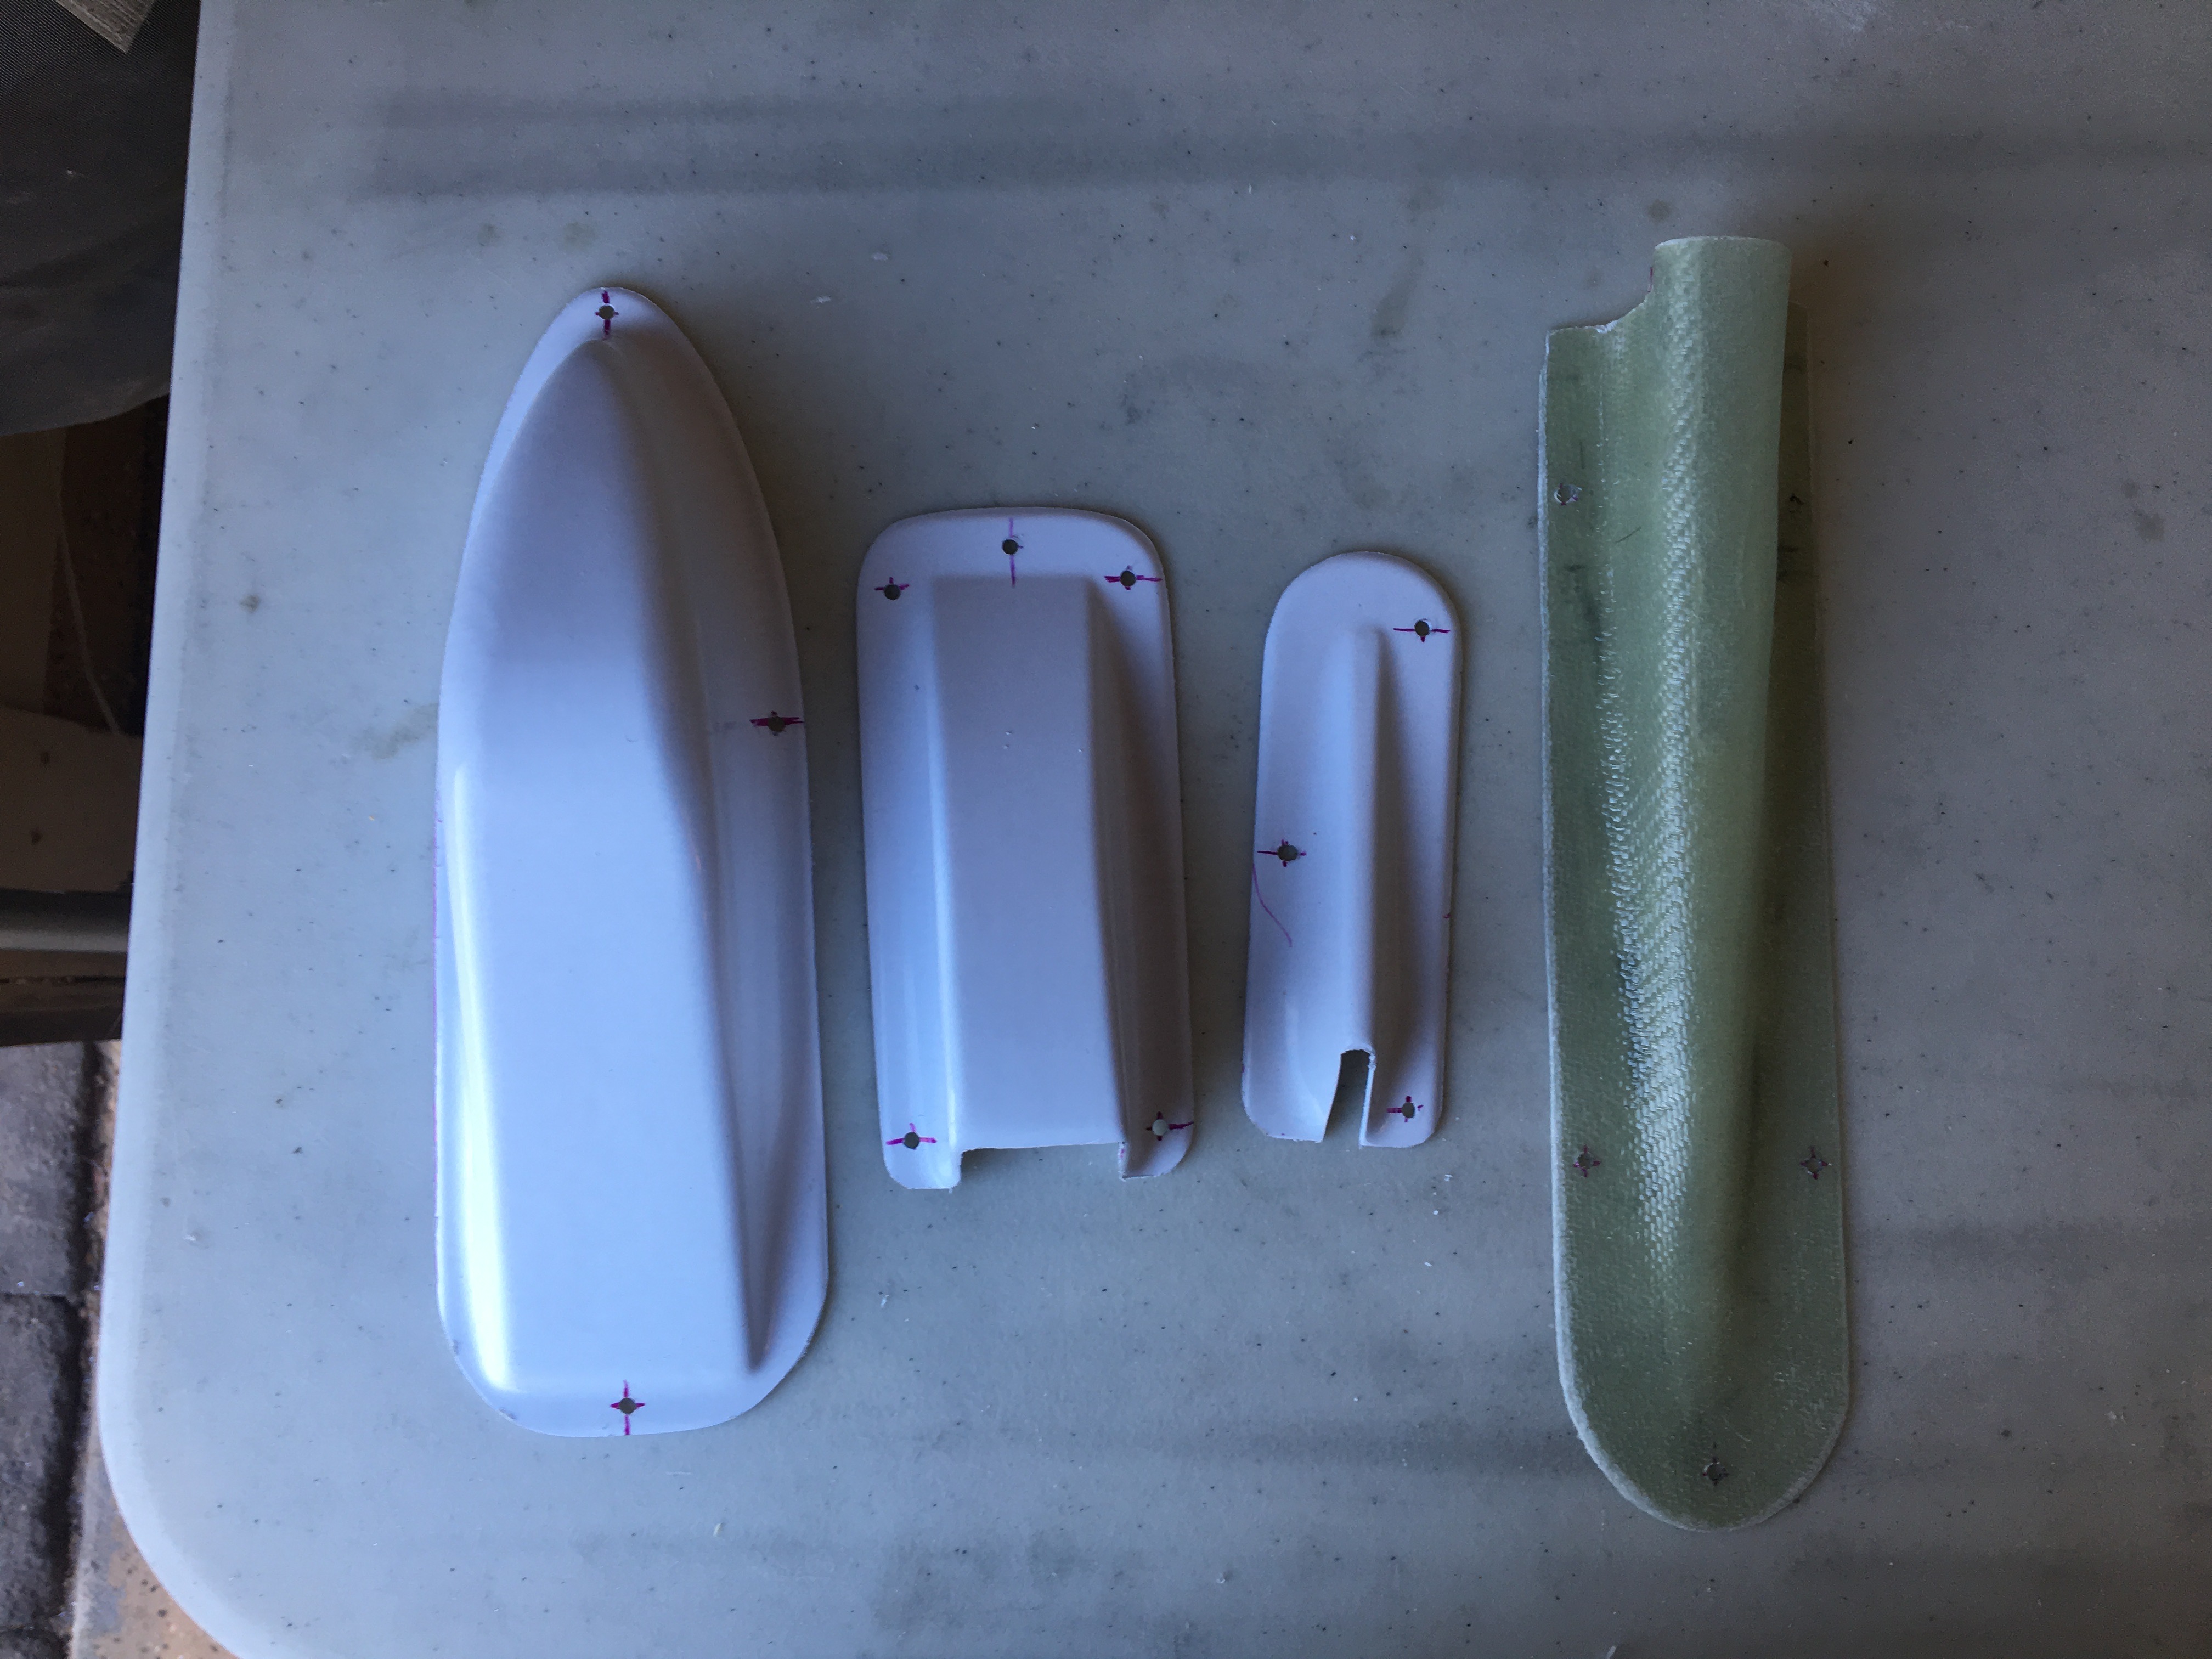
Fairings
All the fairing, and mounting surfaces and been prepared with the nutplates. From left to right we have: aileron counterweight, aileron pushrod, rudder cable, and flap control rod. These are just left side fairings.
The only flap control rod fairing solution Sonex offers is an aluminum sheet that requires some tricky bending, and even then it doesn’t look terribly good. I decided to make one out of fliberglass.
One night I bring in some modeling clay to form the mold. Tristan joins me at the table and asks for some clay to play with. Then Angelique sits down and asks for some too. All three us play with clay. It was fun. The next day I layup the glass and epoxy. When dry, I cut it and fit it. Works great!
Based on the tail fairing I did, with only 3 layers of glass, I used 4 layers on these flap fairings which was probabaly overkill. They are VERY sturdy, but weight quite a bit more than the ABS fairings from sonex.