Rivet Ramble
Wing Rivet Hole Prep
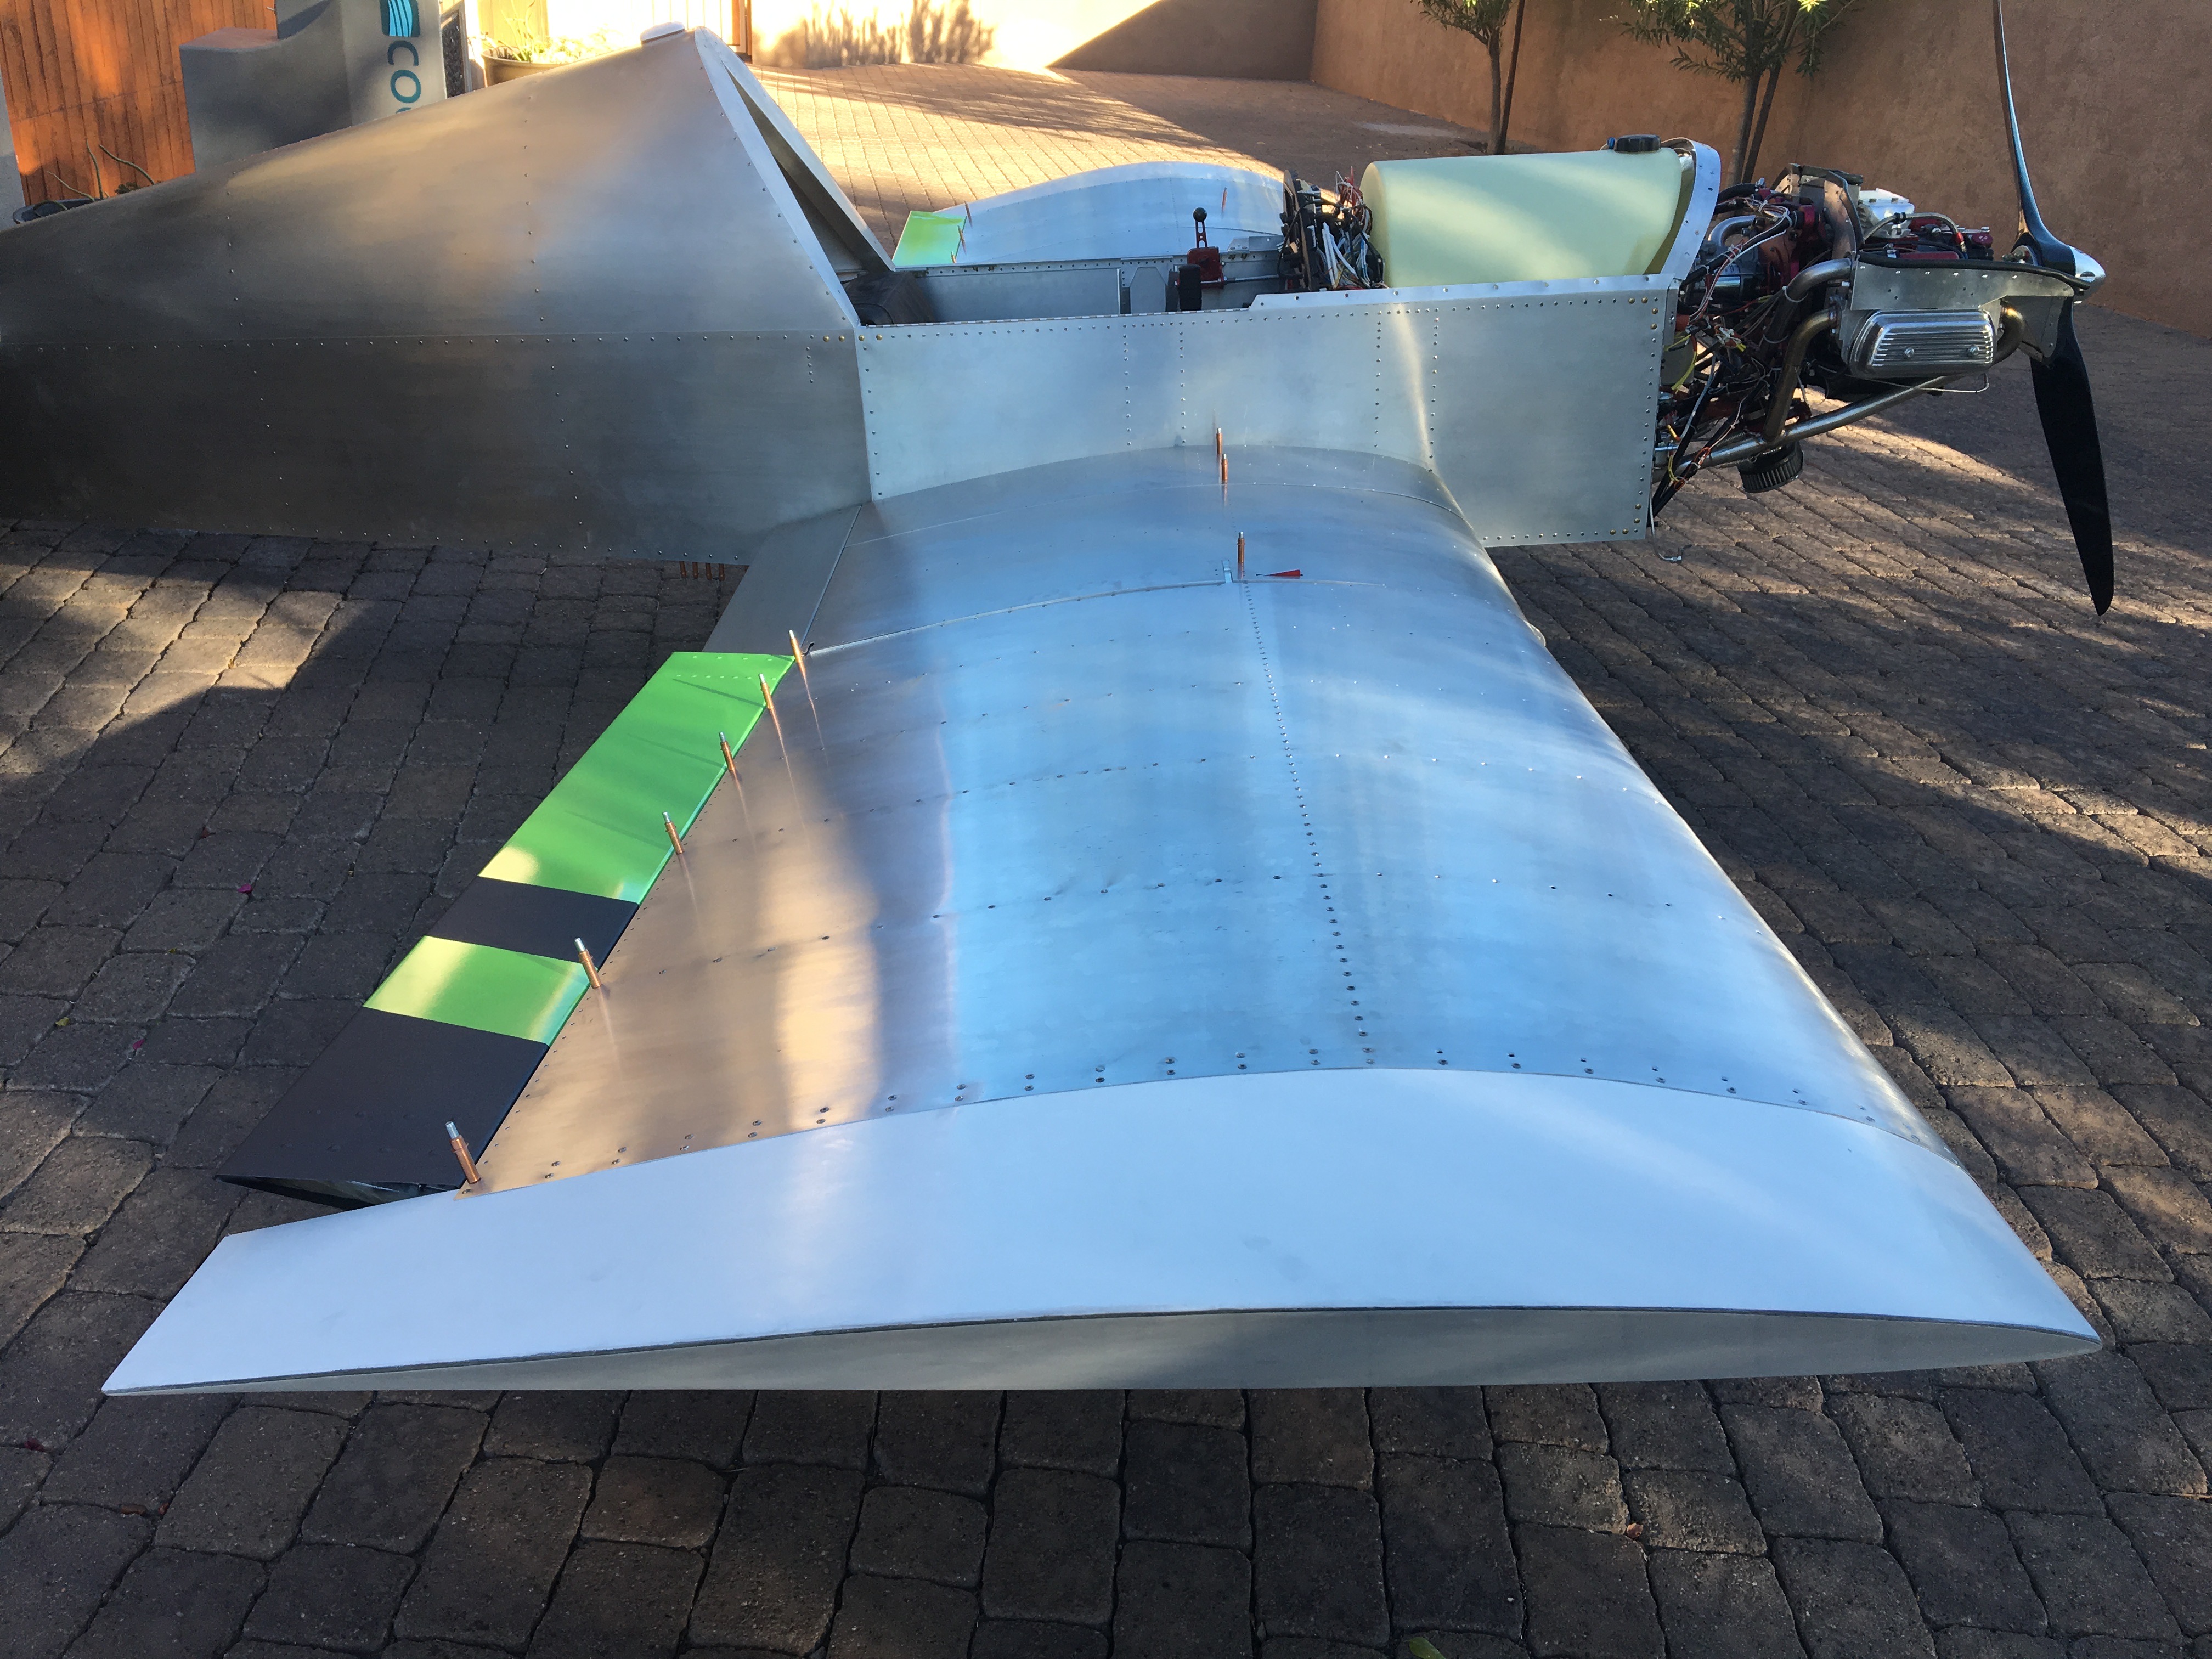
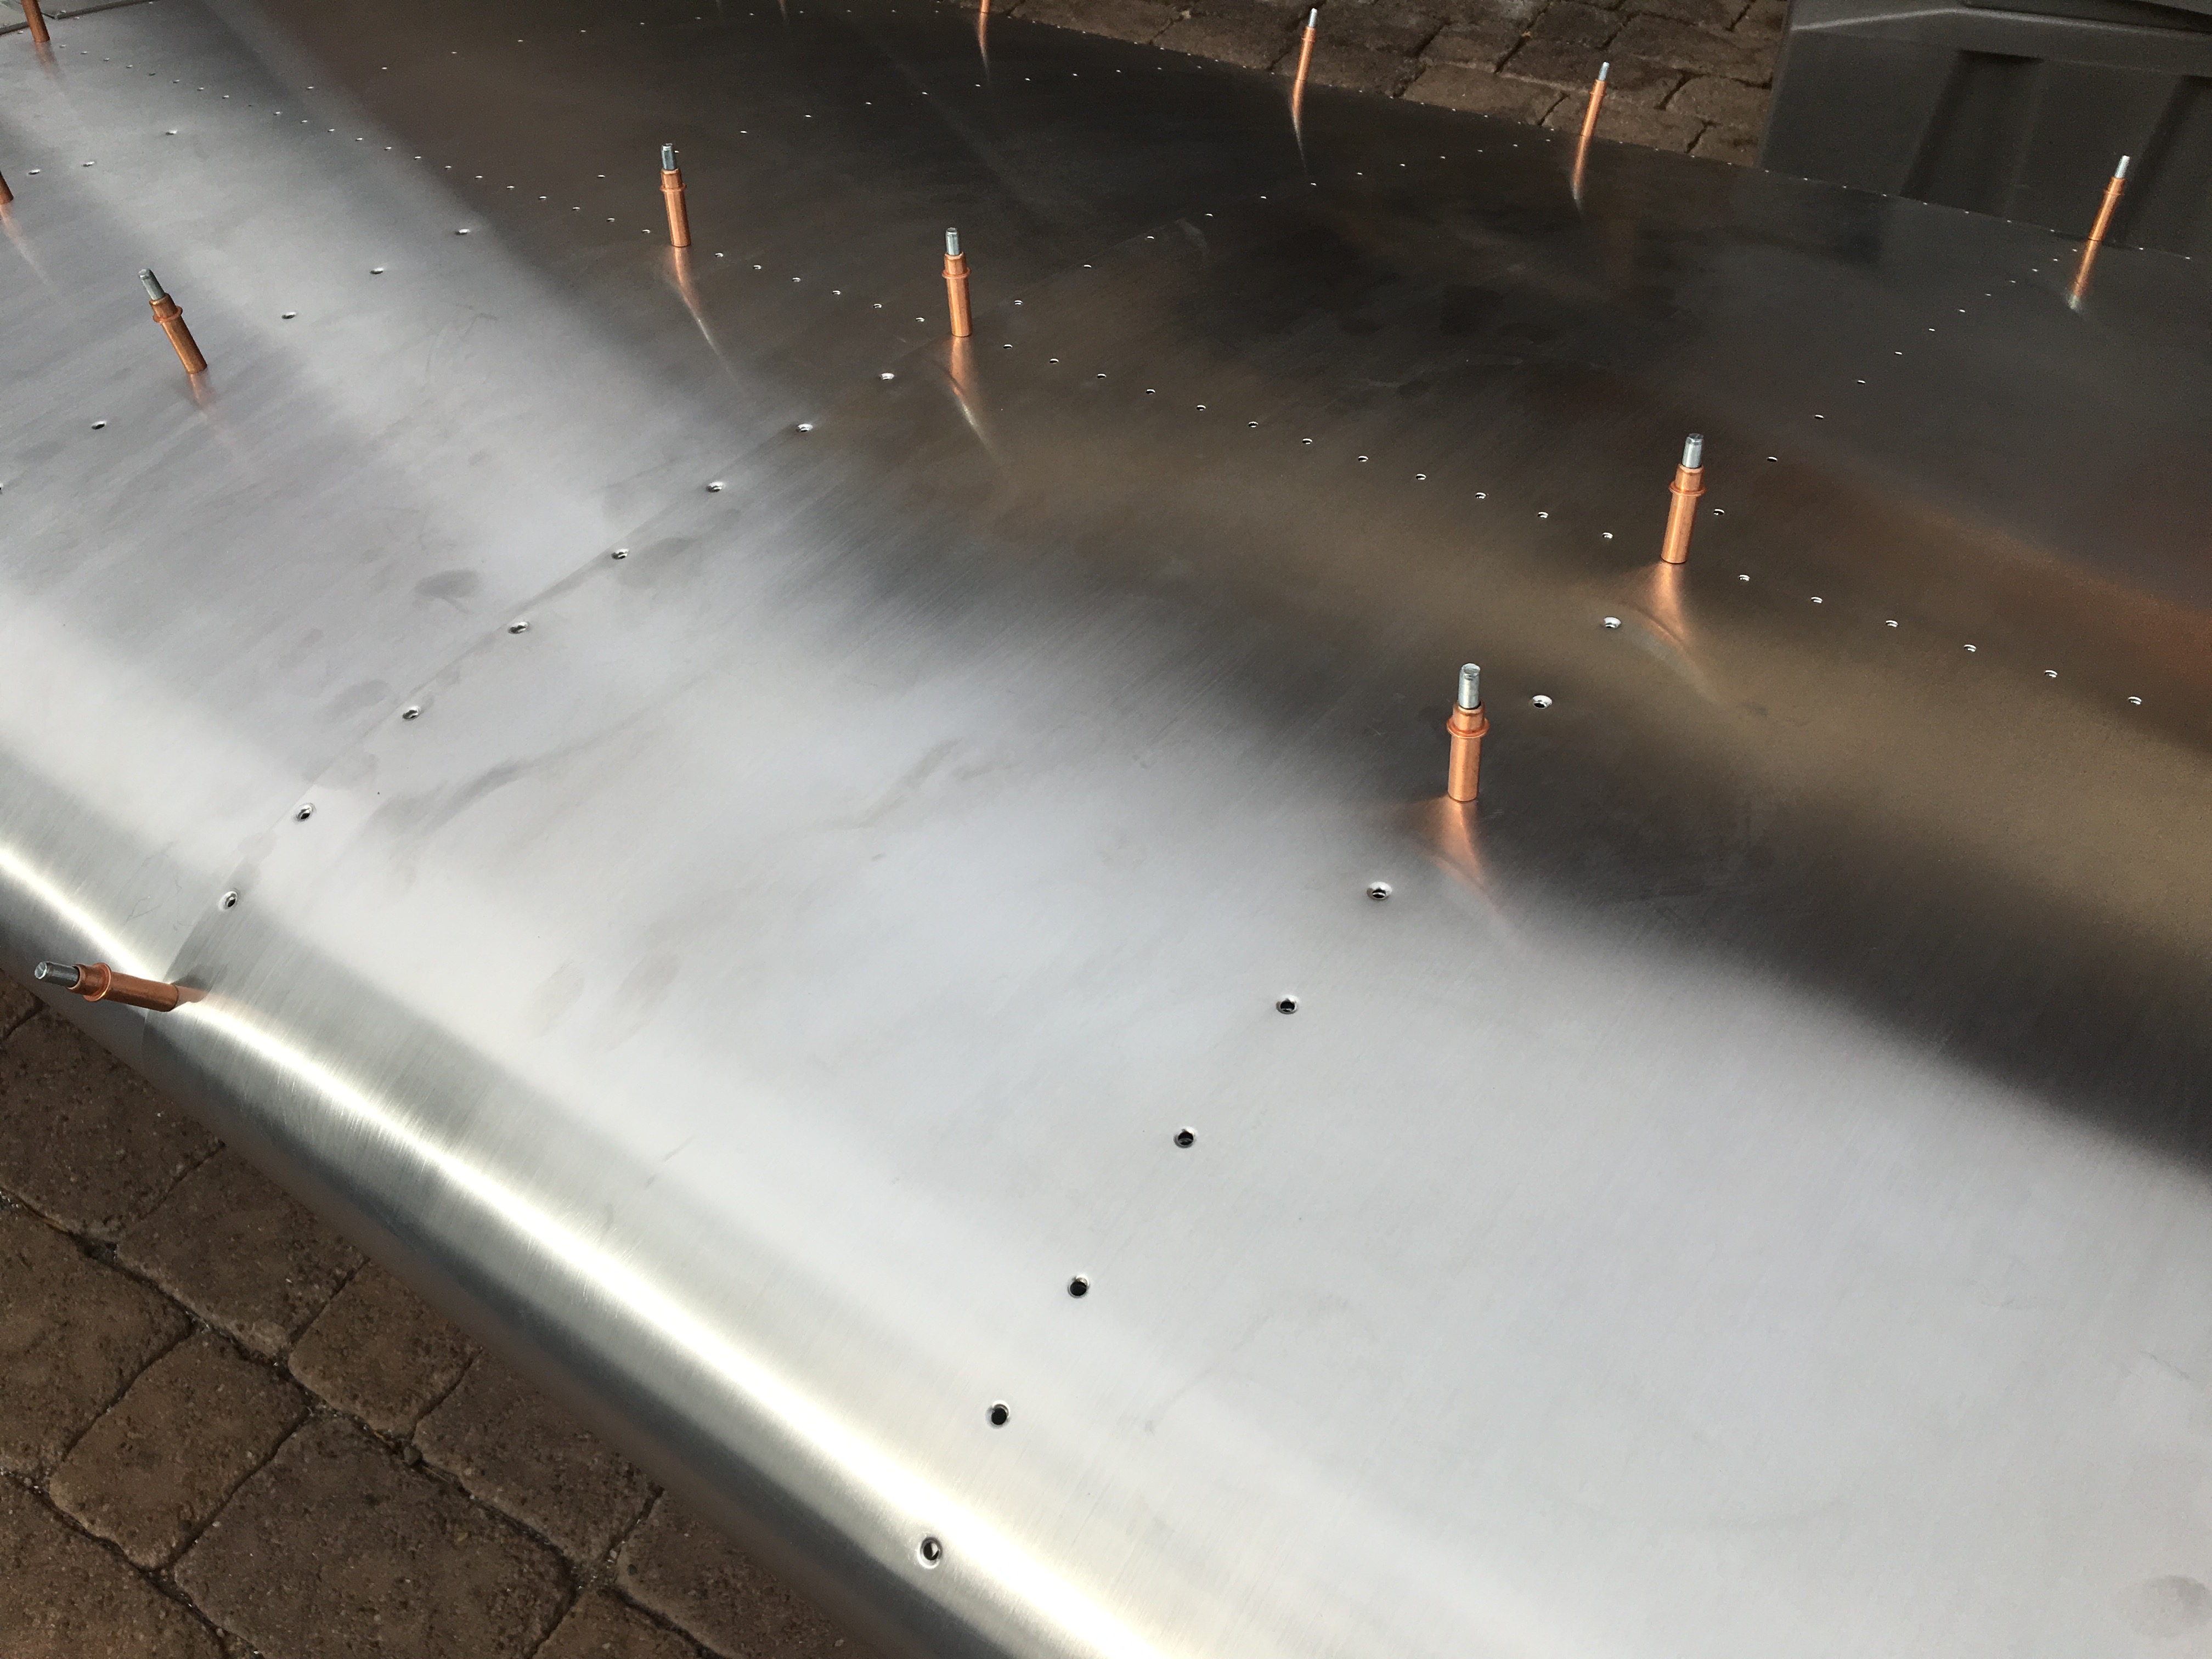
Tedium of preparing all the wing skin hole has been continued and completed. Whew!
You can see in the picture how the front half of the holes are dimpled. Unfortunately, the copper clecos kept popping out of these dimpled holes. This was the clue #1 of the mistake I made. More later.
With the skins all prepped and clecoed back in place on the wings it was time to rivet. But wait… I should make sure the control surfaces fit, right? And their push rods.
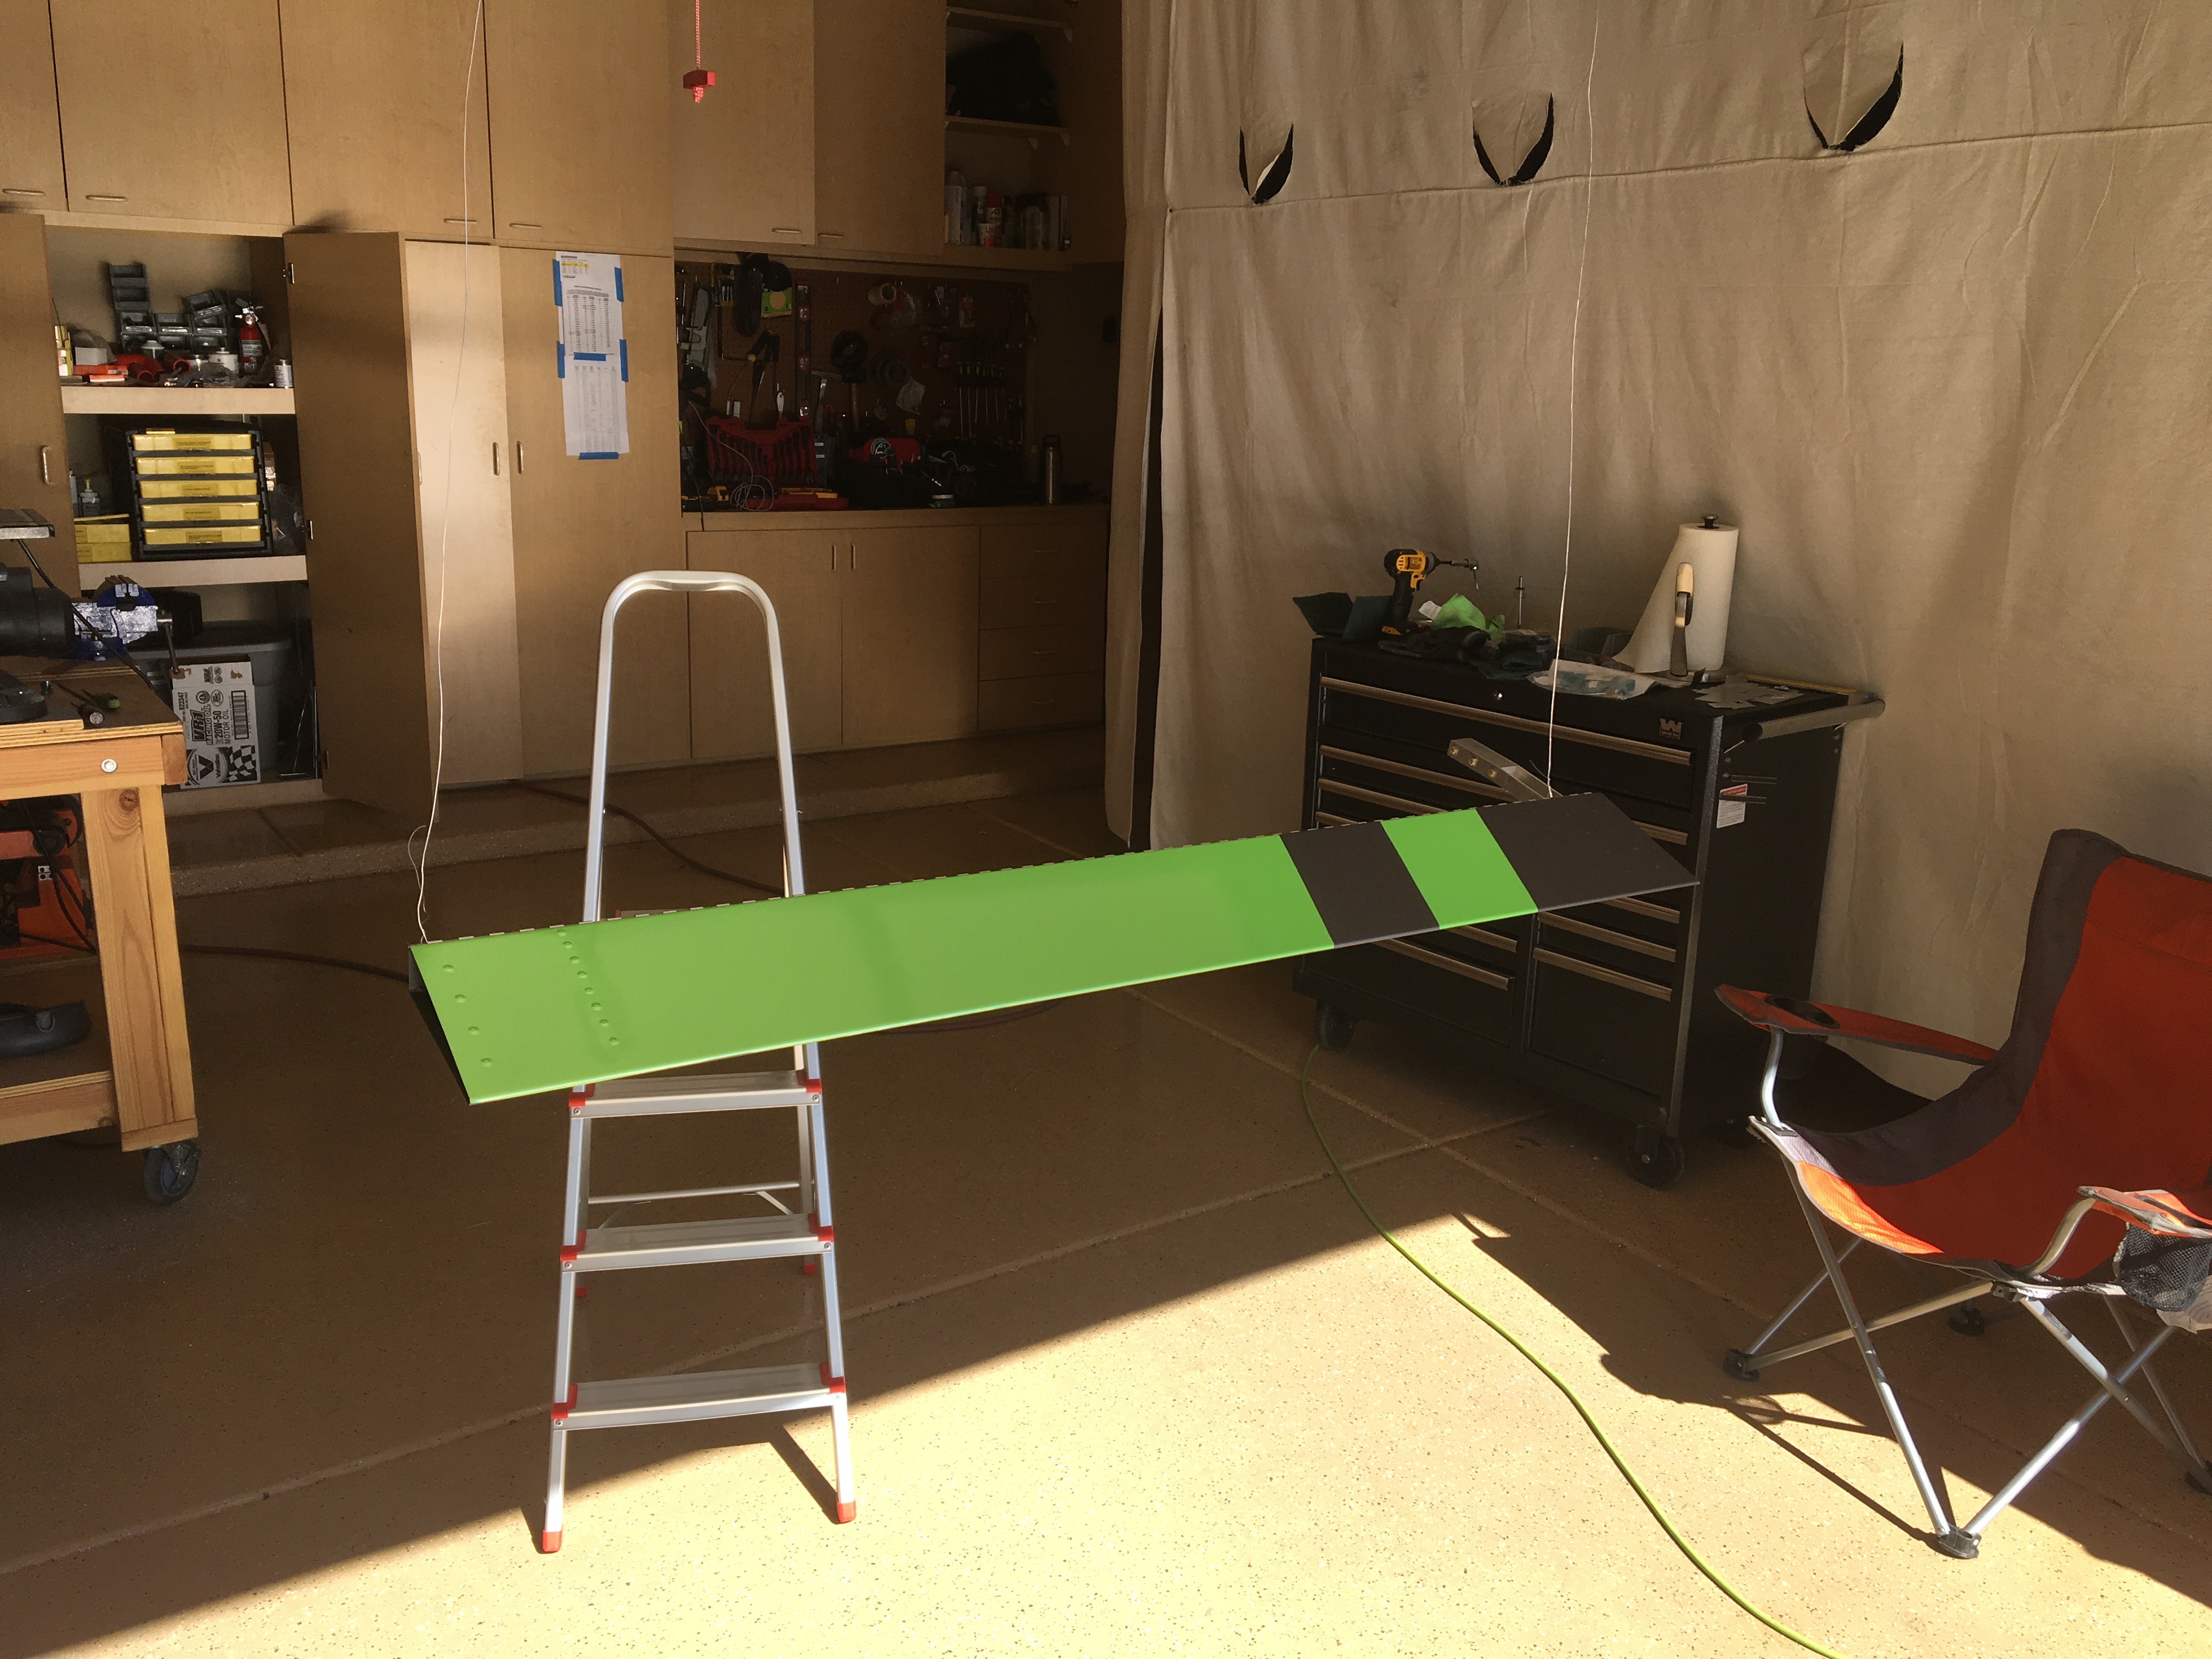
Ailerons and Flaps
I had received the replacement flap skin (remember, I ruined that last one) so I assembled the right flap.
When I tried on the ailerons, they fit but motion was seriously limited. The bolts that hold the counterweight were too long to fit through the cutout in the wing skin. Rather than make the cutout bigger I decided to make the counterweight assembly smaller. Replacing the normal nuts with thin special nuts I had left over, along with using a light washer instead of the regular, and cutting the tip of the bolt off removed about an inch from the width of the counterweight; small enough to fit right.
This was also a good time to address the lack of counterweight mass. The top of the counterweight hits the top skin flush, and width was already a problem, so the bottom of the counter weight is where I could beef it up. Check out the balancing rig below.
I cut some 5mm slices of lead to match the full width of the counterweight assembly. This allowed for the thinnest profile possible with sufficient weight. I drilled two holes vertically through the middle to attach with flush screws and a countersunk hole on the top so the nut would not add any height. The screws had to be trimmed as well. Then I shaved some lead off until it looked balanced.
Some of the control rod pass-throughs had to be filed, but otherwise everything fits.
Rivetting
There are basically 3 different rivets used on the wing skins.
- CCP-42 are short, round head blind (Cherry) rivets used on the ribs, hinge, and rear spar which is thin like the ribs.
- CCP-44 are a bit longer, still round head blind (Cherry) rivets used where the skin meets the main spar, which is thicker.
- CCC-42 are short, countersunk head blind (Cherry) rivets for the dimpled holes.
Working on the underside on the left inner panel, I started with the CCP-42 rivets and they went in great. Then I moved on to spar using the CCP-44 rivets… you get a nice “thunk” reverberation sound when you rivet into the spar. This lets you know you’ve got a solid hold.
Riveting the dimpled holes was a bit more problematic. Clue #2: The mandrels of the rivets were protruding out more often than usual after being pulled. This is sign that maybe the shaft didn’t grab as deep as it should have.
Clue #3: A couple rivets were loose. Then I tried pushing from the inside and some just popped right out of the hole!
Ok… so the rivets aren’t holding in the dimpled holes. I anticipated this problem because as I dimpled the holes I could see them expand. So what now? As I search for a solution I noticed something in the plans. Off on the side, in the notes a sub-figure, there it is: “Use a #31 or #32 drill bit, not a #30.” Doh! I already used #30 on ALL the dimpled holes. Again… what now? Obviously I can’t continue with rivets that fall out.
Okay, so I could create a ribbon of aluminum sheet, line the inside of the ribs, used smaller countersunk rivets to hold it into place and then drill #30 holes that the rivets will grab on to. But, jeez, that’s a heavy and clunky solution.
Turns out there’s some rivets out there called Cherry Max rivets that are made in an oversized dimension, just a bit wider than #30 drill bits. It also looks like they have the same size head as normal Cherry rivets. They cost about 6x what normal Cherry rivets cost, but I think it’s a more elegant solution. I ordered some.
In the mean time, might as well rivet the rest of the holes. So I did. That is, all except the top of the inboard skins. These will get rivets last, once I’m done with the pitot, AOA, OAT plumbing. I also left the aileron hinges unriveted so they could be removed when the controls get rigged.