Shields Up
Since my last blog, I’ve begun a few separate tasks but missing hardware has delayed each until today.
Spar Ends
Not much to show here but I received the needed bolts and washers to finish assembling the spar tips and tighten all the bolts.
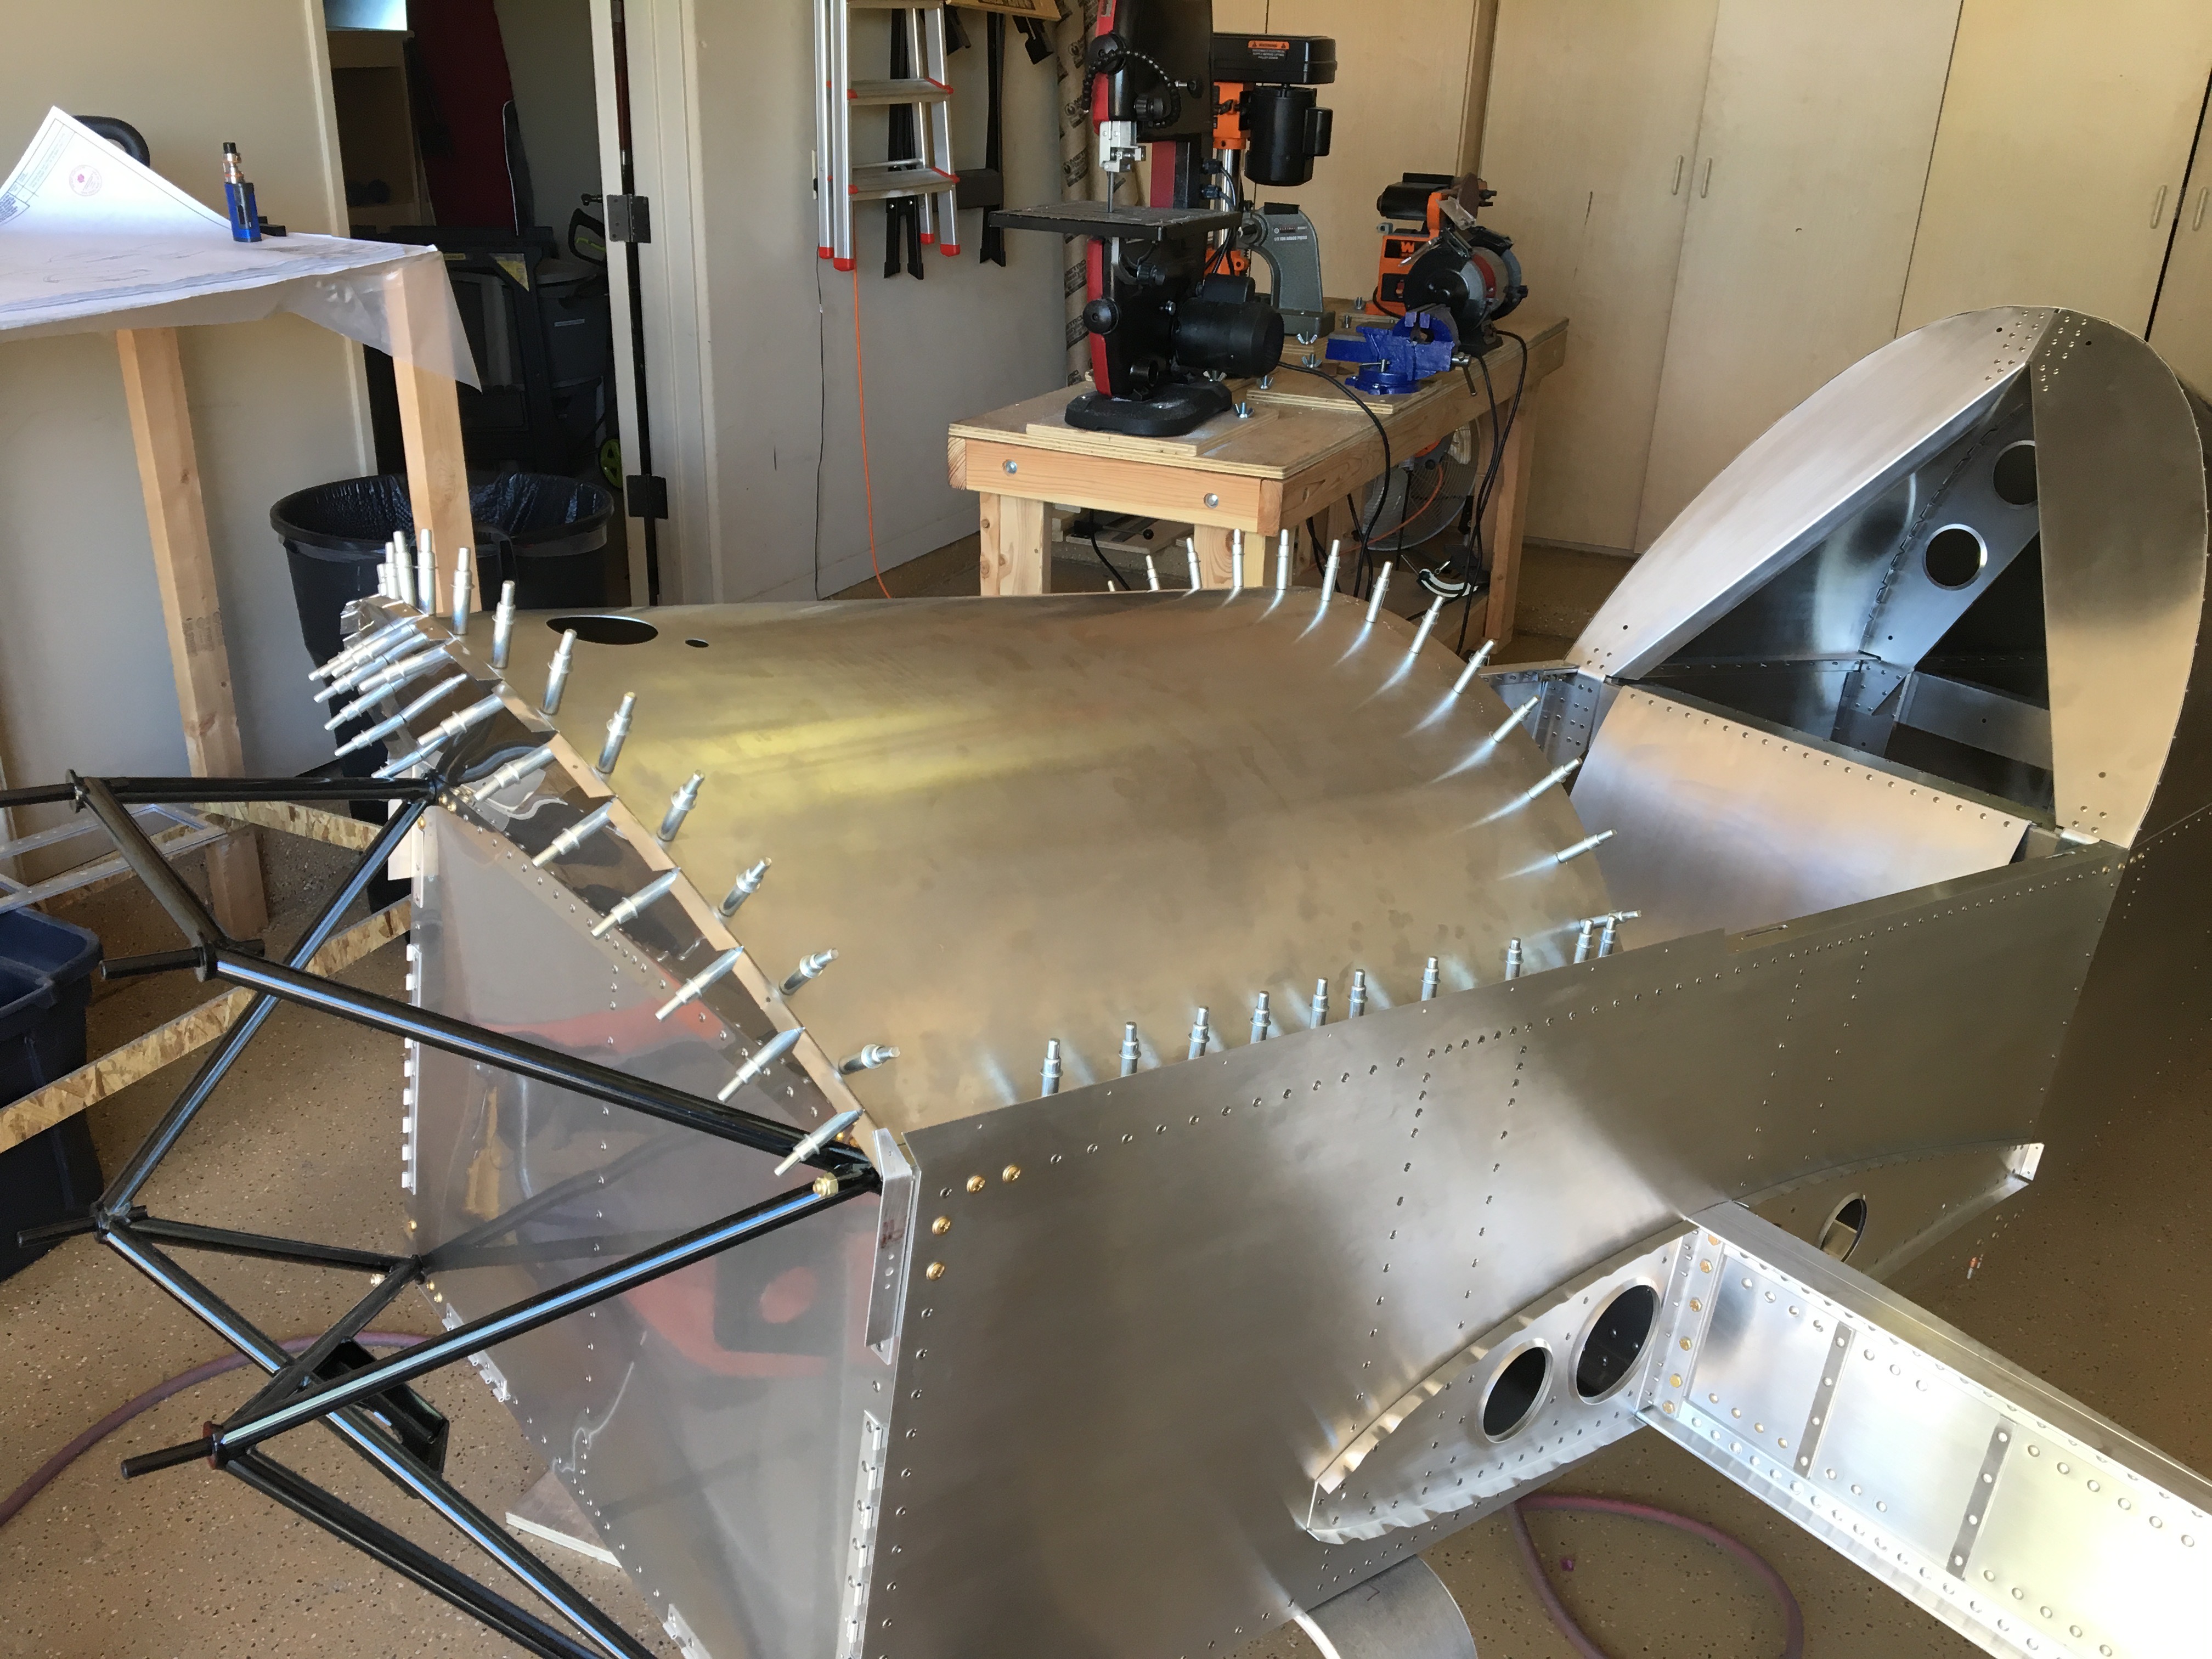
Glare Shield
This has been where most of the effort has gone in the past few days. The glare shield is a sheet of metal that goes in front of the pilot and just under the wind shield. It attaches to the upper firewall and the instrument panel in addition to the longerons. The plans would have you rivet it all into place, never to be removed unless you want to drill out all the rivets. Fortunately fellow OneX builder Denny Marick told me about the Air Ward kit to make this glare shield removable. It mostly involves installing nut plate where rivets would go. Each nut plate requires 2 extra holes where rivets will hold the nut plate on. It adds a good deal more work, but it’s worth it in the end.
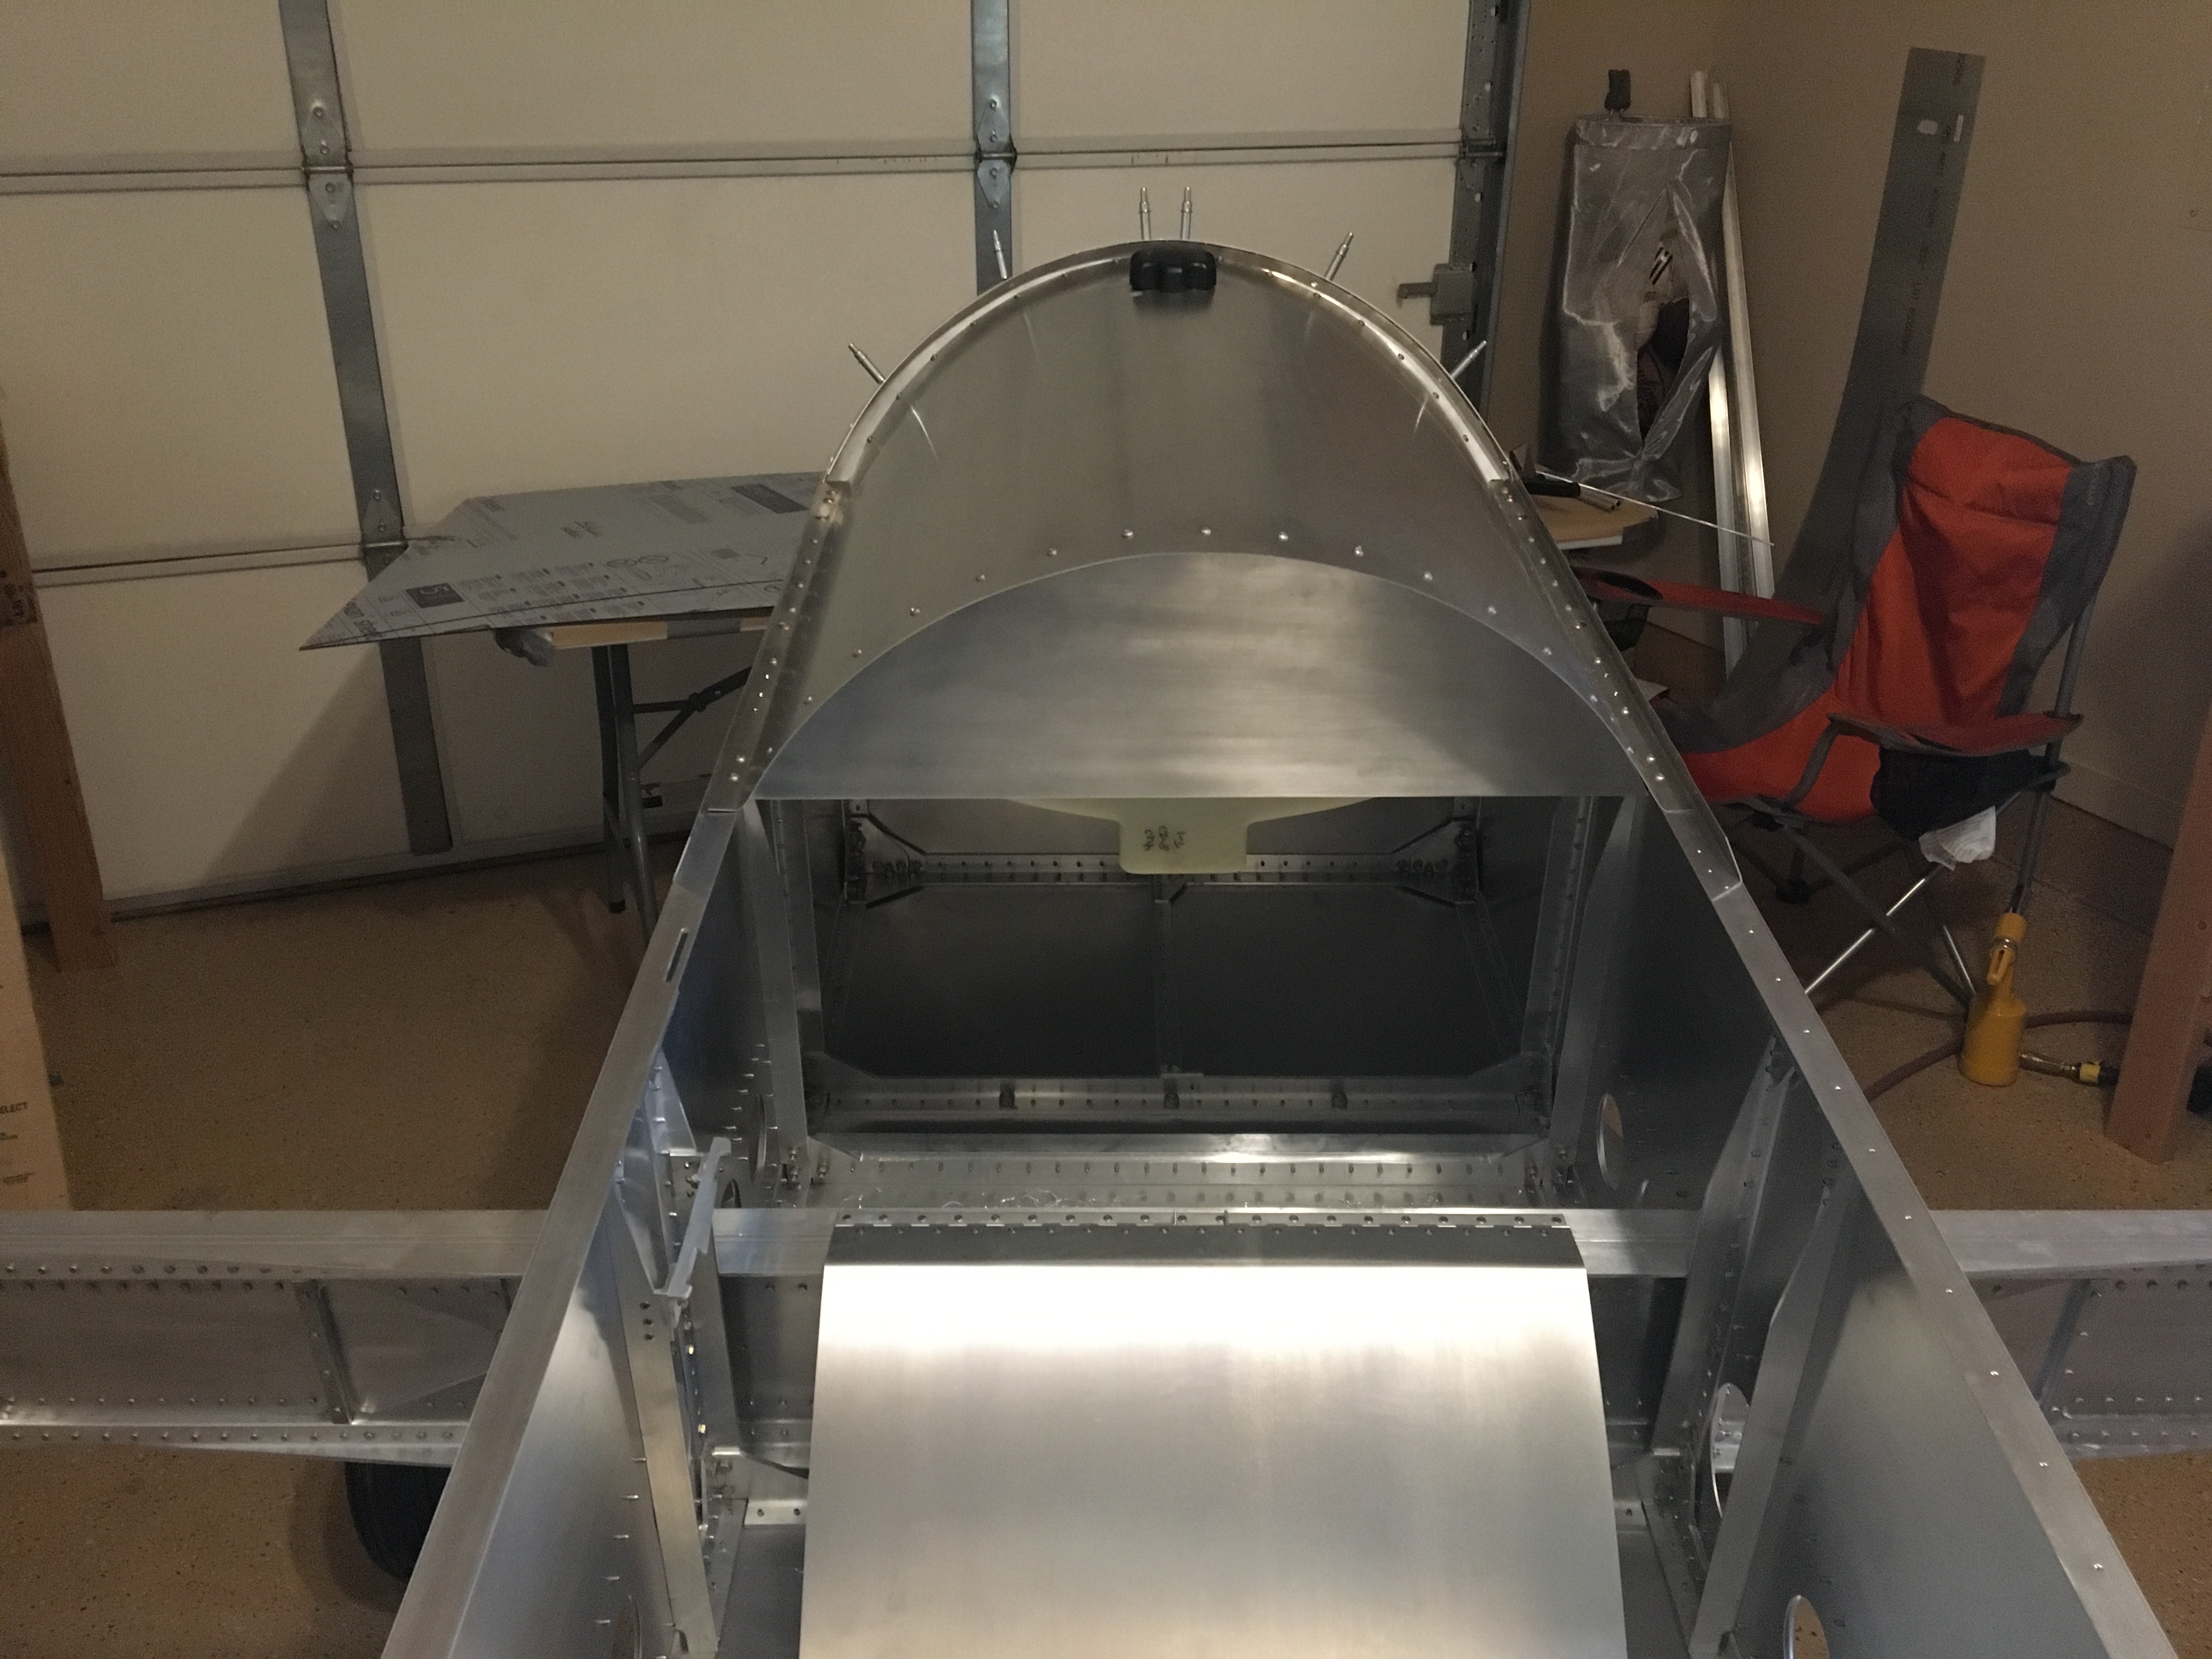
Fuel Tank
The tank sits just below the glare shield, so it made sense to get that installed now. It’s held up by two straps attached to the longerons, right where the glare shield attaches. There was a problem here. The fuel tank was bloated and wouldn’t fit in place. This is probably due to the change in temperature between freezing Oshkosh WI, from where it was shipped in January, to the 105° weather in Phoenix where I’m installing it.
I used a trick that my dad used to use to crush milk jugs. He’d put a bit of water into the empty gallon milk container and stick it in the microwave oven until the water was boiling. Then he’s put the cap on and run it under cold water. The milk container would shrink to a fraction of the size, taking less space in the trash.
So I boiled some water and poured it in the tank. To get a little extra help I made sure to pour over the problem area hoping the heat would soften the plastic. I put the cap on and the tank began to bloat more! While pressing in on the problem area I ran the outdoor faucet over the tank and presto, magico, the tank contracted; not as much as the milk jug, just a bit. Once cooled, I opened the cap and although the tank expanded a bit, the problem area was fixed and the tank fit perfectly!

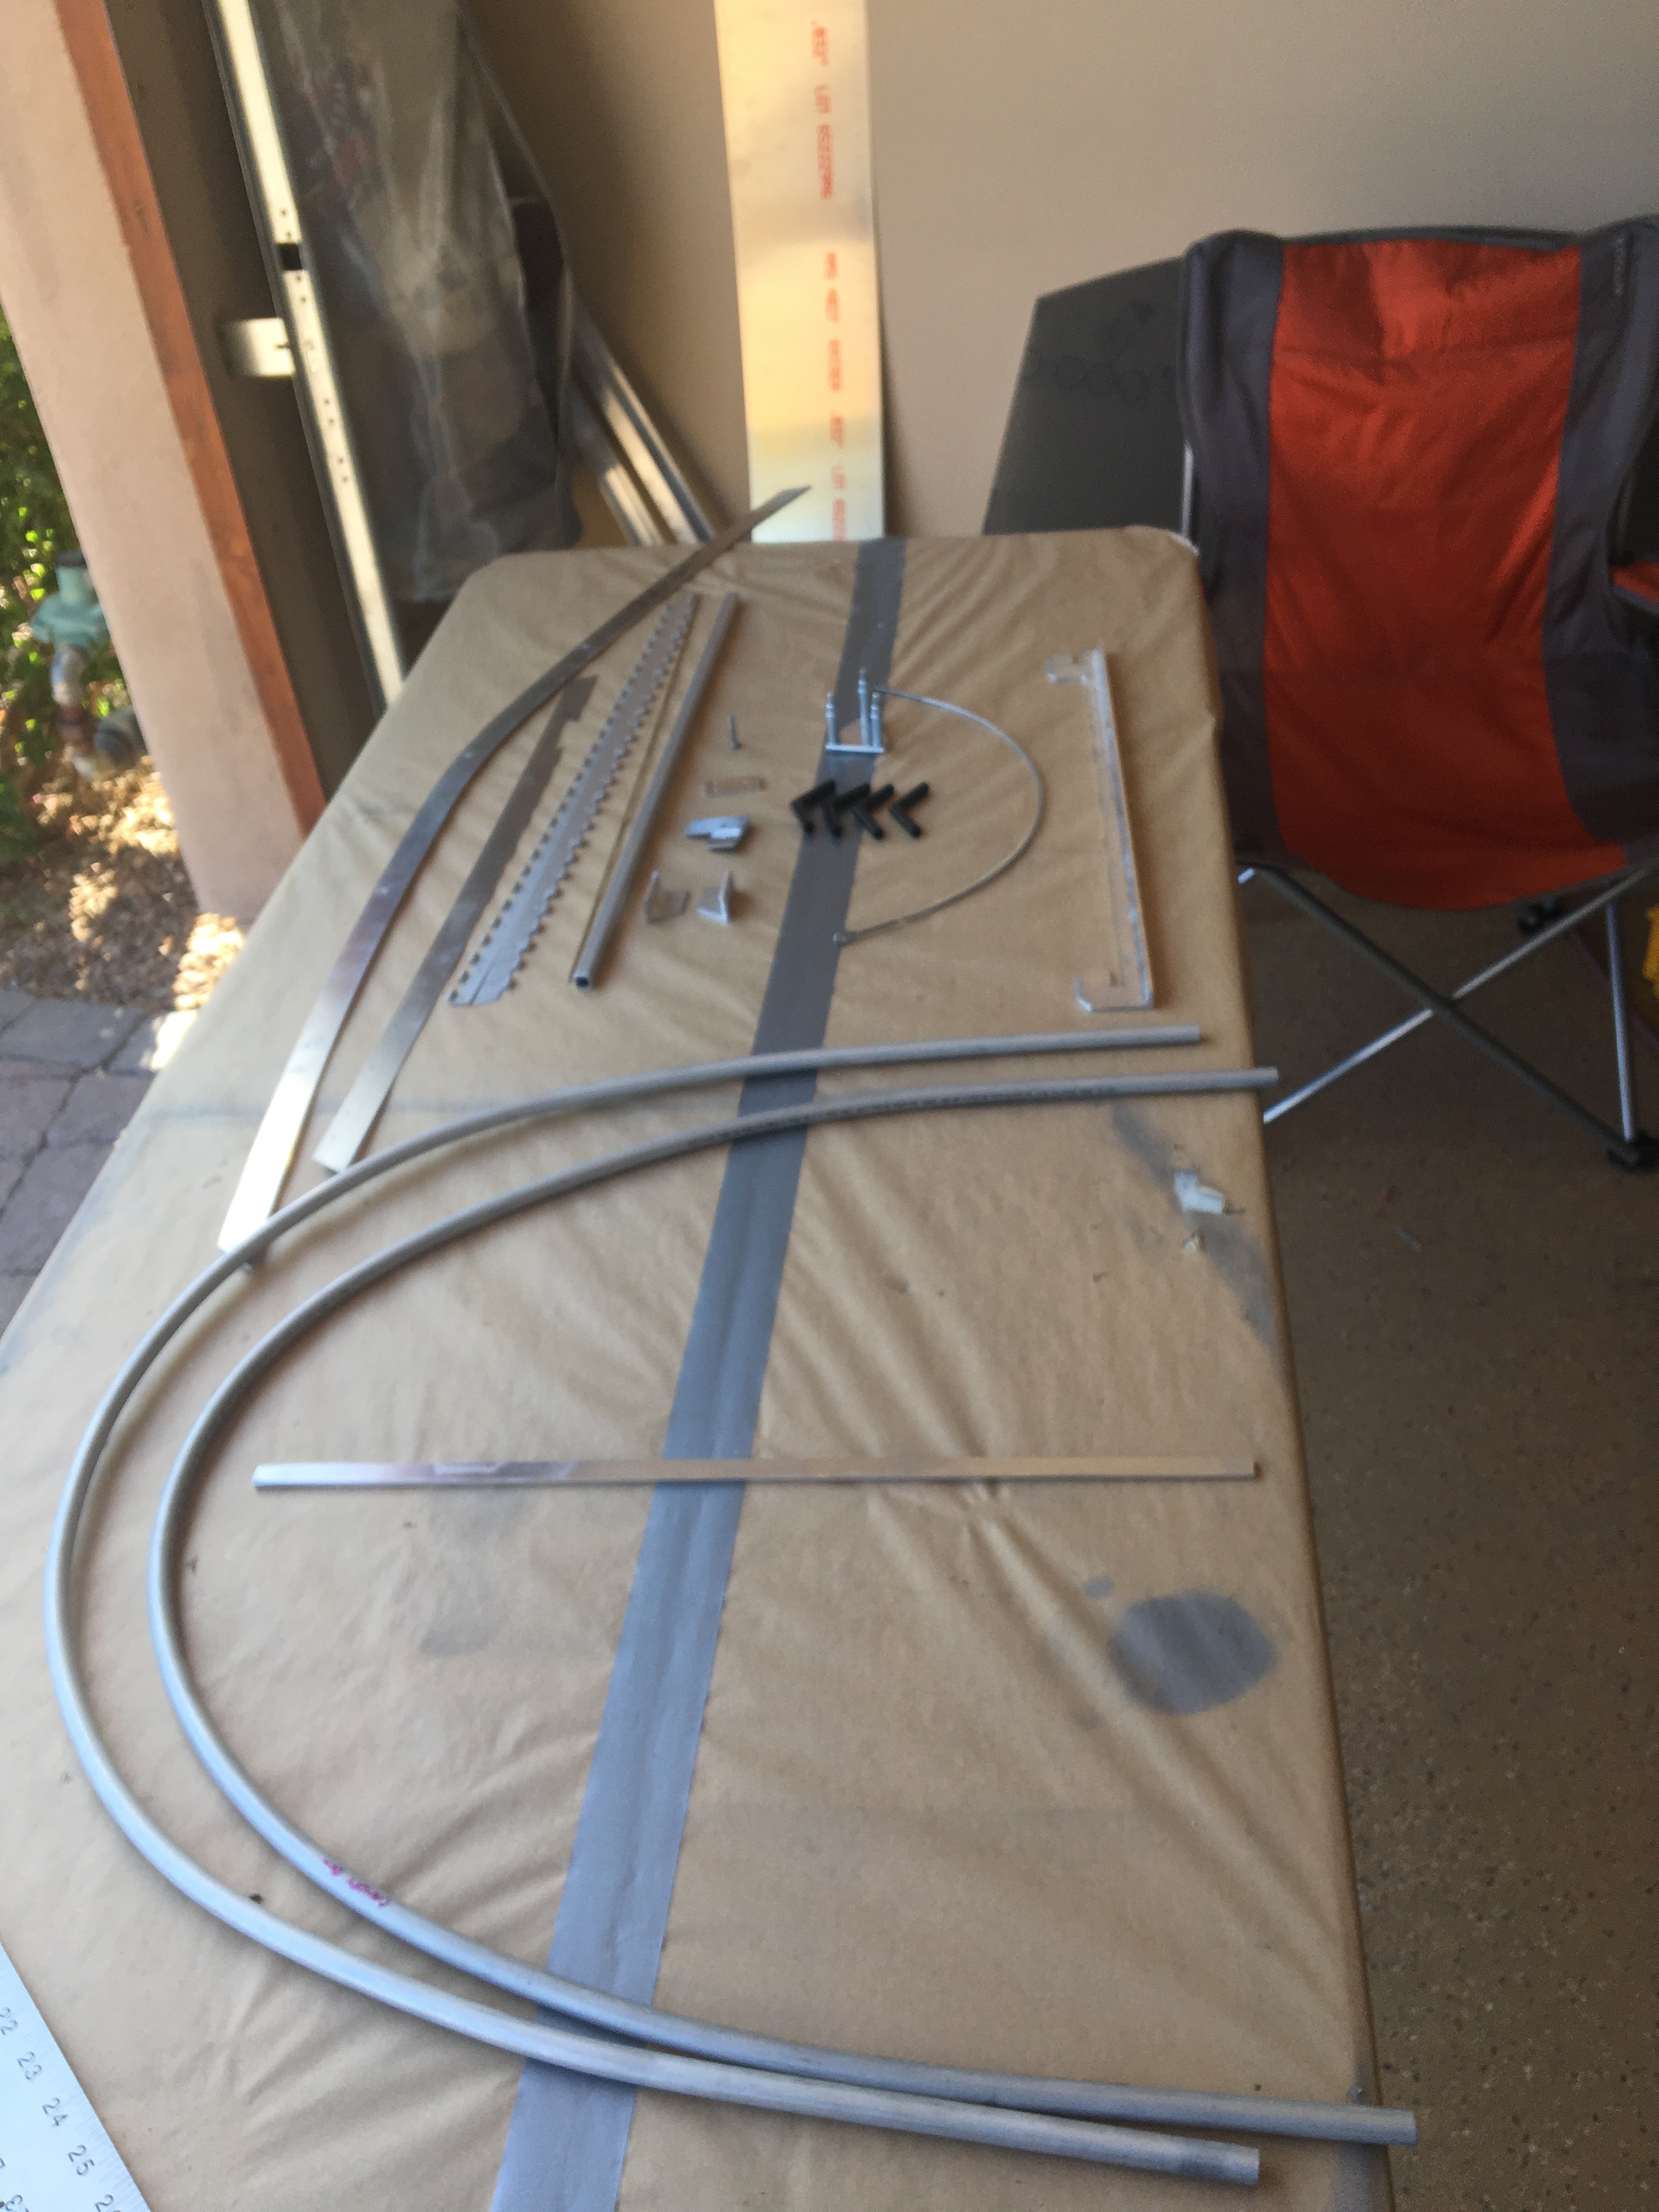
Windshield and Canopy
Next up is the windshield and canopy. Today I fabricated and prepared most of the parts. And I studied the plans, lots. This is not and obvious assembly. What makes it more challenging is that it’s ALL curves. I’m going to see if I can find videos or blogs of other people who’ve done this.