Windshield
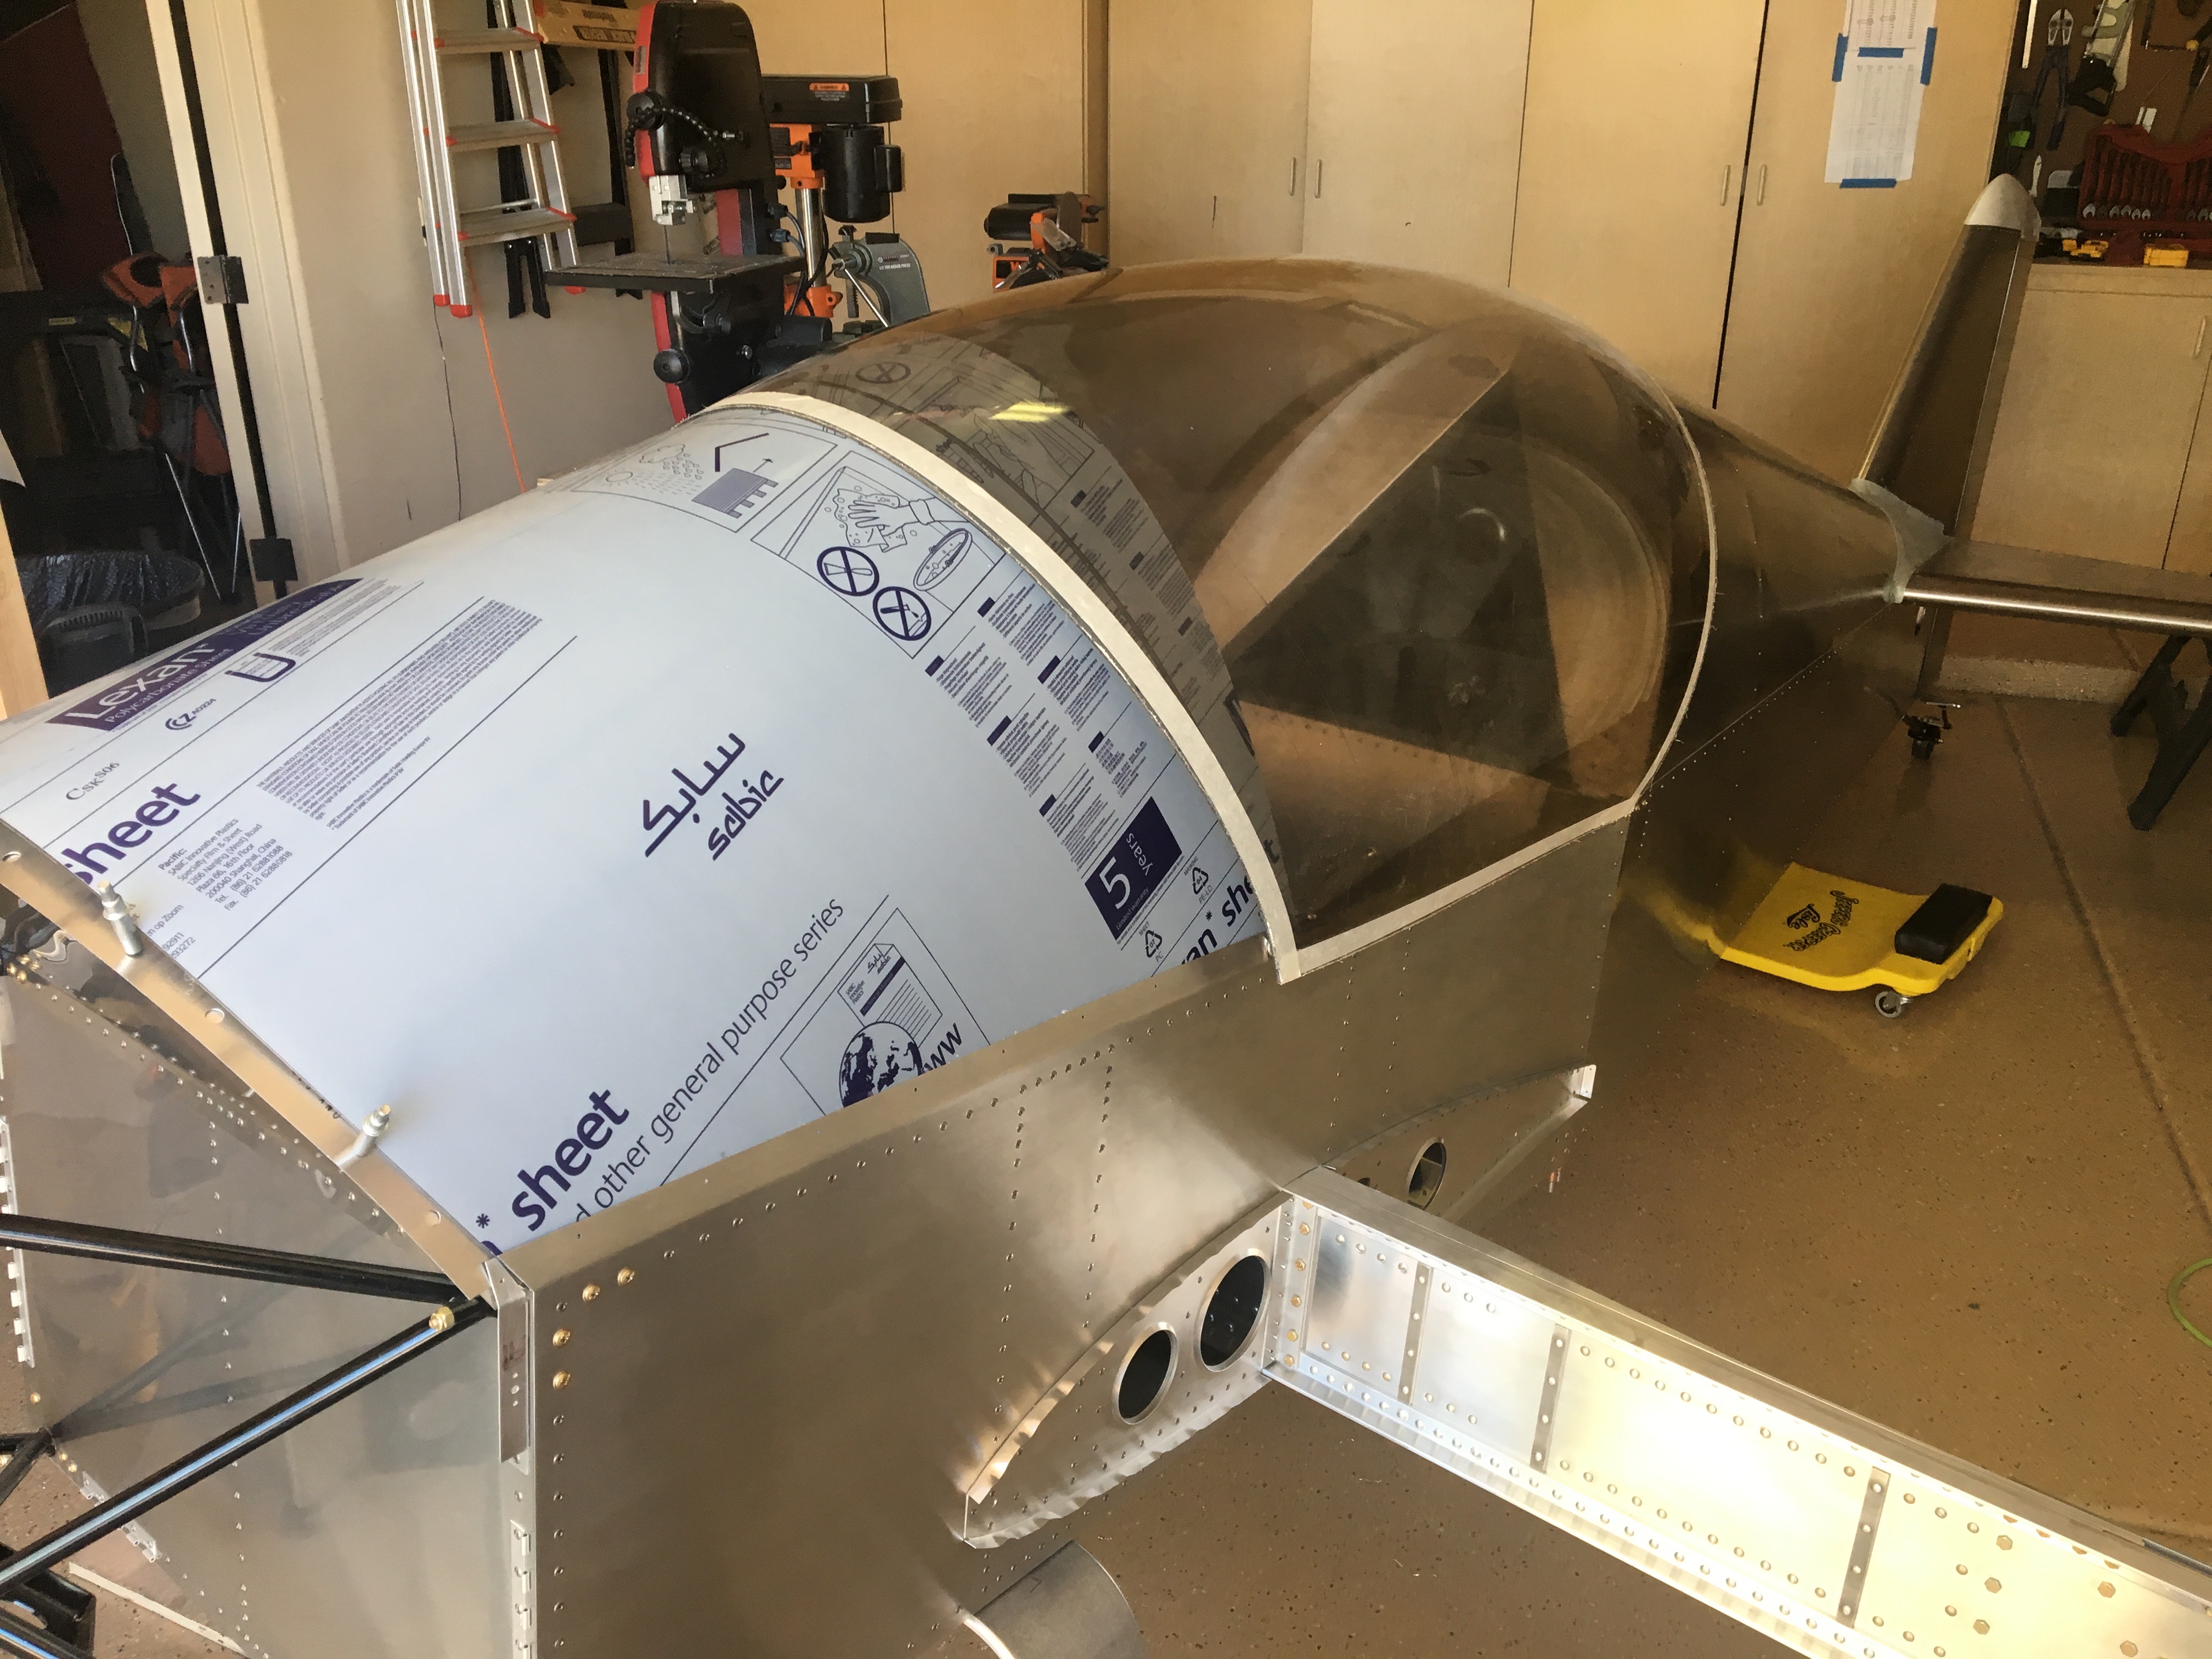
Don’t be decieved. In the image below, the windshield and canopy are merely resting on top of the fuselage. They are not fastened.
Of the two, the windshield is supposed to be attached first. Despite not fully understanding the plans, I proceeded like you would with a math problem; start with the knowns. In this case, it’s the windshield strap. I could see where it is attached and that it rests at a 60° relative to the longerons. That I could do, so I did. Then I put the windshield back on. Ahhh… I could see it all now. The windshield, an oversized sheet of glassy plastic with protective vinyl on both sides, overlapped the strap and it was obvious where to cut it. And clearly it was too wide so I shaved a 1/4” off both sides.
I used my oscillating tool to make the cuts and it worked awesome. Balancing it on my band saw was a scary thought and the hand held oscillating tool allowed me to cut it precisely while it rested on the table.
After the first cuts, it wouldn’t rest flush against the firewall in the front, no matter how I pushed it. It was not obvious why. I trimed some of the front corners but that didn’t help. Then I tried removing the firewall/windshield strap. That did it. The clecoes where blocking it. So I cut about 1/2” off the front and it fit wonderfully. So I began drilling all the holes.
The AirWard kit had instructions and hardware to use here so that the windshield is easily removable. However, I got the gist of it and decided to go a bit off script. With the big picture grasped, I know how to best craft it to my taste. I should have it attached tomorrow, except for the fuel fill hole and cover… there’s supposed to be a 4.5” hole right in the middle of the windhield with an ugly aluminum plate covering it. The plans don’t even say how to attach the aluminum plate. I checked AirWard and was pleased to see they have a solution for this that includes a transparent cover with easy access.