A Place to Sit
Lots to report:
Wrap
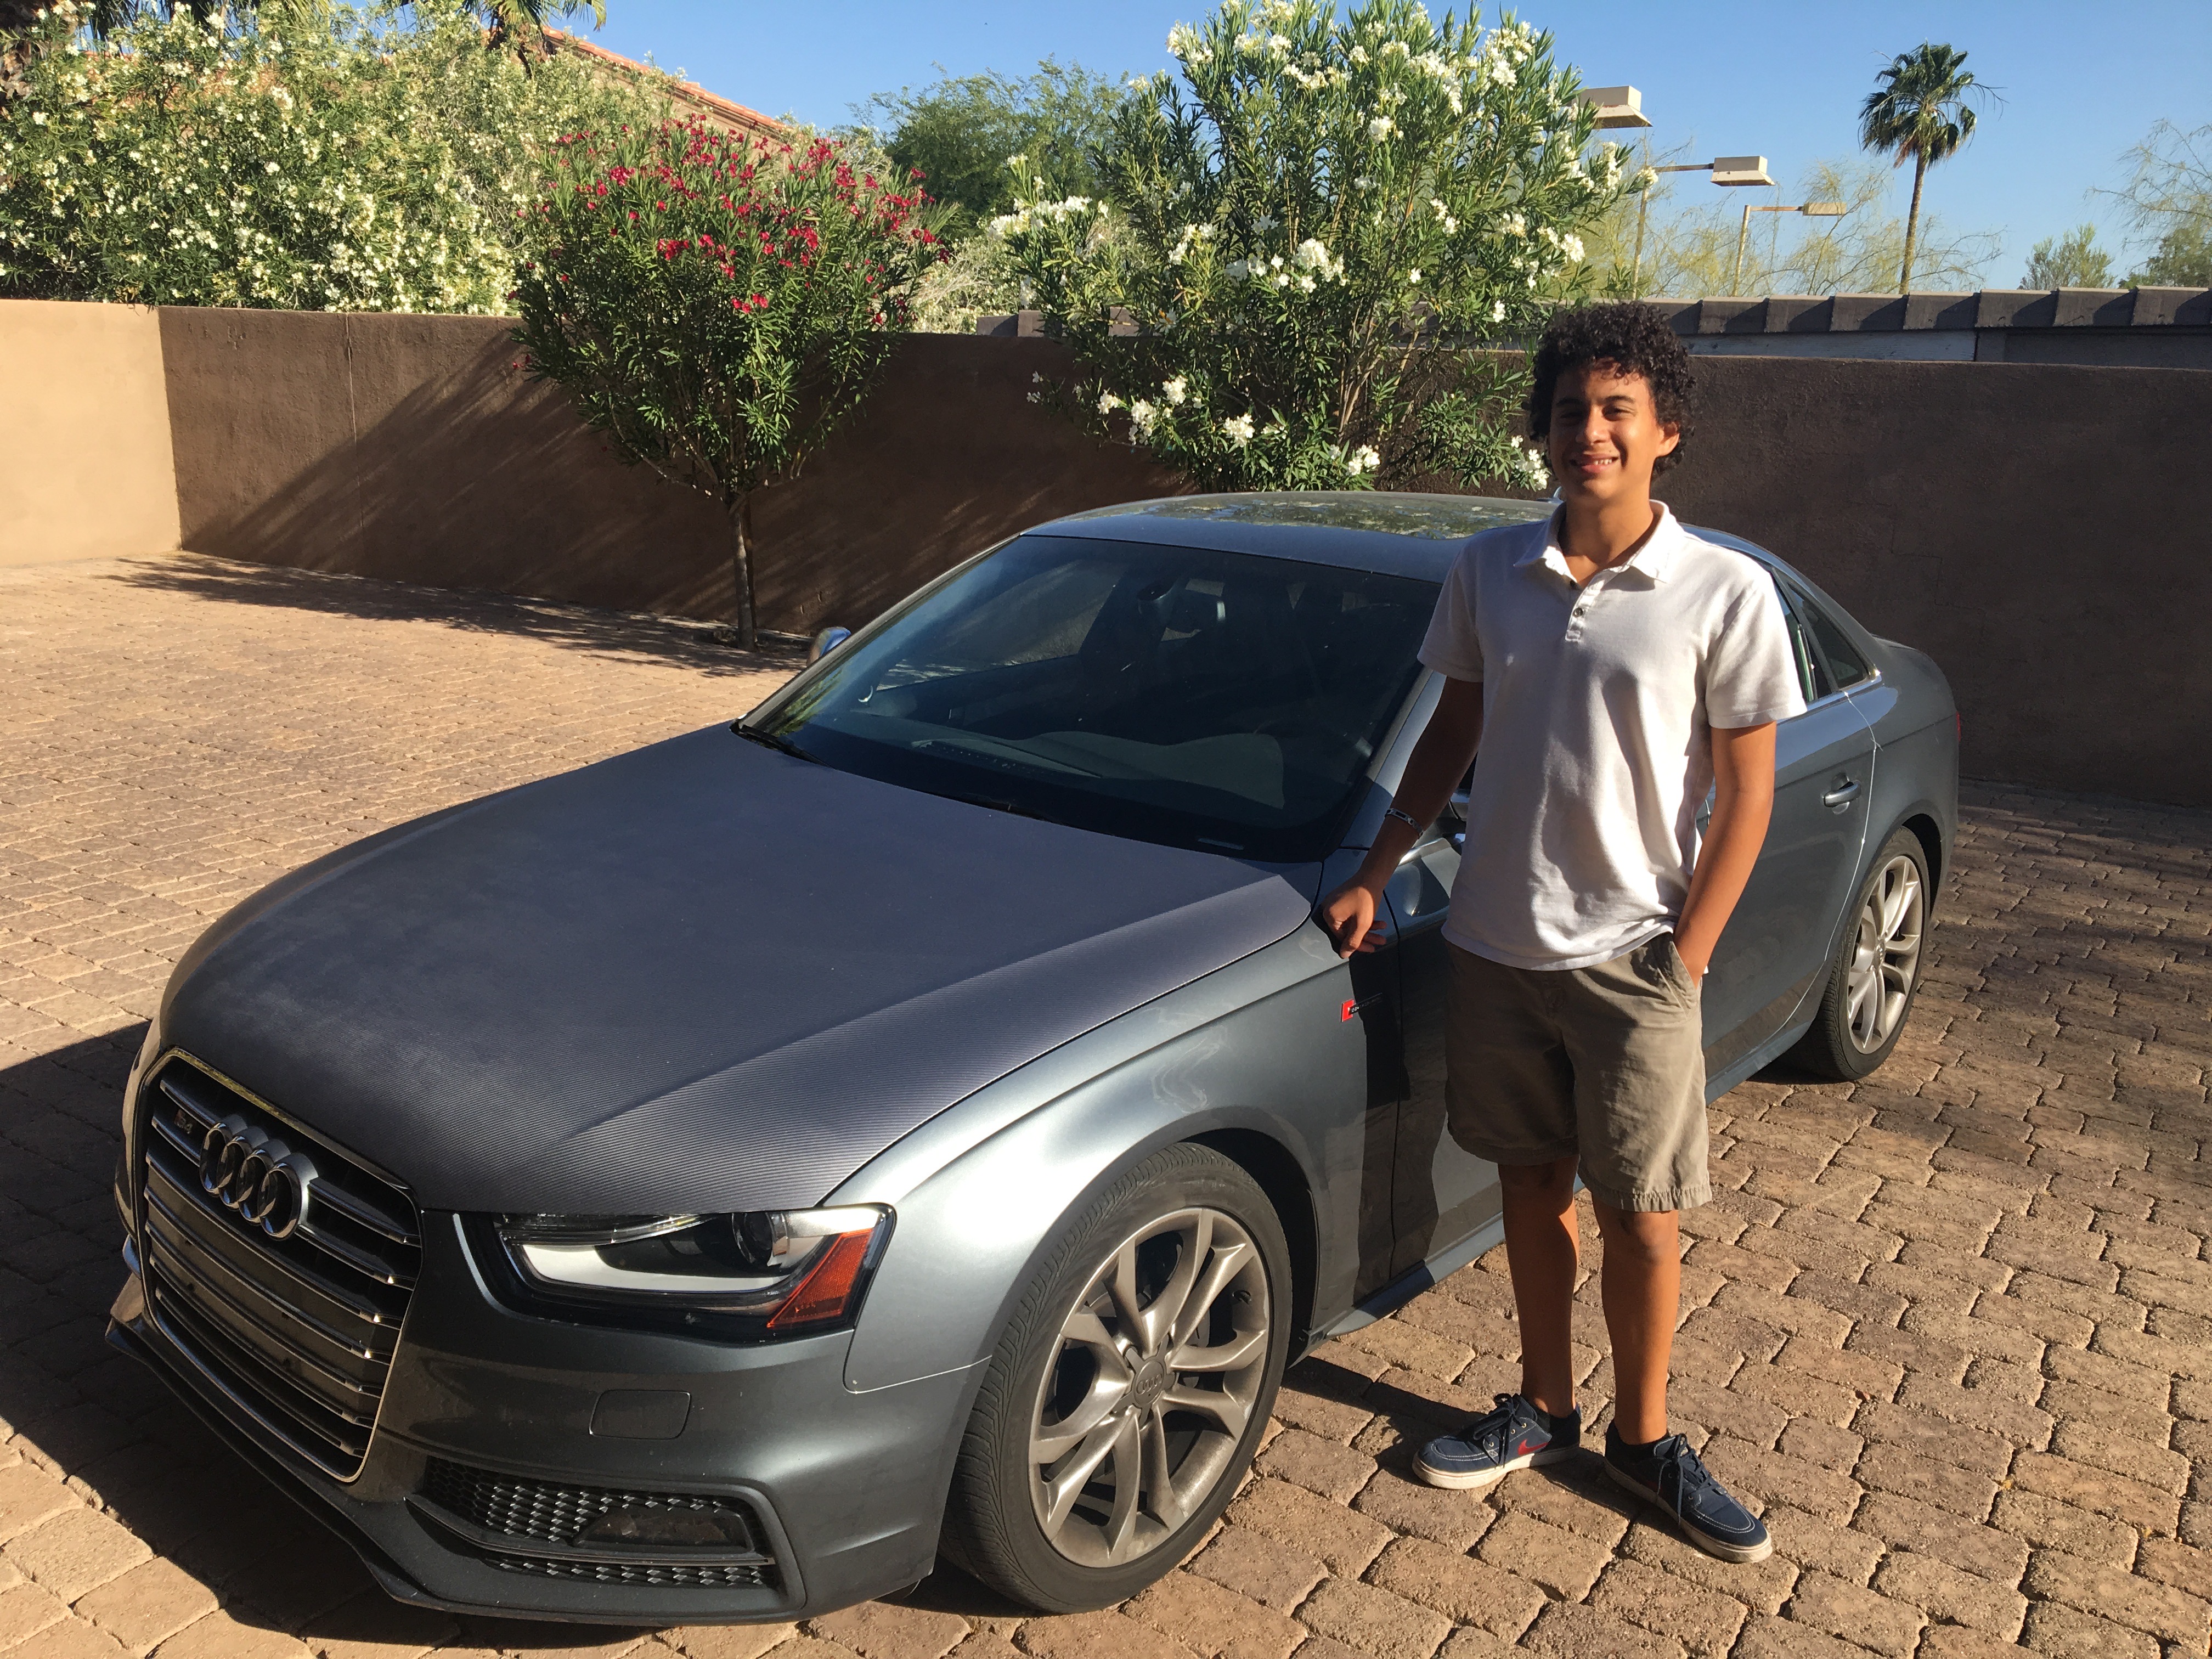
As a test for going the vinyl wrap route as apposed to paint, I decided to wrap the hood of my car to get a feel for the process. I got Luka to help me. There was a learning curve. It actually took us three attempts over 2 weeks and we ruined two wraps. I had to order a new one with each failed attempt. But in the end we got it as you can see in the first pic. The carbon fiber texture and anthracite color is subtle, which is how I wanted it.
Lesson learned:
- Don’t stress about bubbles. The 3M vinyl actually breathes allowing you to push bubbles out.
- Peel off the backing while the wrap is upside down. With your partner, flip it, gently stretch it and lay it down to cover the surface. Getting the general layout right and smooth on the first try goes a long way.
- Don’t over work the vinyl. I found that it weakens as you work it. Eventually it rips. That’s bad.
- Use a heat gun to restore the vinyls shape and integrity. It’s cool material. It remembers it’s shape. So when it get’s stretched, maybe by your fingers, heat it and it will morph back into it’s original shape.
- Watch lots of youtube videos. There’s tons of techniques to learn from.
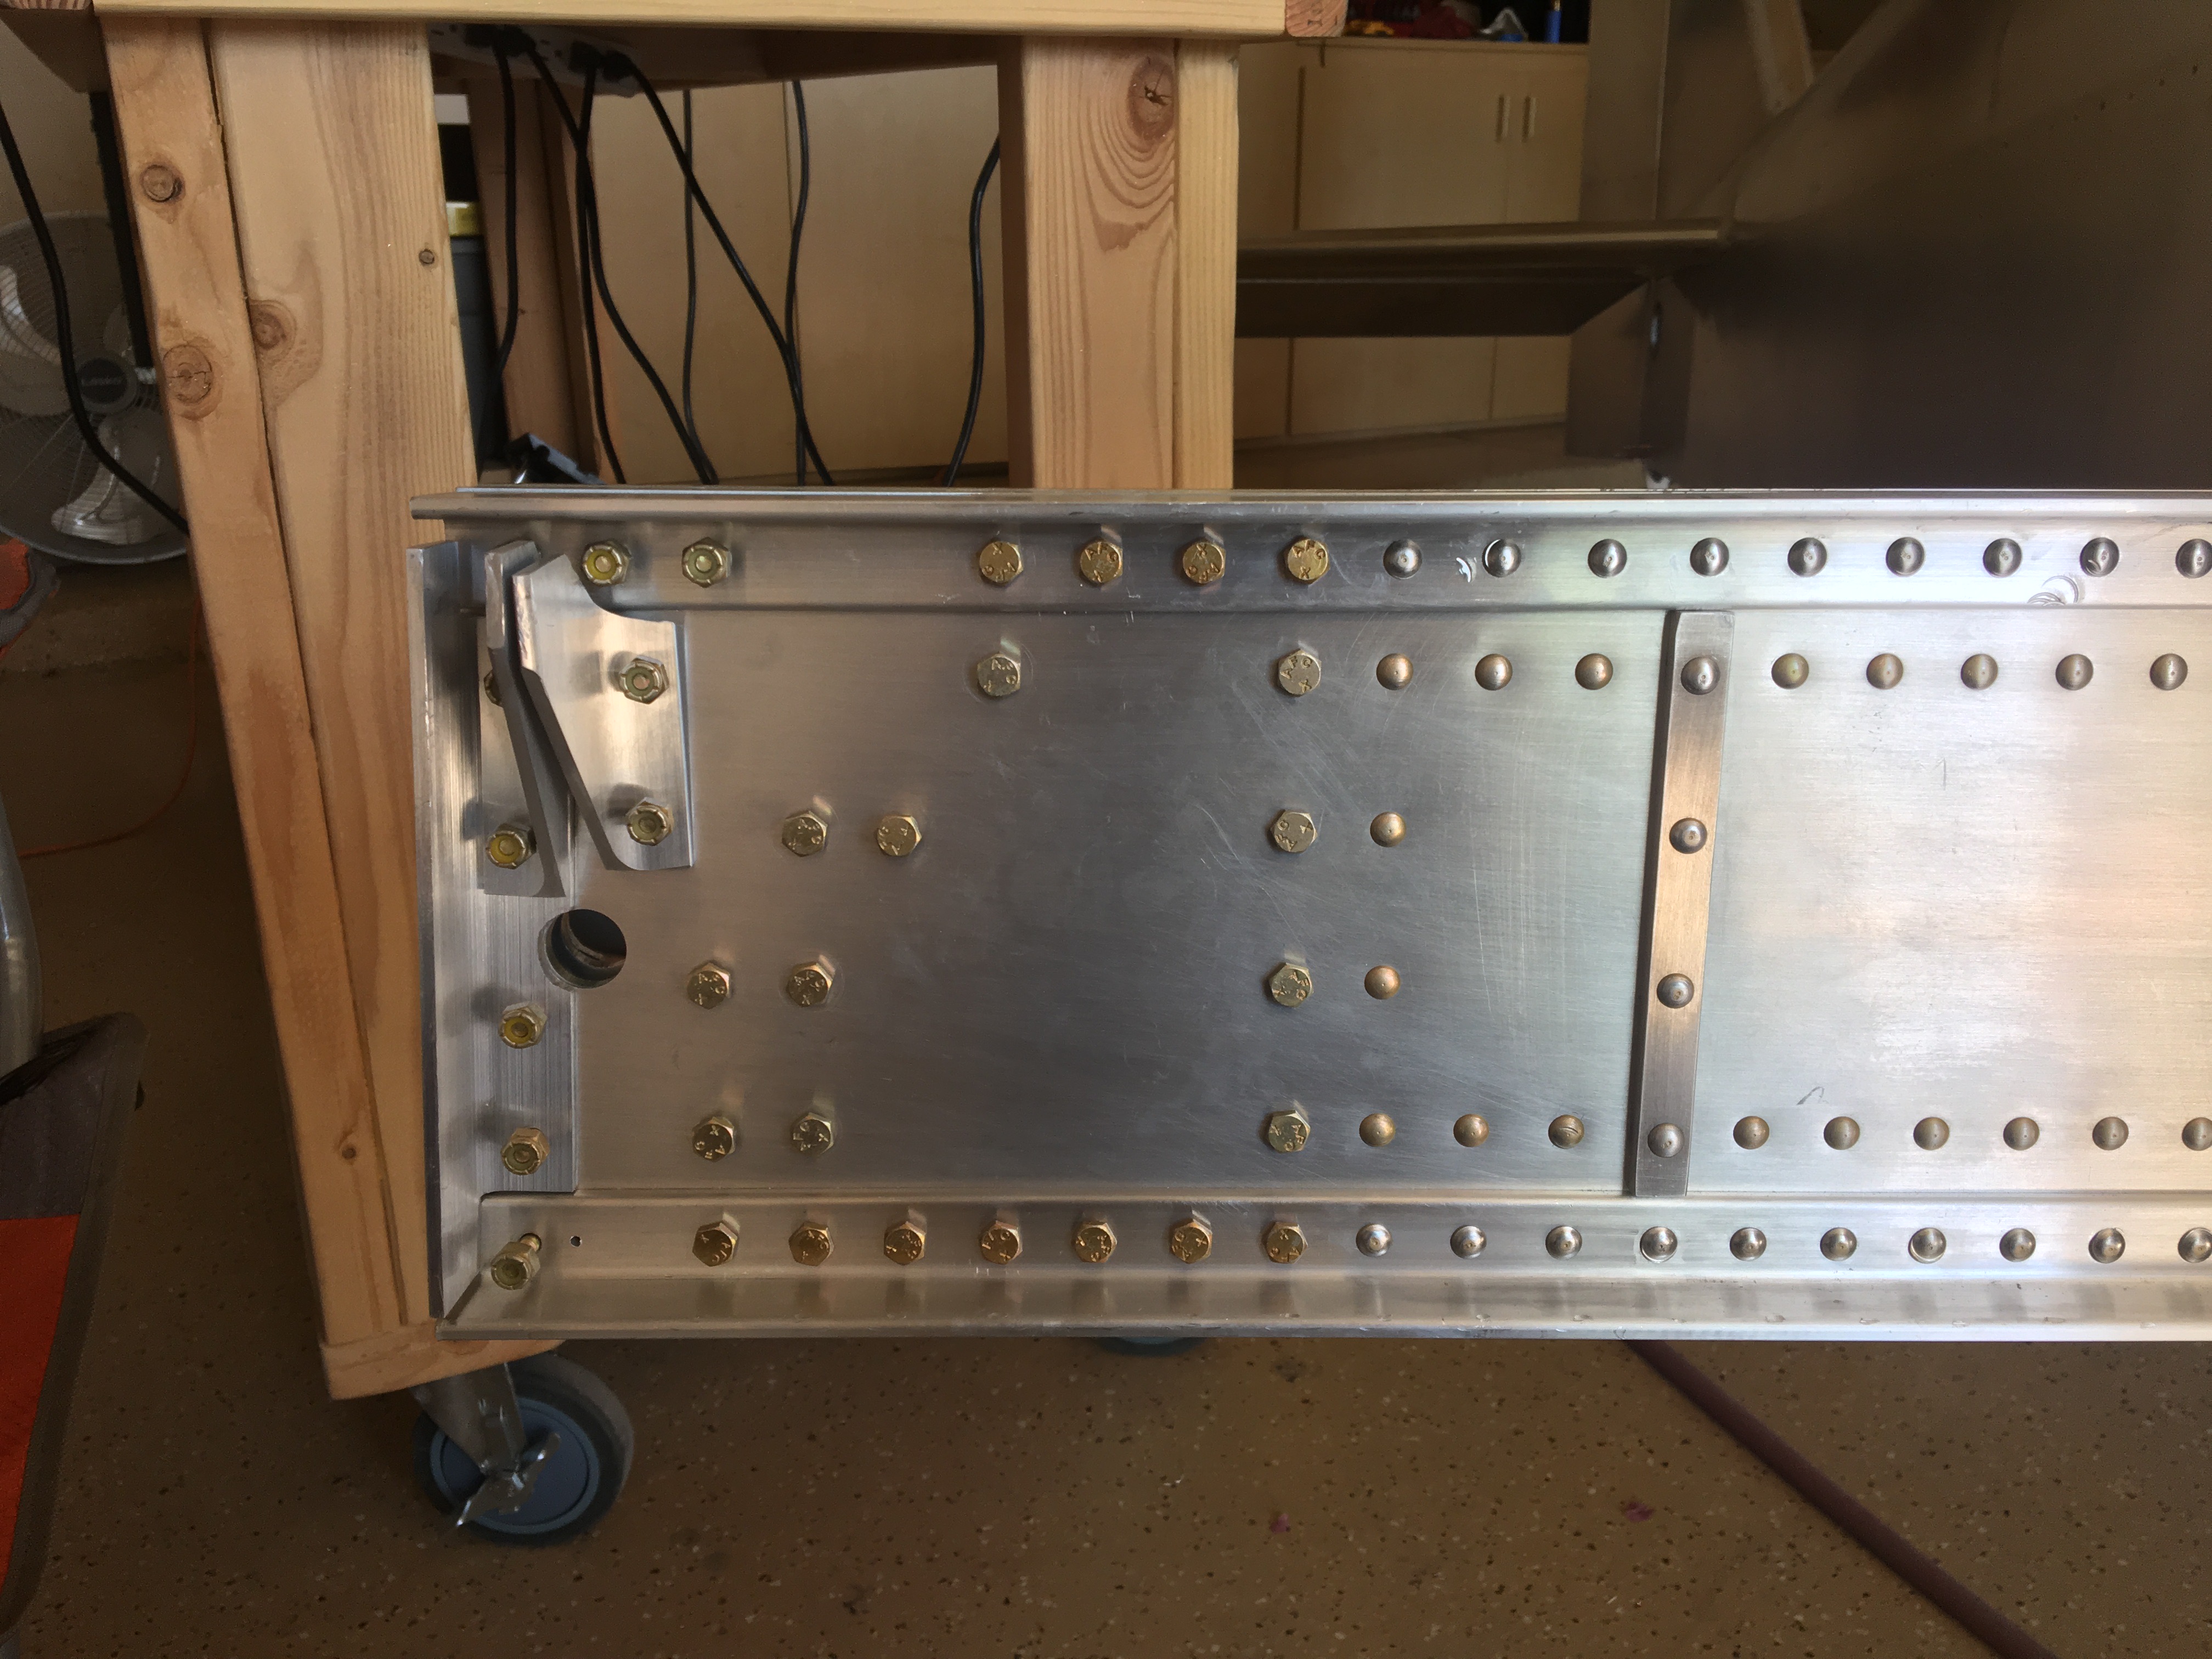
Spar Ends
The ends of the spars have several parts that get bolted on. See second picture. Of course hardware is missing from the kit so I had to order more from Aircraft Spruce. Unbelievably I ran our of washers. The kit came with 20, FAR too few. I ordered 150 more a few weeks ago. But that still wasn’t enough so I ordered 400 more. For now, most of the bolts are in place. I’ll have to revisit this to put washers in place and swap out some bolts for the correct ones that are on order.
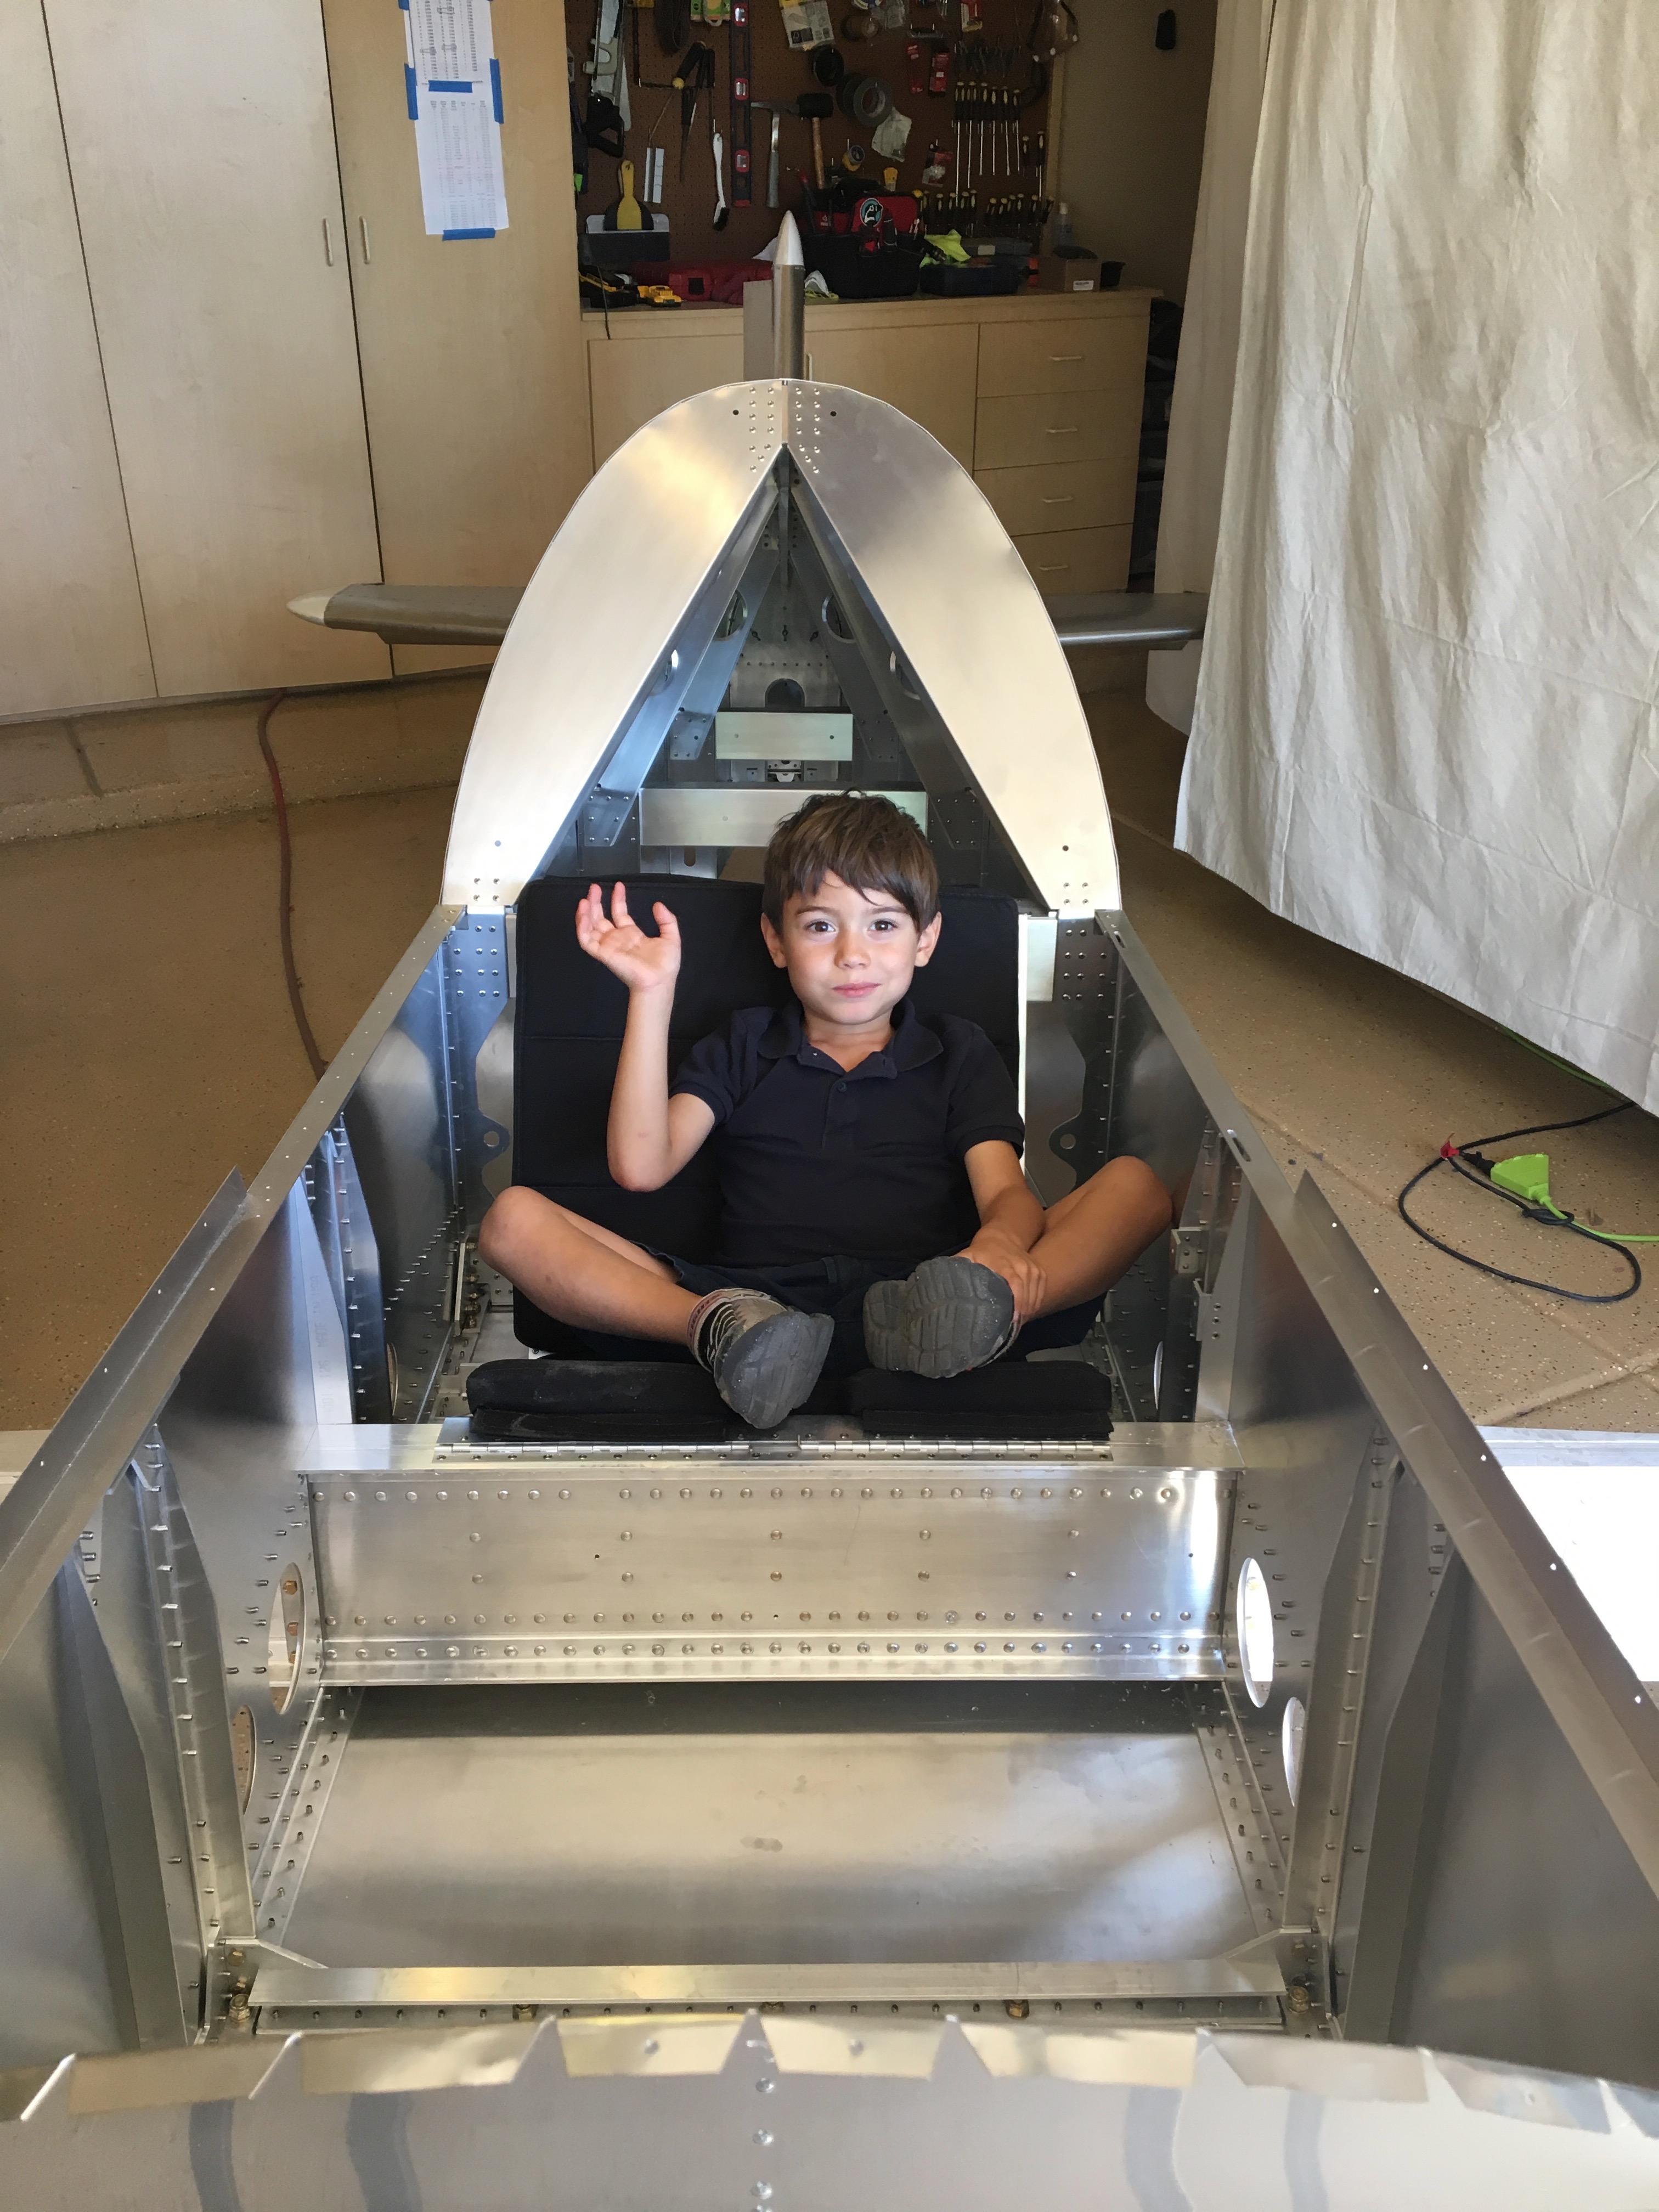
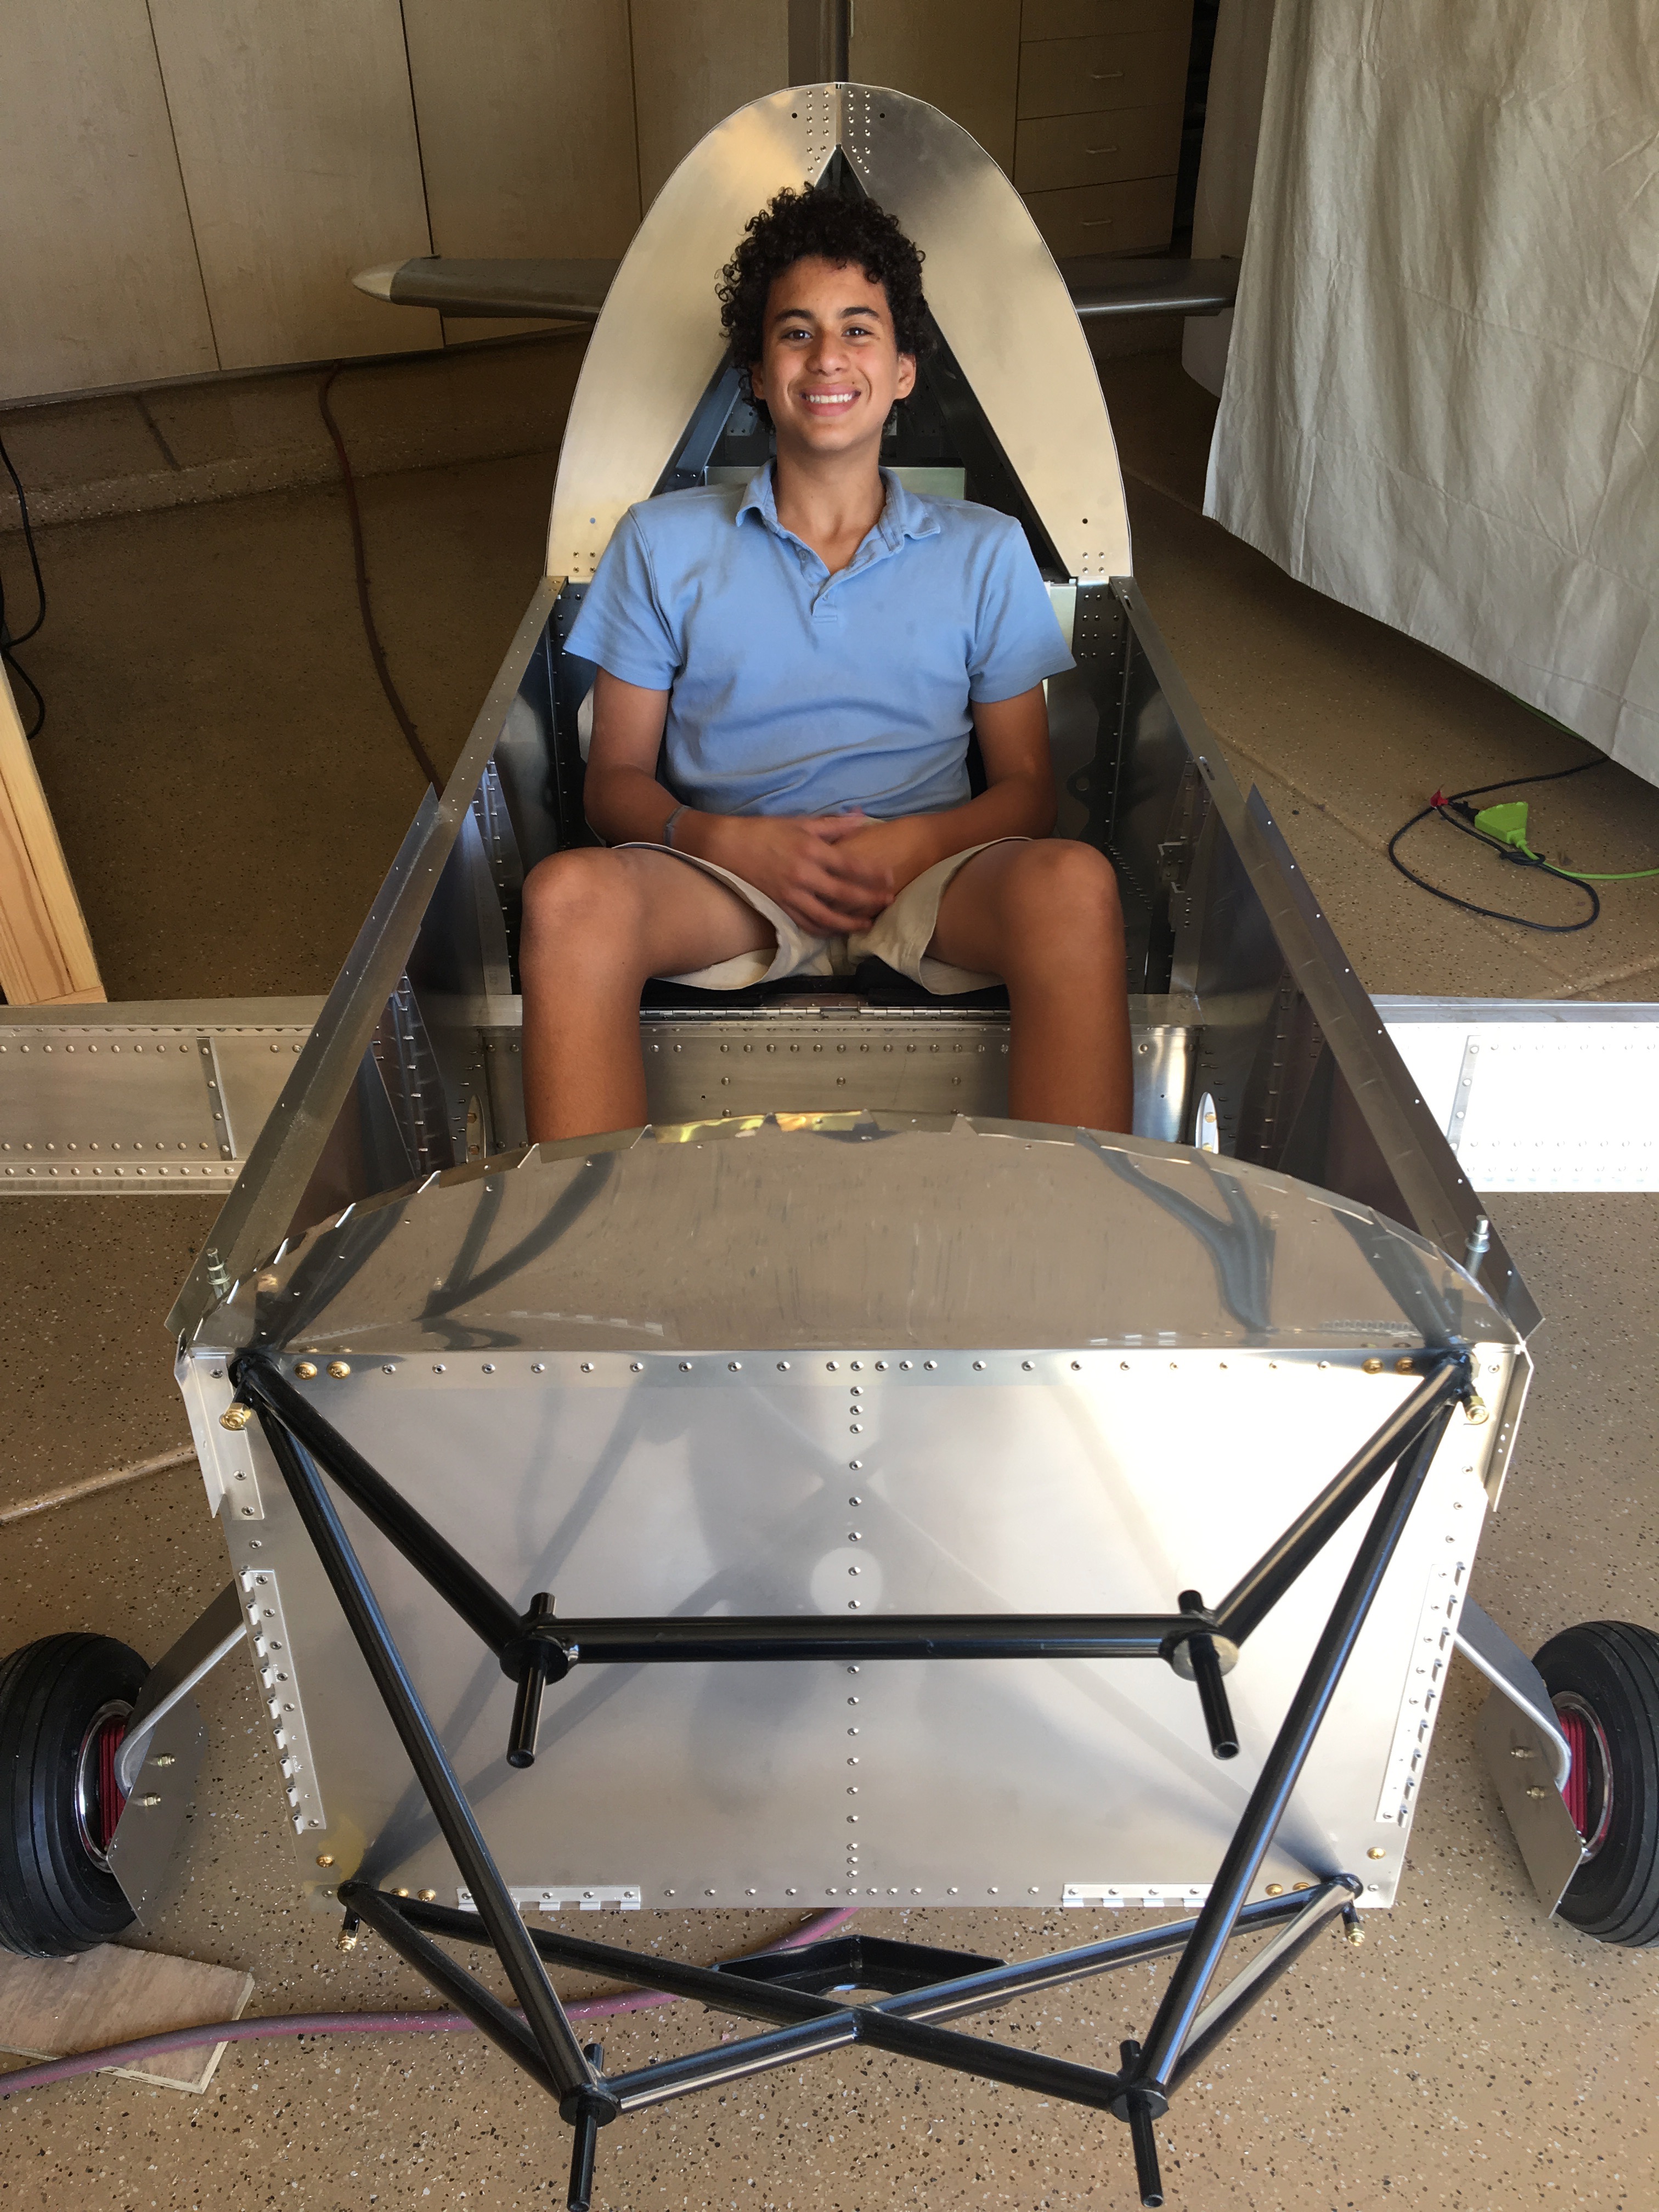
A Seat
This was fun. Once the seat was installed I couldn’t help but to jump in and try it out. I just chilled for a few minutes in the half finished cockpit. Although it looks tiny from the outside, it feels rather spacious on the inside. Luka and Tristan tried it out too when they got back from school.
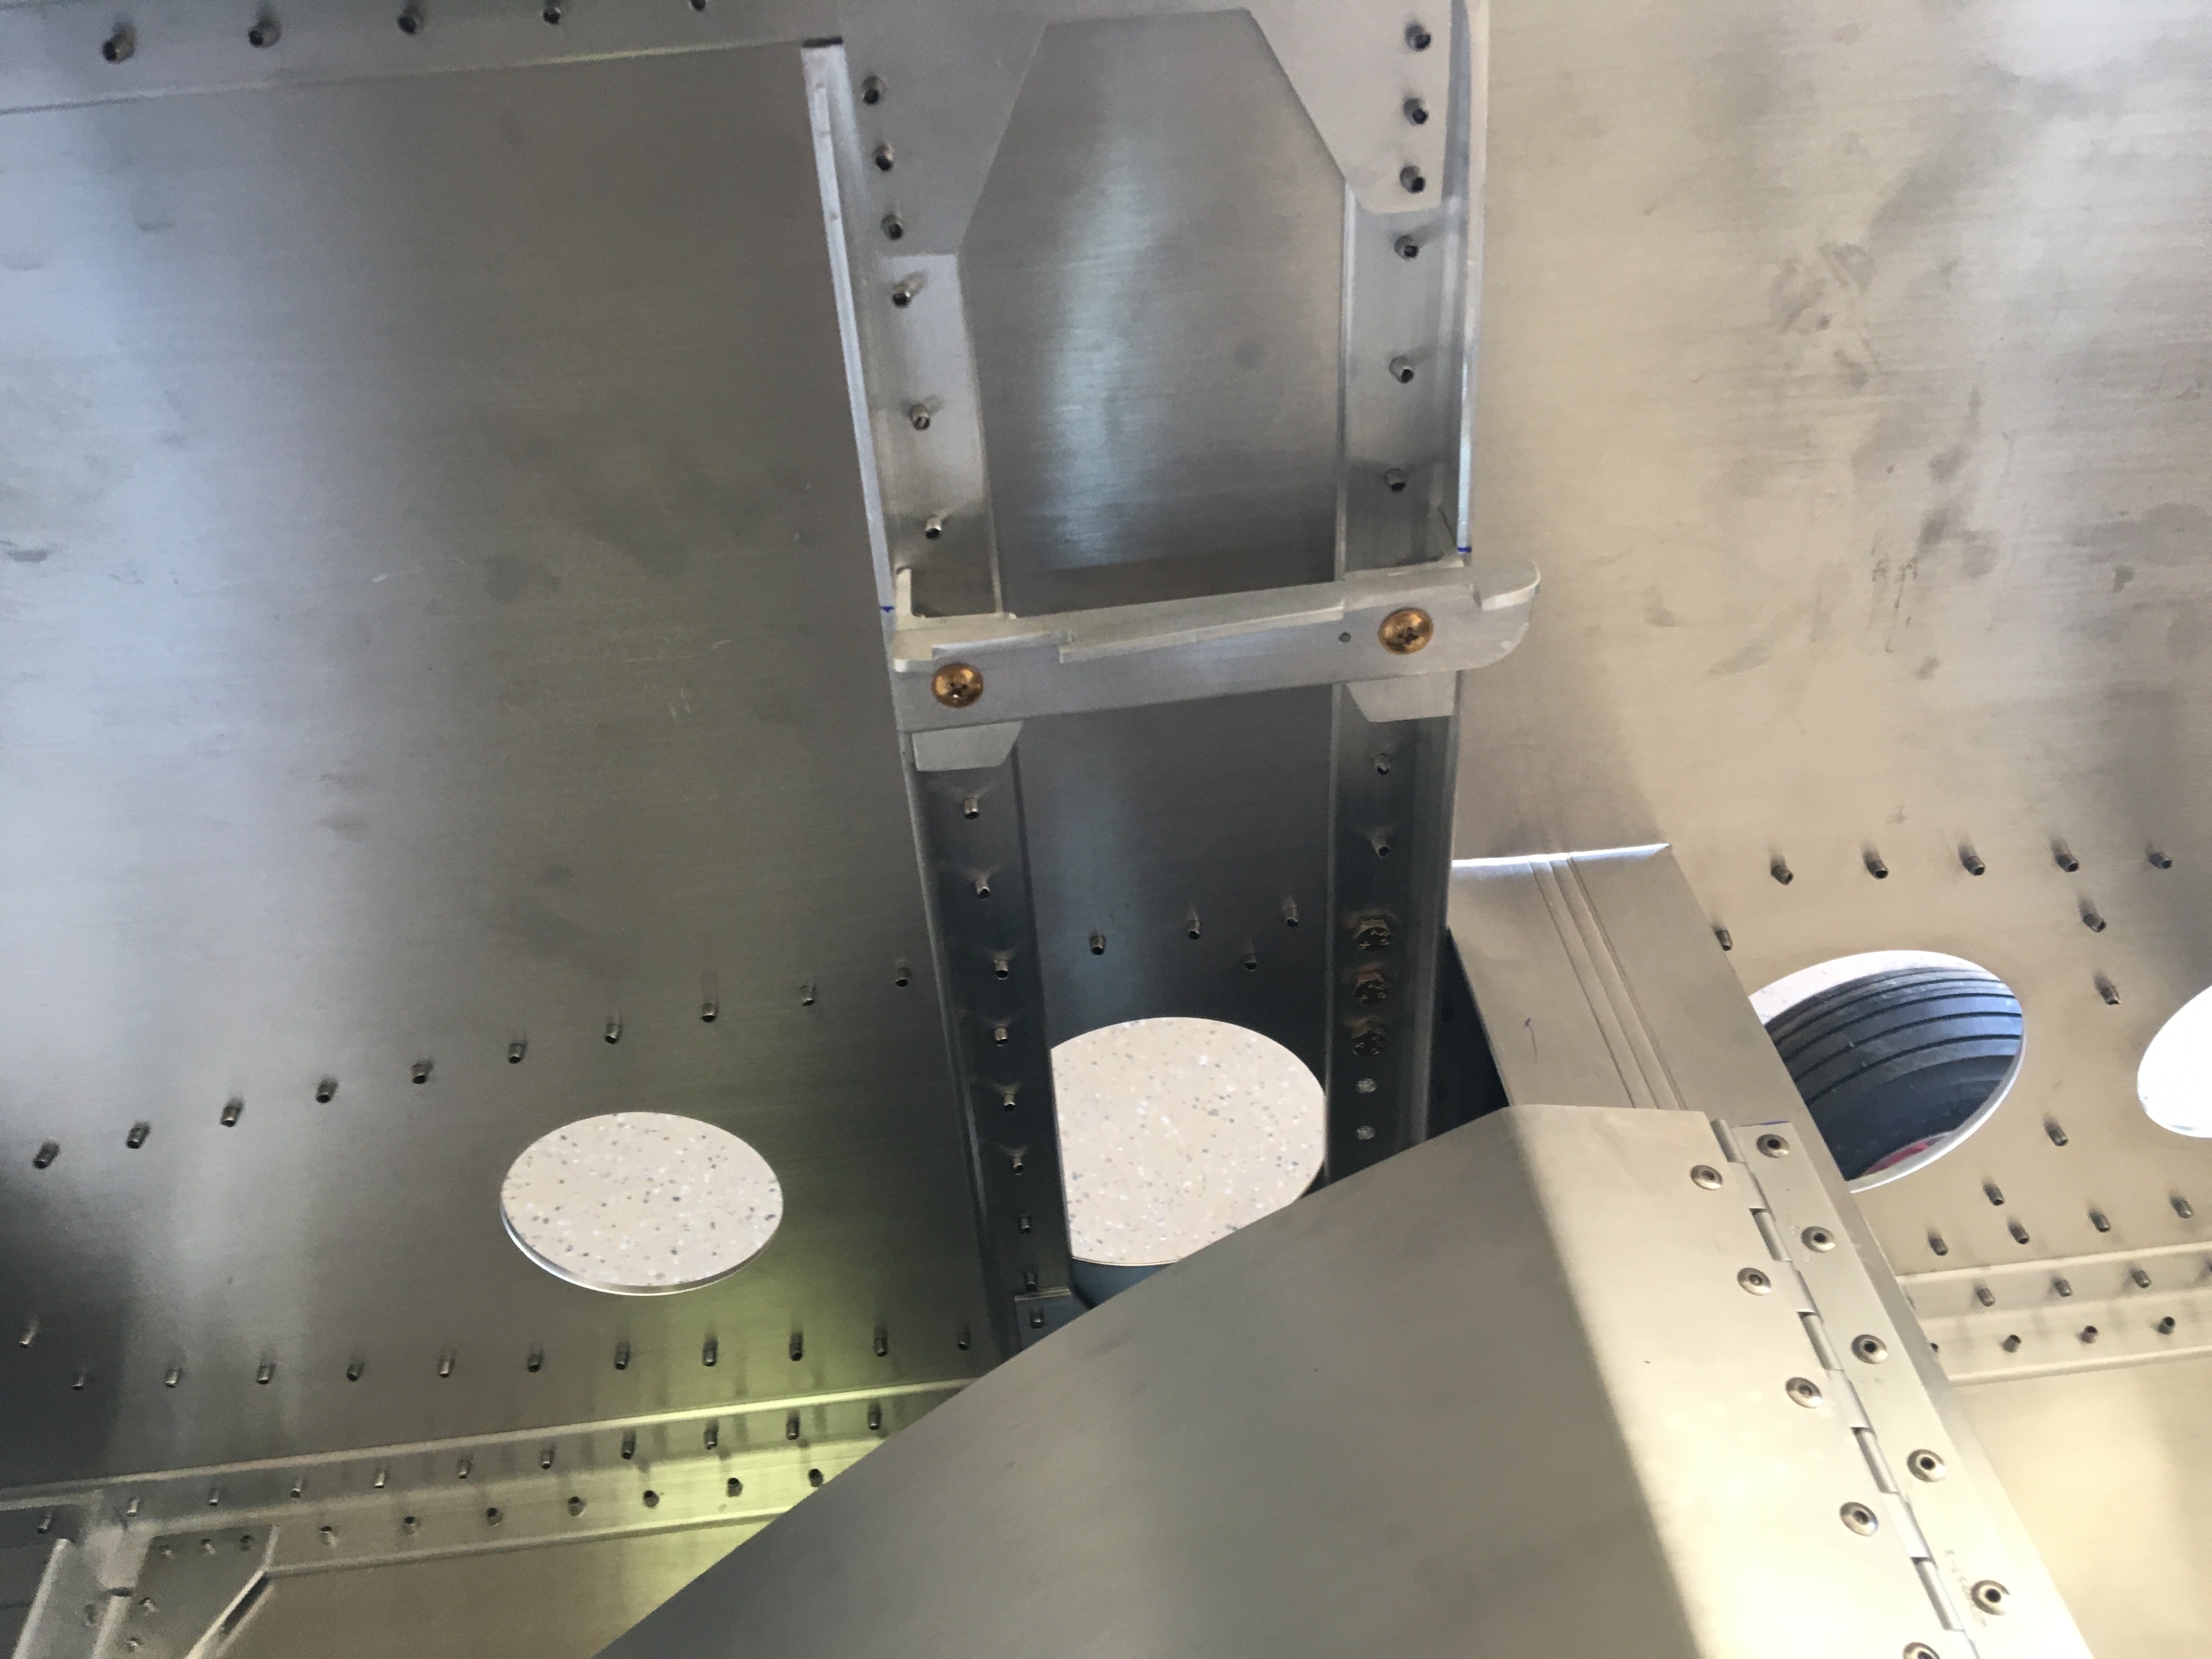
Flap Retainer
This intricate part was a challenge to fabricate. I will hold the flap lever, which has yet to be installed.