What a Mess
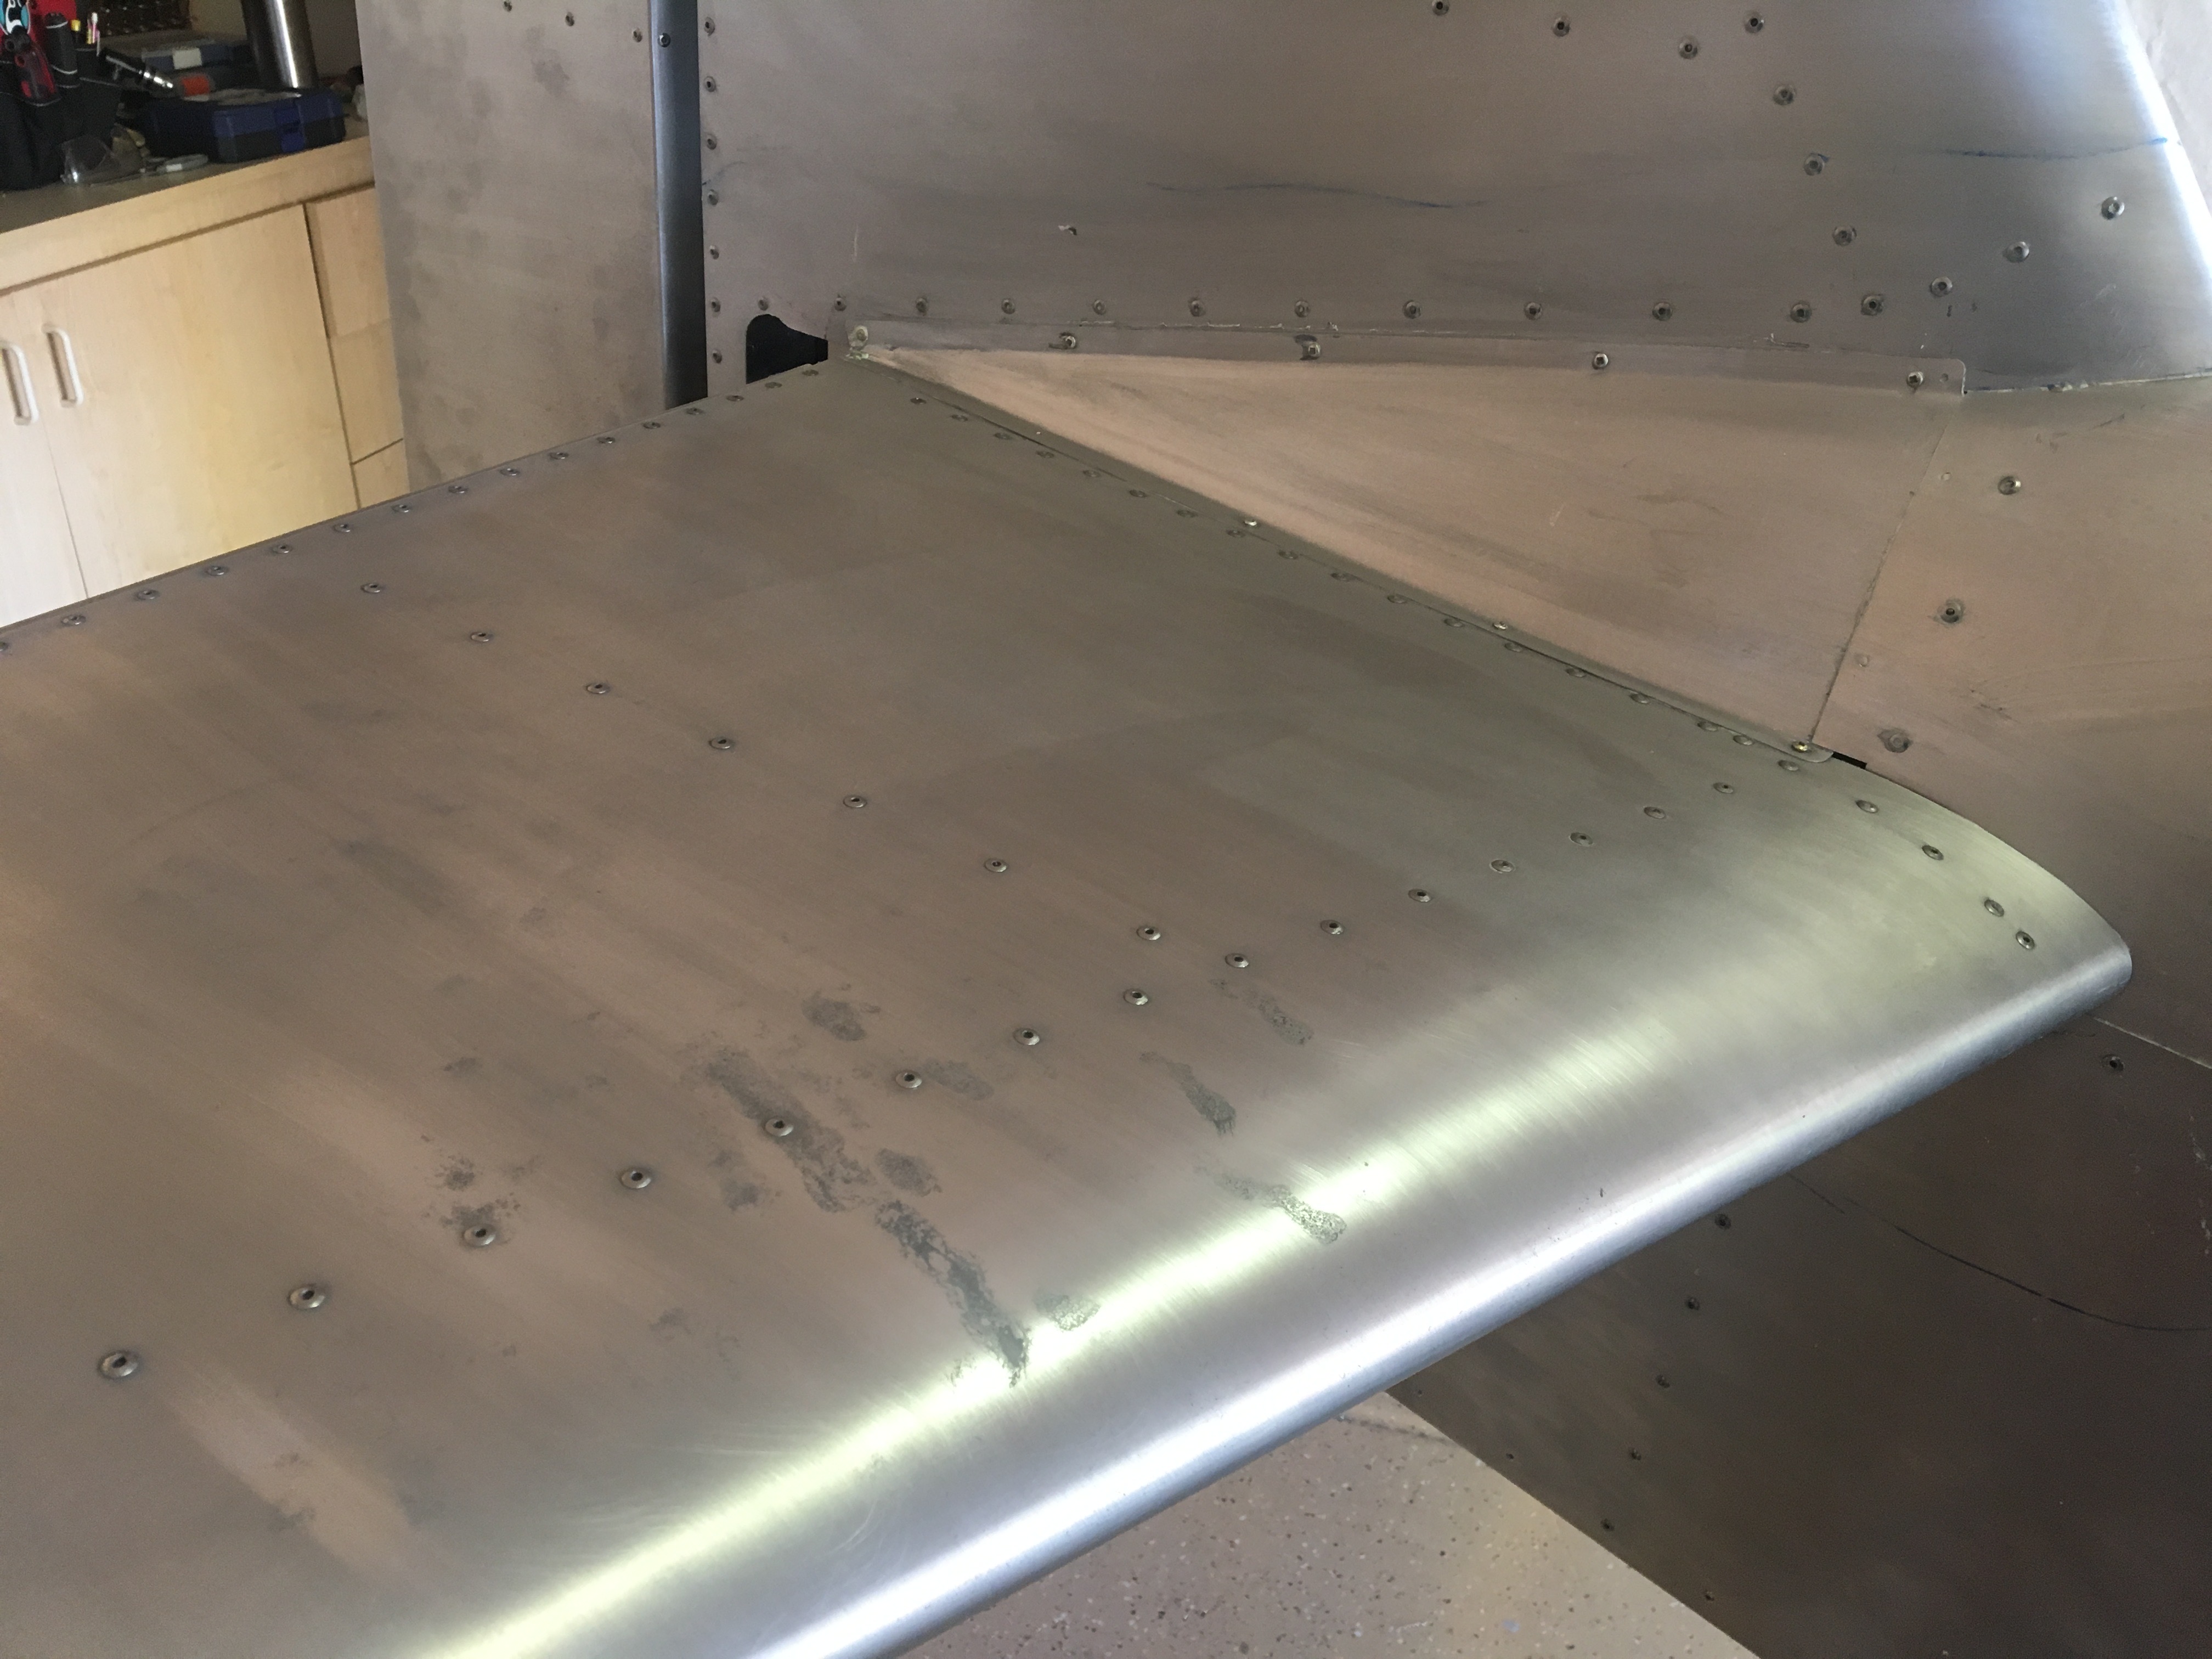
Three hours after beginning work I had everything cleaned up. The fiberglass mold I laid out yesterday came off the plane very nicely. The plane is not glued together in terrible ways… whew! But boy was it a mess. Wax, silicon film, clay, and epoxy all over the place. These are not the type of products where a dry paper towel simply soaks up the mess. I has to use a putty knife, mineral spirits, alcohol, scotch-brite, and dozens of paper towels. To make matters worse, I found dried epoxy finger prints on portions of the plane I didn’t protect with mold release agents (2nd pic). I was wearing gloves and must not have noticed that I spilled some epoxy on my fingers. It took a good portion of elbow grease to get those out. The good news is that epoxy sticks to aluminum very well which means I can use some micro putty to create smaller permanent fairings on other joints.
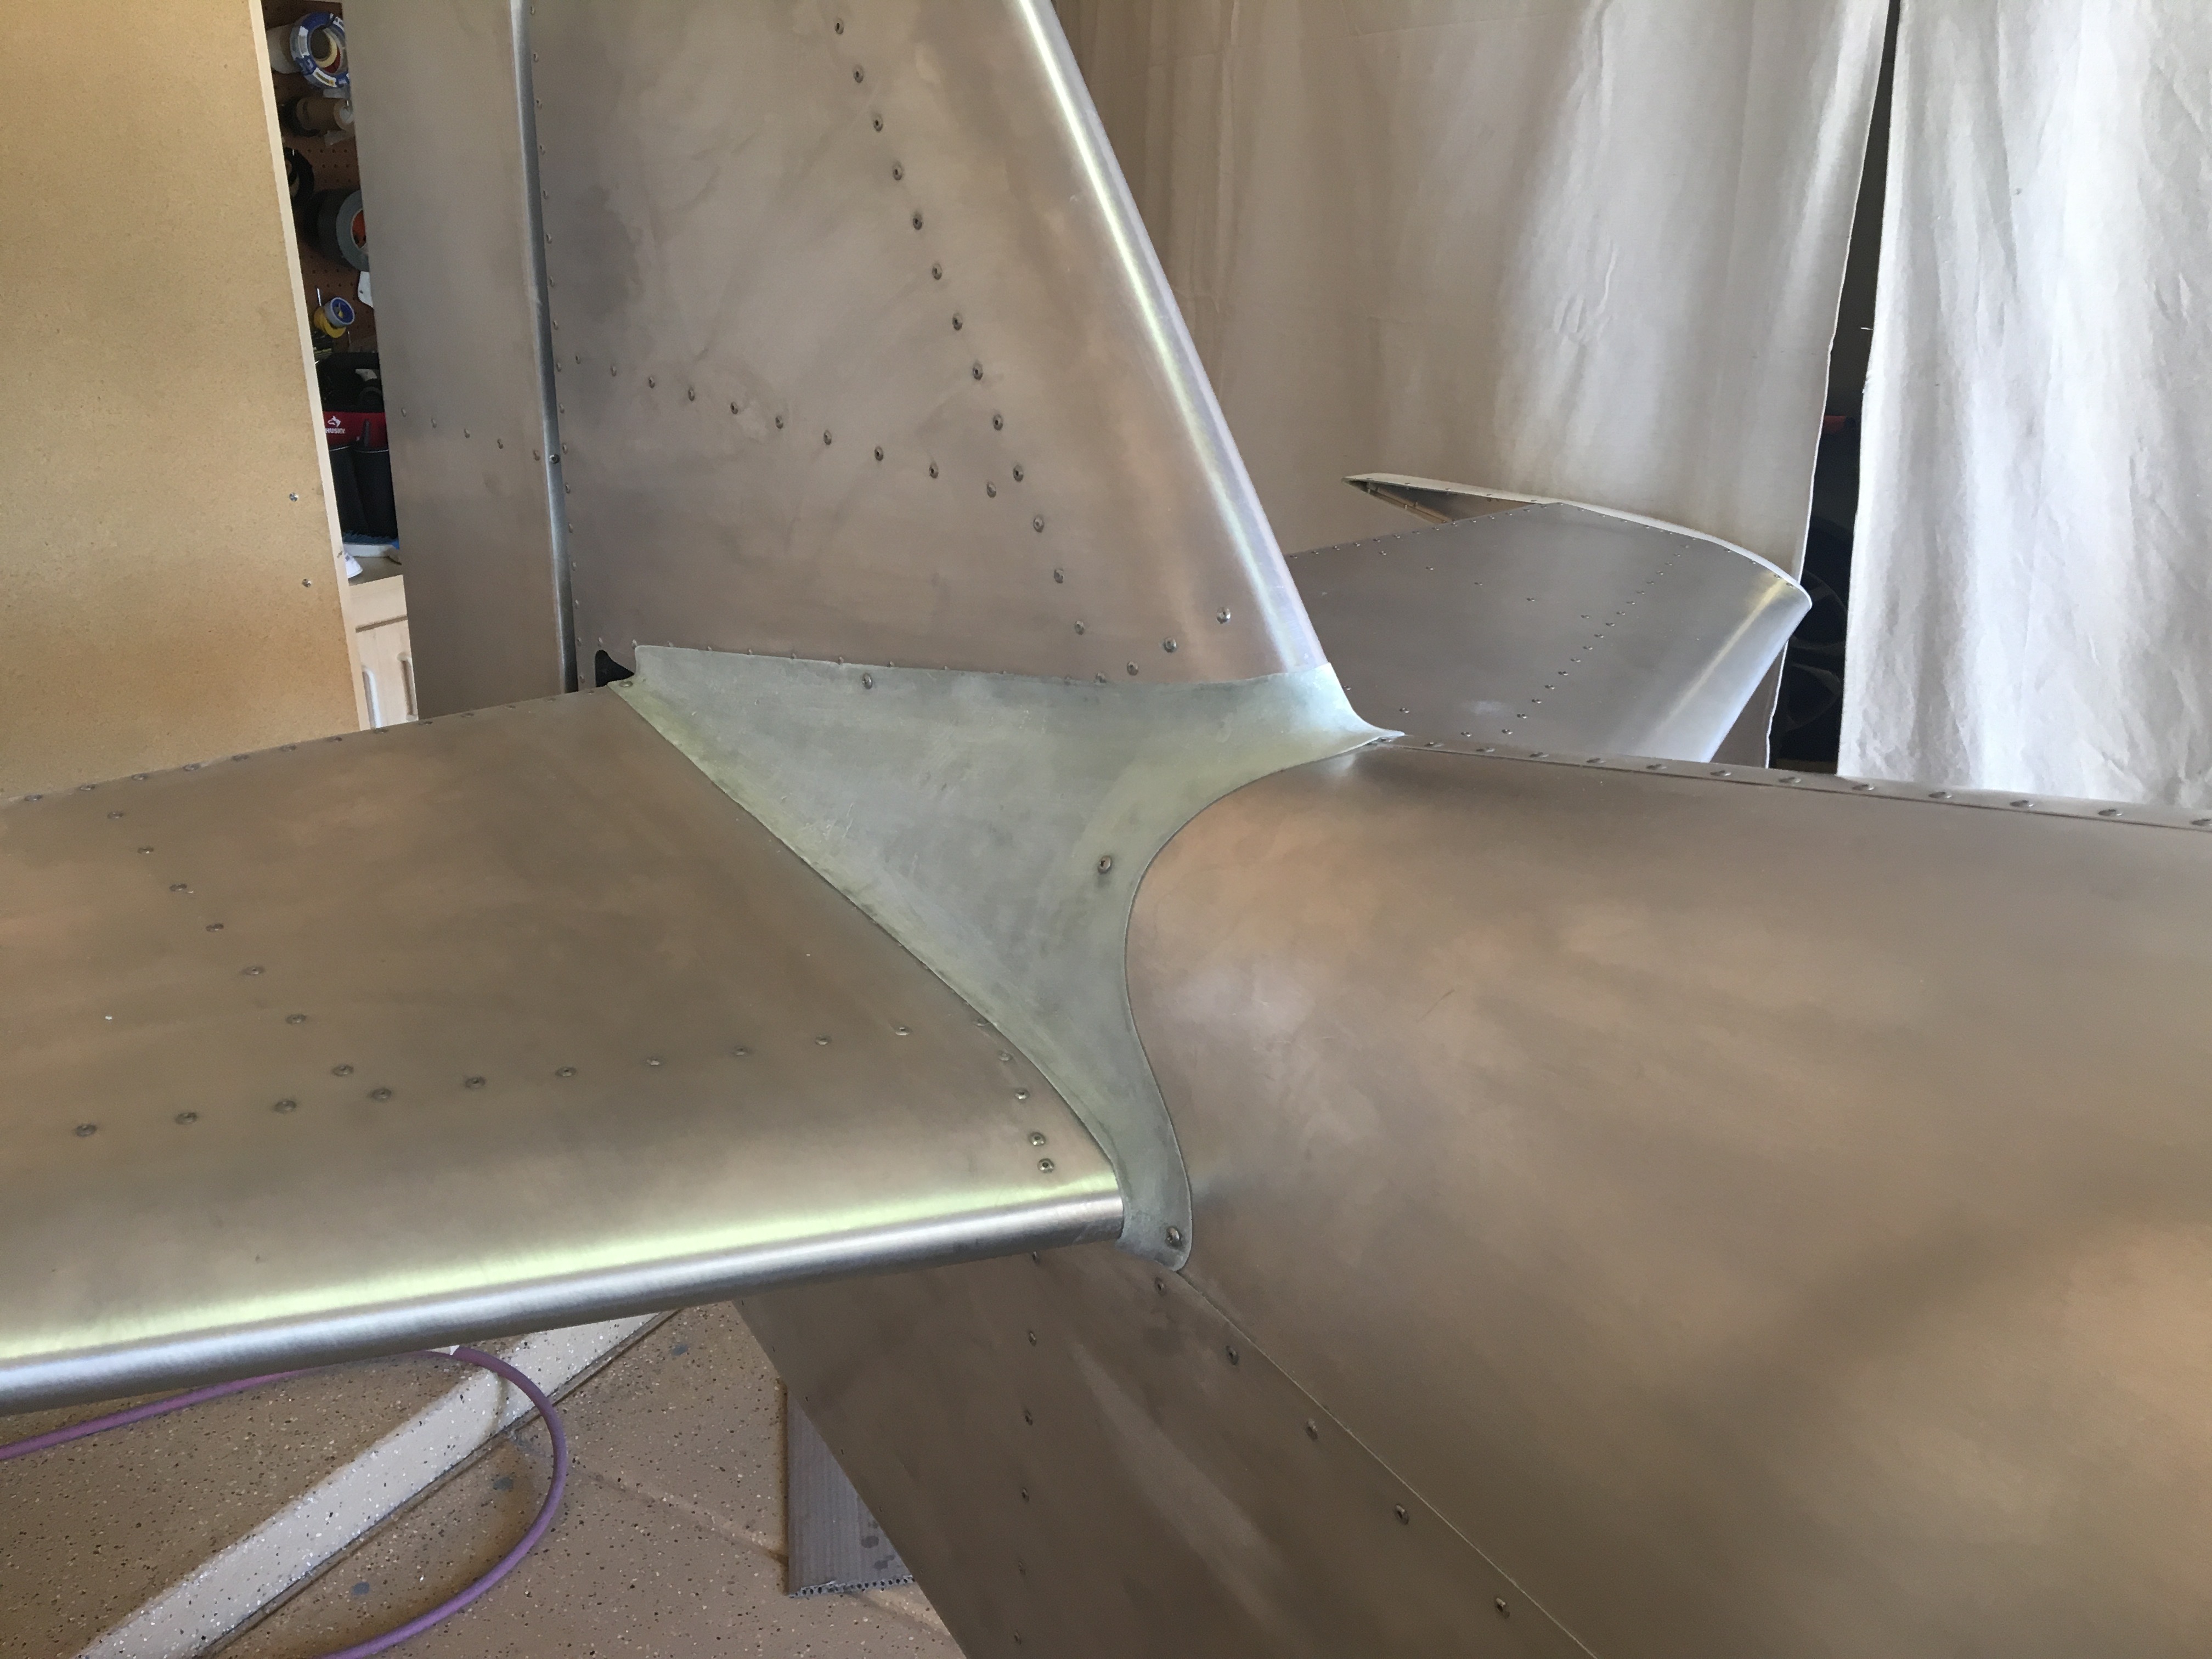
It was all worth it. After lots cutting the fairing piece and lots of sanding, it’s done. See the first picture. I love this solution far more than kit solution. Let me count the ways.
- 1 piece instead of two
- 8 screws instead of 20
- I installed a nut plate for each screw wherease the kit used sheet metal screws that thread into the sheet metal!? They even warn you in the plans not to over tighten the screws less they strip.
- All 3 joints have a fairing to improve aerodynamics.
- About 40 rivets are covered up, reducing drag.
- Better lines and no gaps between parts
Cons? Well, a polished aluminum finish here won’t work… not that this matters for me, and there are already a bunch of fiberglass parts (like wing tips). The weight is about the same as the aluminum covers. My biggest concern is that it’s untested. I think it’ll work great but I’m not sure how it’ll hold up to 150 knot winds. Worst case scenario is that the wind rips it off and the plane will experience more drag. Not a deal breaker. I’m considering adding more glass to reinforce the part.
I continued work on the wing bellcrank mounts that I started yesterday, but the plans are ambiguous. It’s unclear exactly how some peices are supposed to be assembled. Measurements are missing. So rather then drill holes and pull rivets in the wrong place, I’m putting this task on hold until I know exactly how the parts are supposed to fit with the rest of the wing.
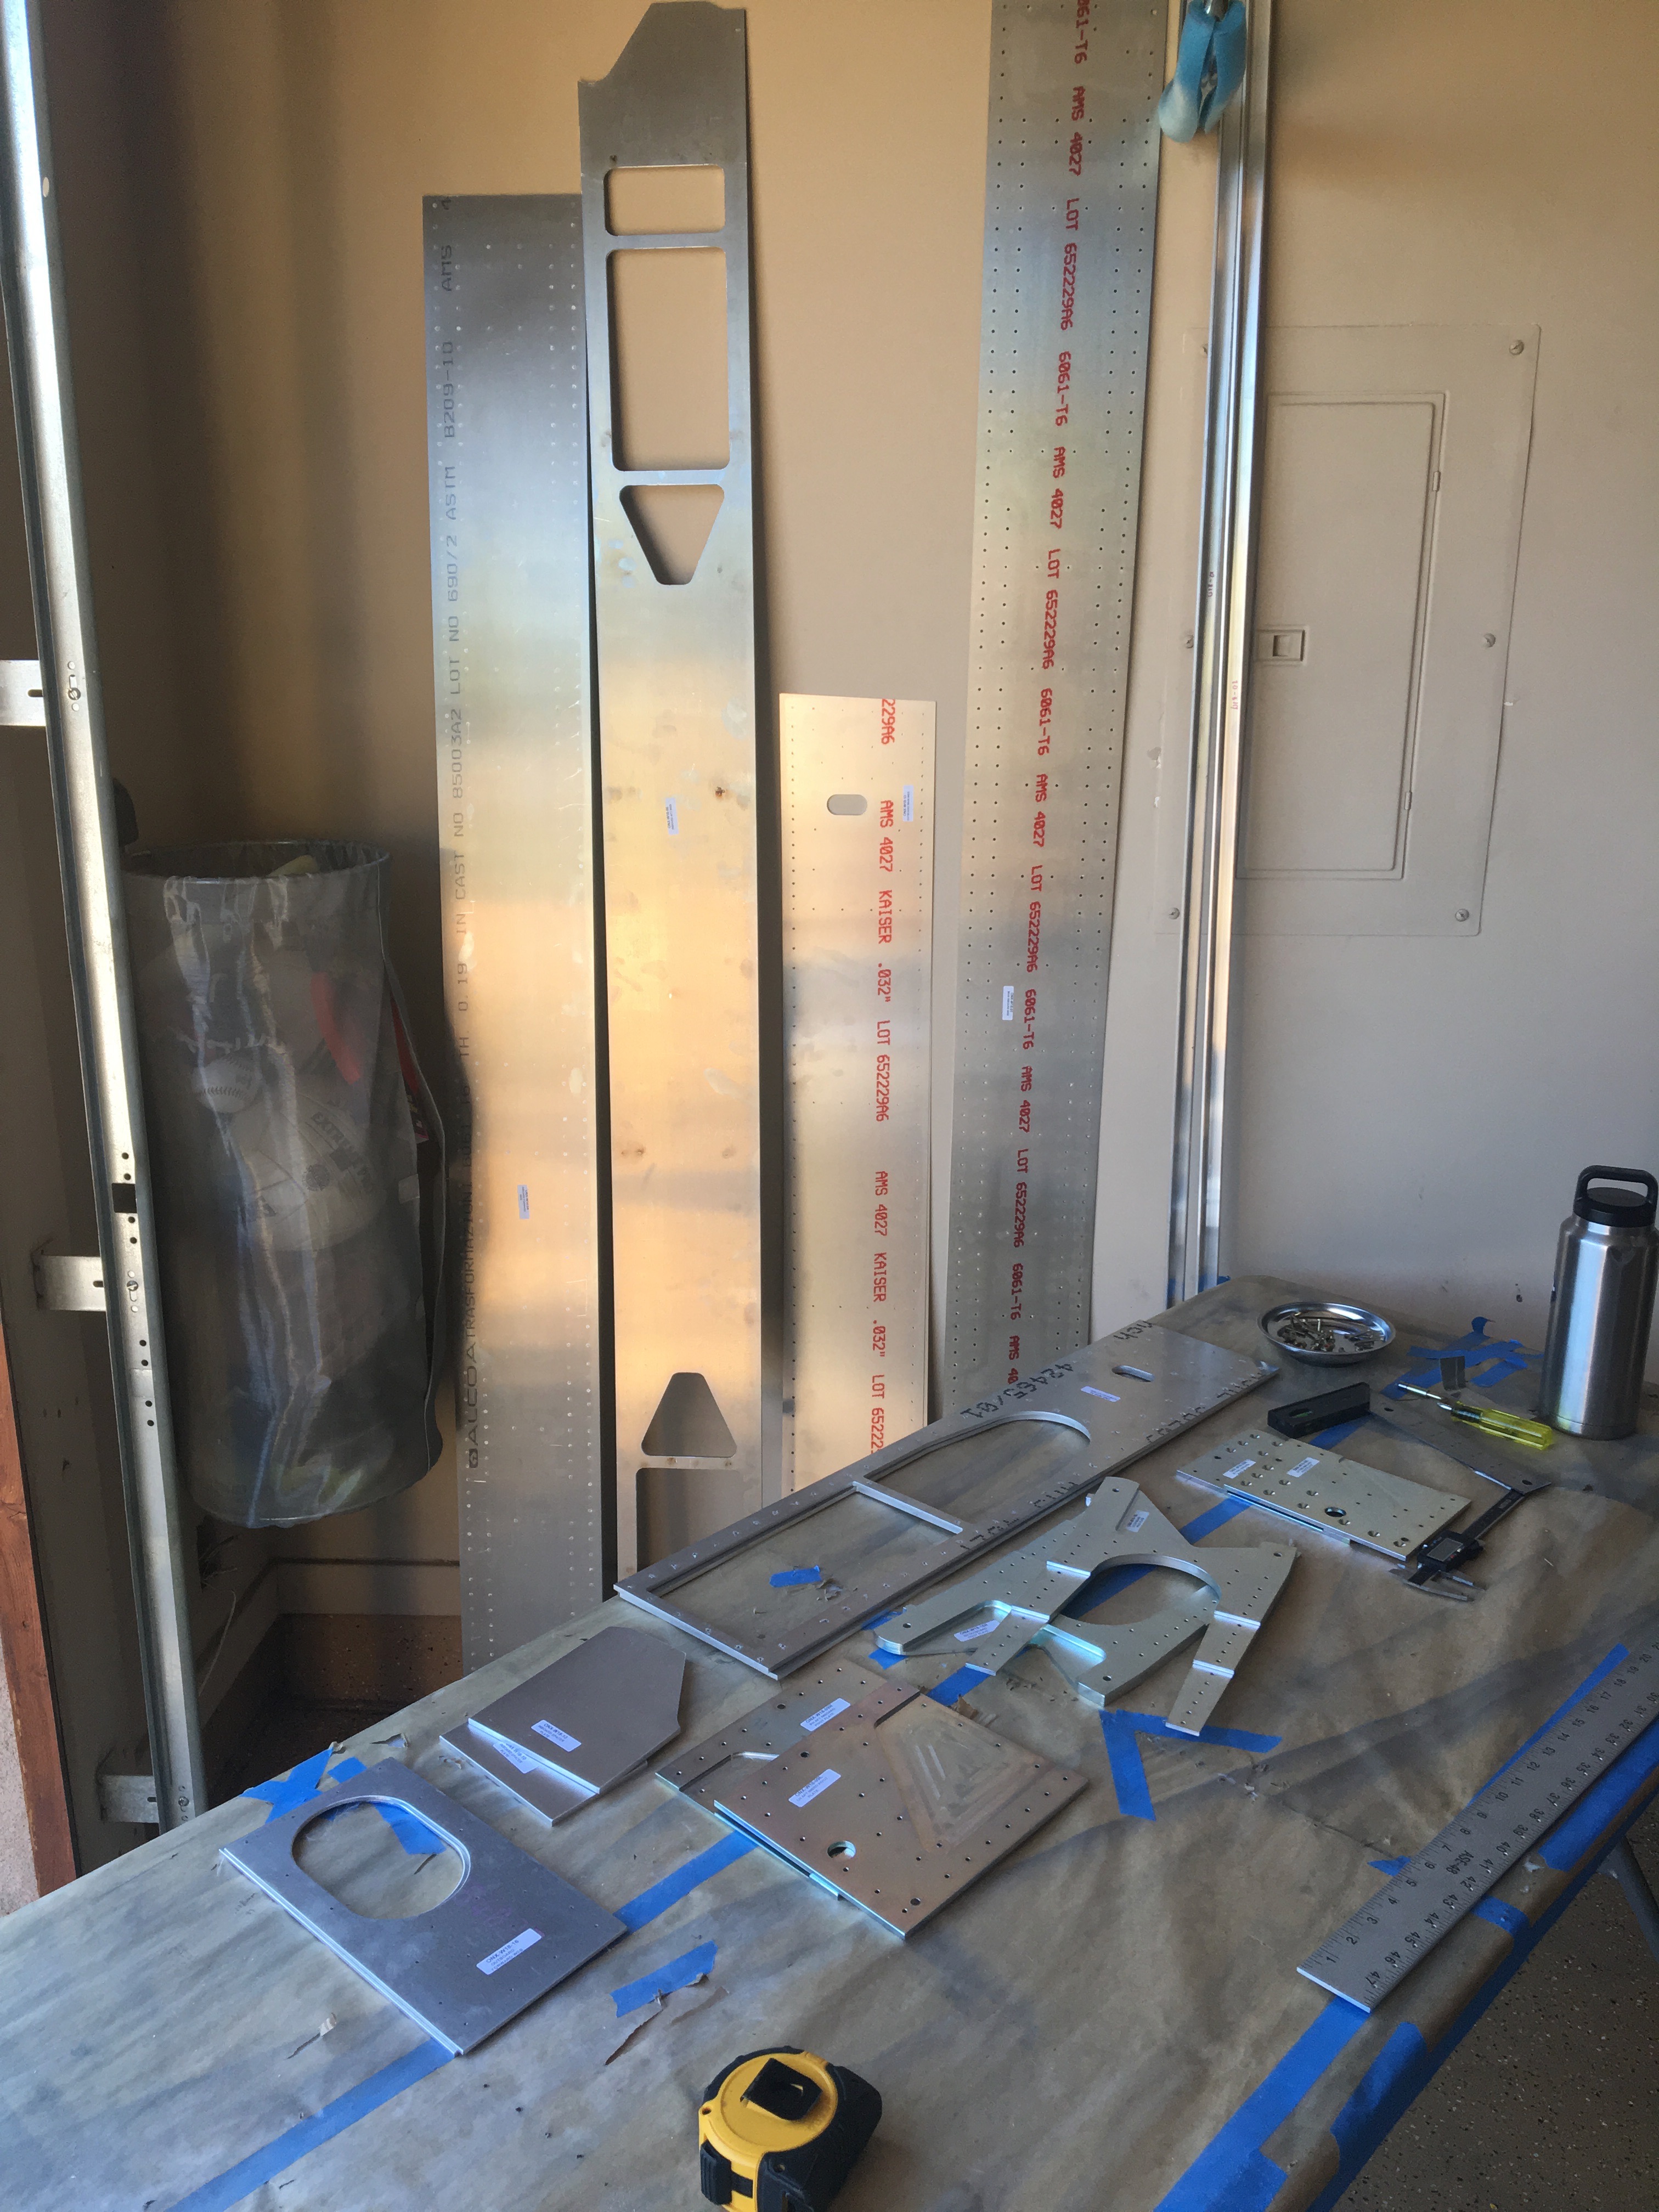
That brings me to the main spar. The last picture shows the majority of material required. I still have a few beams to cut. This is going to be a hefty meld of metal.