Tail Fairing
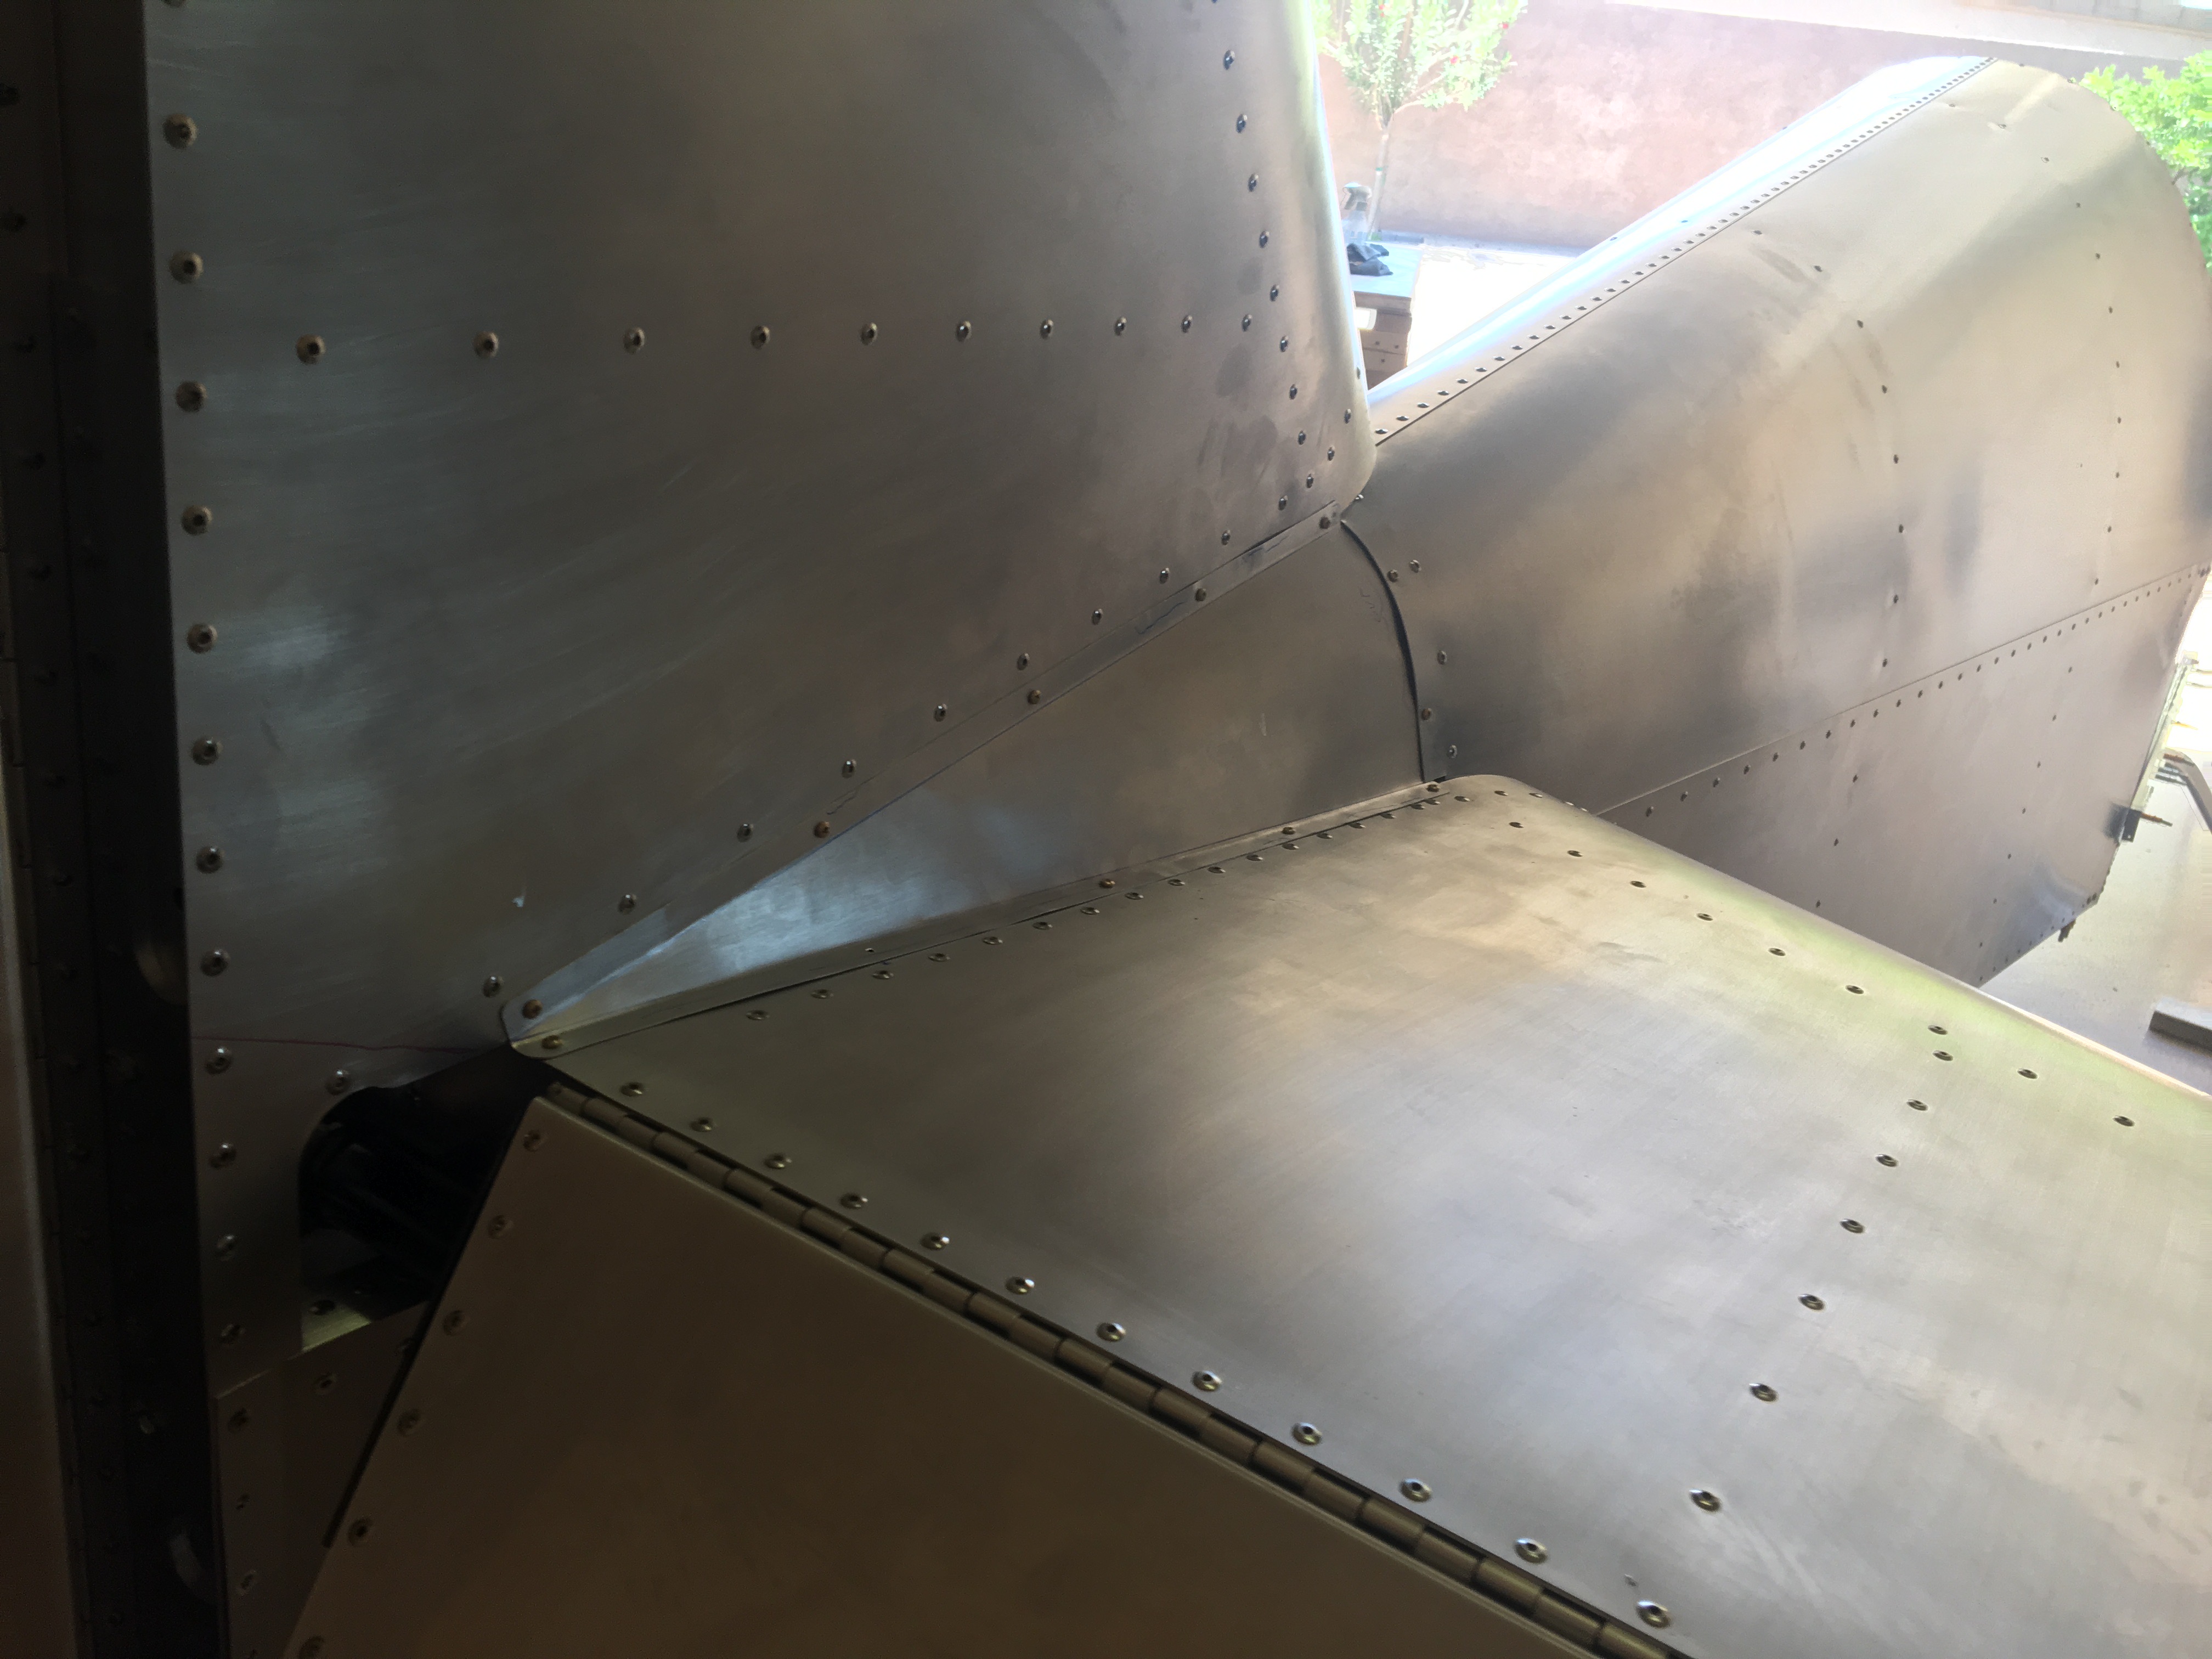
I’m not at all pleased with the way the tail panels came out. See the first picture. They required lots of bending to make them fit. It was non-trivial and I think I did a poor job. This became an opportunity to try out some composite technique.
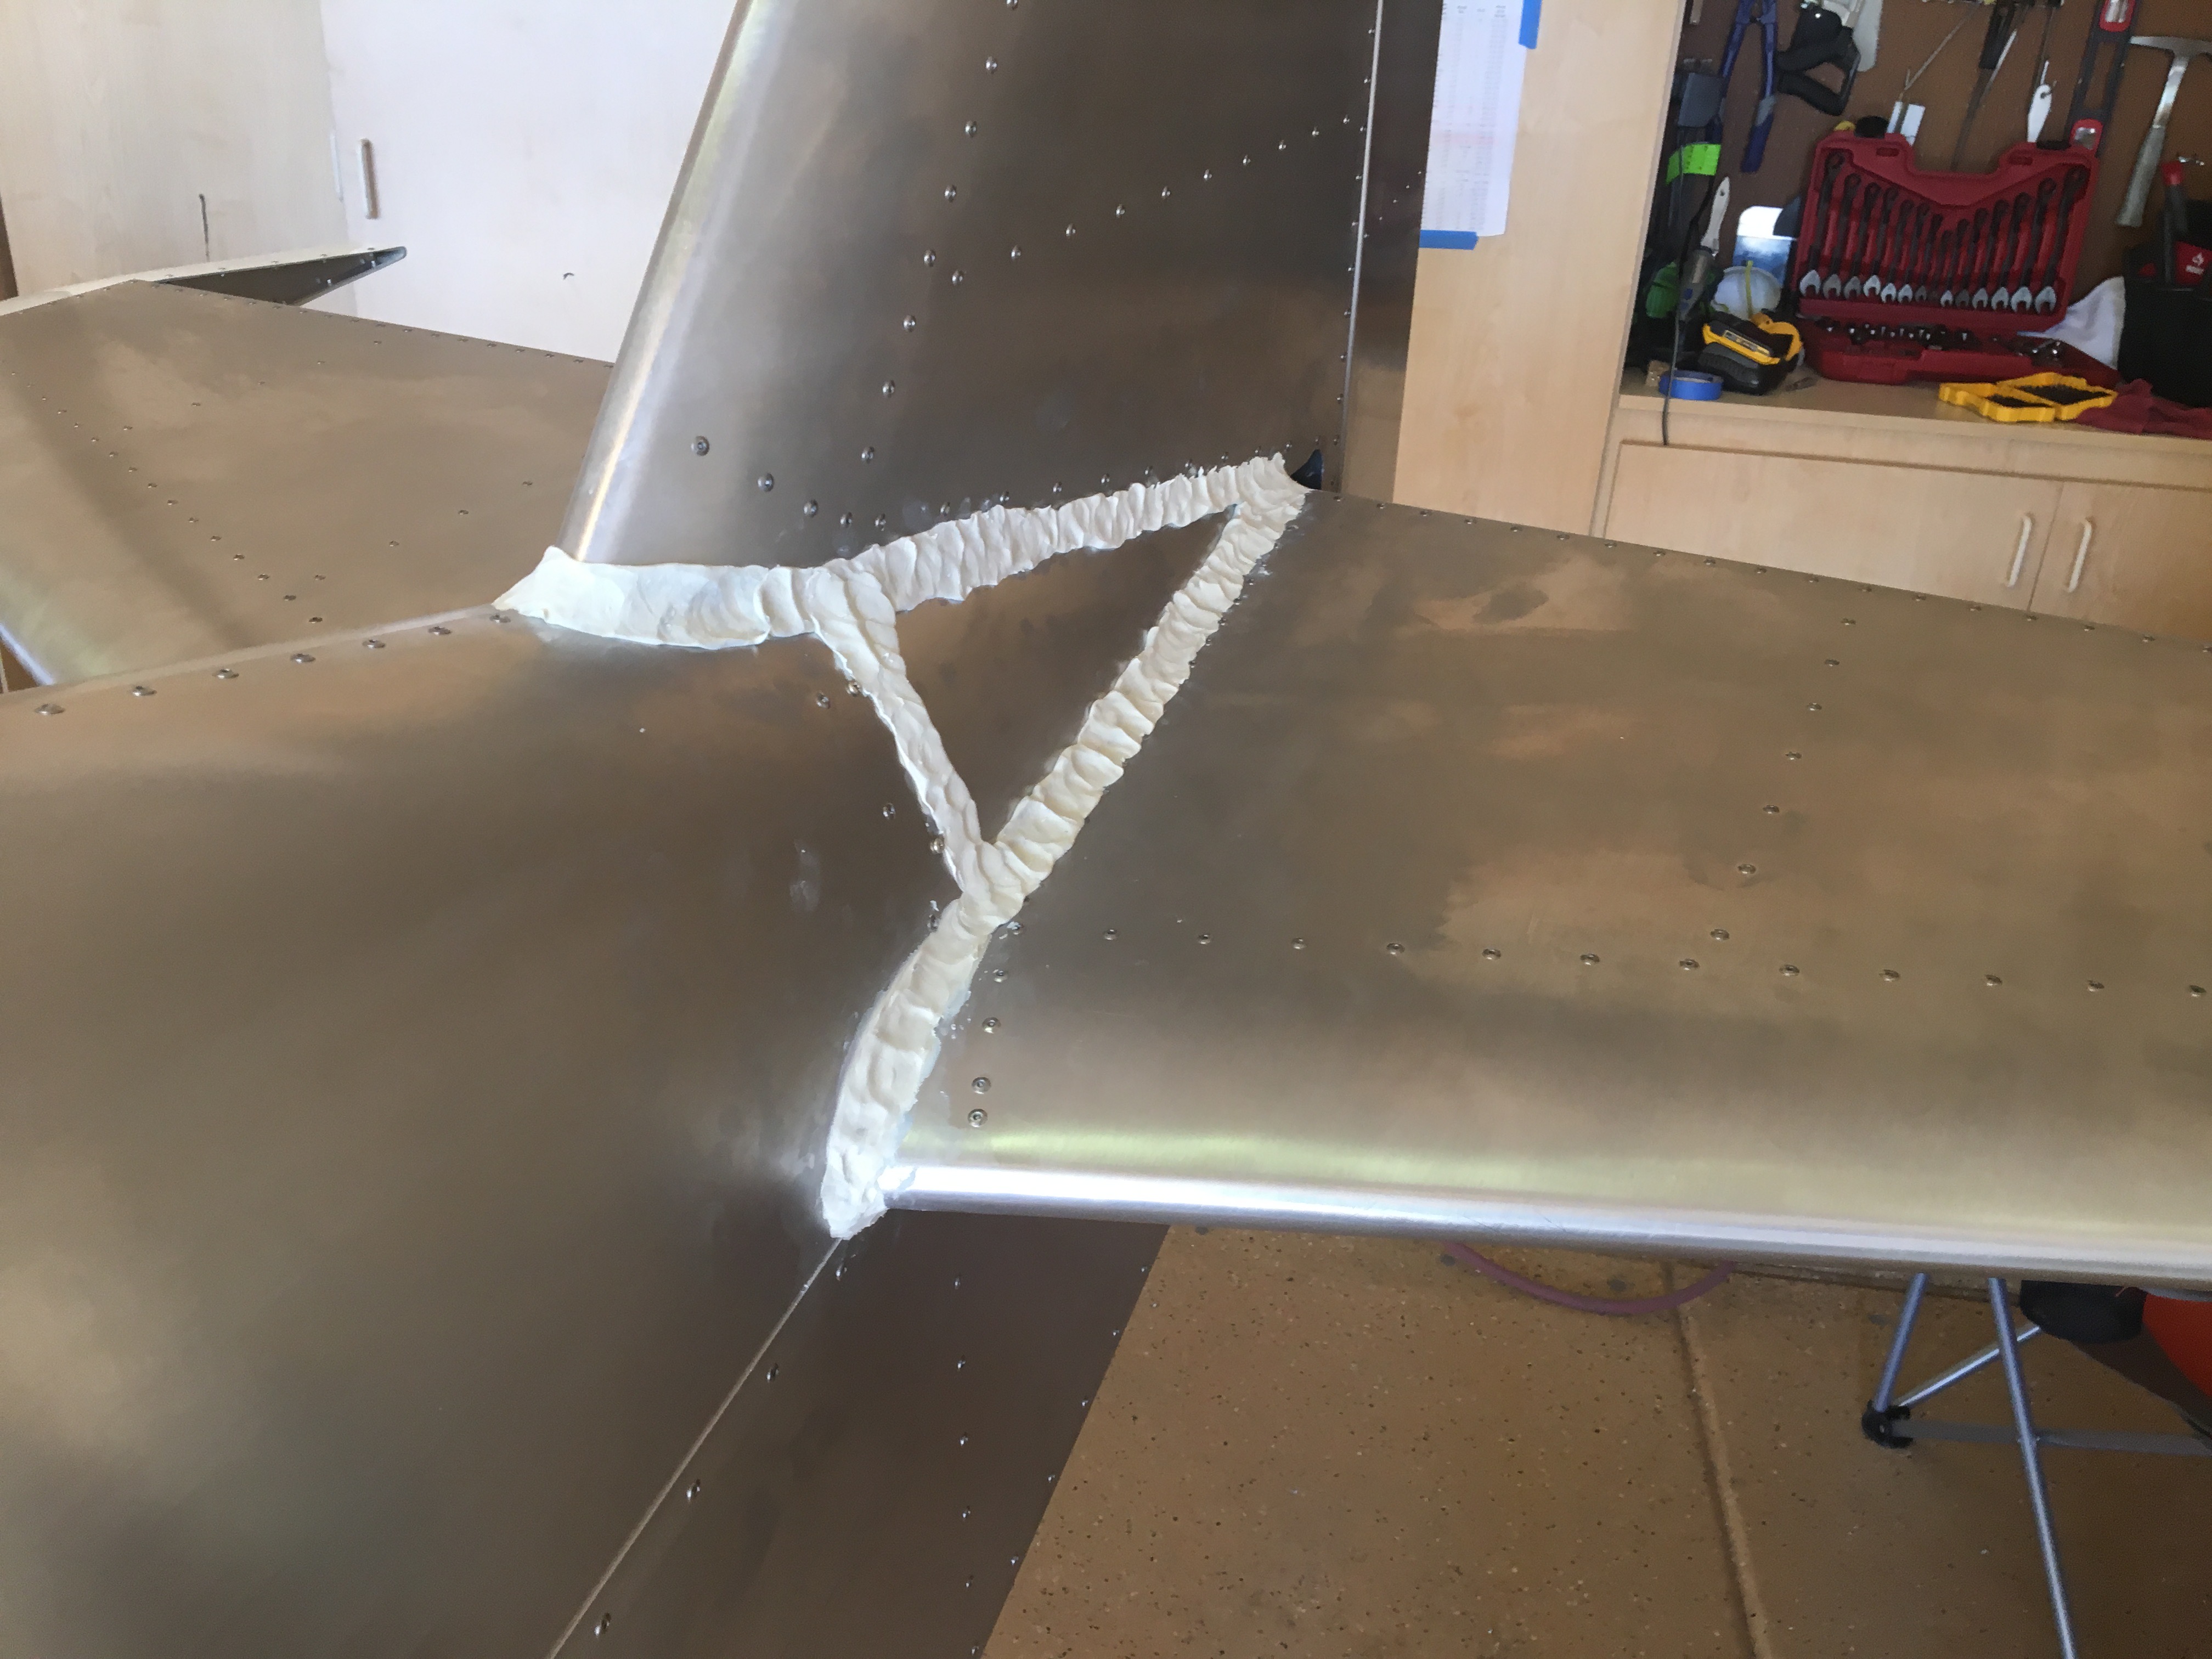
First was the play-dough, err modelling clay. You can see a rough fill of the corners. I left the panels in to give a shape to work around but they’ll go when it’s done. Then I smoothed out the clay and removed the excess. I’ve never sculpted much so this took a couple hours.
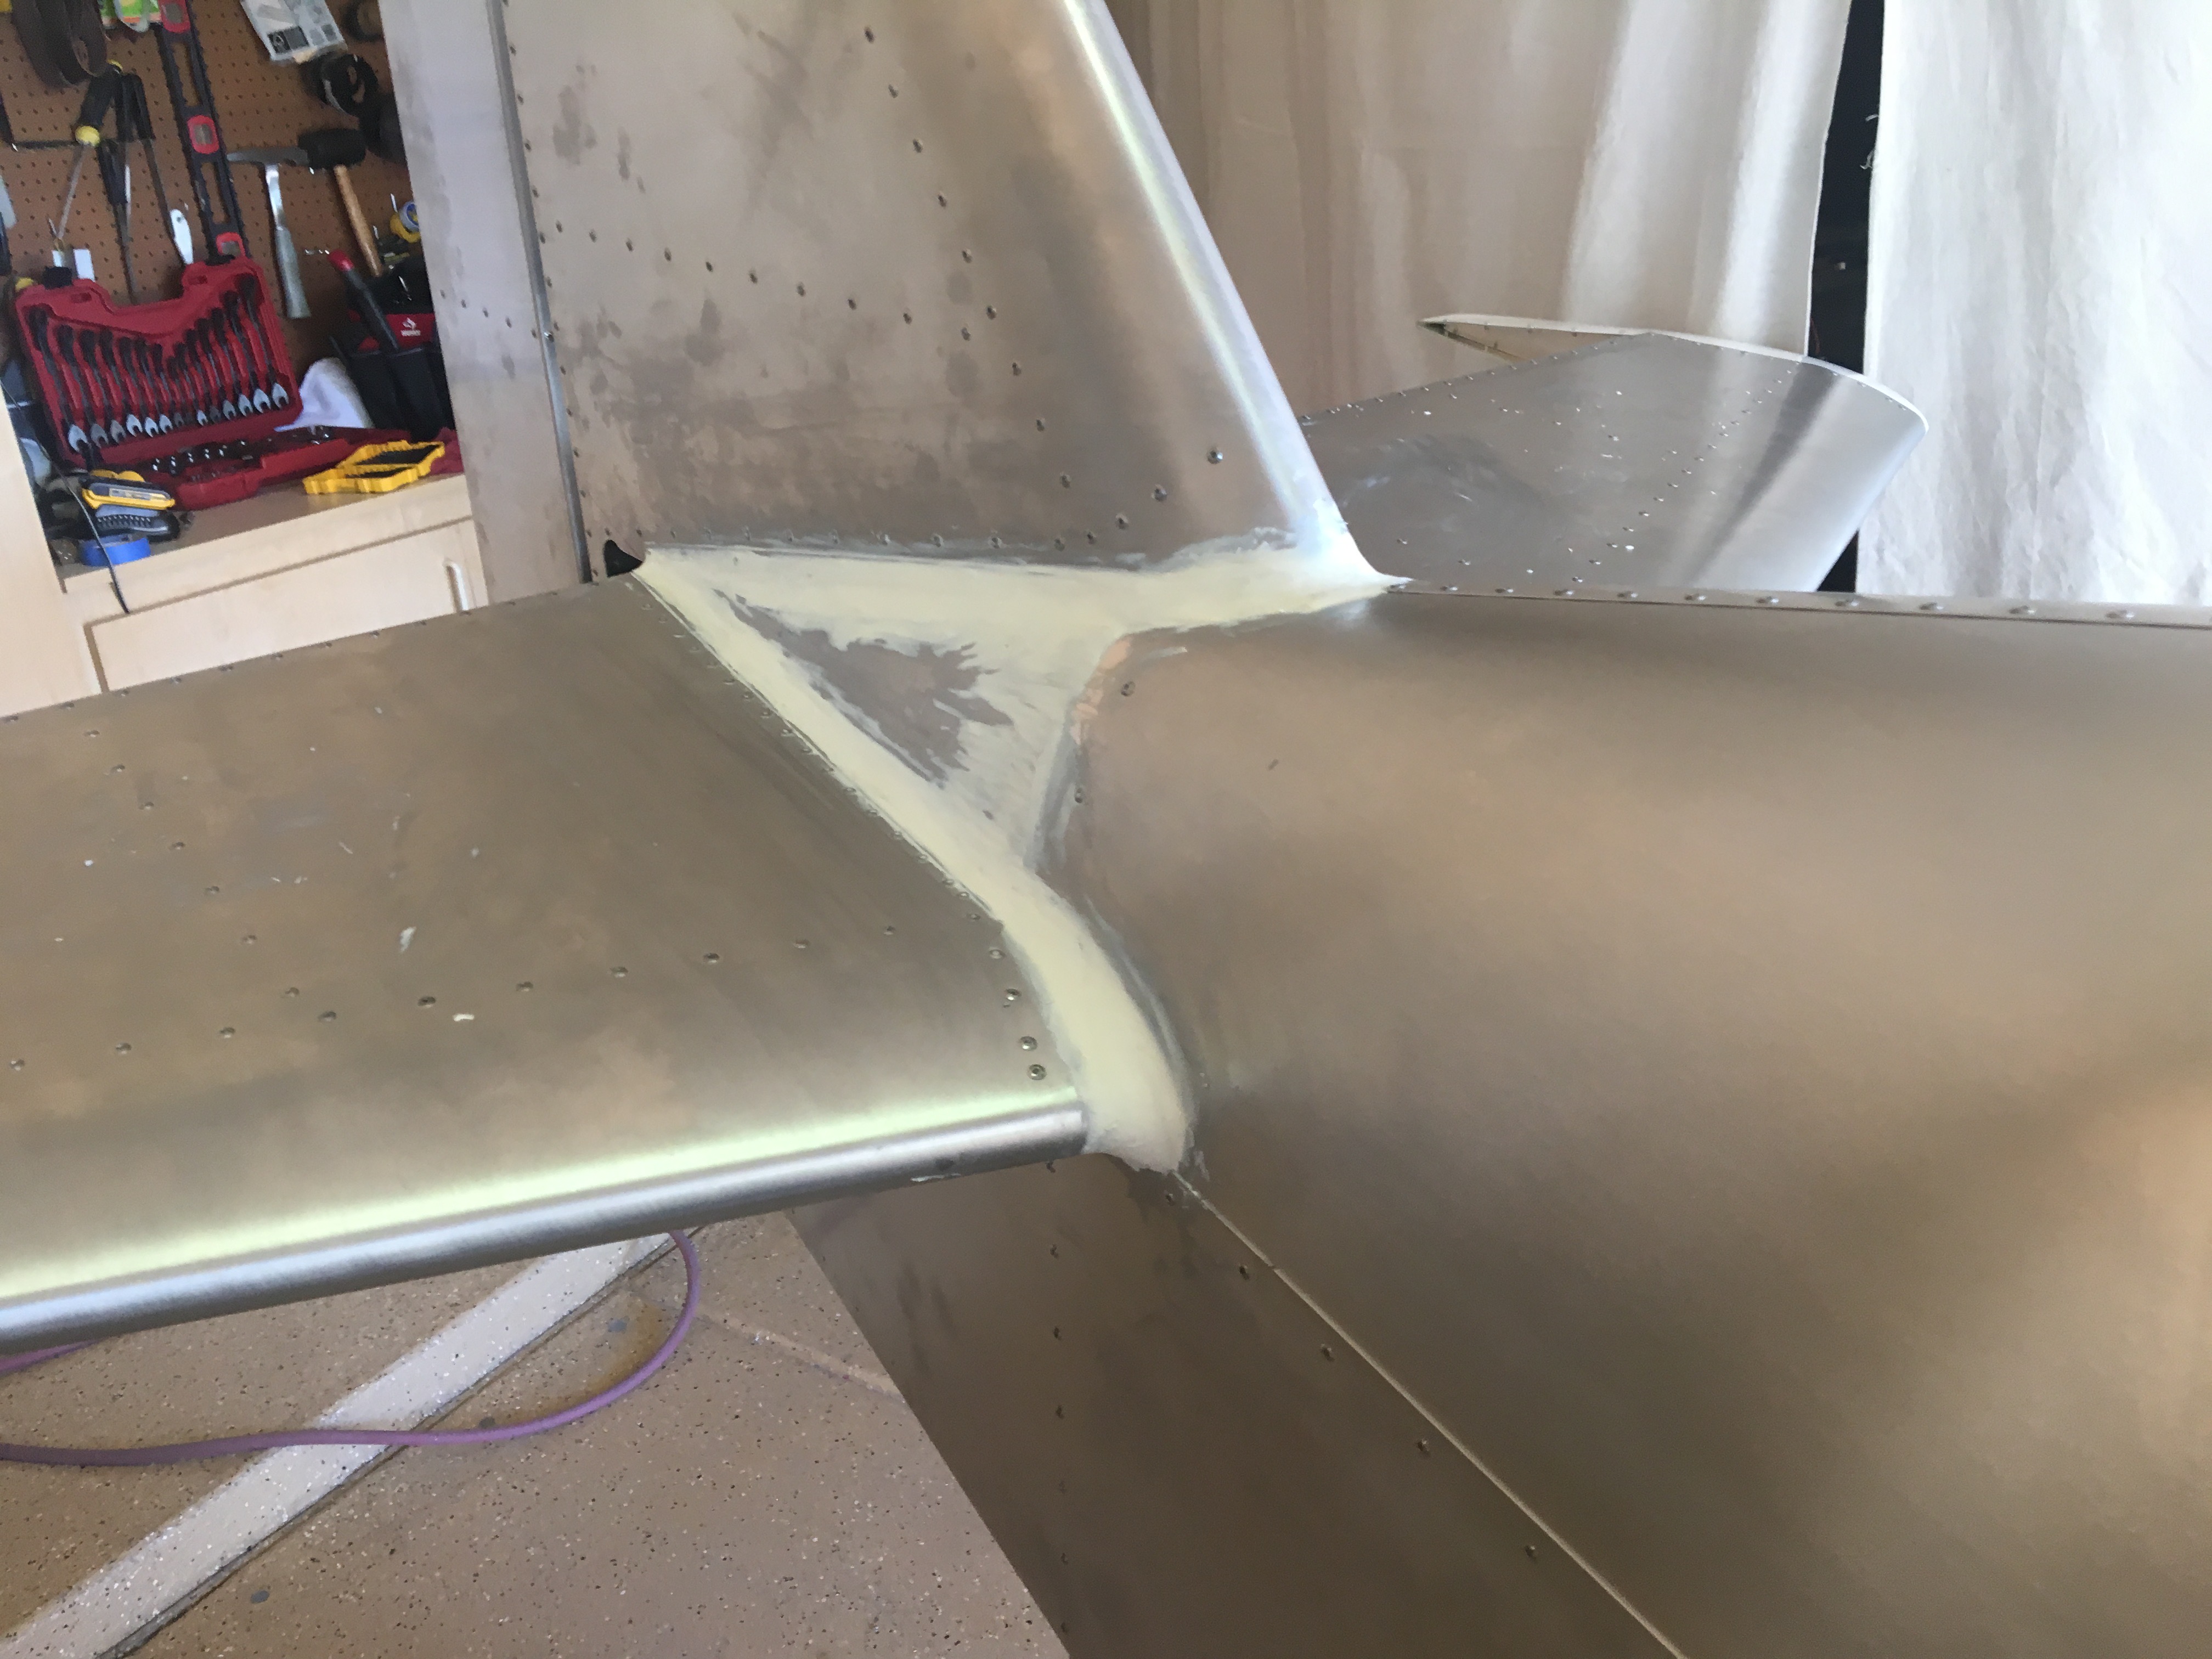
Since I was using the body of the plane as a mold, I had to take precautions to make sure the epoxy doesn’t stick to the plane. This fairing will be removable so there’s access to the tail section. I feared the epoxy would go everywhere and glue the plane in terrible ways. So I took double precautions. Mirror Wax, and Silicon spray. Both are mold release agents. I really hope they do the job.
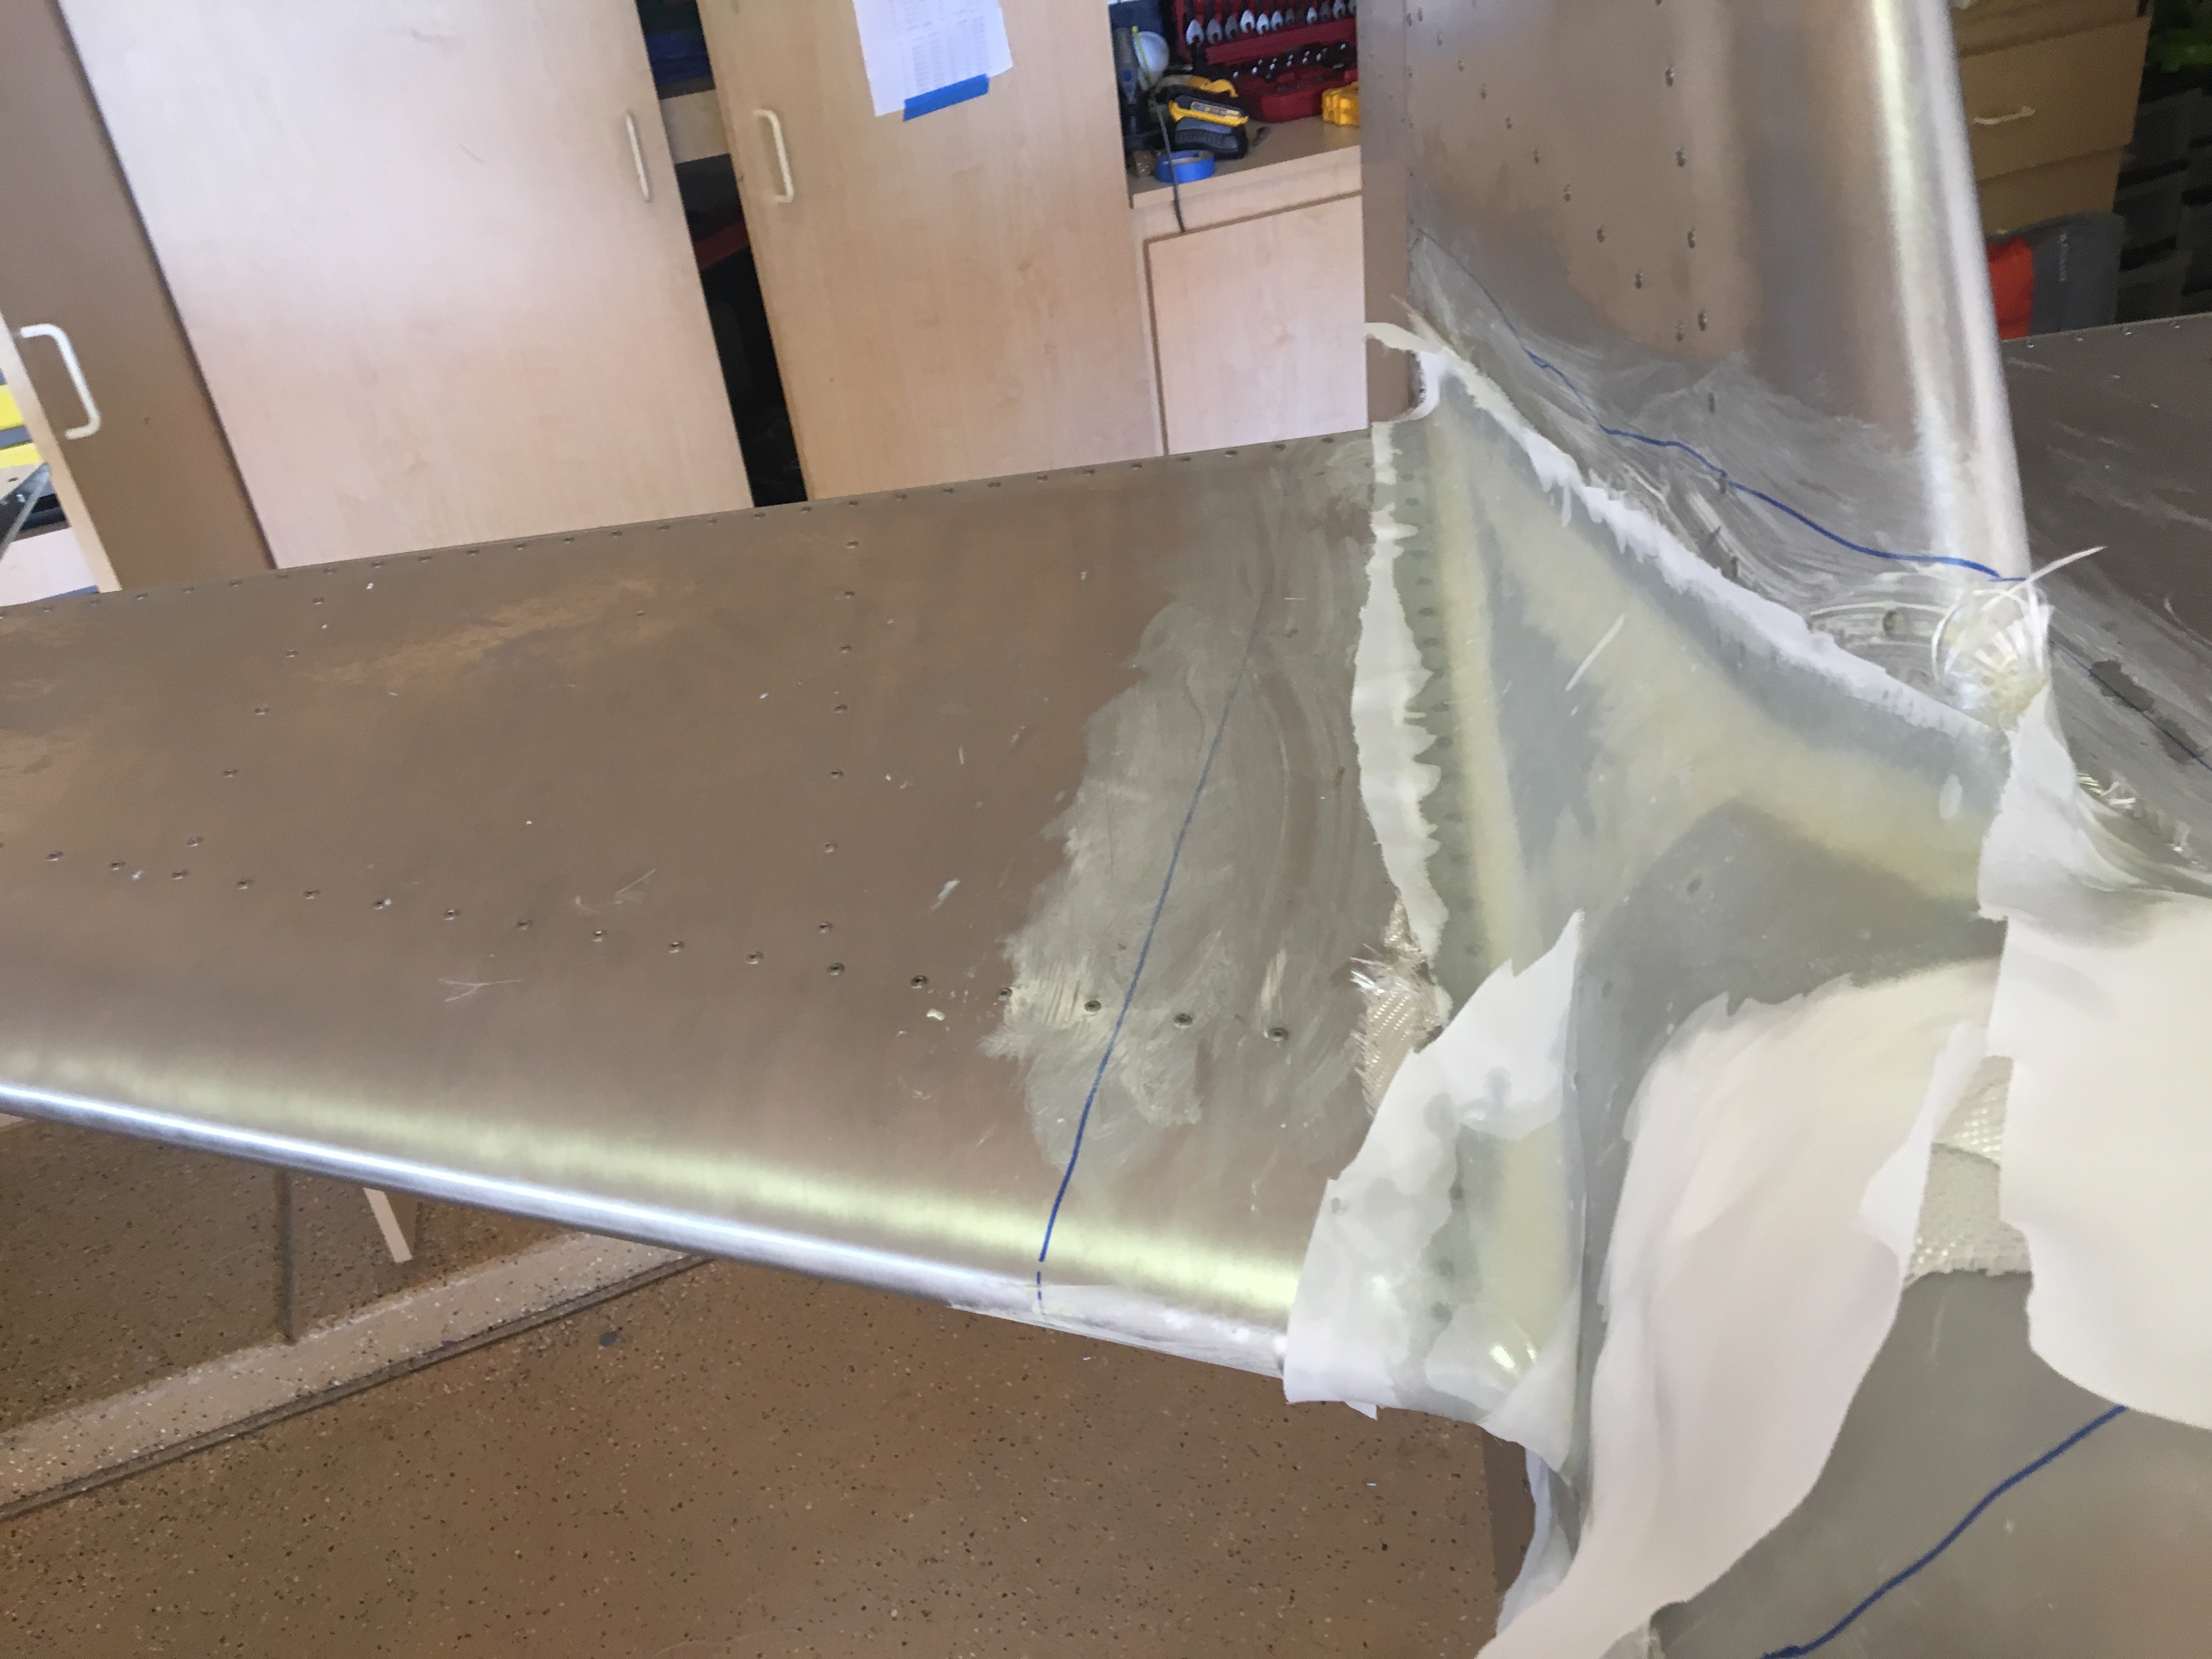
I cut the fiberglass and peel pry. Weighed it, and started mixing the epoxy. Layer by layer I laid out the material and wetted it. The glass is quite capable of handing the curves but the peel pry, not so much. If I had to do it again, I’d cut small pieces to better fit the mold. This was using one piece per layer.
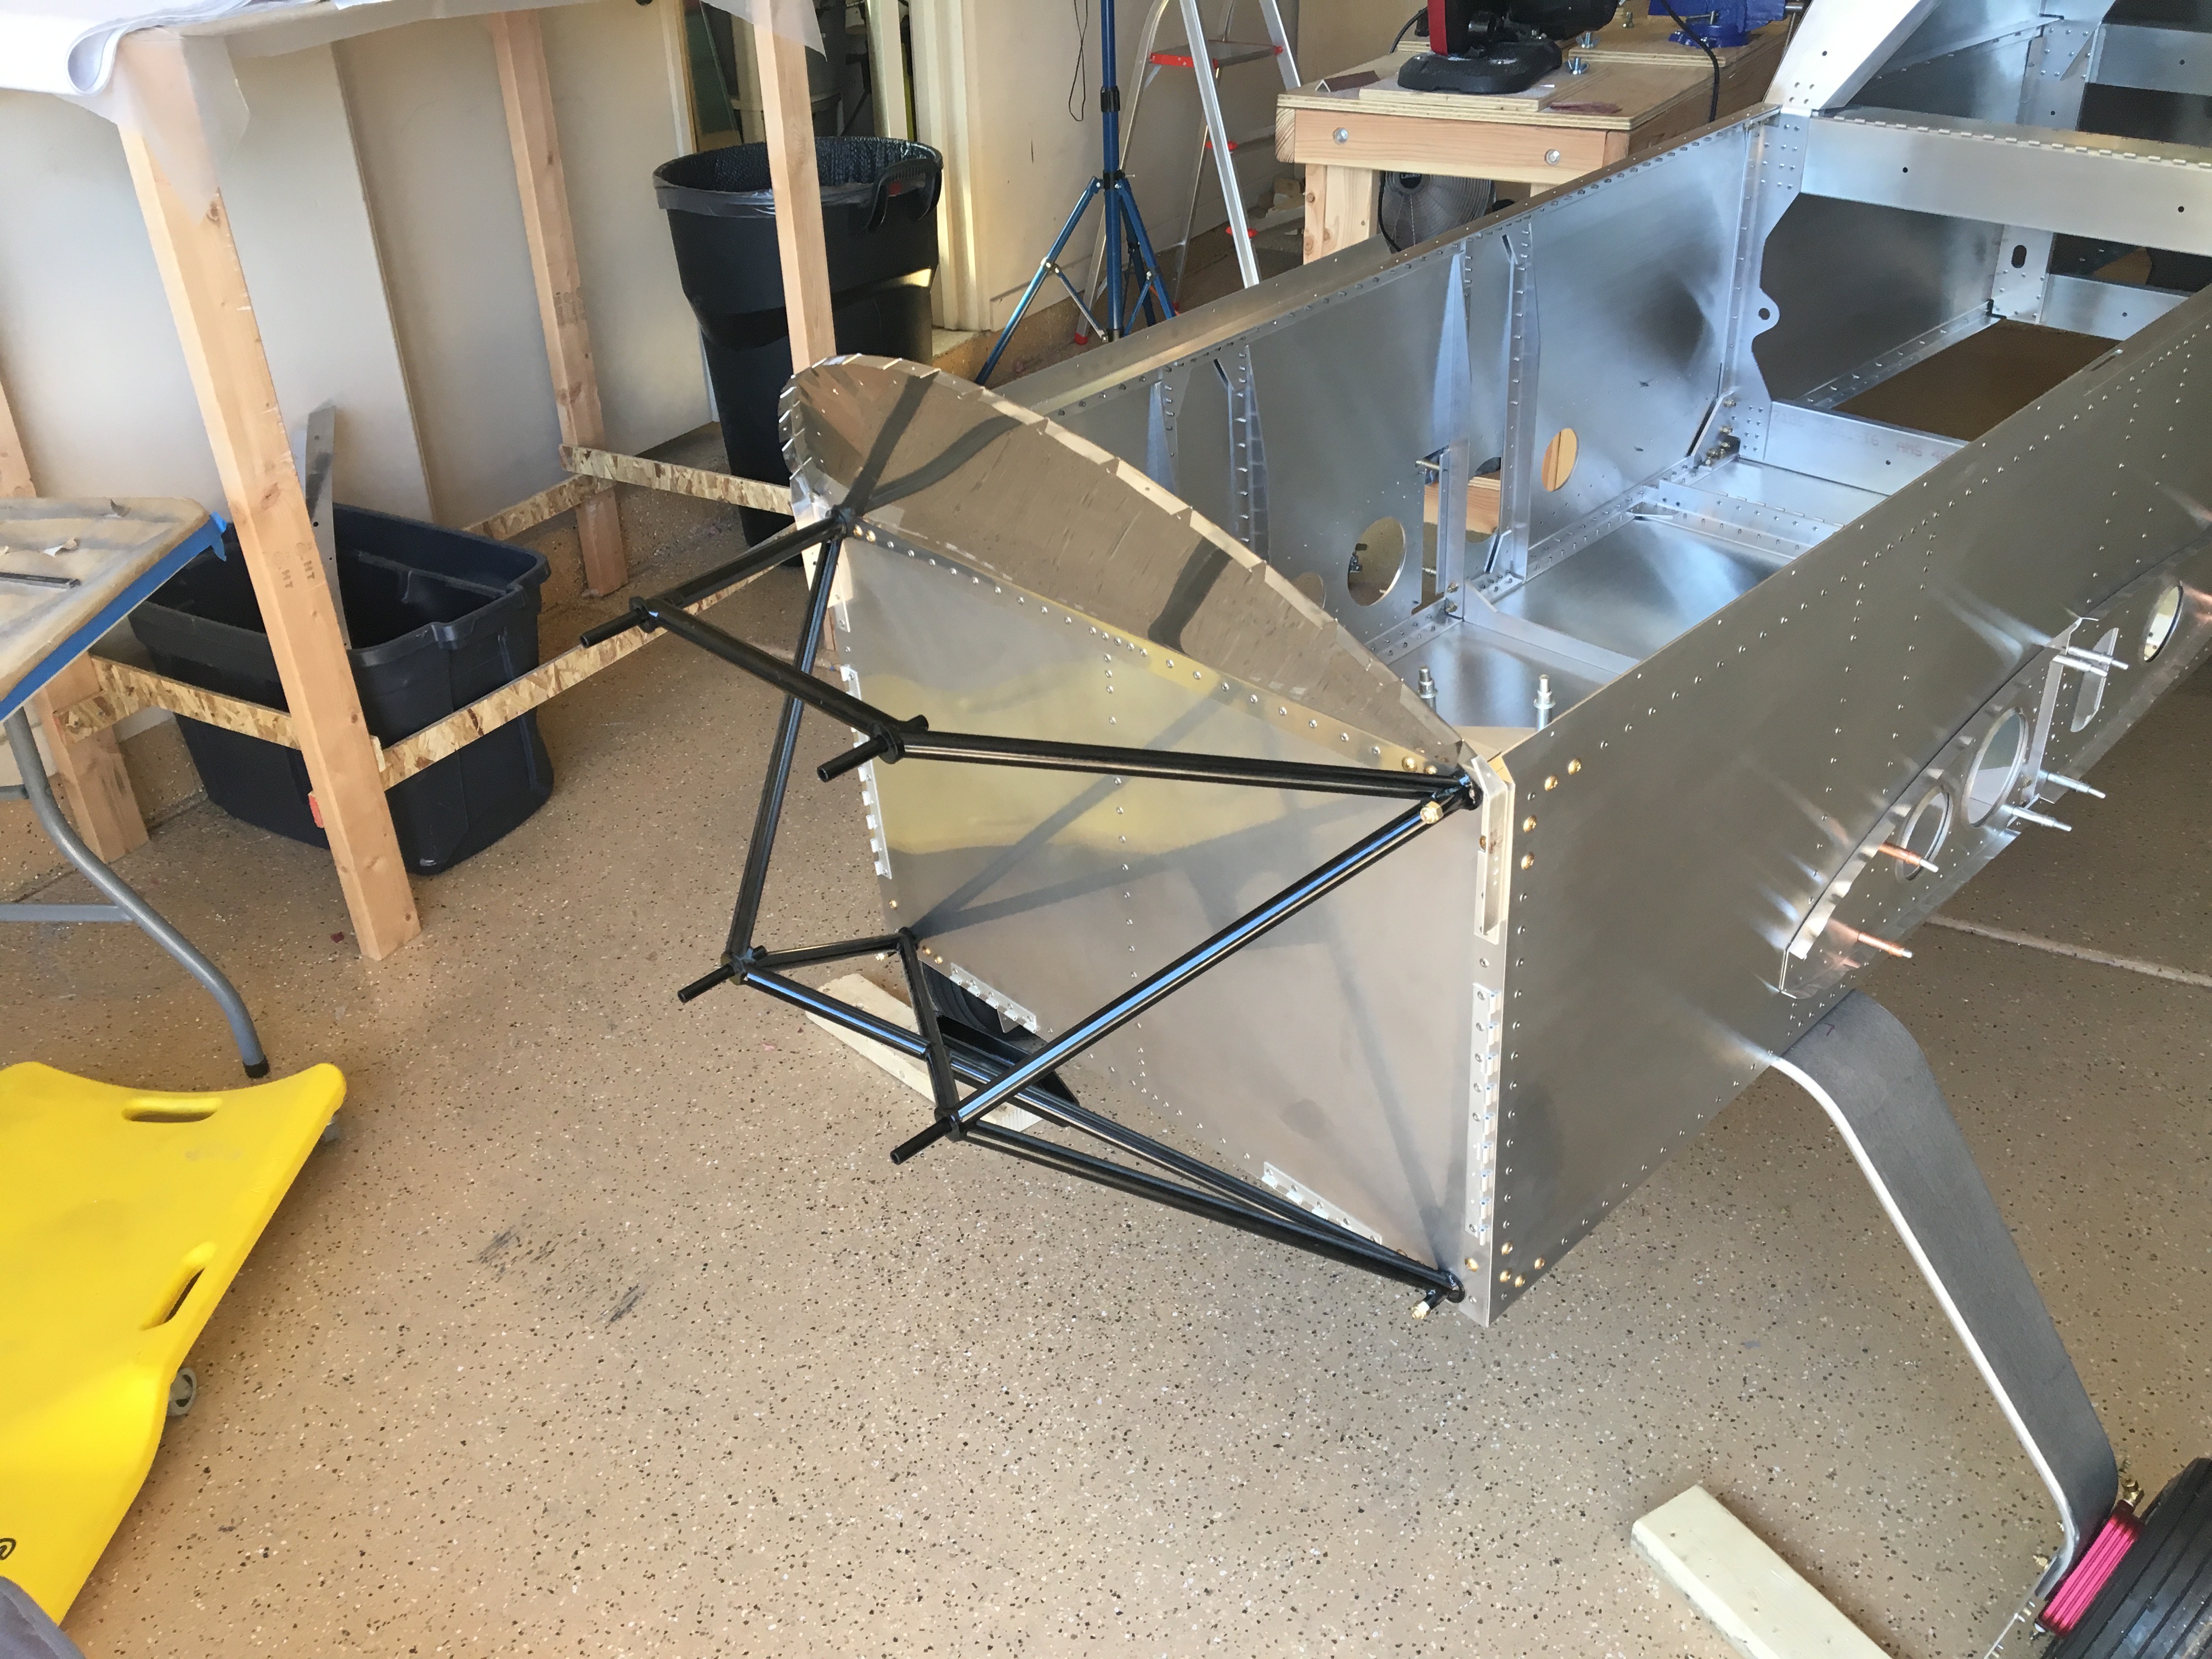
While that sets, I bolted the engine mount and fabricated some parts for the wing fold assembly.