Tail Gear
File! Grind! File! That’s how the day began. The horizontal tail and the rudder need to travel 25° up and down, left and right respectively. Not only that, their lever arms need to hit squarely with the surfaces they meet at the end of their travel. To achieve this meant lots of grinding with the dremel and filing with the files. To my delight, I achieved the required travel on each surface.
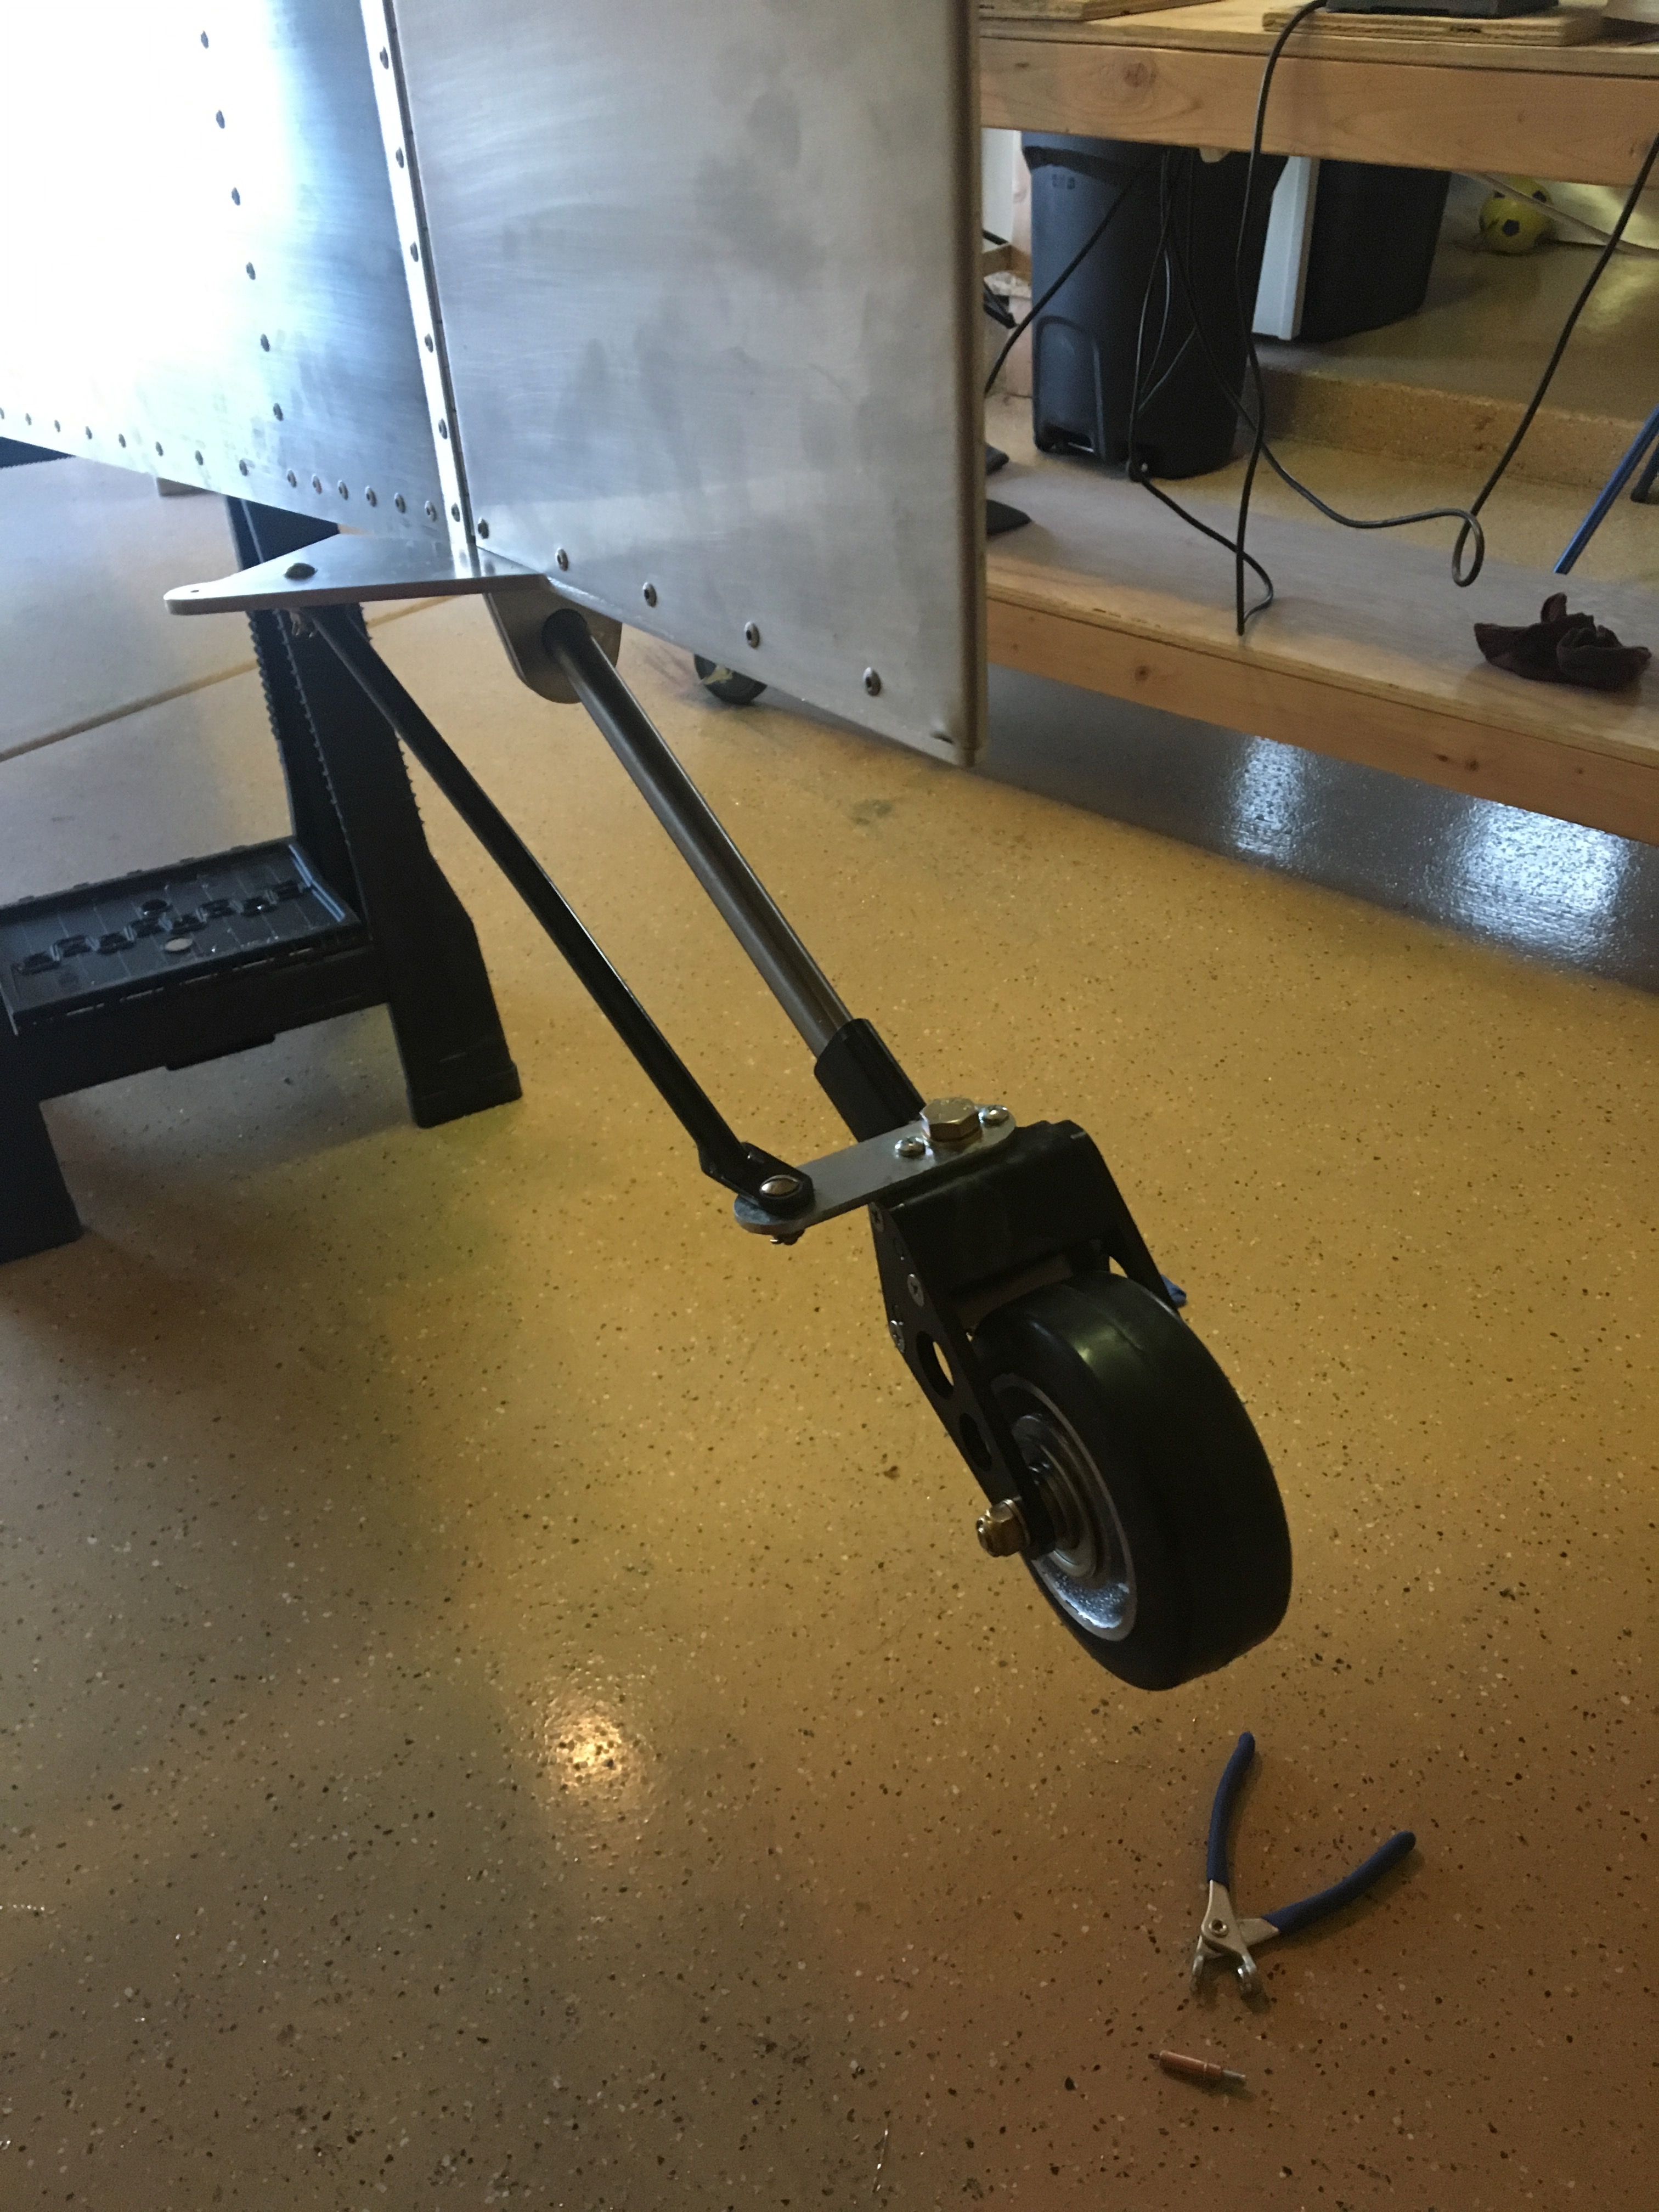
In the afternoon I made a trip to Ace, my home away from home it seems. I needed the tiniest drill bit for the hinge cotter pins, and the biggest drill bit for the tail gear spring, which they didn’t have. For the tail gear spring (a 2 foot long steel bar 5/8” in diameter) hole I drilled up the my biggest bit 1/2”. Of course the spring didn’t fit. I dremeled for a while and filed for a while trying to widen the hole without much success. So I got creative and wrapped some emery paper (sand paper tape) around a drill bit, wedged it into the hole and spun the drill. This was impressive. Aluminum dust clouds sprung out from the hole and it made a nice smooth finish whereas the filing and dremeling looked sloppy. After adding a bit more tape a few times, the hole was the perfect size!
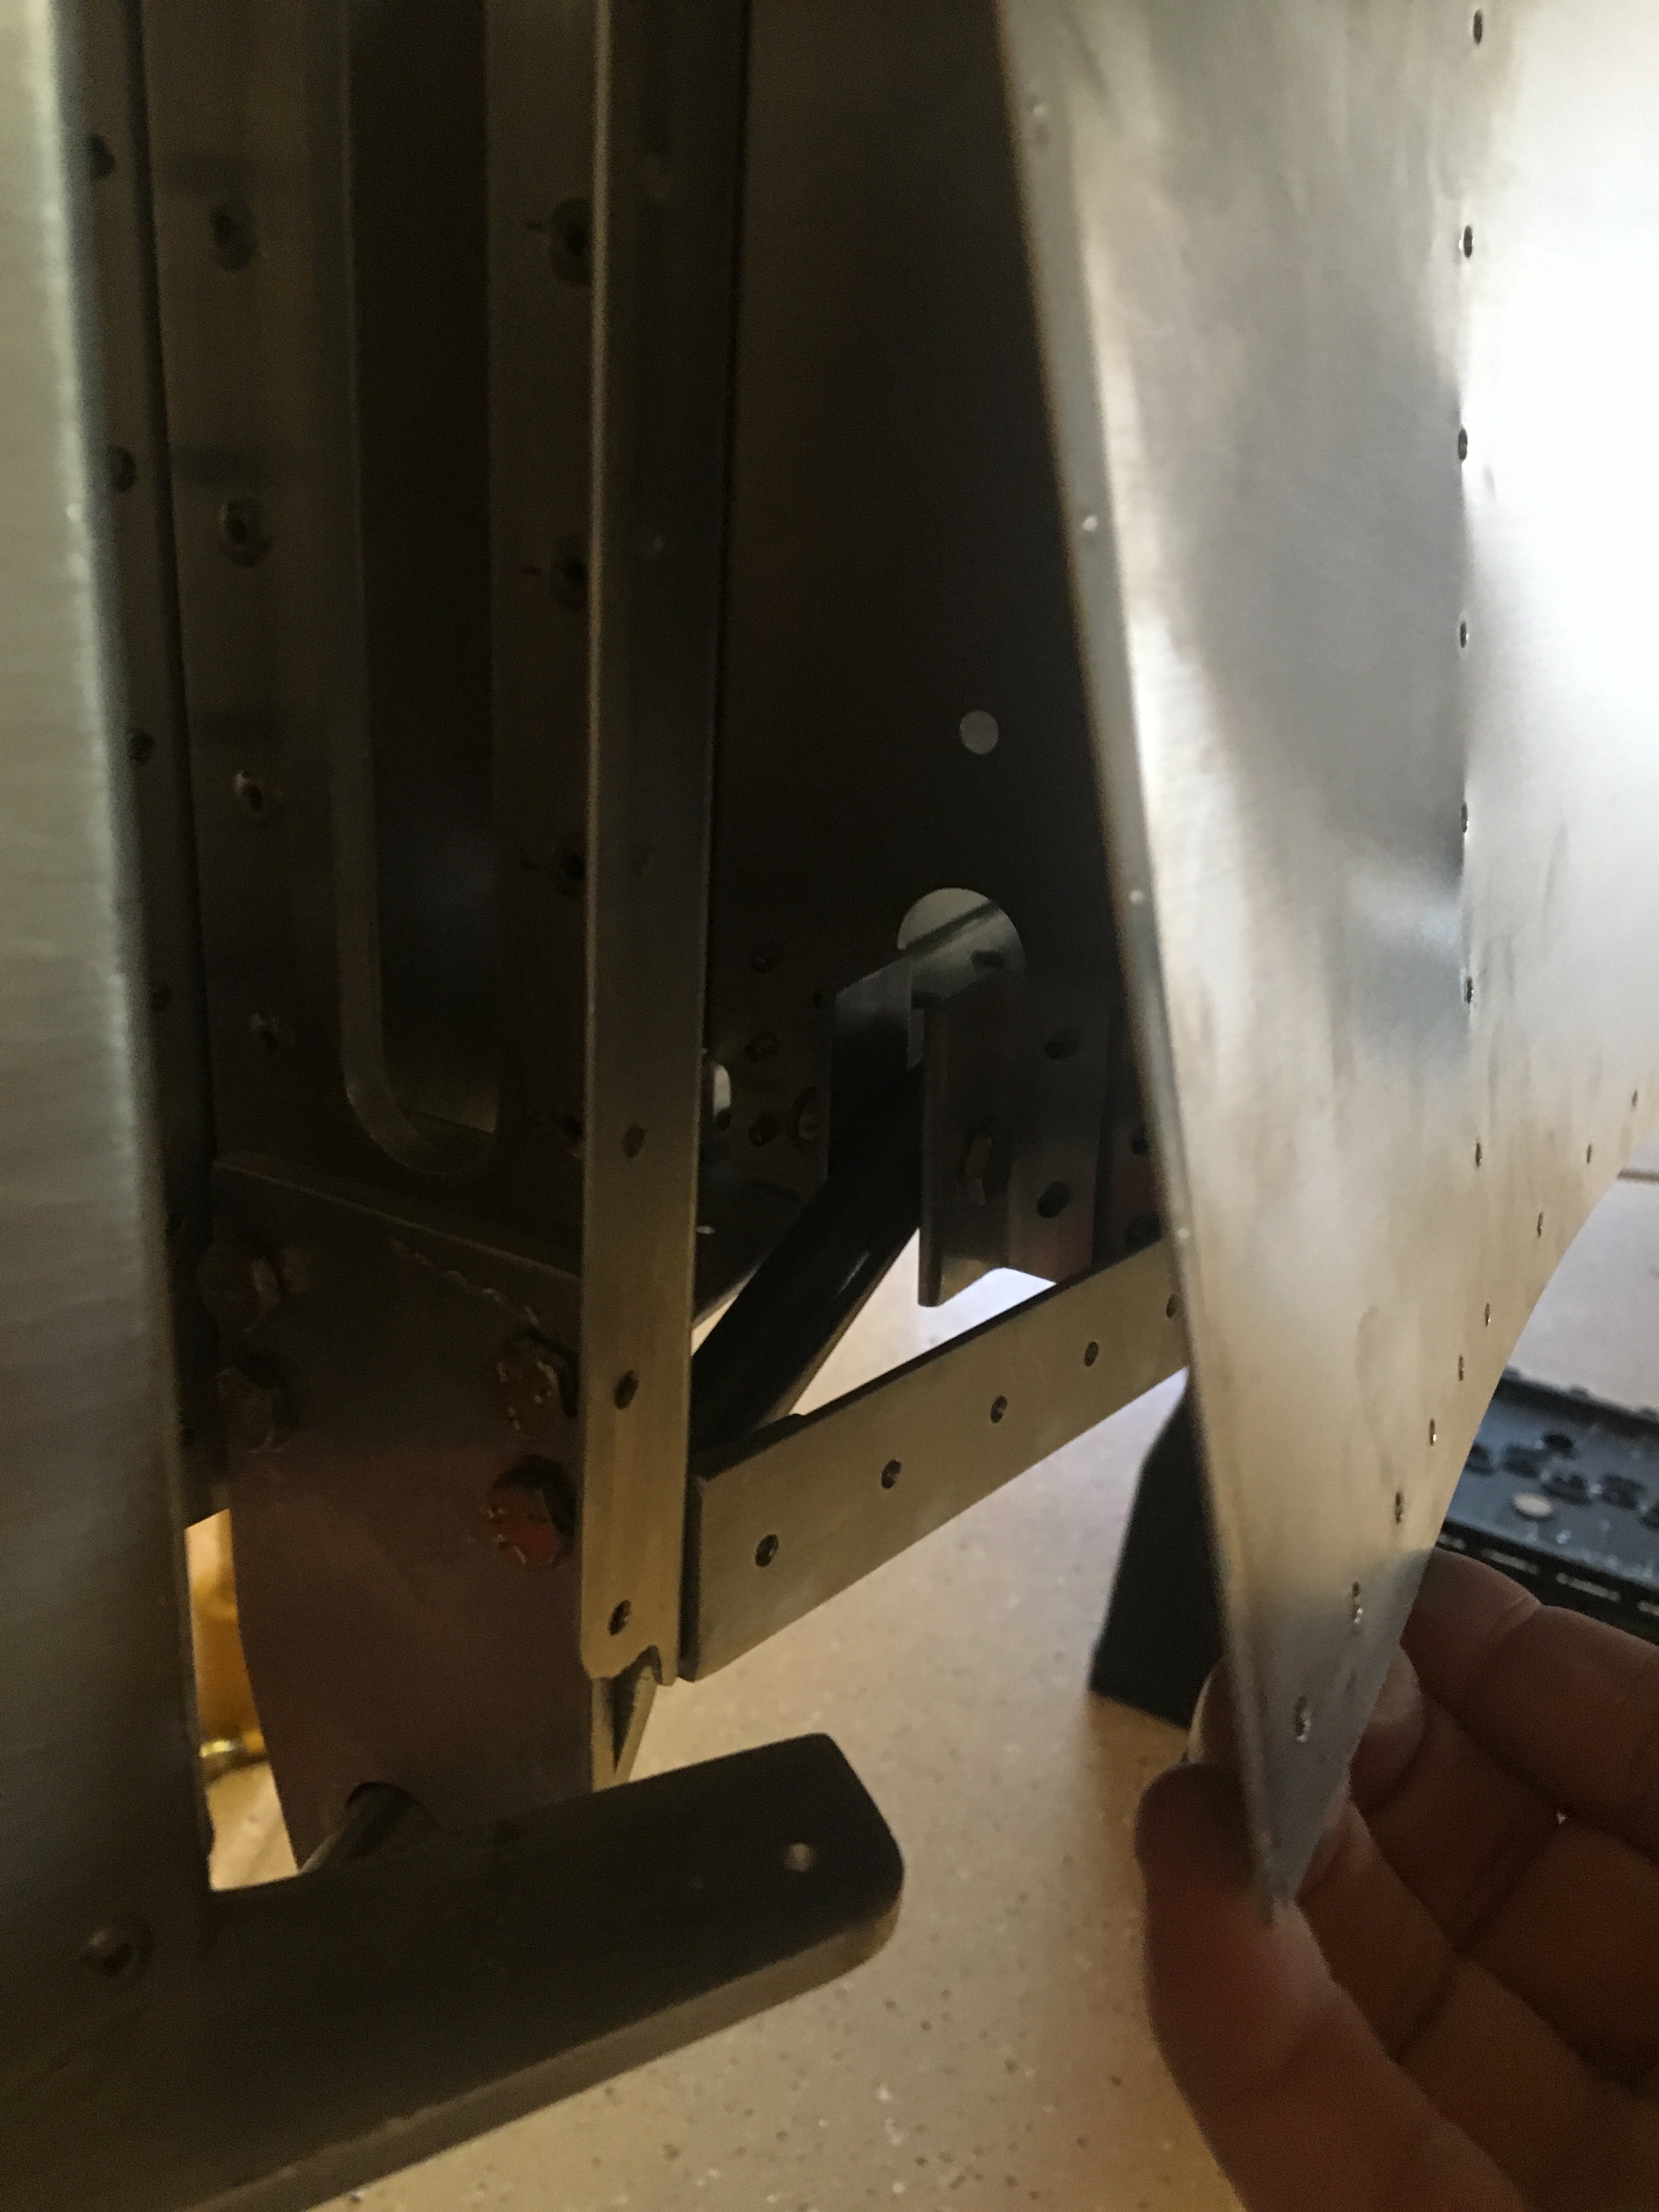
Then, I slid the spring through the hole and up to the mount in the rear of the tail. It didn’t fit. Of course I made several attempts to get it in but it was WAY too tight in the back of the tail. I sighed, and drilled our a couple dozen rivets on the right skin to open up the area. This worked. But the mounts were installed too close together and the spring wouldn’t fit between them. So I drilled those rivets and re-fabricated the mounts. Even with the open skin it was very challenging to attach the spring bar. To any future OneX builders, consider leaving the tail portion of one skin un-riveted, tempting though it may be to close it up.
I tried on the tail wheel. The push rod, used to steer the tail gear, was too short. I figured I could cut 1/2 off the spring to make it reach. Out came the grinding wheel and fireworks ensued. It’s impressive how many sparks fly when you cut steel. And that smell… mmmm… 4th of July!
Then a 1/4” hole had to be drilled in to the tail wheel assembly and spring to hold them together. Here’s what I learned: Drill bits can tolerate aluminum. But steel is the bane of drill bits. It scars them rendering the poor bits dull and useless. You know this happens when the bits just spins, smoke comes out of the hole, and everything becomes scolding hot. You can’t just drill a 1/4” hole ya know. You have to start small, drilling the hole with incrementally bigger bits. I’m gonna have to go back to Ace soon and buy a new set of bits.
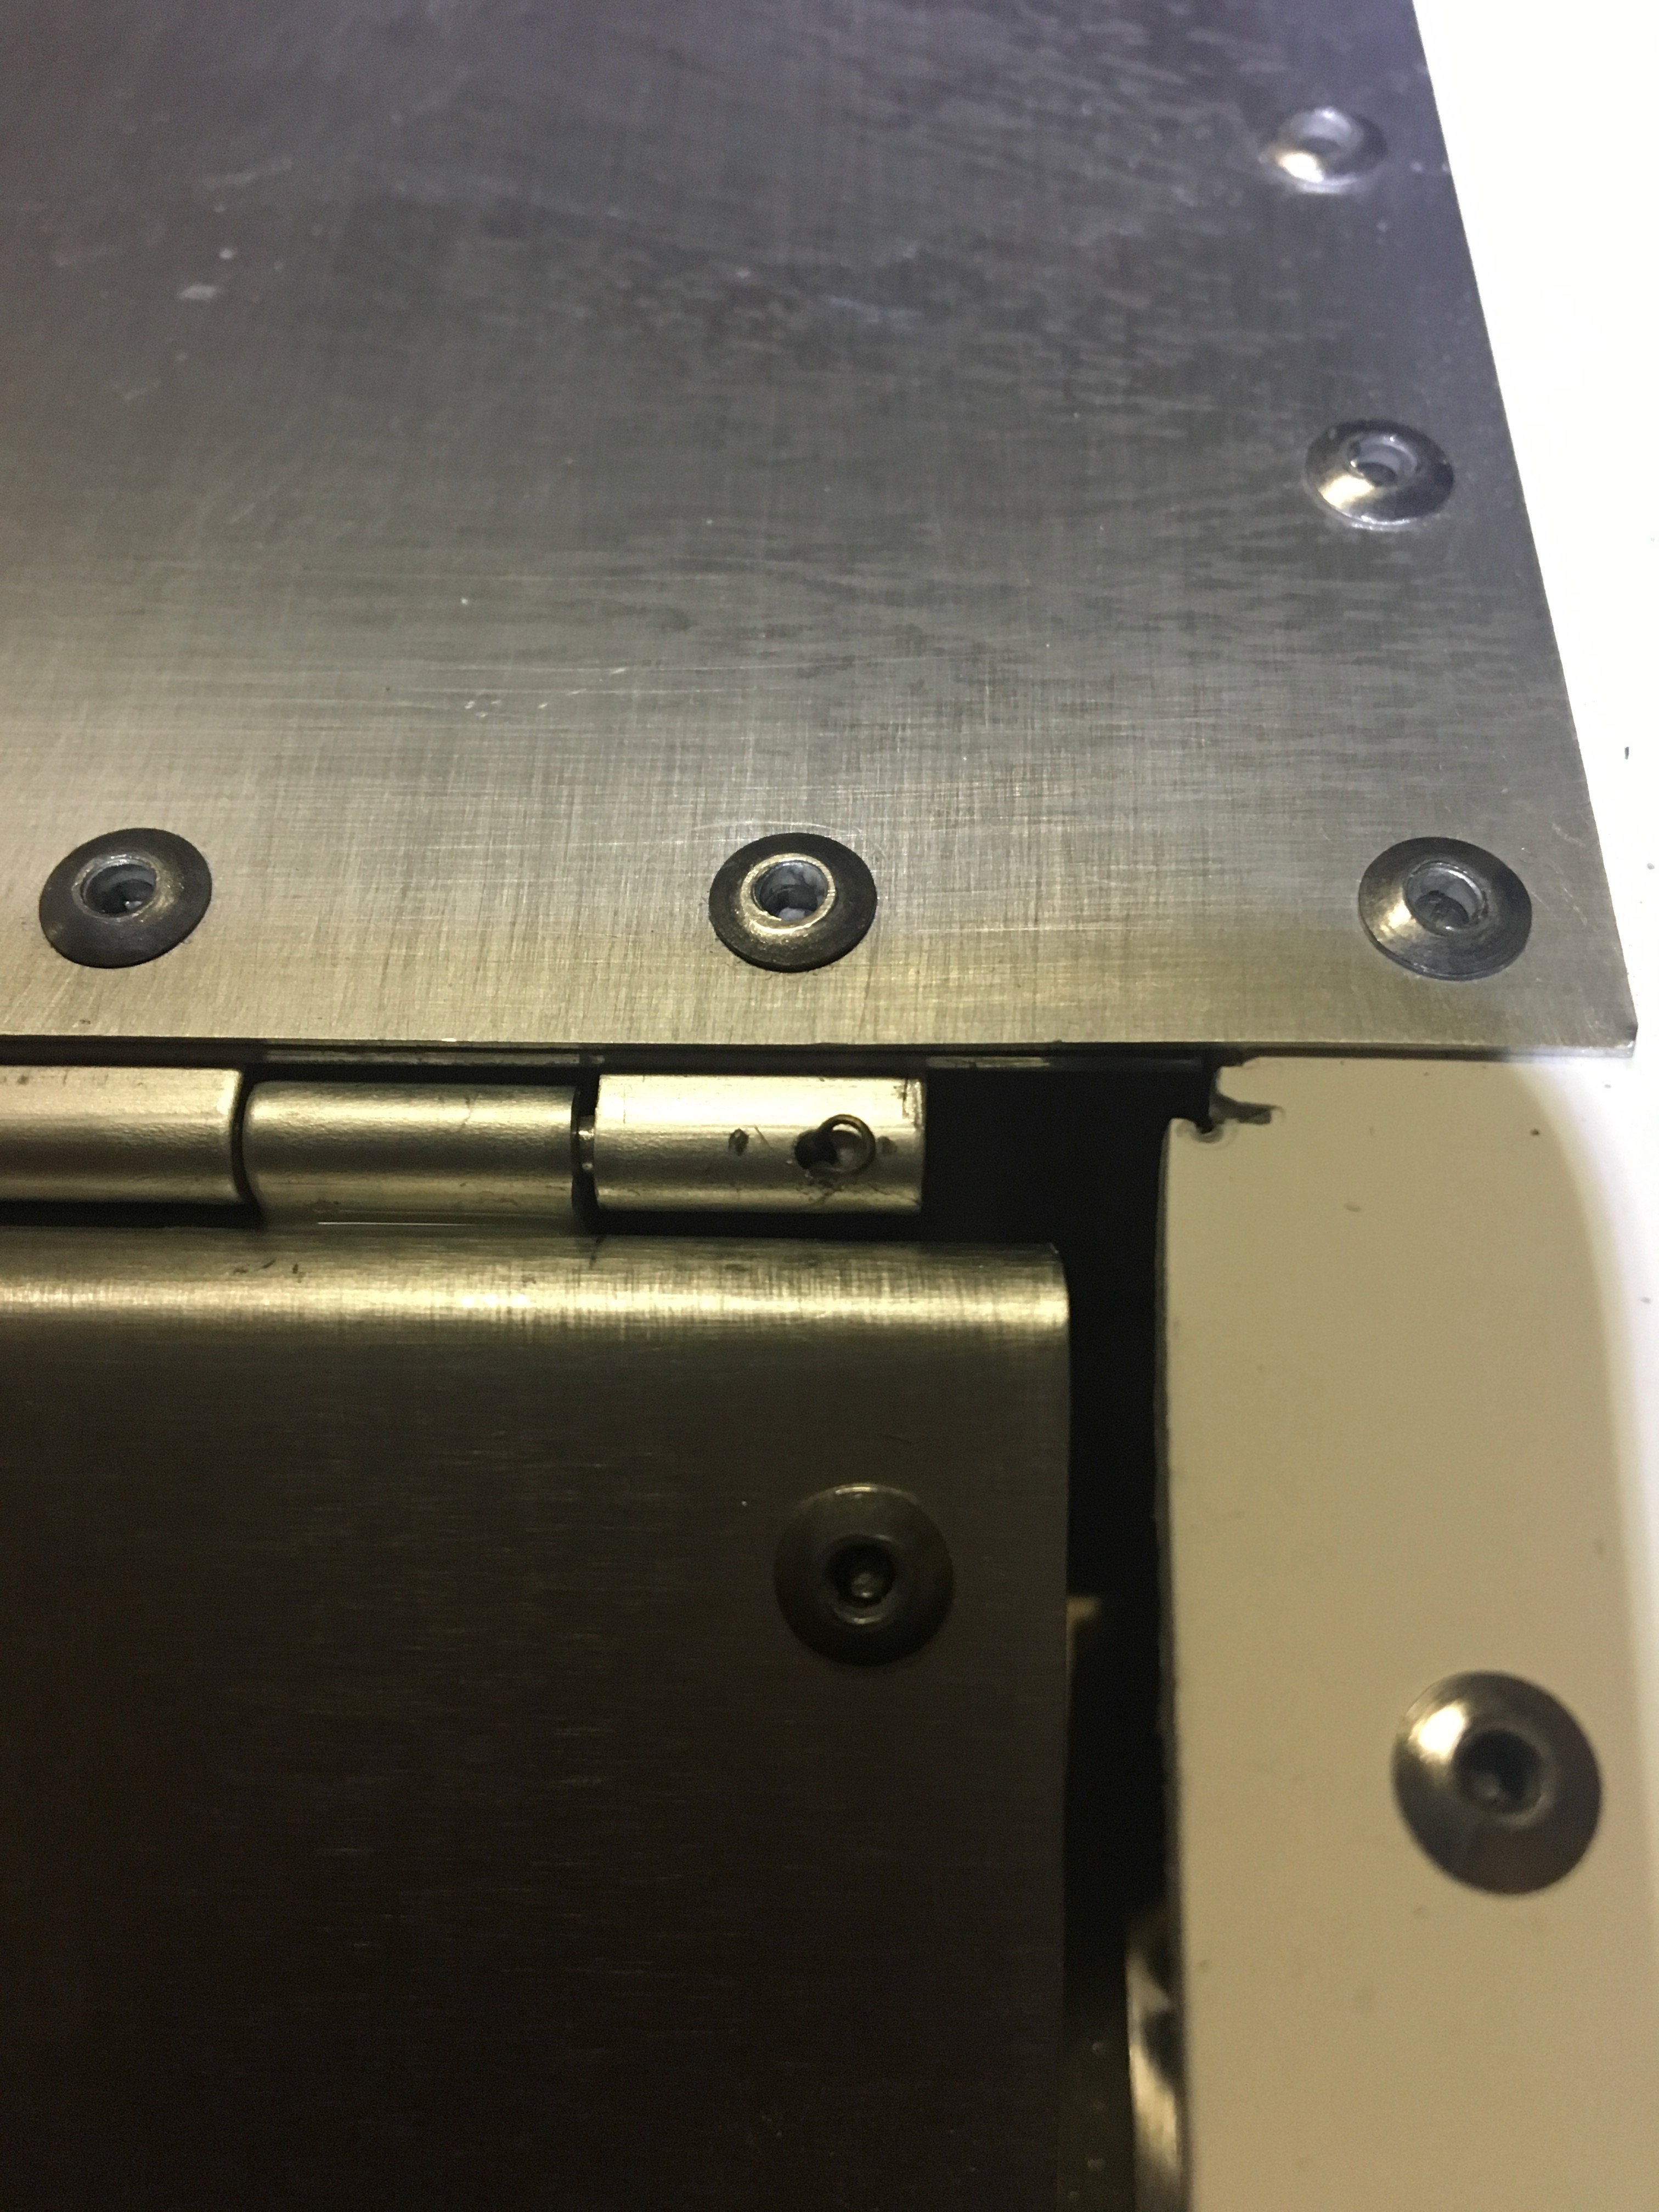
The tiny cotter pins go into each end of the hinges to lock the interior hinge rod in place. The bit was so small it didn’t fit in my drill. I had to wrap it with masking tape to make it work.