Turtledeck Finished
First, I took apart the whole turtledeck assembly. I deburred and cleaned all the parts, reassembled everything, and riveted, and riveted some more. Finally, it’s all done.
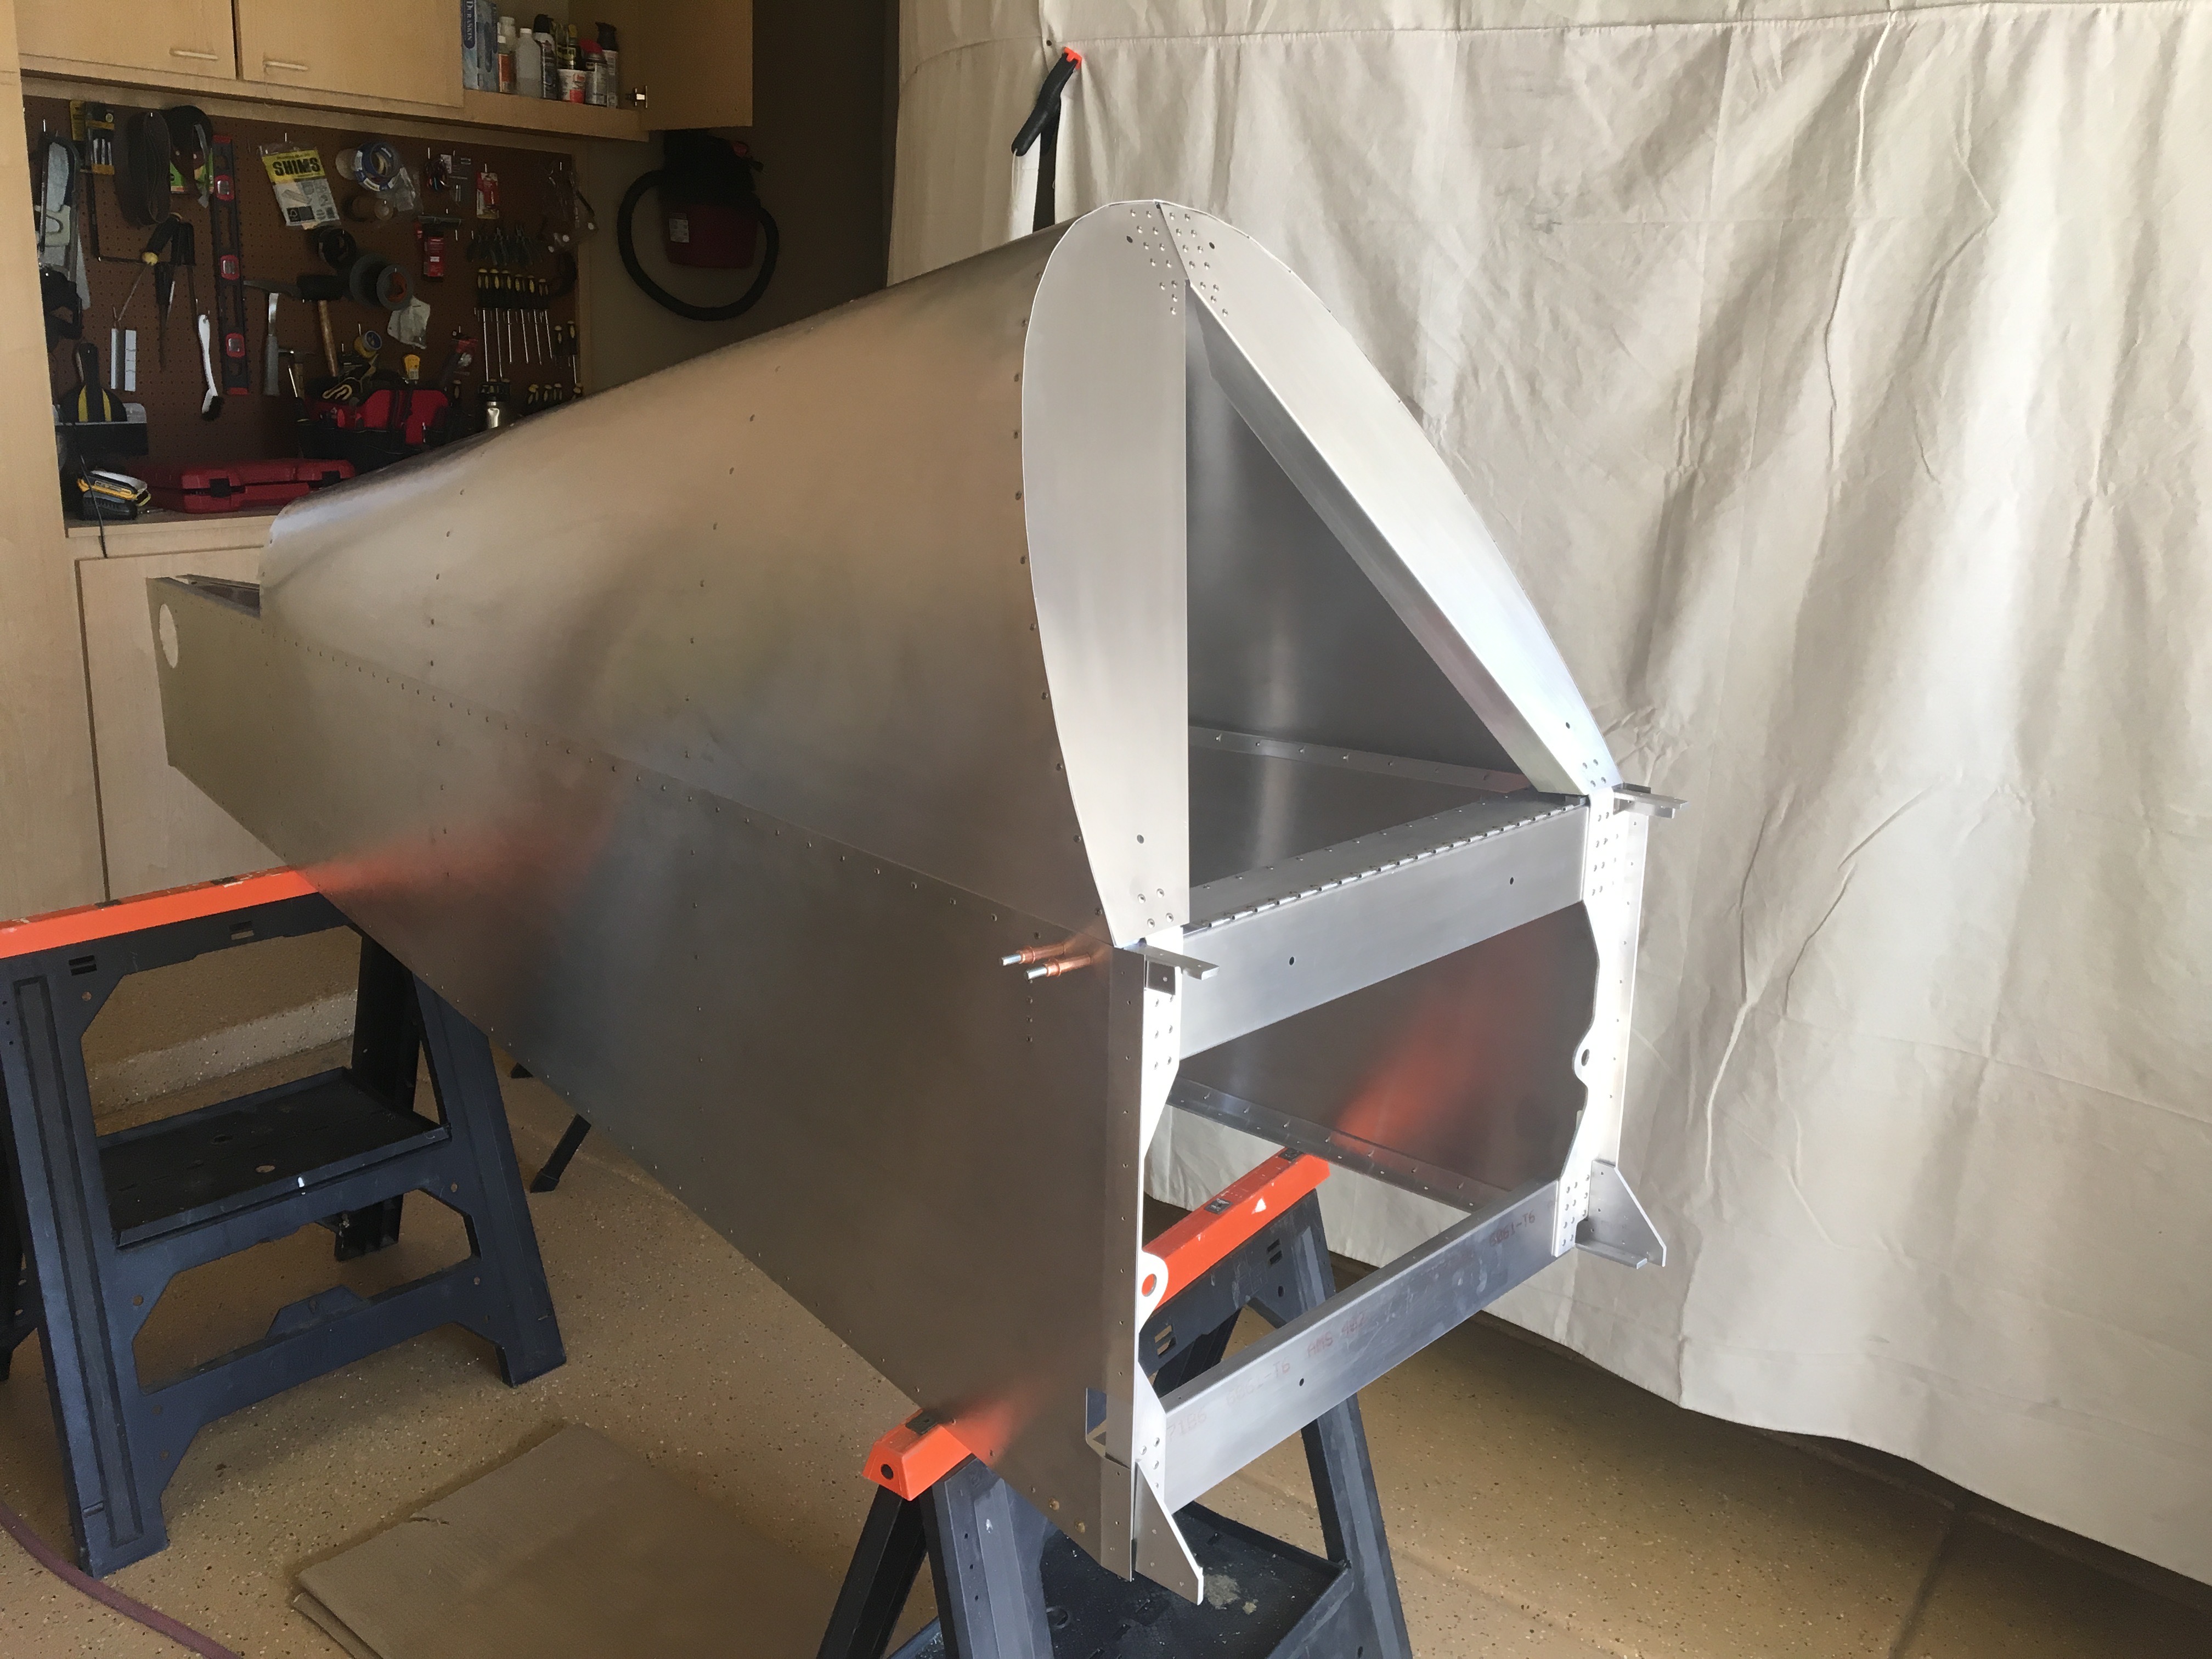
There are some minor indentations from rivets where the interior formers didn’t push all the way up to the skin. Despite my efforts in prep, I didn’t seem to get the formers to stretch all the way out to the skin. There was a half inch gap in some cases before I bent them down to 1/8” gaps. It could have been much worse. I’m not too worries because, one, they are minor, and two, I believe I can fill them with micro balloons before painting so none will know. Come to think of it, my Piper Archer had indentations at rivet locations too… so maybe it’s fairly normal.
On to the fuselage box. This is an involved step in the plans. And for the first time, it calls out for parts further ahead in the plans. I started by lining up the sides with the fuselage tail. At first it seemed to fit perfectly. But then I noticed that holes in parts already fastened to the tail didn’t line up exactly with the those on the box sides. Hmmmm. It could be I bent parts too much or installed them wrong… but I’m pretty sure all my bends were right on, and all of these parts had pilot holes so I couldn’t have installed them wrong. Perhaps this it’s normal that two complext parts don’t fit perfectly.
I resorted to dilling the holes again. In some cases, it made the holes slightly bigger. That’s not a problem because I’ll be updrilling anyway. In other cases, the holes turned into ovals, or figure 8s, or even an adjacent hole. I’ll have to address these case by case and add reinforcement plates if necessary.
It was confusing to proceed without the floor inplace so I removed the side panels, turned them upside down and drilled out the holes for the floor. Then my time was up for the day.