Turtle Deck Take 2
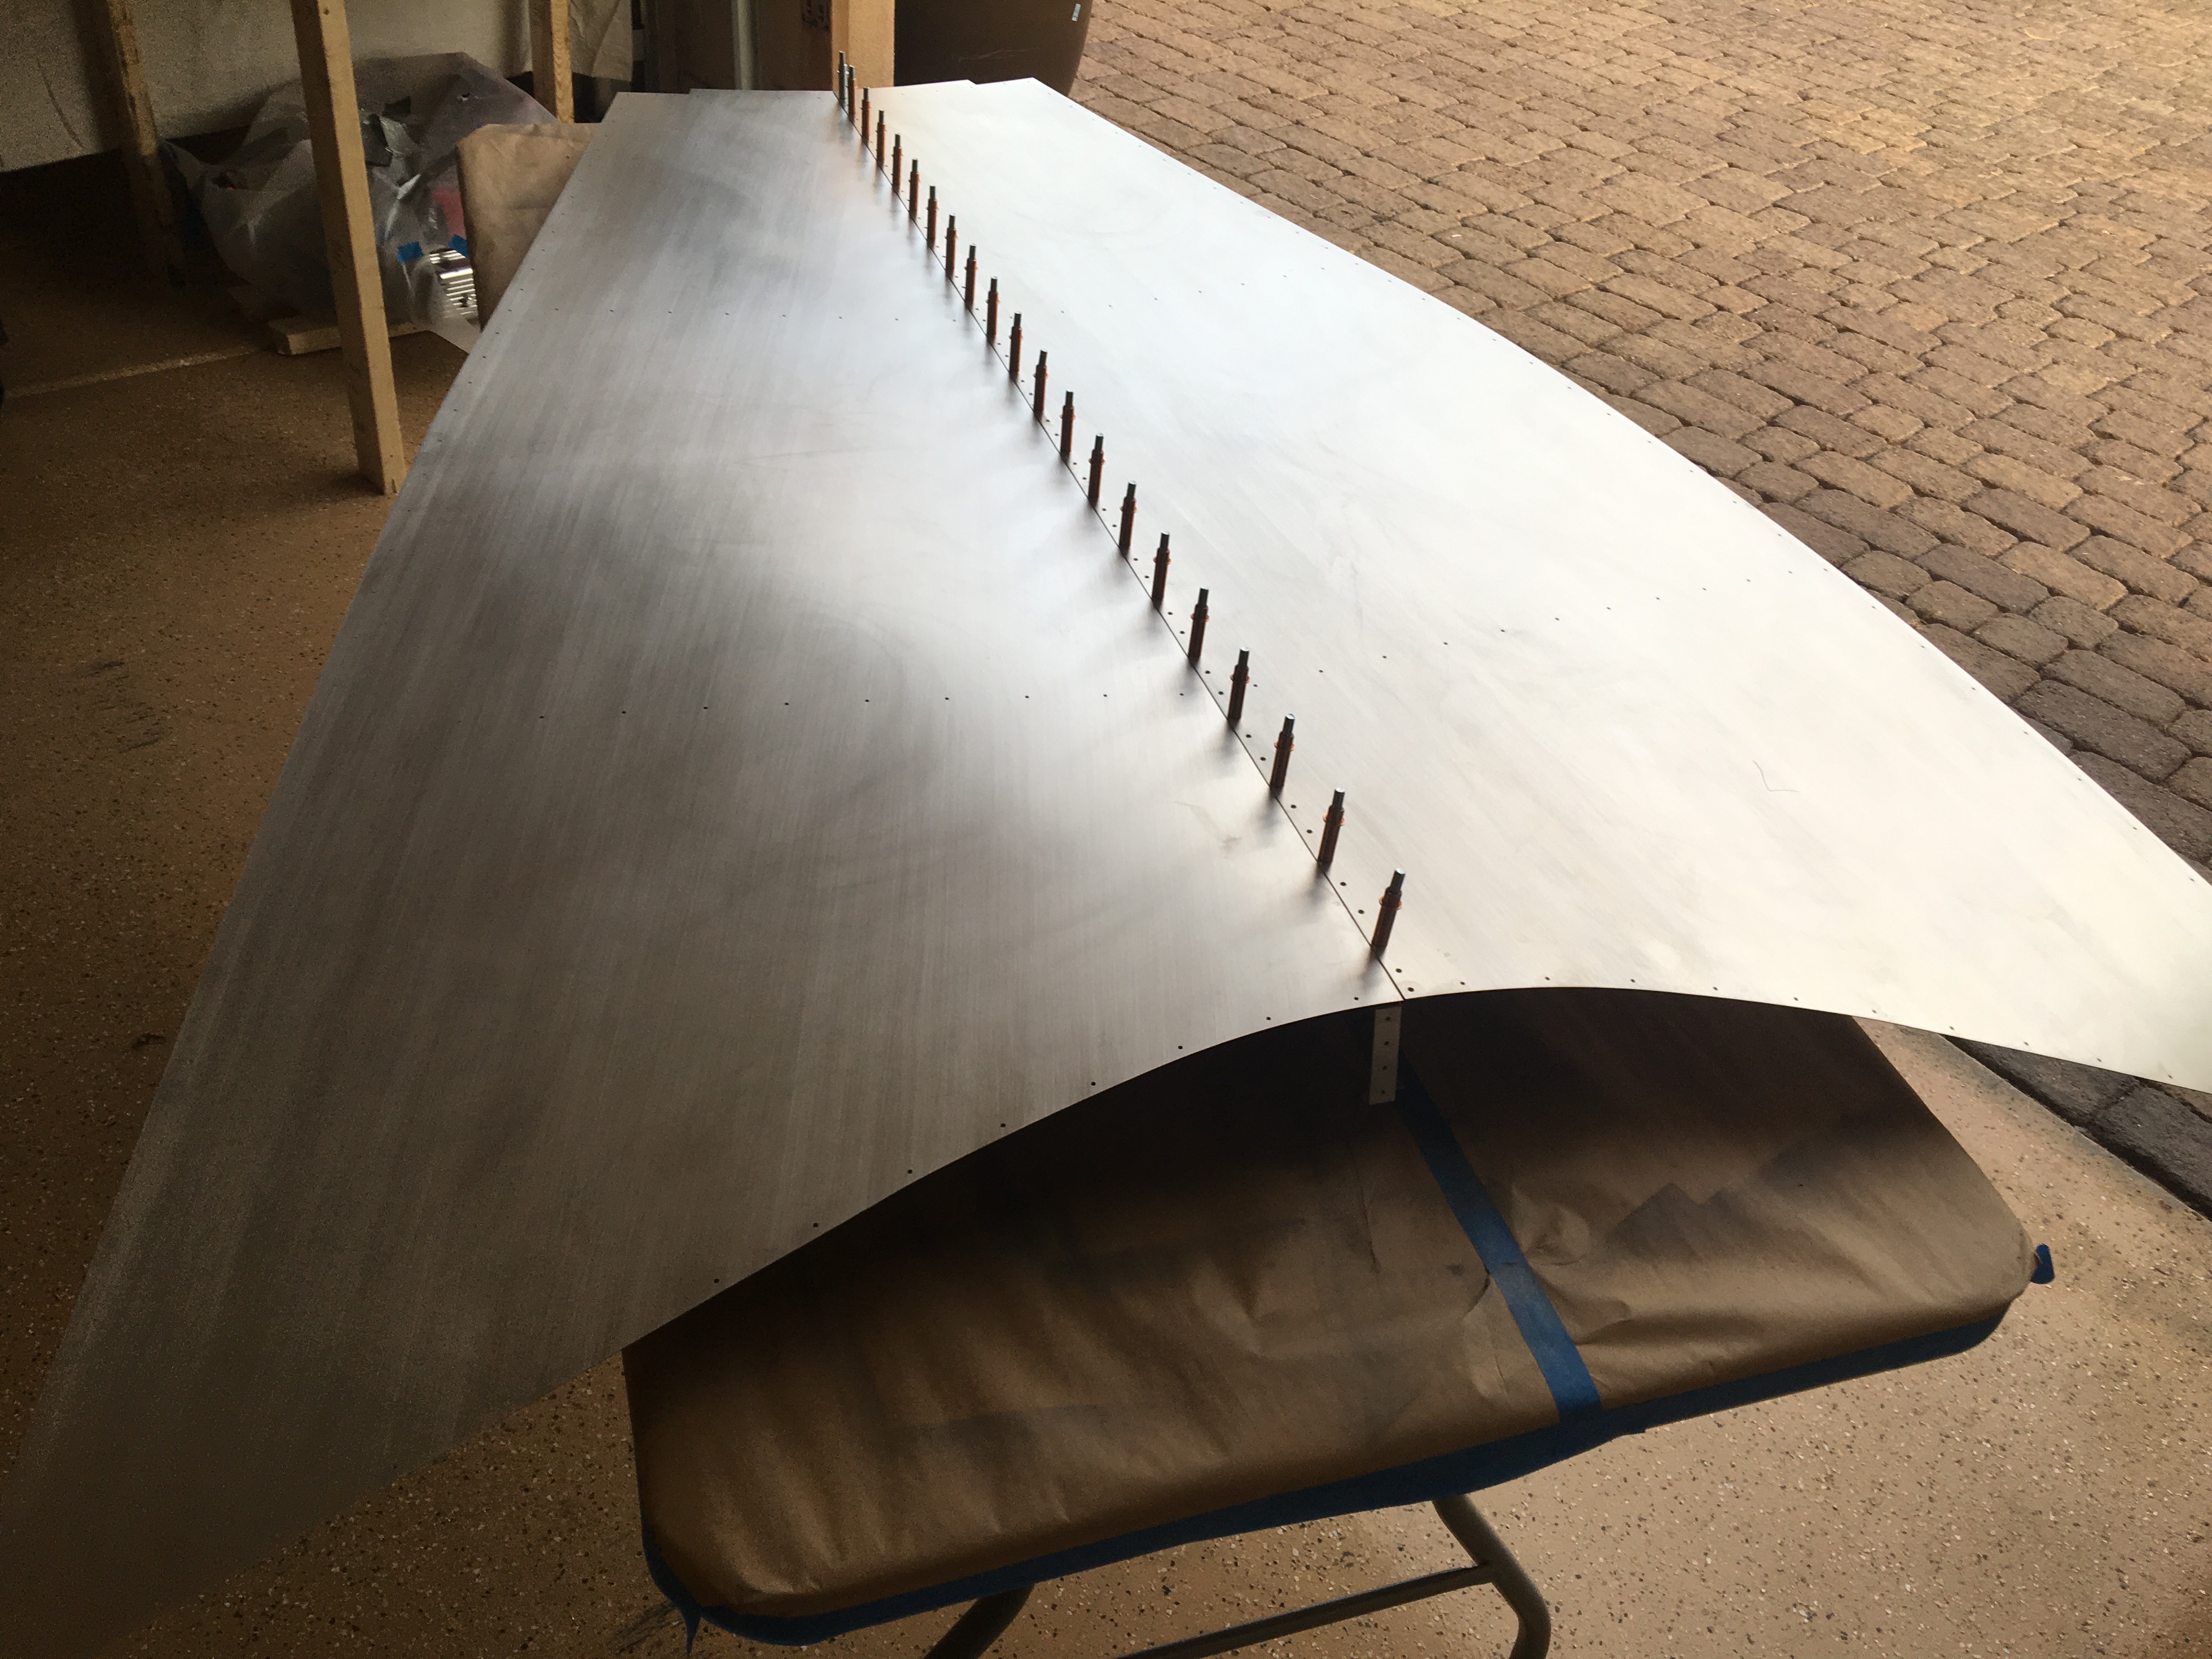
Yesterday, I got started on the new turtle deck skins. The first step is to attach them to the splice channel. You can see them in the first picture all cleanup up and ready to rivet.
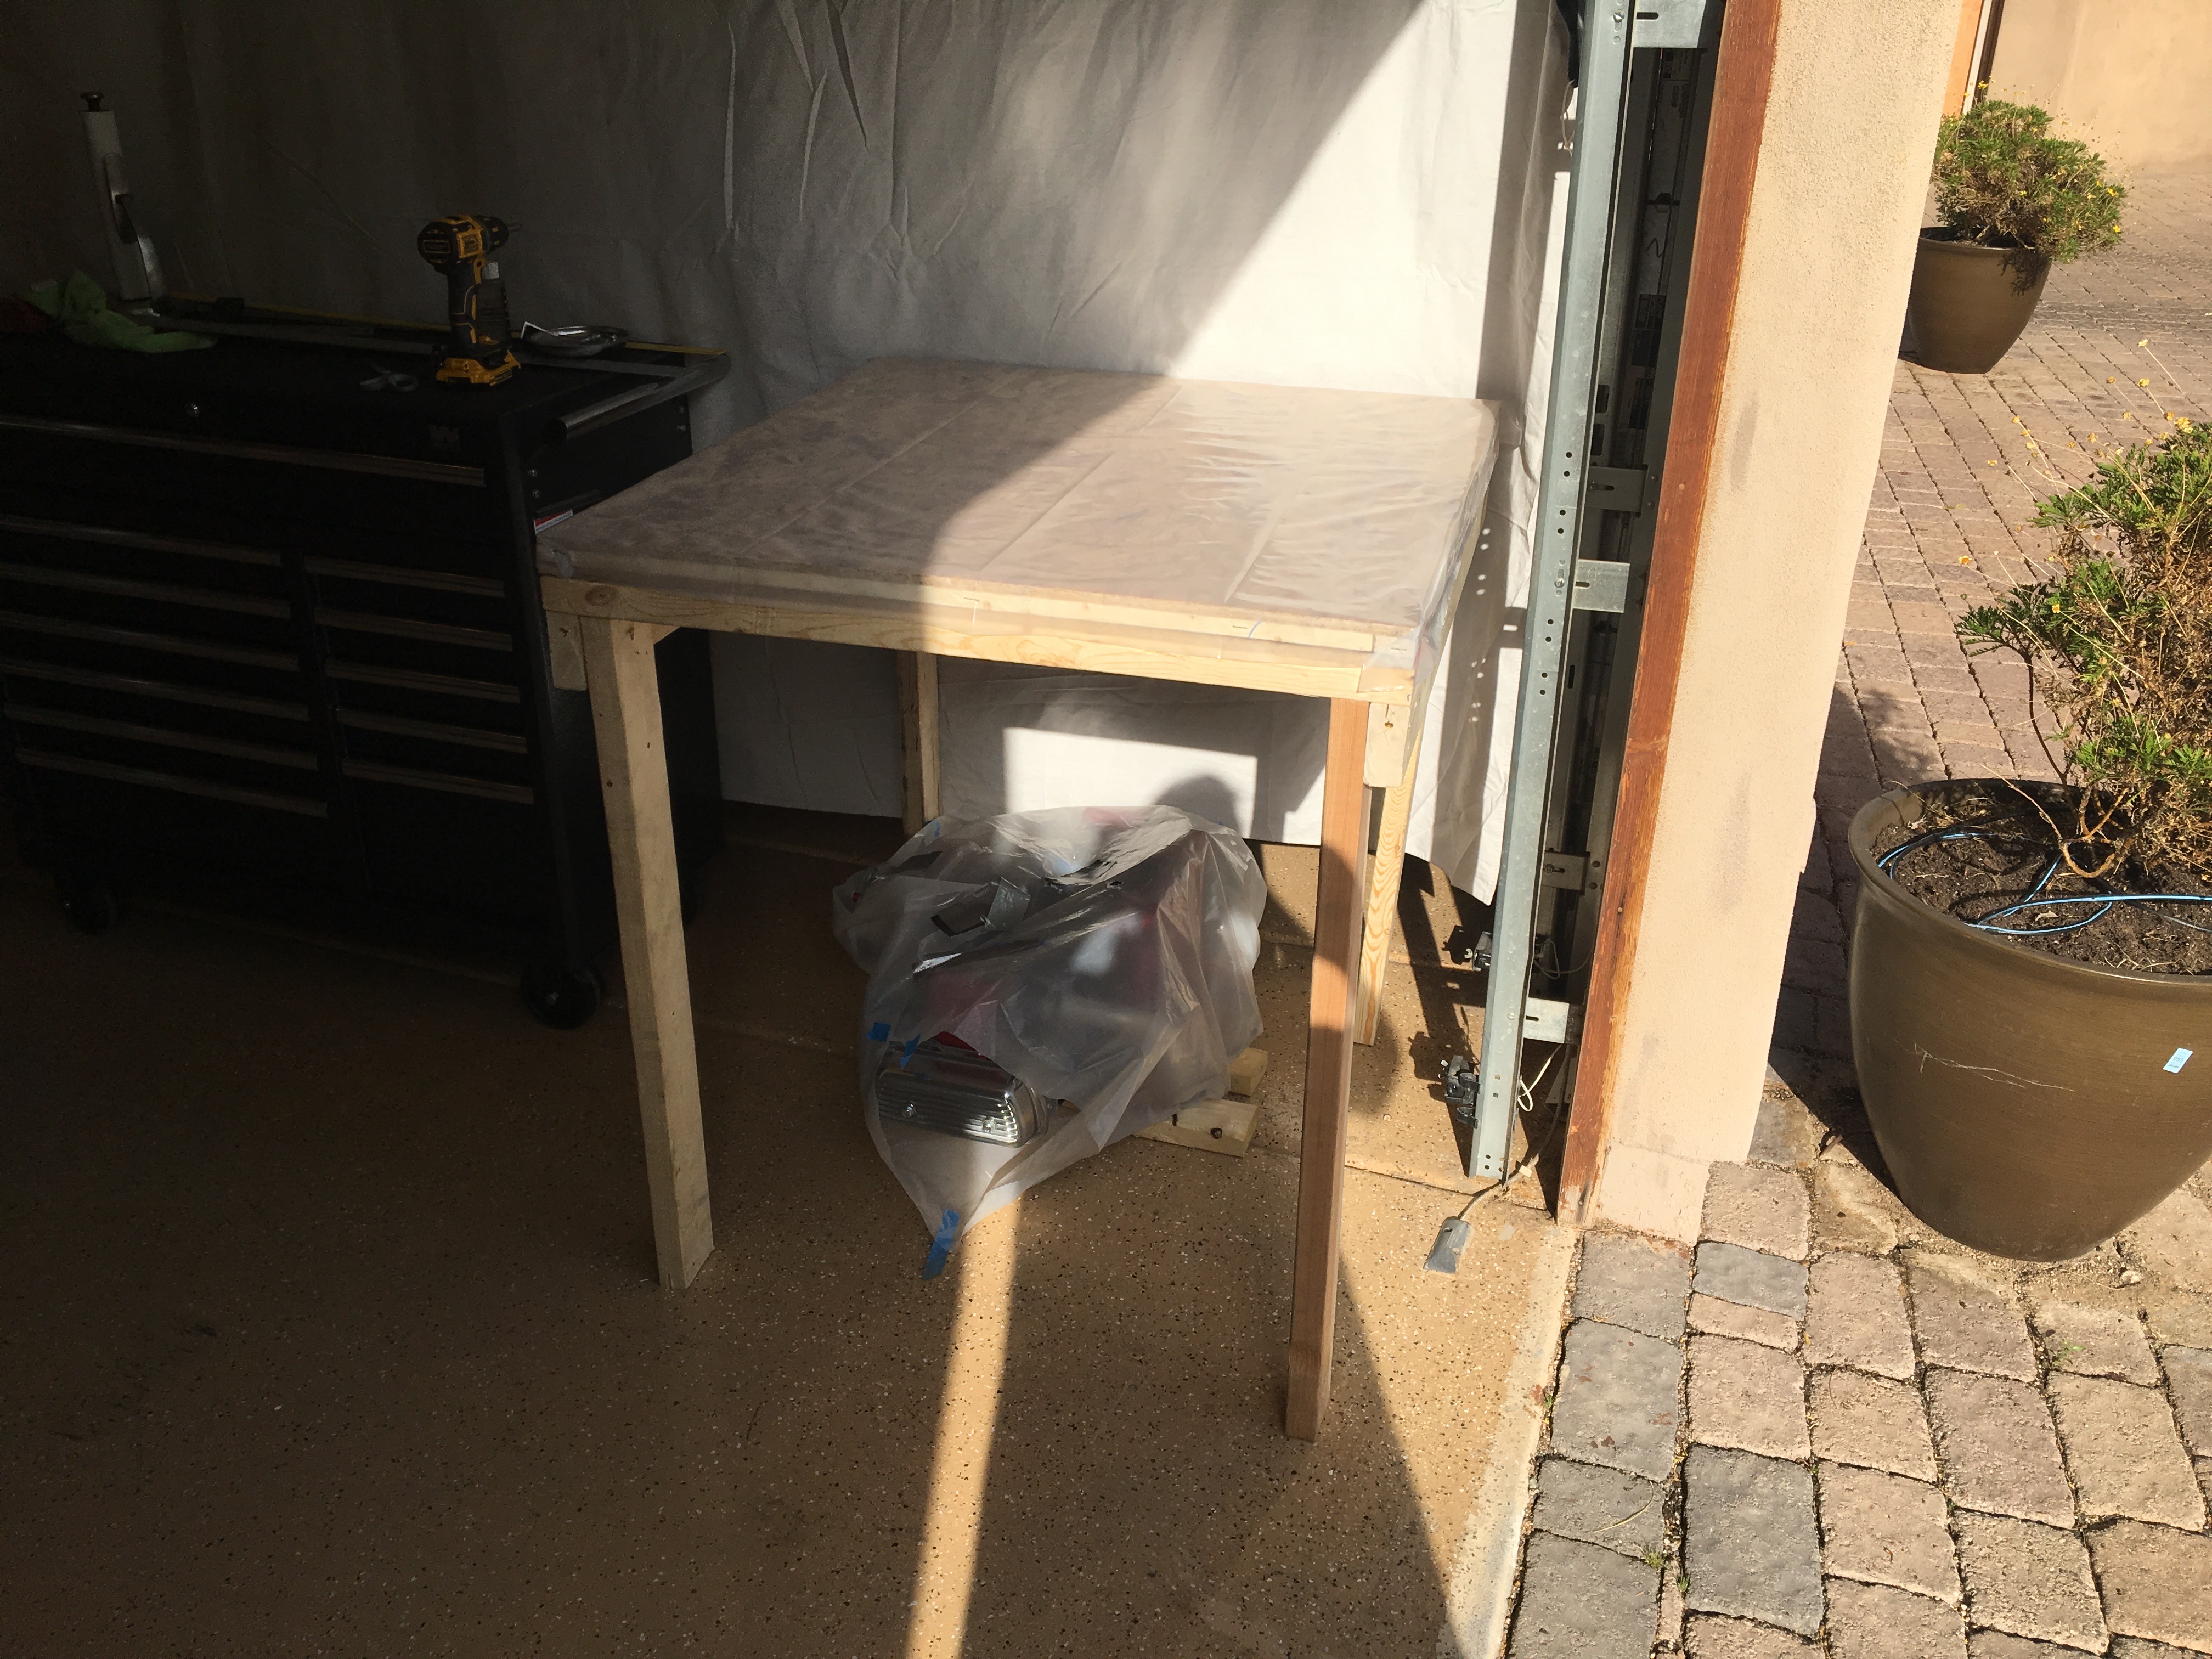
Sonex built such a nice crate to ship the skins that I felt bad destroying it. And I needed more table top space so I sawed it in half and made a table out of it. See second pic. That floor space where the engine sits was unusable but now it’s highly functional. It’s just a temporary table that I’ll depose of at some point.
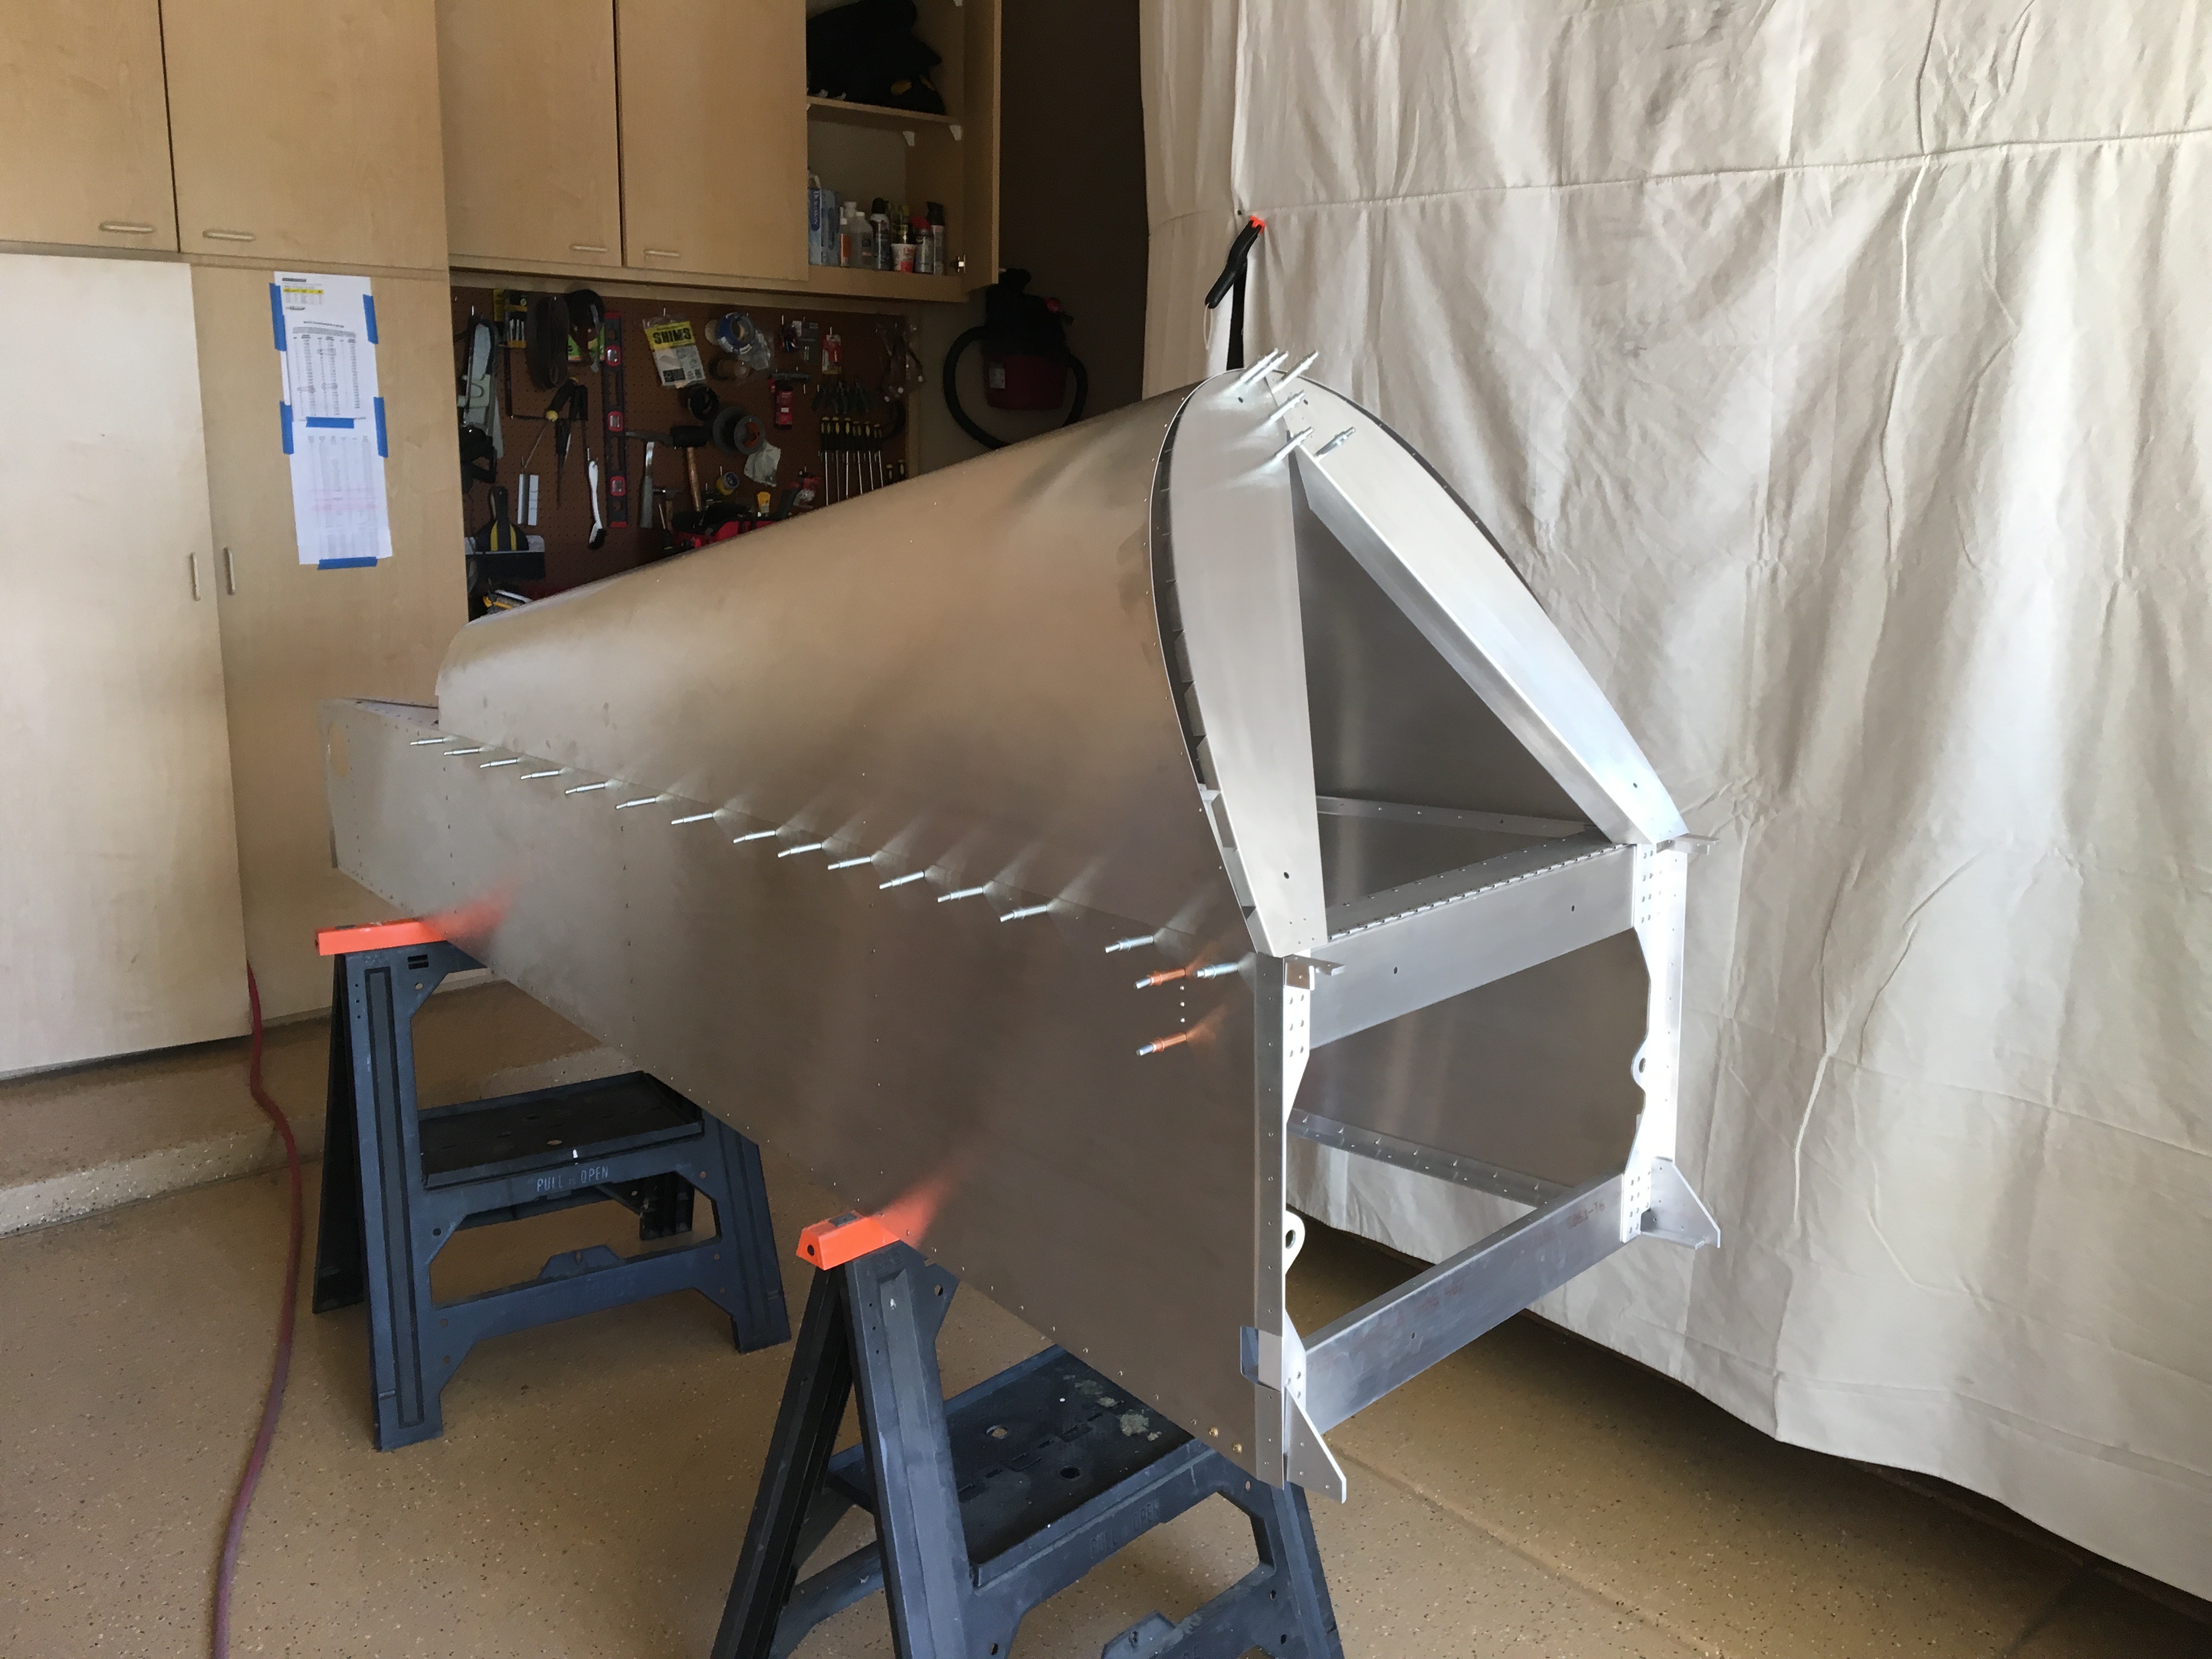
With my new understanding of the turtle deck assembly instructions, things went MUCH smoother. It’s still a good deal of work, and I had to make some tweaks. For example, the front formers… they attach to the front of the splice channel but it was too long and the formers were protruding from the skins. So I cut off the end and made a new one. And the former flanges don’t fit perfectly with the curve of the skins so it took quite a bit of bending and fluting to make a tight fit.
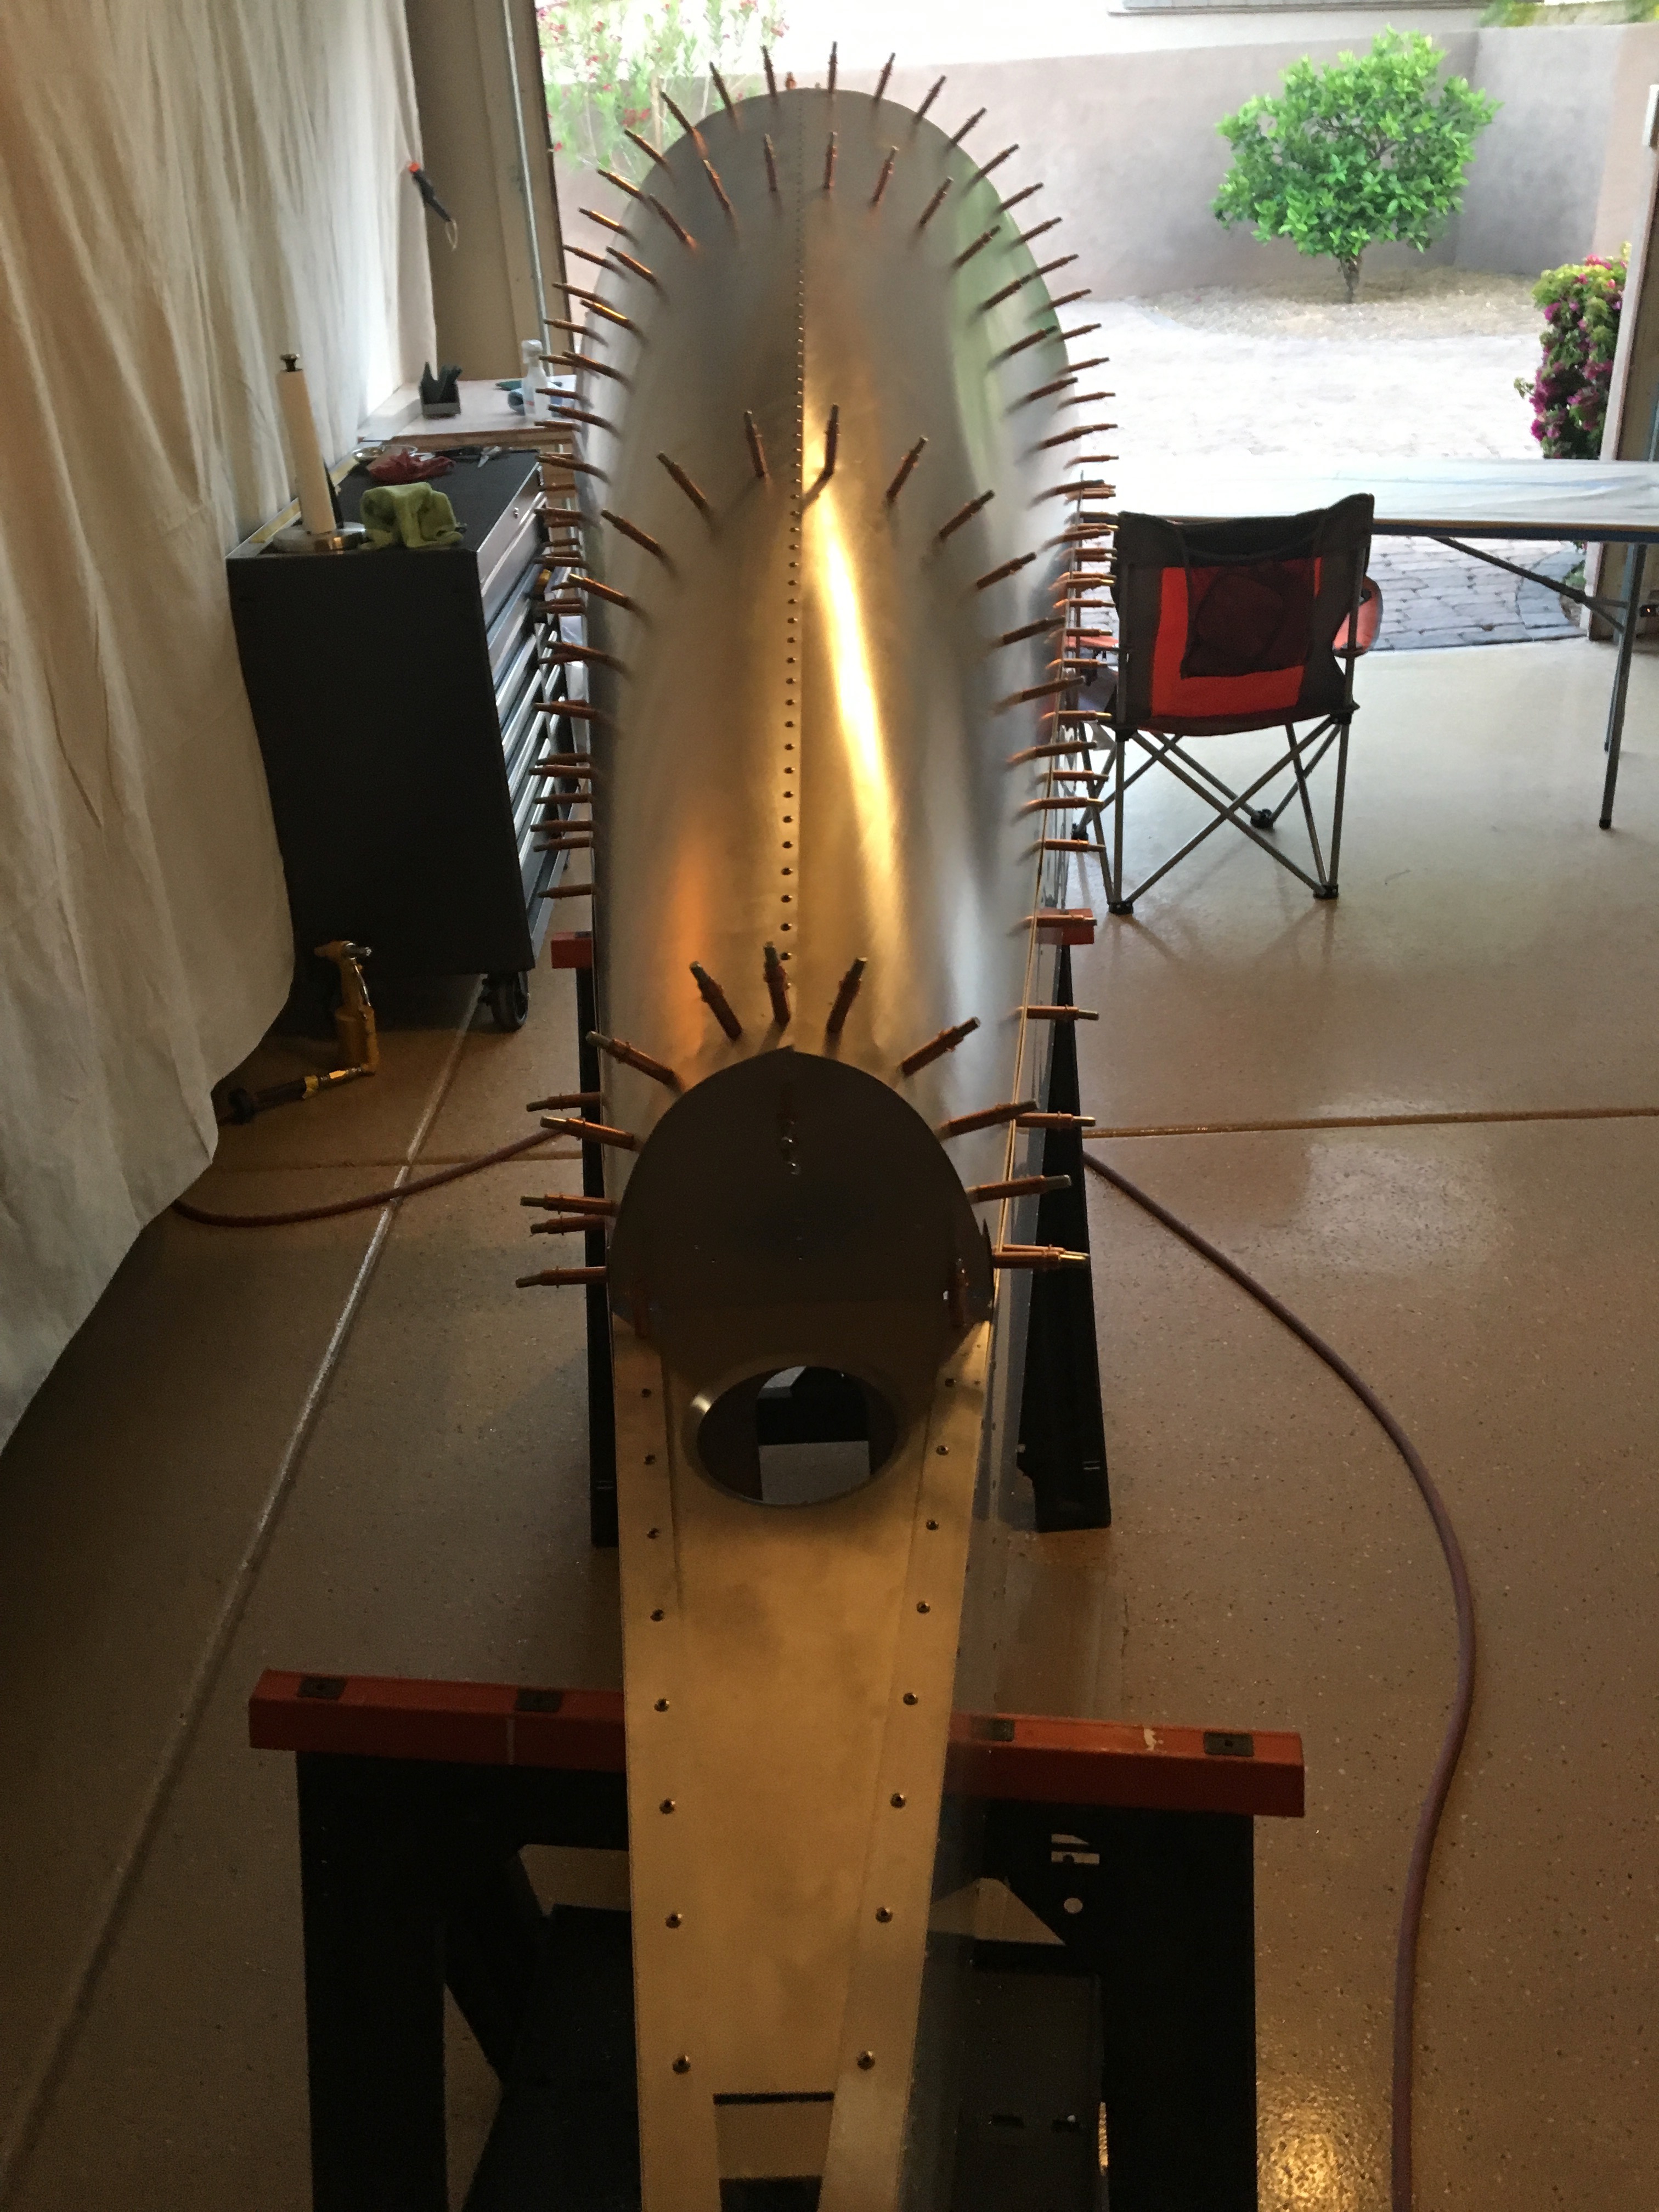
So far, however, all of the formers and skins are installed and updrilled without any dents or kinks. Now I just need to take it all apart, debur, clean and reinstall before riveting. Fingers crossed.
Oh, while installing the turtledeck skins, I realized that it would be near impossible to reach some of the holes for the bulkheads after the turtledeck was in place. That led me to do a bunch of riveting that I’d been postponing. All the bulkheads and other fuselage parts are now riveted.