Expensive Mistake :.(
sigh
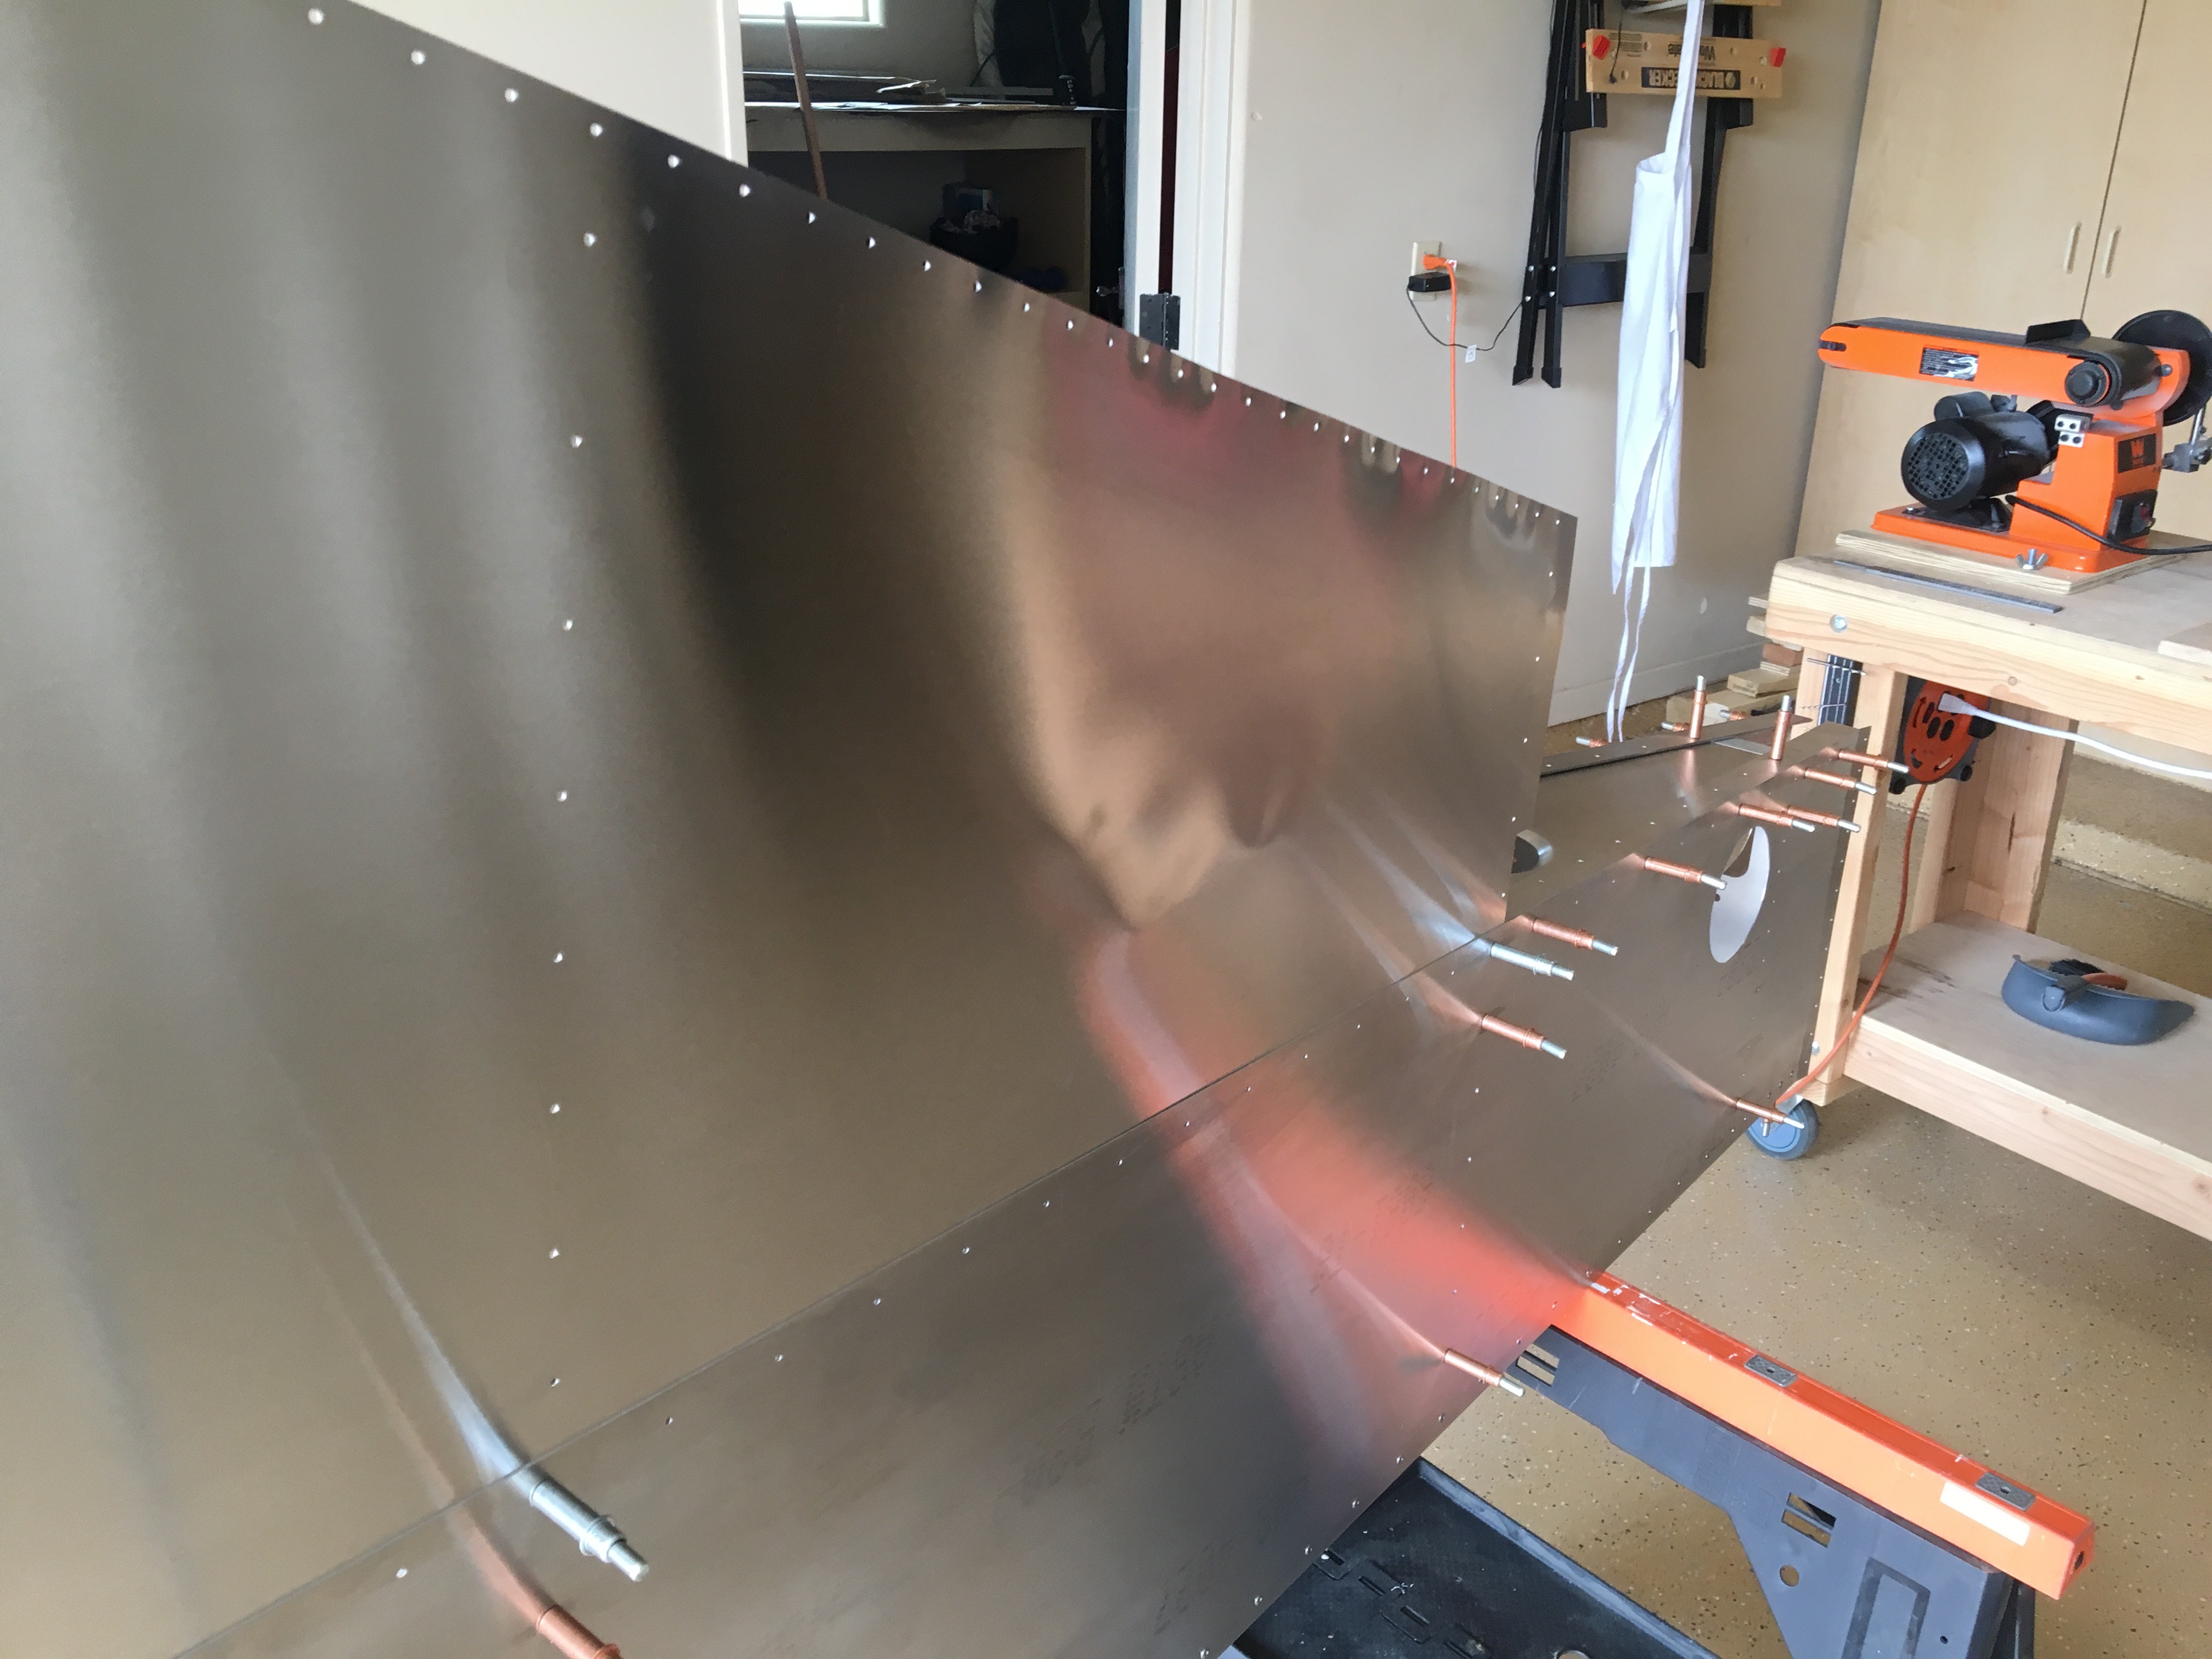
It was time to work on the turtle deck, the round cover over the top of the rear fuselage. That plans here had some general instruction which I found very crytic. I read them half a dozen times and couldn’t make much sense of them. What I did wrong was to install the formers, arched part on top of the bulkheads, and then try to attach the turtle deck skins.
The skins come in a left and right side. They attached at the bottom to the longeron, and overlap at the very top of the fuselage. With the skins neatly tucked into the side along the longerons, it was a stretch to get the top holes to line up. Despite hesitating after many attempts to apply moderate force, and deciding not to research, I force it. And now I regret it. The skins are stretched and wrinkled in ways that will look terrible on a highly visible part of the airplane.
My wife, Angelique, used to call me a “holy mammoth”. What she meant to say was “wooly mammoth”, but her native French background was the source of mistake somehow. Anyway, she called me that because I’m bigger than her and had a tendency to be bullish, or mammothy I suppose. Like in this case. I thought I grew out of that phase. Why didn’t I stop and google the to topic first? The answers are right there on the web. “Micah, you holy mammoth!”
What I was supposed to do is rivet the skins to the top rib (splice channel) first, then attach it to the longerons, and finally install the formers from the bottom. Duh! It all seems so logical now.
New skins cost about $100 each, but they’re 6’ long coming from Oshkosh to Pheonix, so shipping is the bigger expense. Kerry said I could try to dolly and body-hammer them into shape, so I bought a cheap set on Amazon for $24. But I’m skeptical. In the mean time, I’ll have to find another part of the plane to work on.