Horizontal Tail
First aluminum part complete!
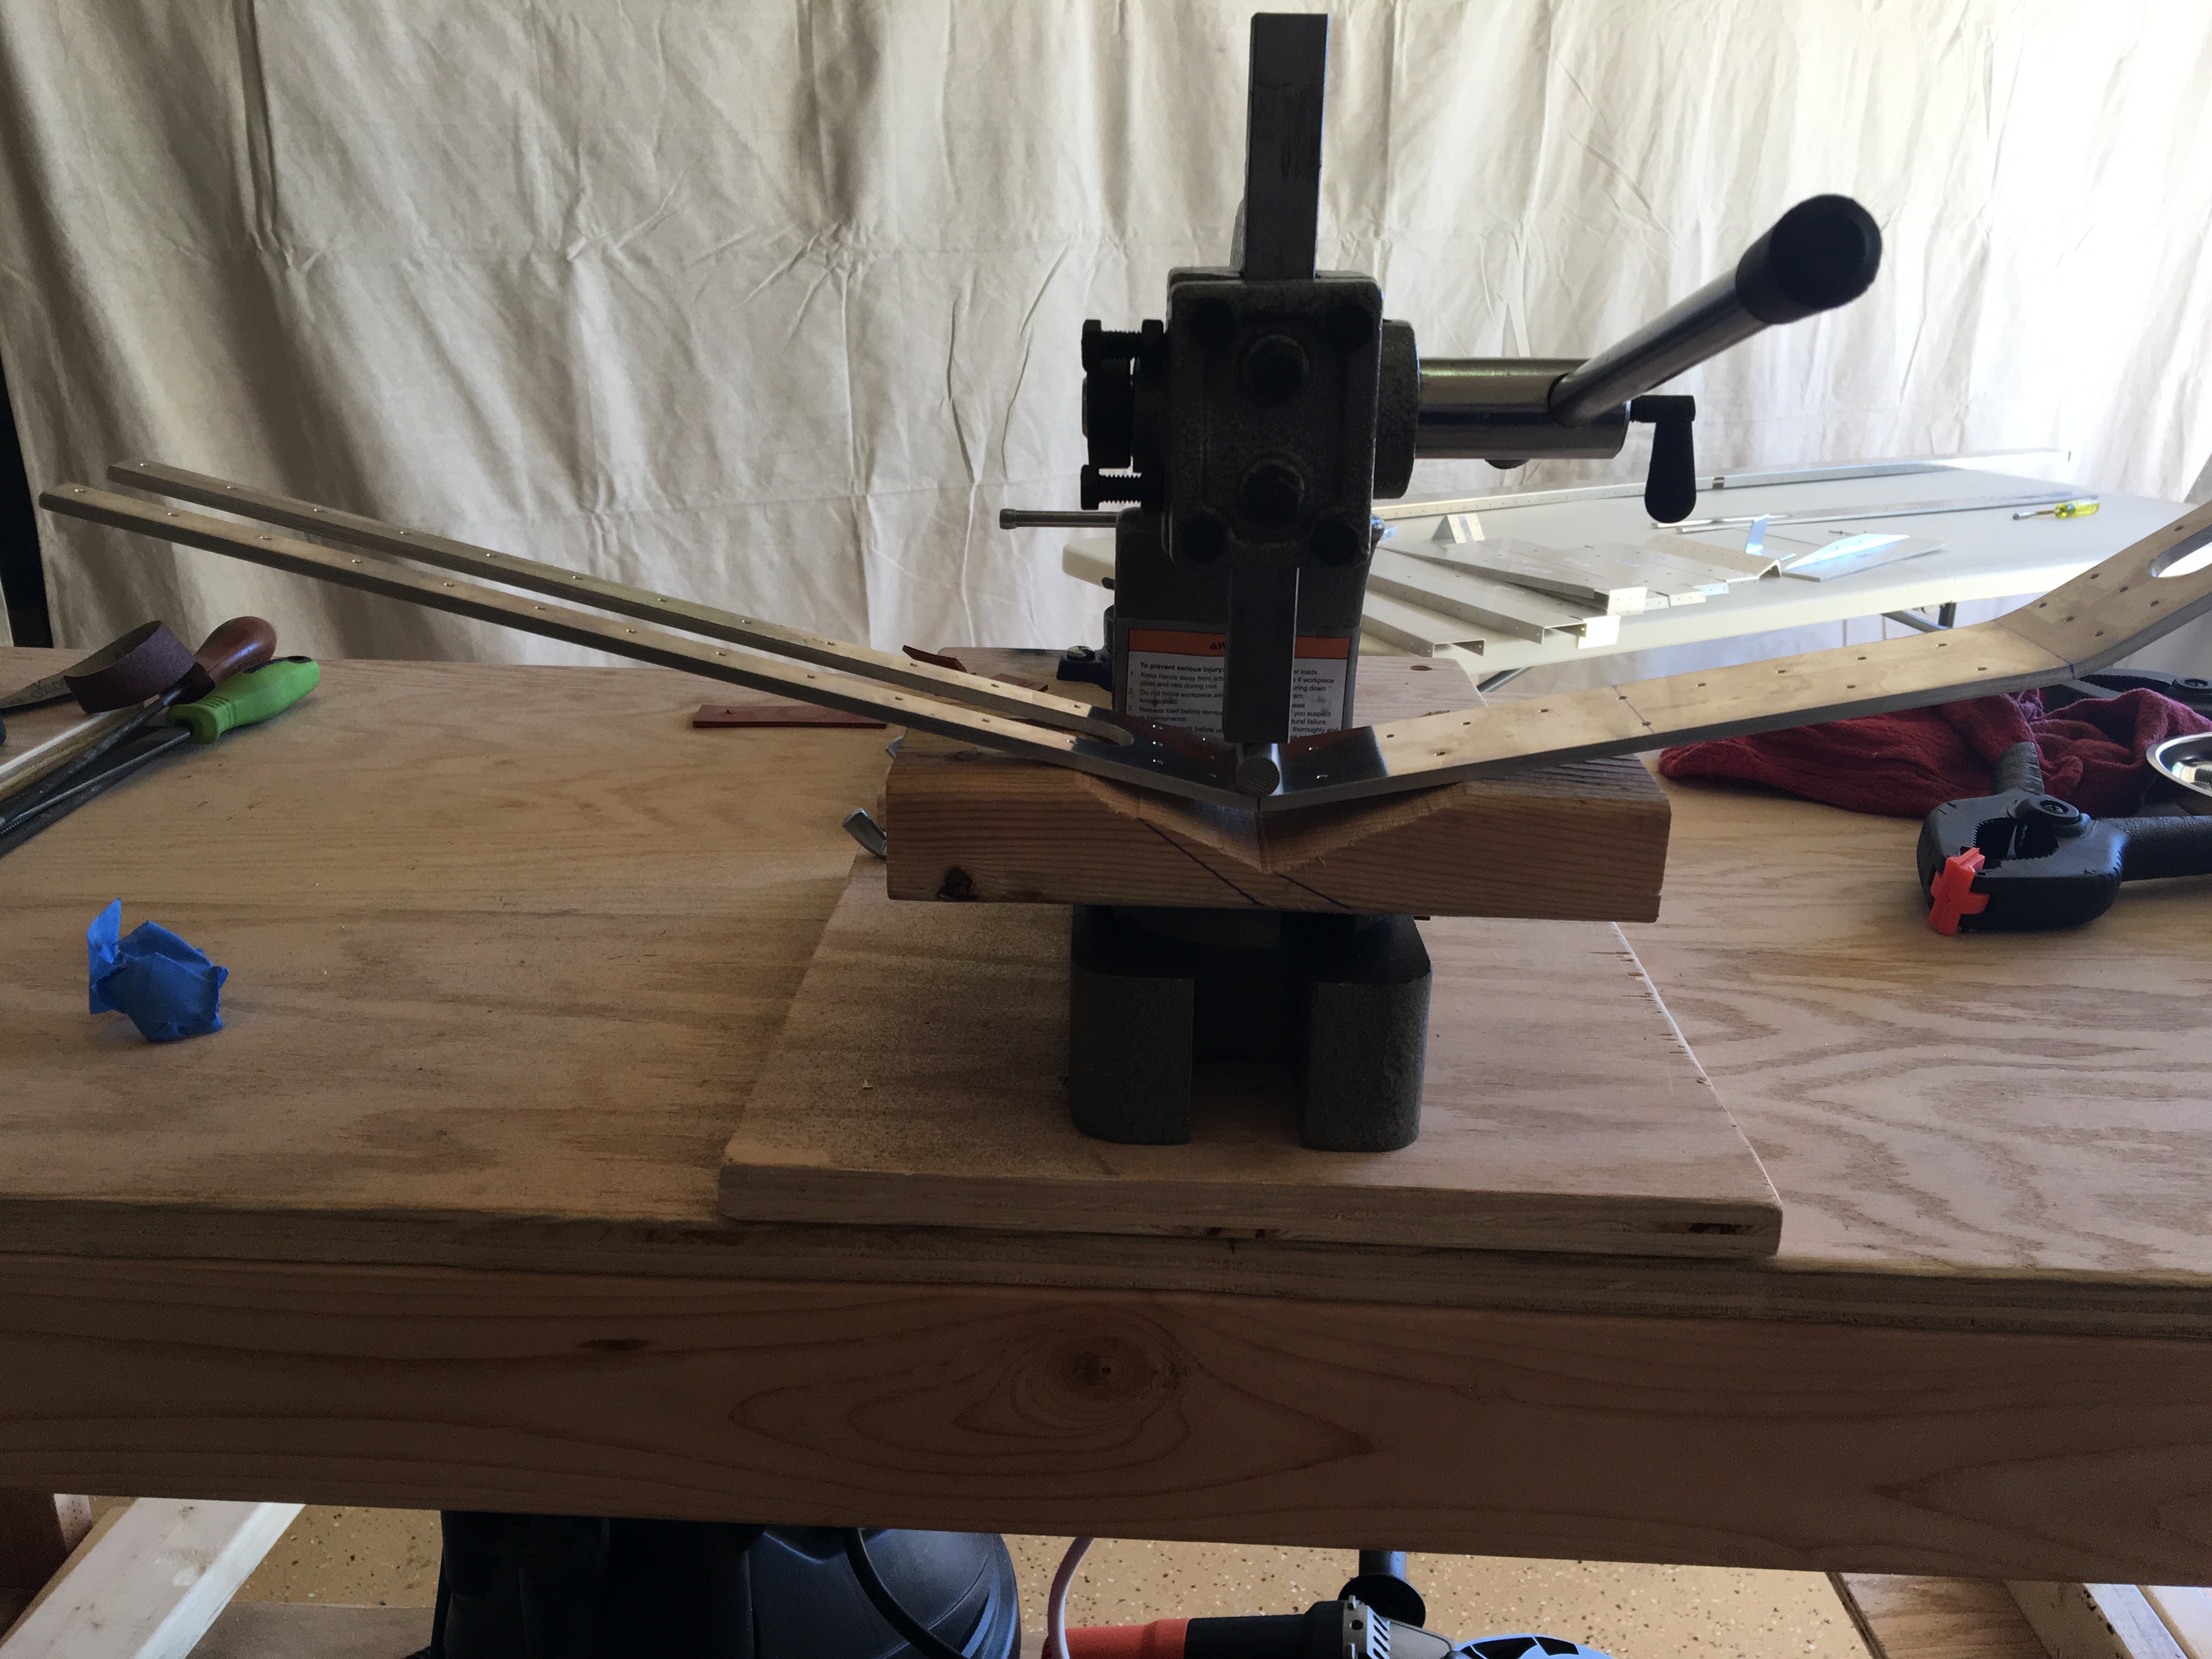
First, following EAA’s helpful hint, I set up to bend a part for the tail front spar. Once everything was all set up (see first picture) the actual bending was almost too easy. The desired angle is 22.3° with 1/2” radius. The first bend I over shot, miscalculating spring-back. The second was spot on.
Talk to Mark from Sonex this afternoon and asked all my questions:
Q: 6061 aluminum used on the OneX is corrosion resistant. Does that mean I don’t need apply corrosion protection for each part? I researched this topic in the morning and found this compelling blog post on Sonex 1362.
A: Mark immediately said no. That the aluminum is already corrosion resistant and protecting against corrosion will just add weight (very undesirable), and cost money. Whelp… I’m a big guy who may need all the spare useful load in this bird. And the thought of over-engineering scares me (so much software seems to be over-engineered, and so painful to work with). I’m already trusting Sonex with the whole kit, so I’m gonna take their advice and pass on the corrosion protection.
Q: Does thinner (0.025”) aluminum require deburring and filing too?
A: Of course.
Q: Some parts are made of different aluminum that has a visual-texture like particle board. Do they require filing and deburring?
A: Yup. Where ever you can run you finger along and get your nail caught, it needs filing.
Q: It looks like some parts only have pilot holes drilled. These hole need to be widened? How do I know what drill bit to use?
A: In the morning I searched the web and my book to find charts of all the rivet, drill bit, and cleco sizes. After reviewing these, it was obvious that ALL the holes are just pilots and I’ll need to complete all the drills.
Q: At what point do I stop assembling part and replace clecos with rivets? You see, there’s a OneX Tail Assembly video where he assembles the whole wing, skin included, with clecos. It begs the question, “How are you gonna rivet the parts under the skin?”
A: Mark admitted that this video is misleading. Basically each part assembled gets riveted before it’s used in another part.
Q: What is the process for “pickling” the AeroVee engine? I’ll ask this one tomorrow.
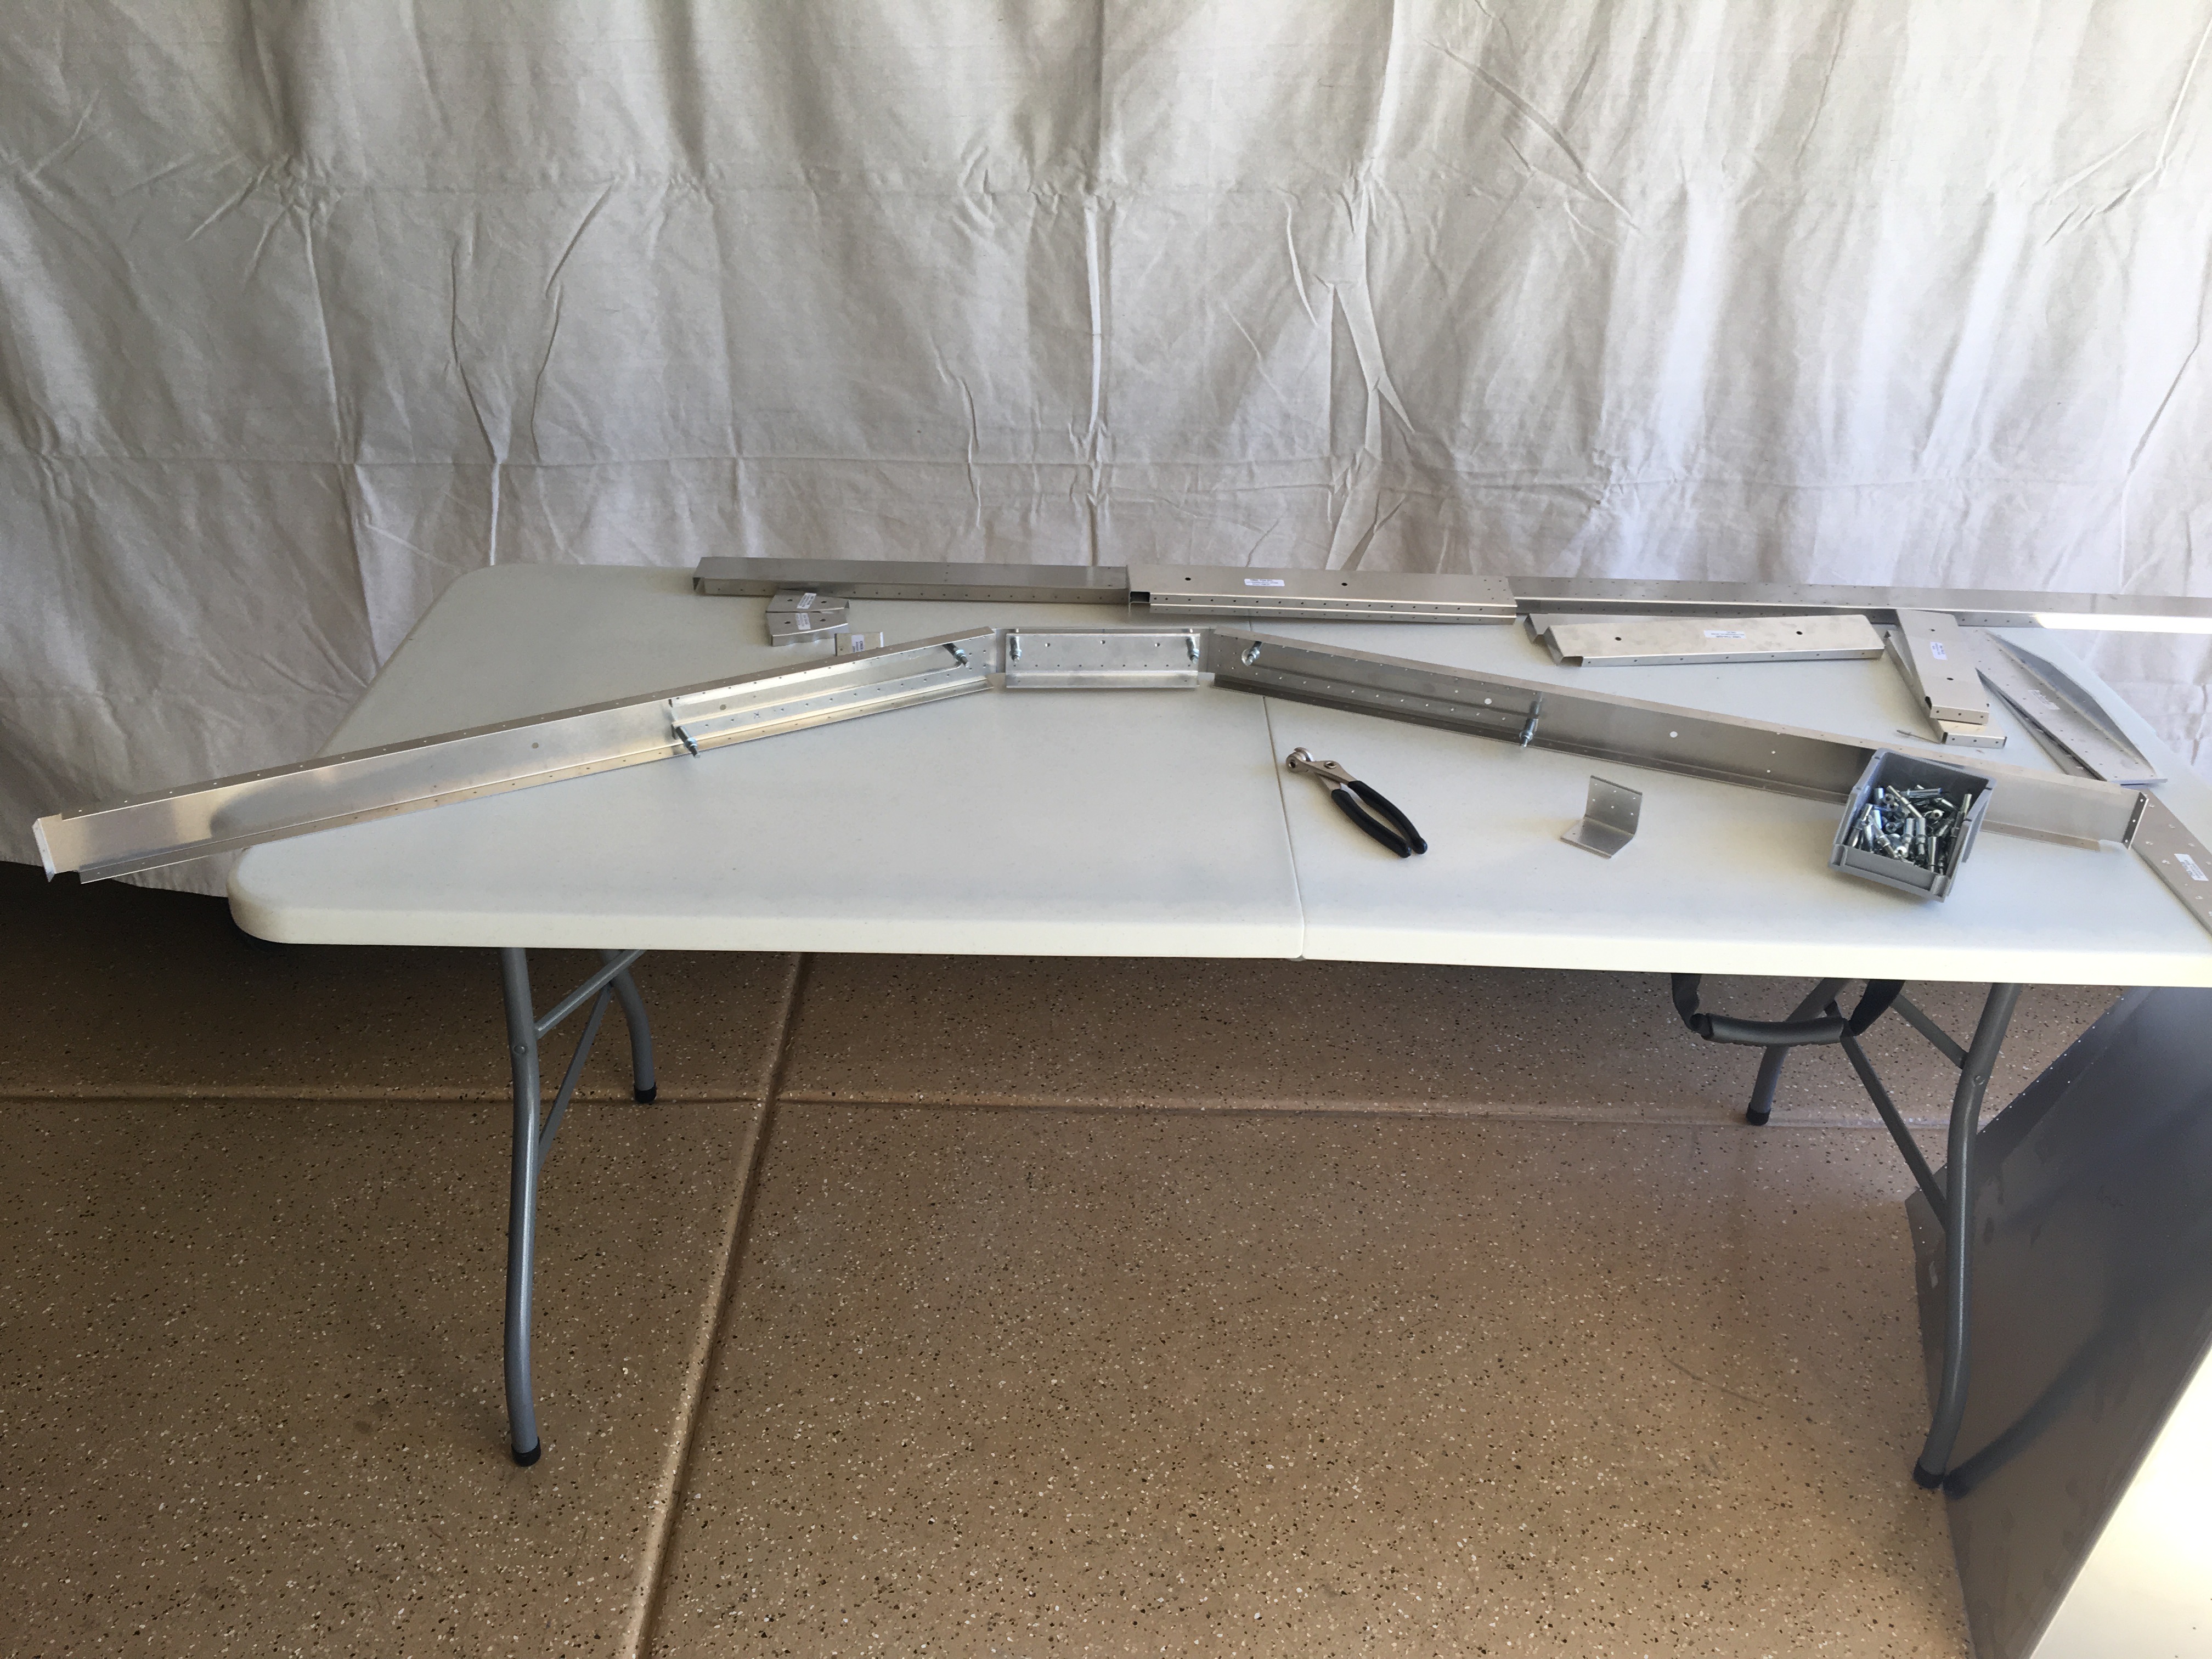
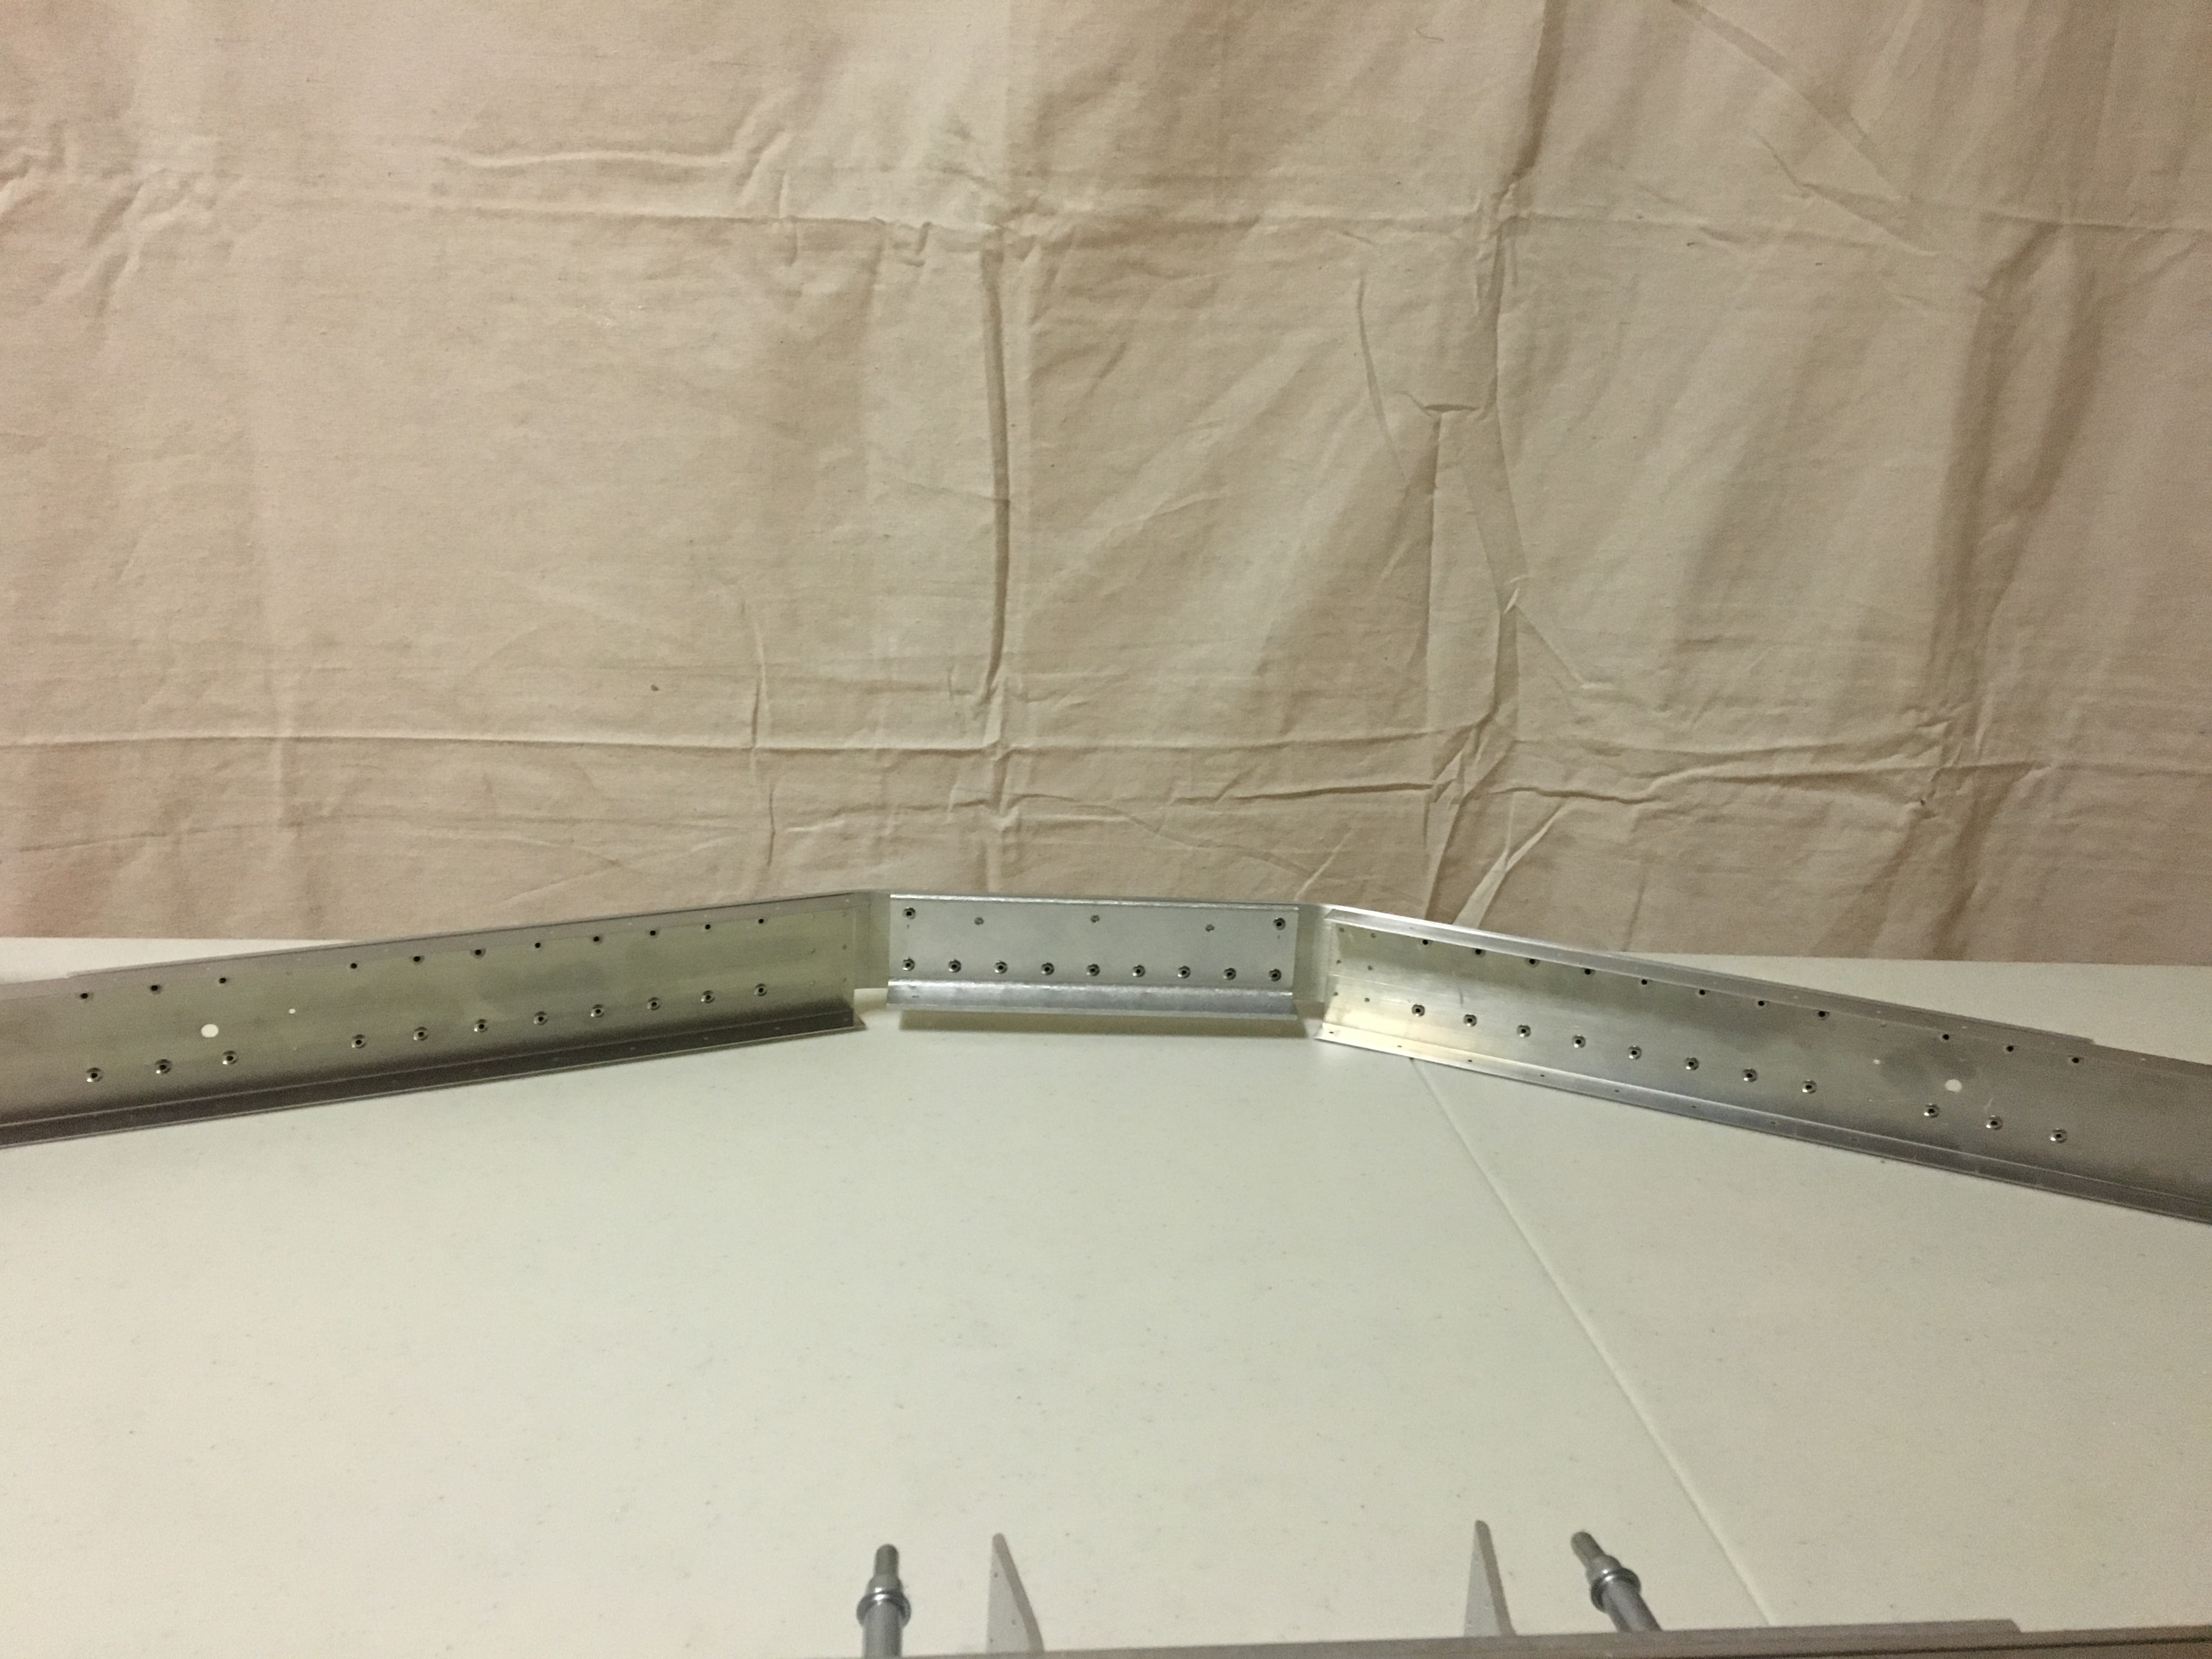
The last two pictures summarize the whole day’s work. I assembled the front tail spar. In the first image it’s held together by clecos: spring loaded fasteners that are awesome. Turns out my mockup was wrong and it took quite a bit of staring at the plans, then starting at the parts, scratching my head, and repeating the process. Eventually I figured it out.
Once the four parts where mated properly, I drilled the #30 holes through all the pilots that needed to be riveted. Several pilots remain unused at this point. Drilling took a while, trying to be precise, and the metal likes being drilled slowly. adolescent snicker
Then the parts were “unmated” so I could file them some more and debur them some more. Then they had to be cleaned to remove any finger prints and chemicals that might catalyze corrosion. Interestingly, there were finger prints that would not come off no matter what cleaning product I used. I had noticed these finger prints when I unboxed the raw material. I was able to get rid of them by scrubbing the aluminum with a Scotch Brite pad. My best guess is that this was corrosion. Hmmmm. In fact, there were several similarly dull, foggy white spots on the aluminum. So I made liberal use of the Scotch Brite pad and was pleased with consistent shiny result.
Finally, I took a leap and pulled 55 rivets, forever binding those four pieces of aluminum. It’s a good thing I got the pneumatic rivet puller. I should include it in a picture. That device makes quick effortless work of riveting, and I’d rather not promote carpal tunnel with the hand puller.
There you have it. 8 hours => 4 riveted parts.