Oil's the Word
Oil Sump
This was my first task of the day. Turns out the plate holes didn’t line up with the bolts (see picture). I pulled out my drill press and widened the holes. Then it fit. However, this was the first use of the inch-pound torque wrench and I didn’t notice the subtle click telling me I had reached the desired torque. As a result, some of my copper washers got decimated. I ran to Ace, and of course they didn’t have any. So I bought some copper plate figuring I could cut my own. While I Wasn in the process, which was much harder than I imagined, I saw some extra copper washers sitting on my work bench and they were just the right size!
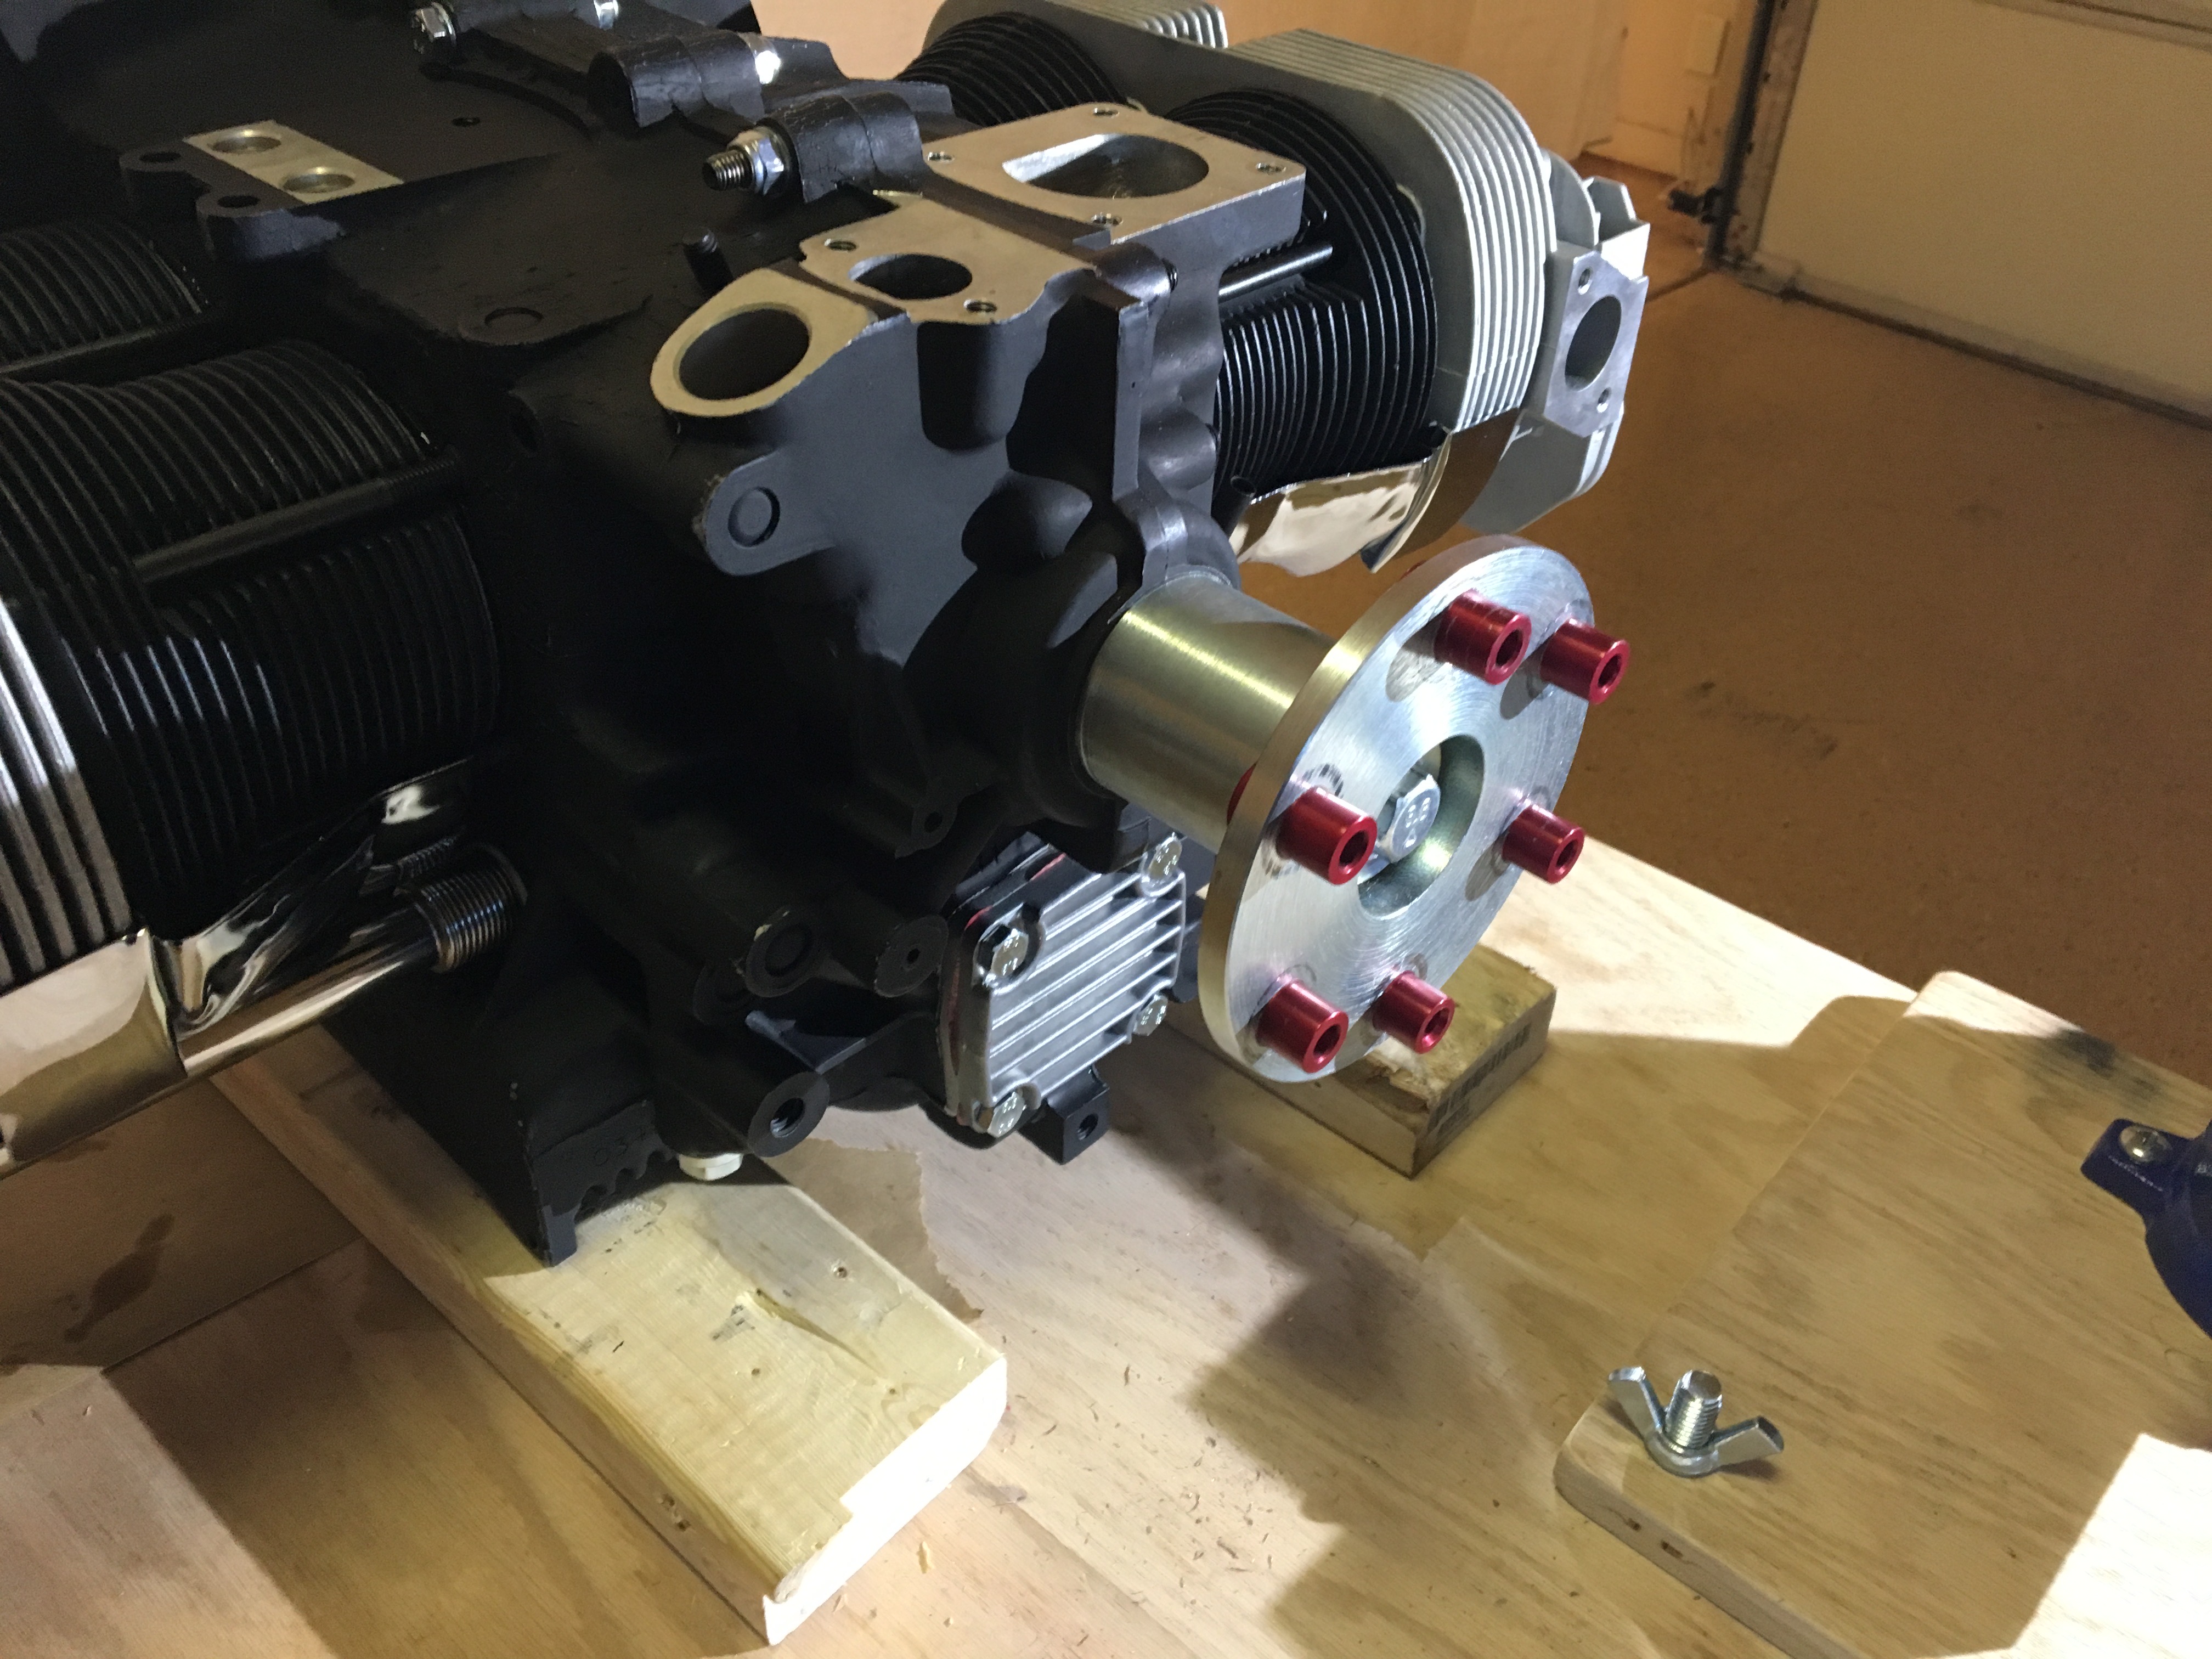
Propeller Drive Lugs
These are the six red lugs in the front of the engine in the picture below. They had to be squeezed into the propeller hub by force. i.e. using a bolt, nuts, large socket bit as spacer, and washers, none of which were provided. Of course I didn’t have the right size so I used a some smaller bolts in my spare parts box. But they broke under the pressure, twice. After a lunch date with my lovely wife Angelique, I made my second trip to Ace and got the proper size bolts, nuts, and washers.
Adjusted Valves
The rocker arms are supposed to be 0.006 inches apart from the valve springs. I have feeler guages which make the measurement easy. But somehow one of the left push rods was too long and the rocker was too close to the valve sprint. I took it apart and added another shim which did the trick.
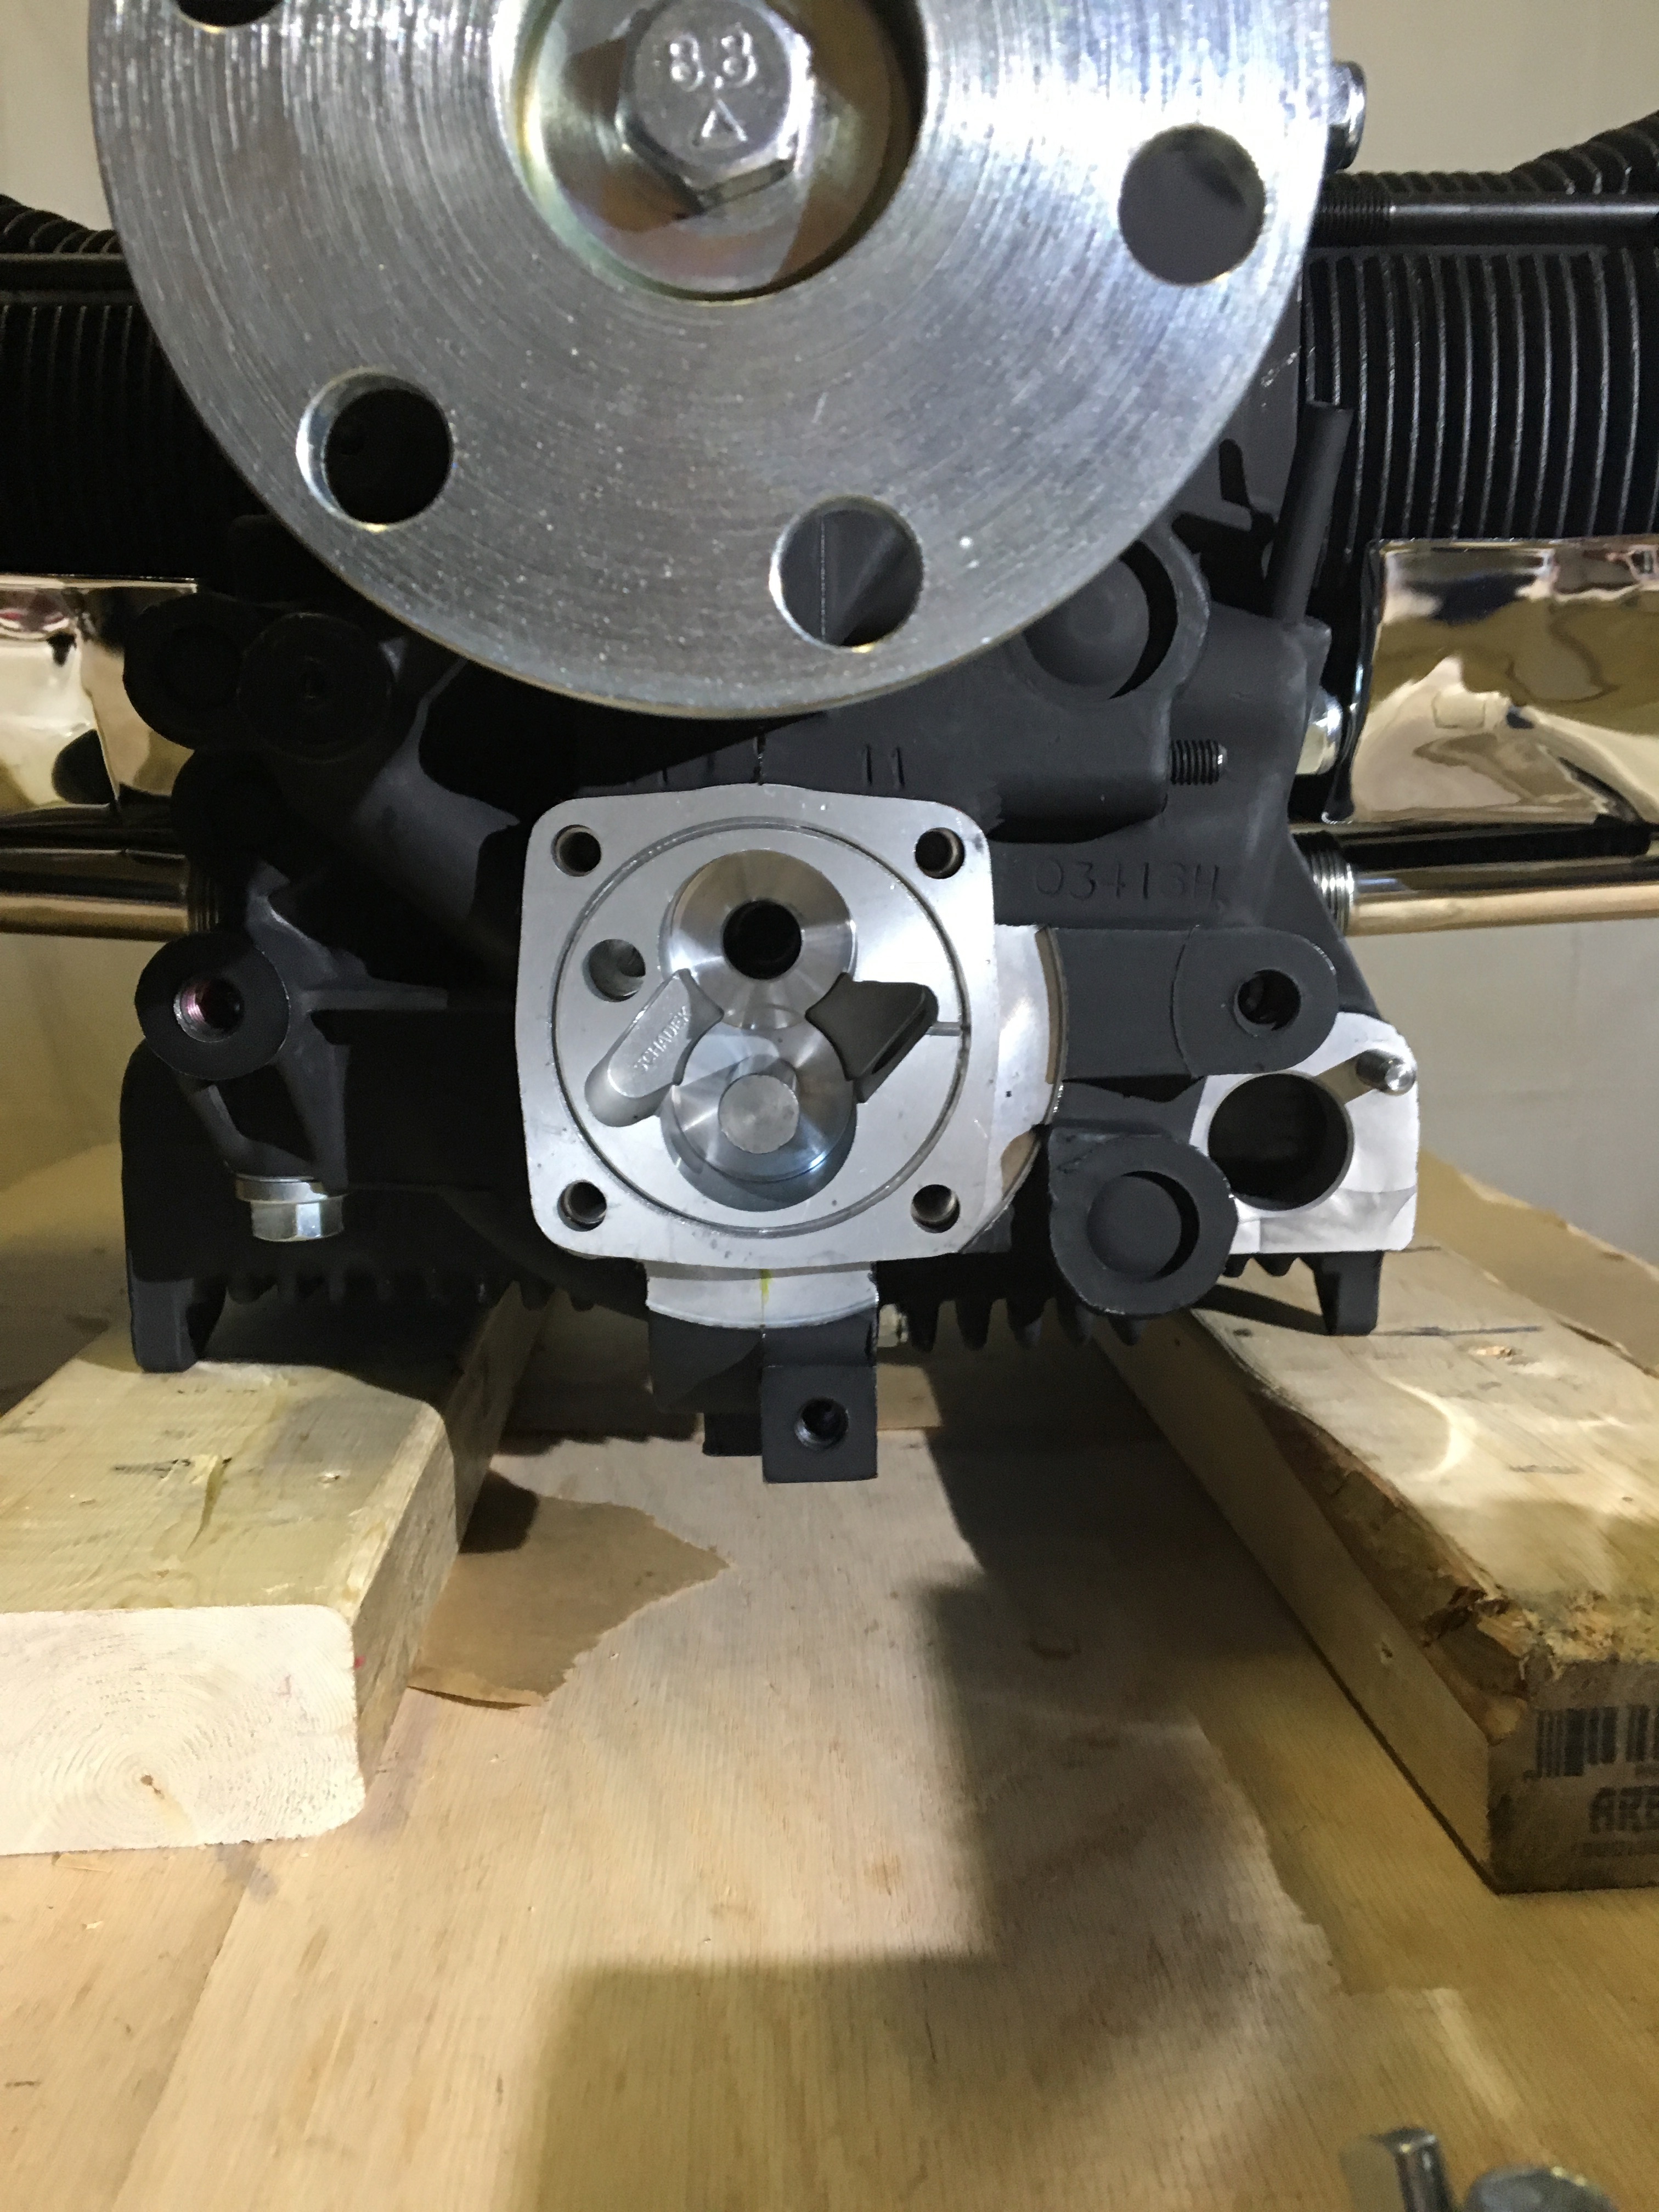
Oil Pump
I’m looking at this box with two gears in it trying to figure out how it functions as a pump. One of the gears is attached to the camshaft, therefore will spin really fast. The two gears must produce a low pressure zone forcing the oil to cycle through. The picture only show the empty box.
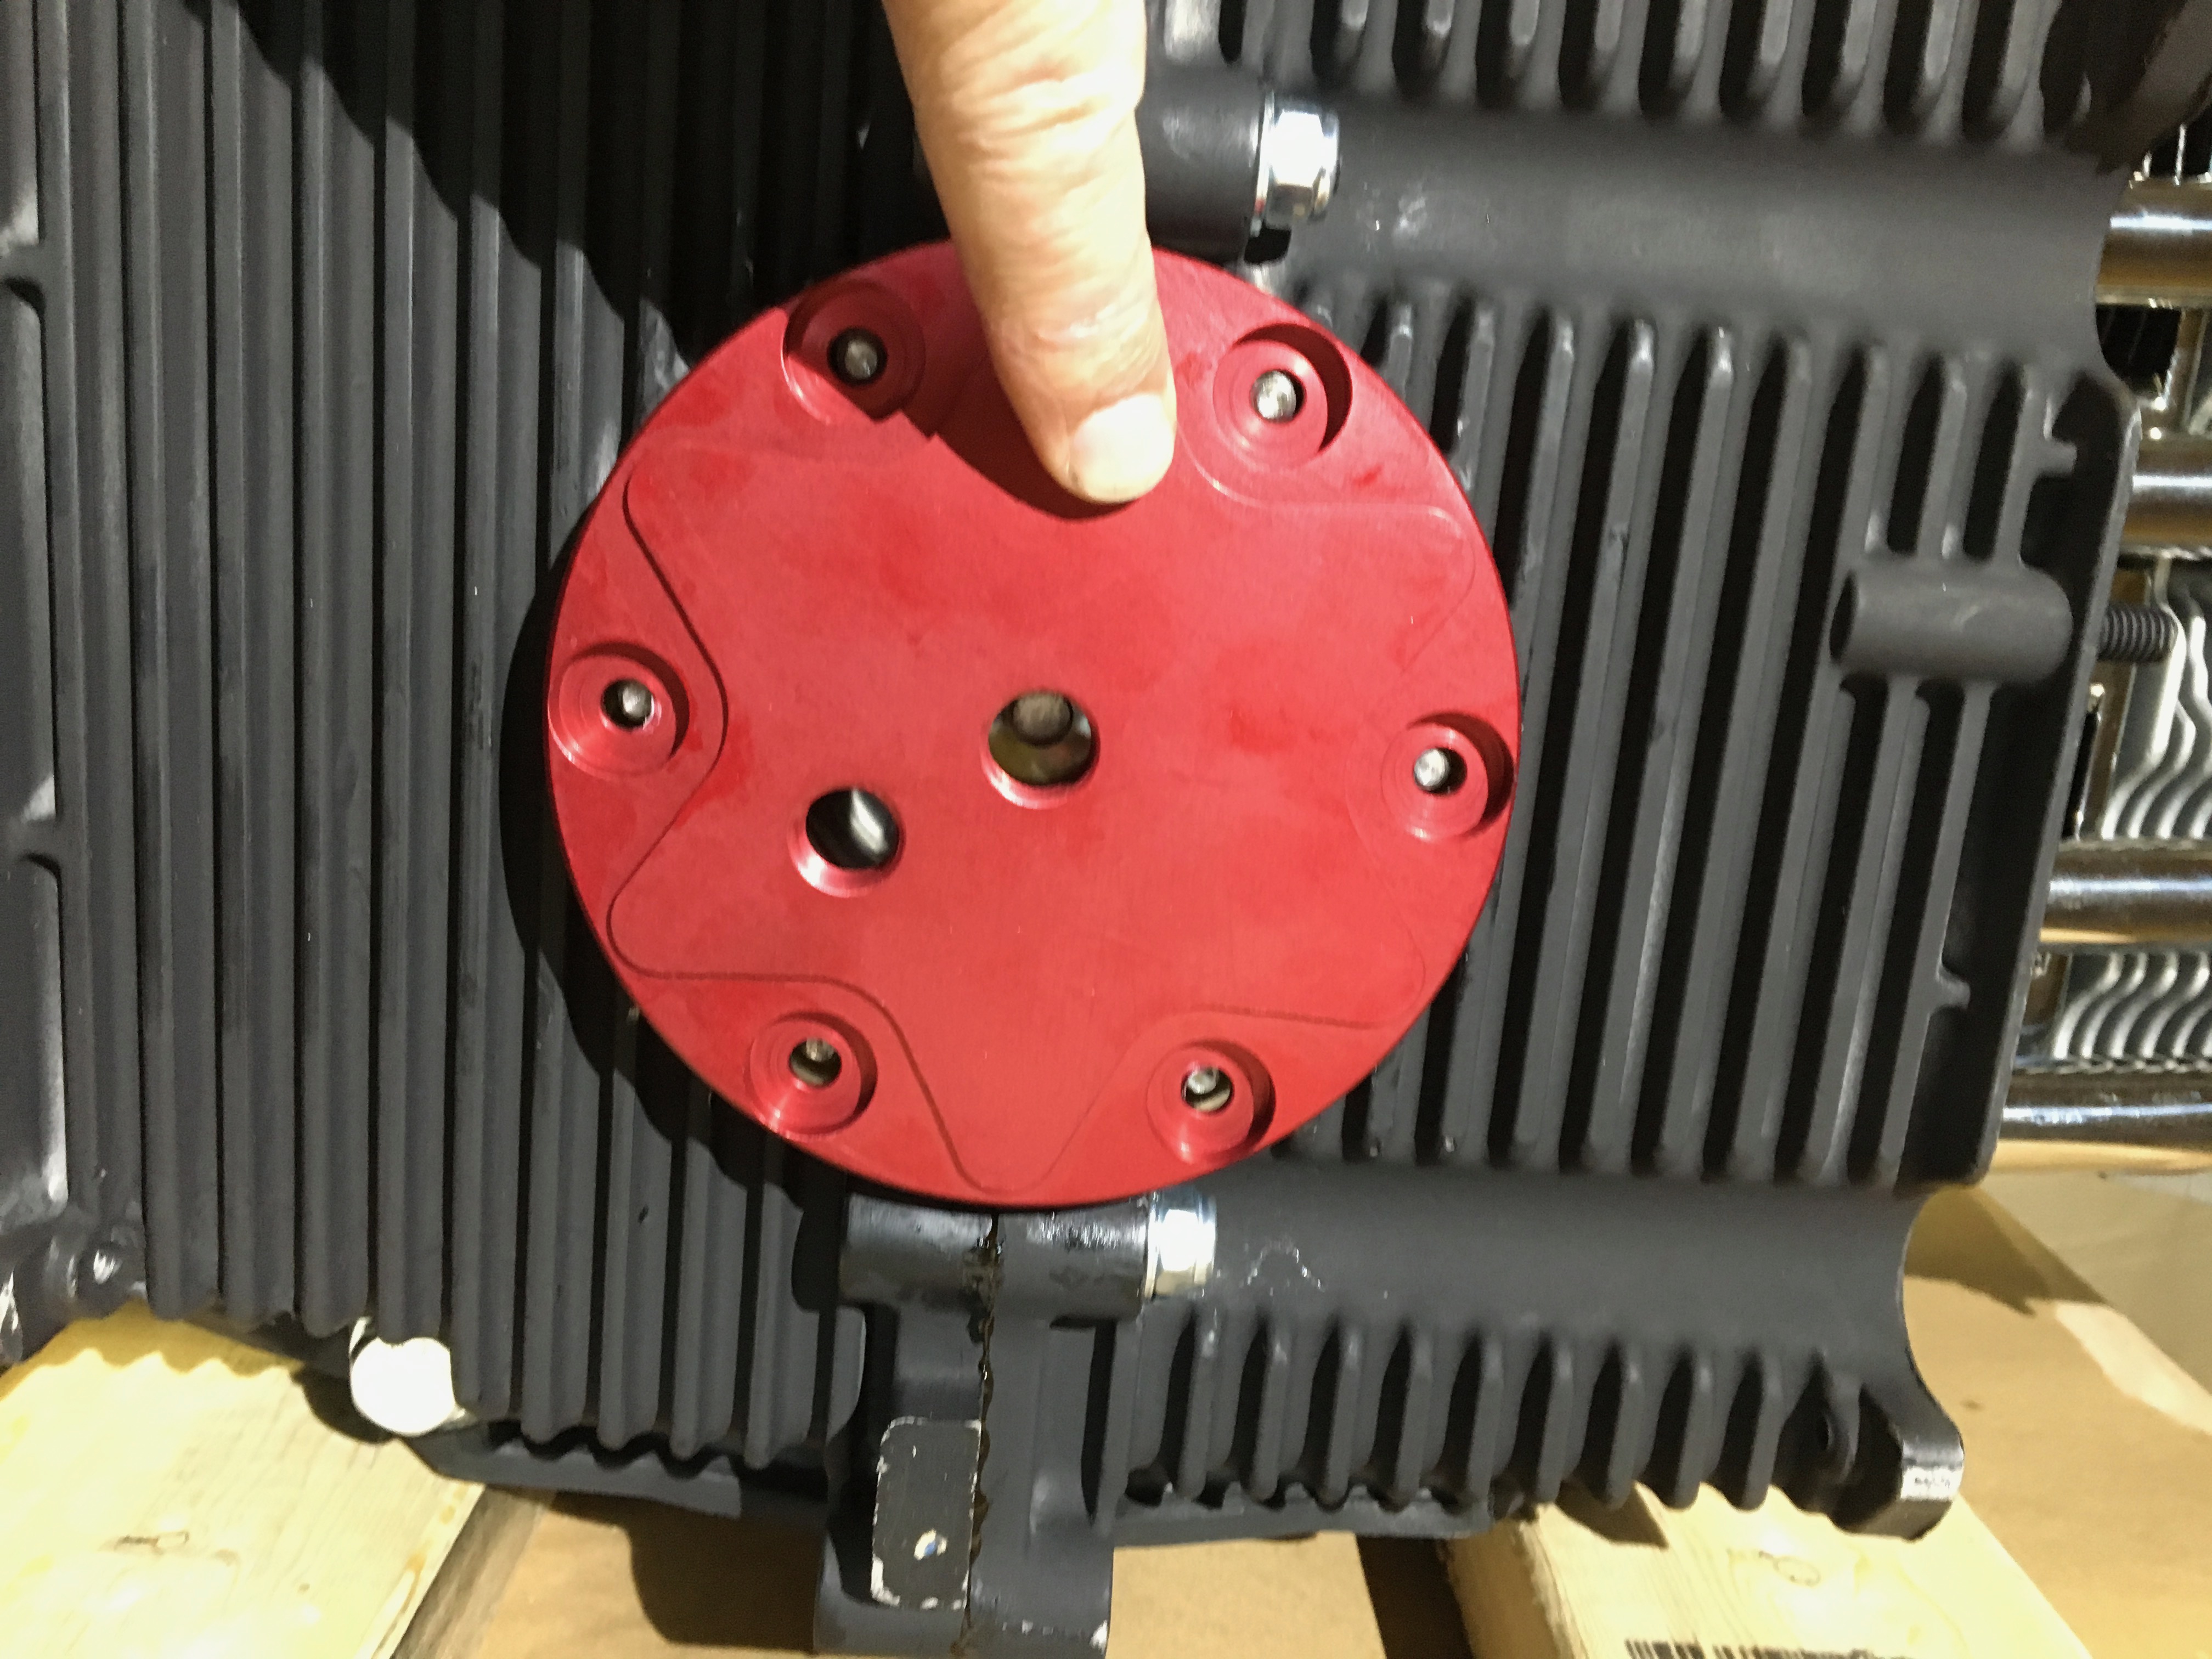
Back-Plate Covers
My engine finally gets some color. Red! Only problem here is the one of the covers, the “fuel pump back off plate” has hole in the middle. The one they install on the DVD doesn’t have a hole. Neither does the one in the assembly manual. I hope this hole will be used for cooling, or a temperature plug, otherwise I’ll have to do something about that hole.
Flywheel
A few days ago I had the measure the n-play with the flywheel. Today it was time to install the shims to remove the n-play and attach the flywheel. This bad boy is fastened with a gland nut that is torqued at 227 ft-lbs. That’s a lot of torque. You’ll see in the image below that I recruited Luka to help. I gave him an 8’ 2x4 as leverage while I cranked on the beastly torque wrench. ‘Click’, done.
Missing Ignition Magnatrons
The next step was to install the accessory plate which requires magnatrons. These are one of the items on back order. I called Steve at Sonex and he says they should get them Monday and he made a note to send them right away.
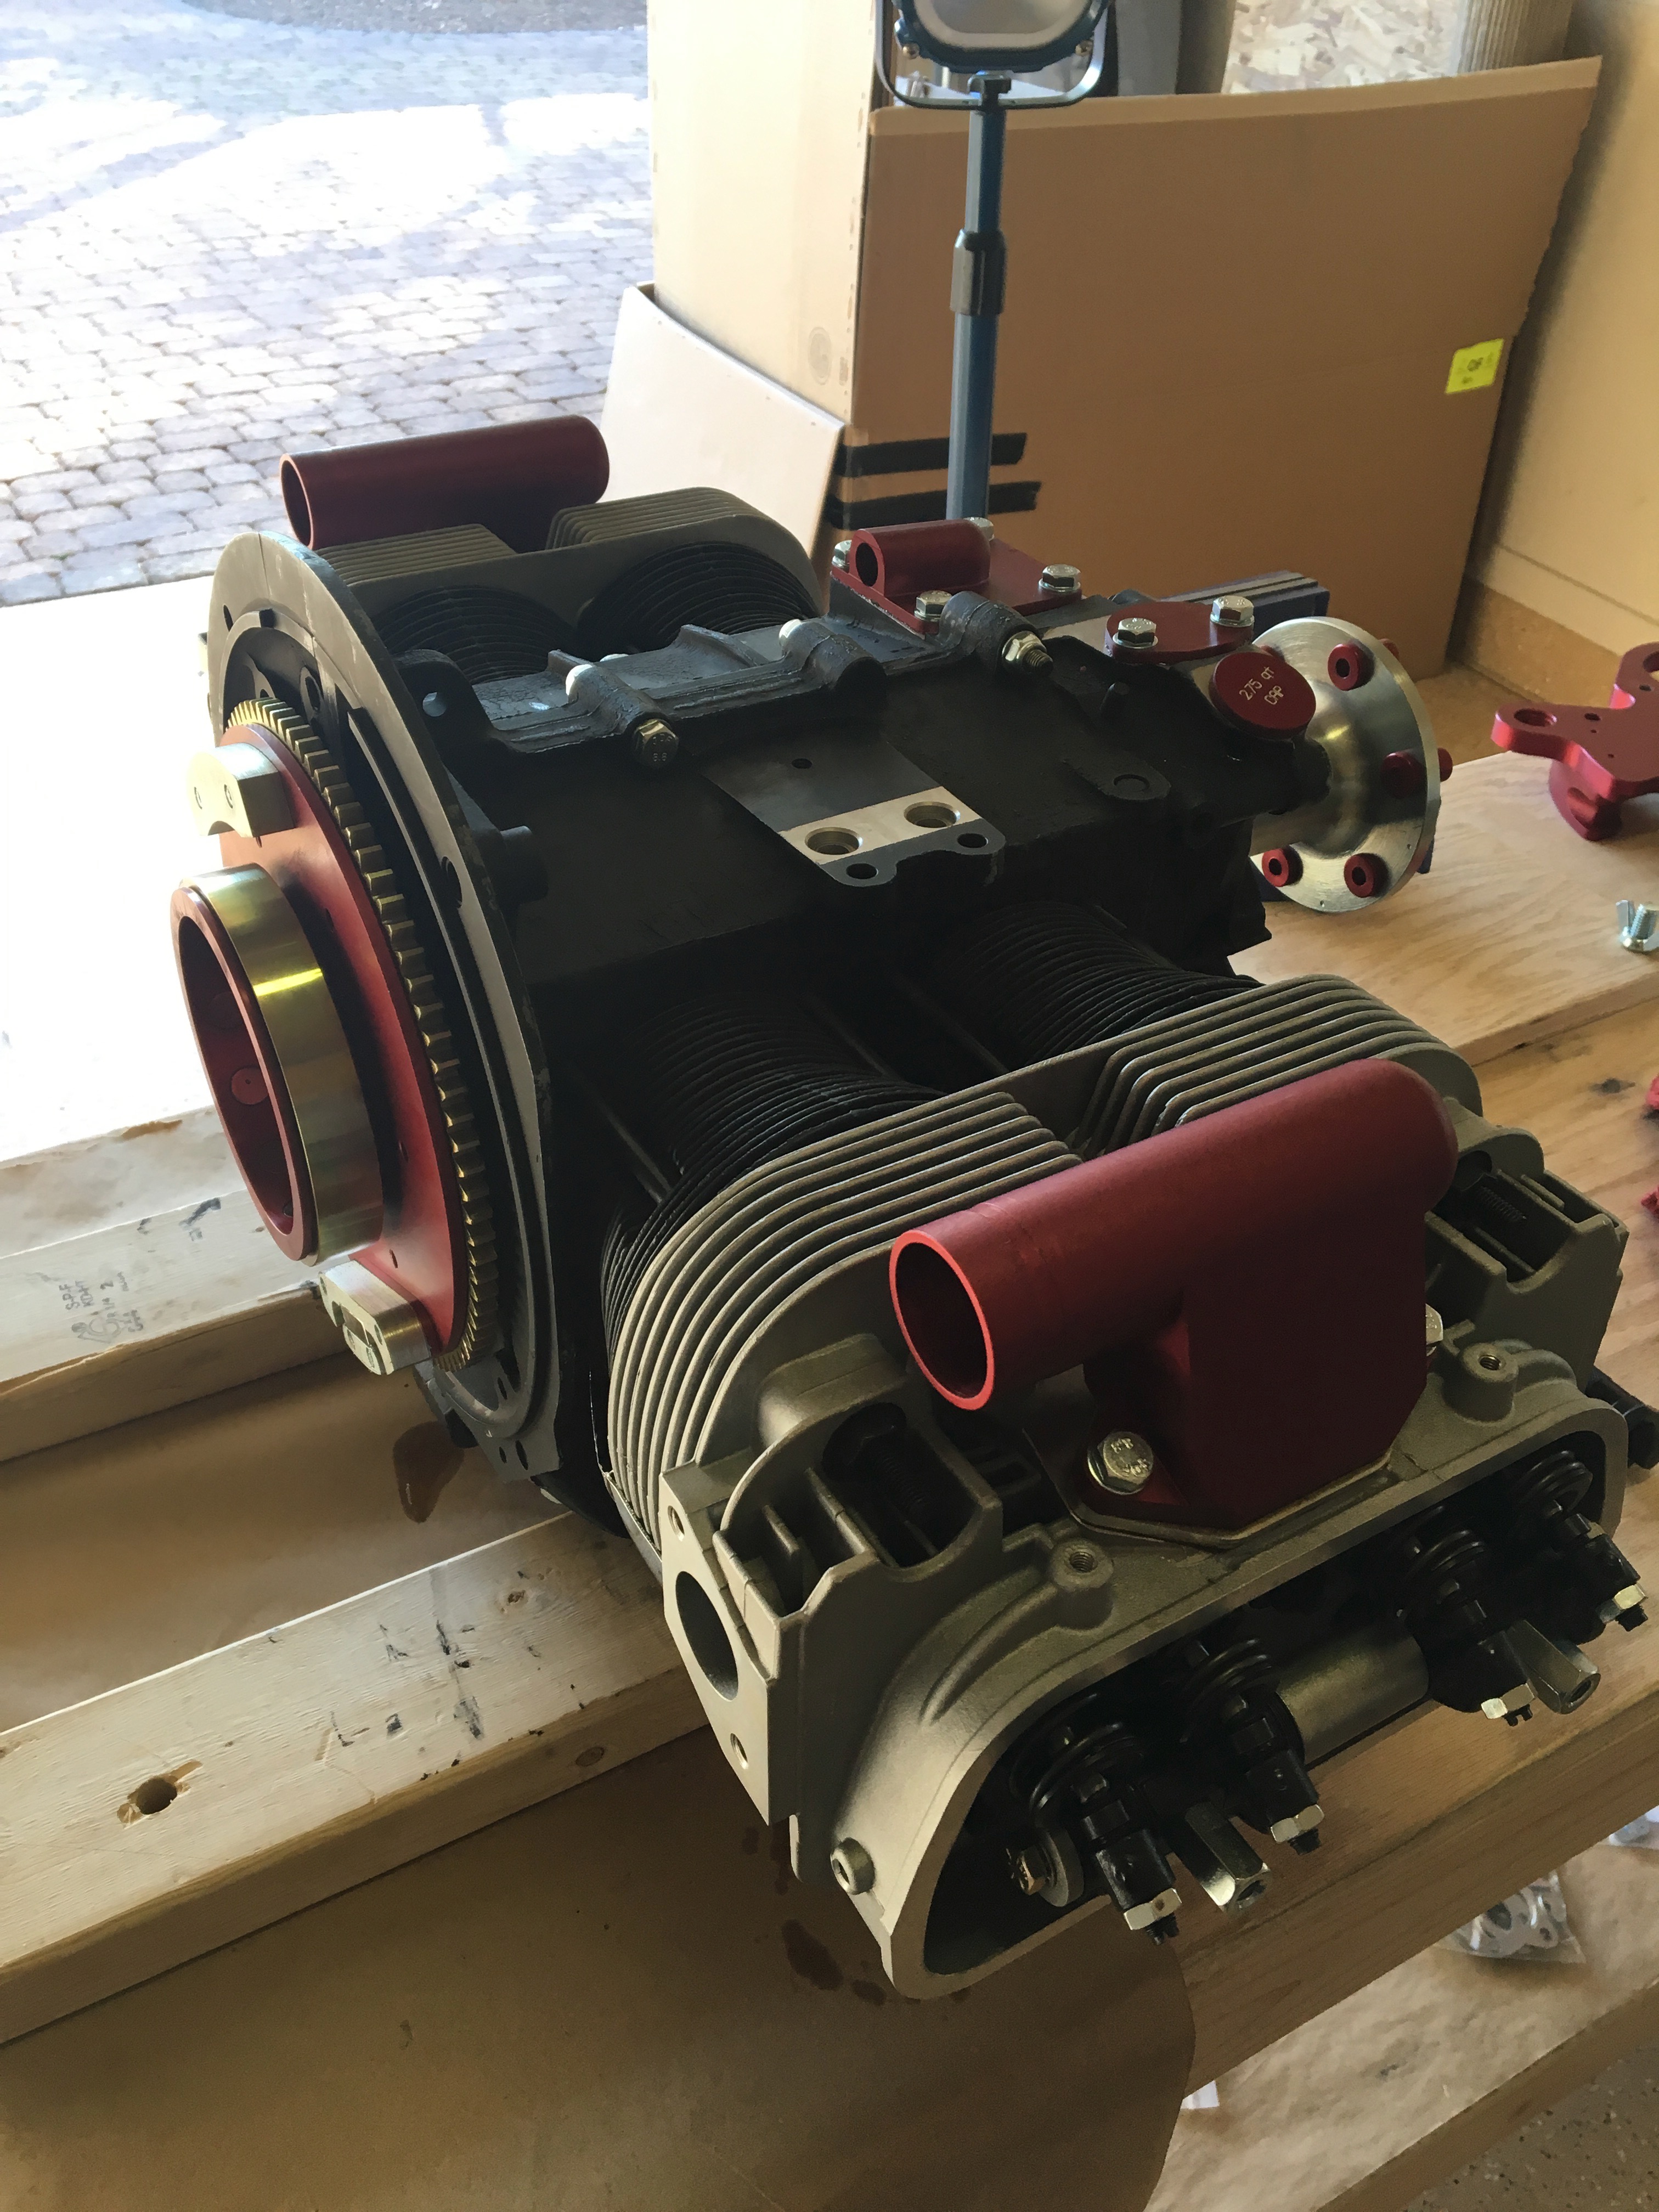
Intake Manifold Elbows
The final picture. These were about the only things left to install for which I had the parts. Almost done with the engine, as a solo unit. There’s gonna be much more work when the airframe is ready for the engine to be mounted. That’s when the bunch of other components come into play.
- Starter
- Fuel lines
- Intake Manifold
- Exhaust
- Baffles
- Alternator
And then when I install avionics I’ll have to revisit the engine again to install senders/sensors.