Not All Roses
It occurred to me that I might be over-simplifying the work involved in assembling the engine. It’s not quite like Legos, or Ikea furniture. It’s not all roses. There’s quite a bit of finagling, undoing, redoing, rigging, etc…
Before I get into details, I took another flight lesson today for tailwheel. More of the same, 3-point landings, wheel landings, with one notch of flaps, with no flaps. We practices some short field take offs and landings today too. Oh, Larry had me do that one wheel thing all the way down the runway. So as we cruise down the runway, we pick up tha tail then push the ailerons right to pick up the left wheel. The whole plans angled up in the air with one wheel touching and it’s almost as though the right wing is about to touch the ground. But with proper command of the controls, we hold this position all the was down the runway. Since we’re almost at rotation speed (flying speed), it’s not until there’s maybe 100 feet of remaining runway that we lift off and straighten out. Fun!
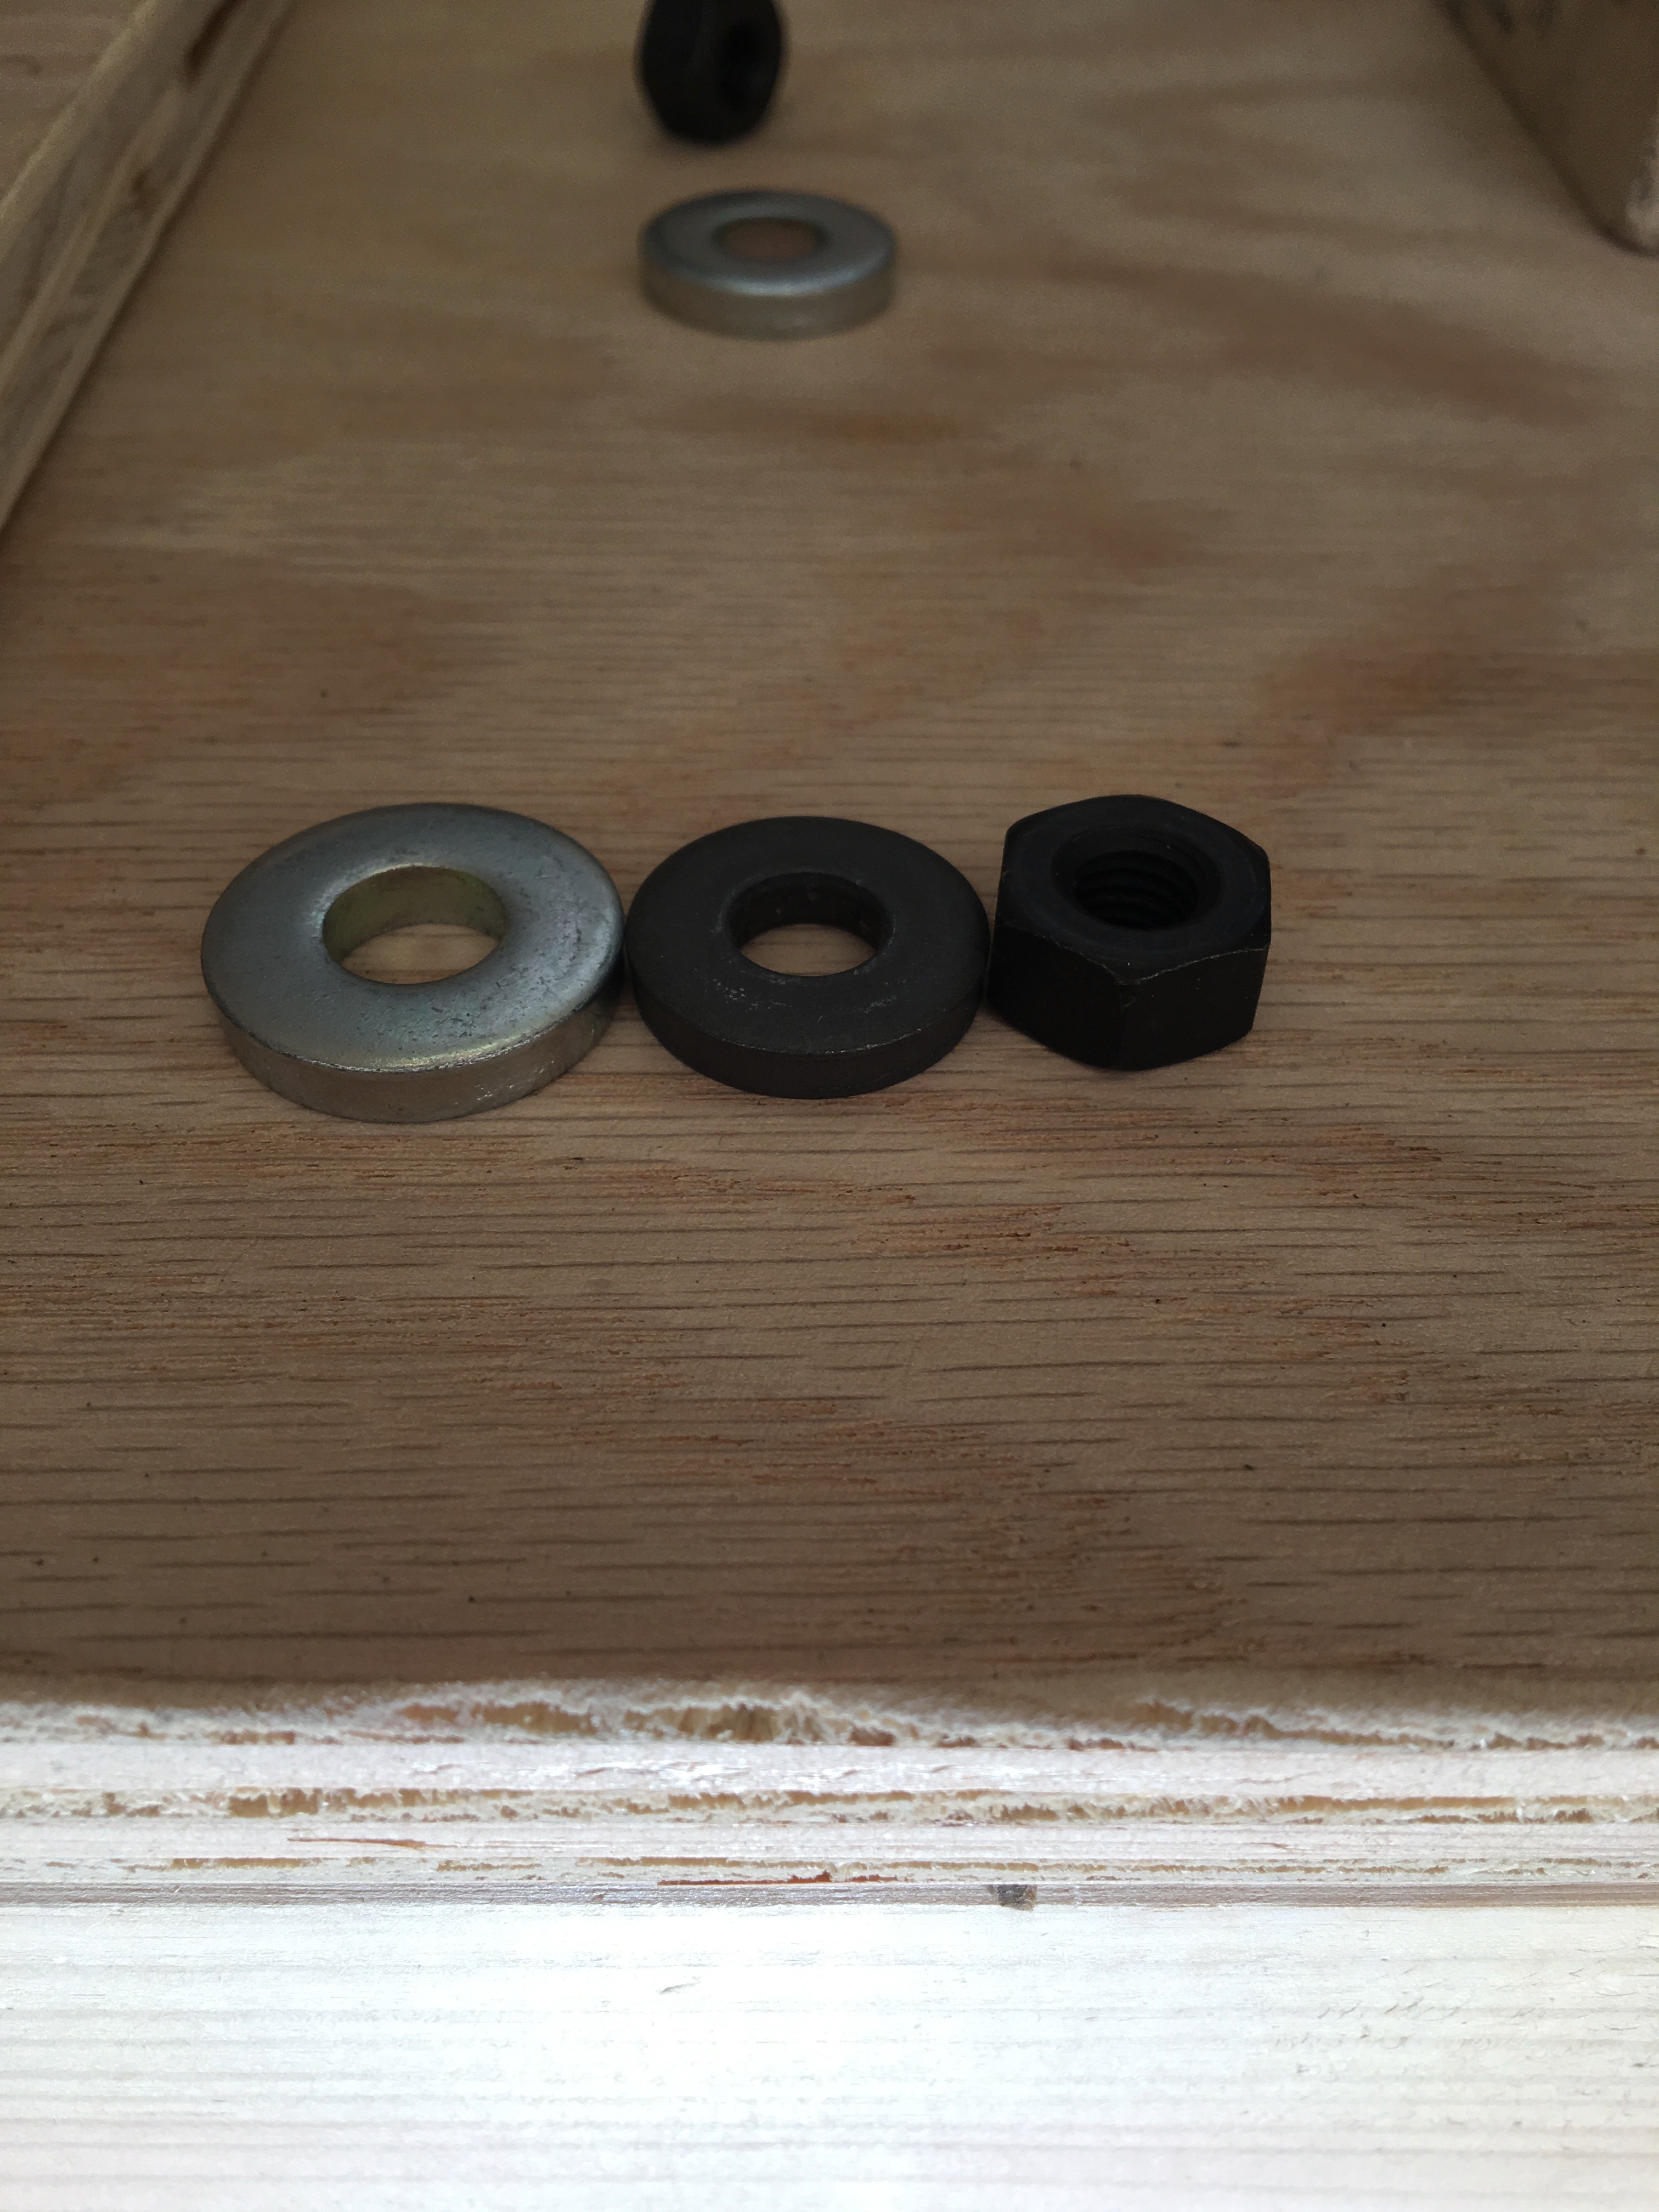
This missing washer turned out to be very elusive. It’s not your ordinary washer. See picture below. It’s about a 1/4 inch thick, which I’m told is to handle the high torque of the cylinder head. I tried Ace Hardware. They sent me to AutoZone. They sent me to a Porsche Service shop (remember it’s a Volkwagen engine… VW owns Porsche.) They left me hanging so I tried Home Depot. They sent me to Harley Davidson, and they had a nearly identical washer! It’s silver and slightly bigger, but it’s also a cylinder head washer and it fits!
Ok, so the un-Rose-like aspects to name a few:
- One of the cylinders wasn’t fitting flush with the casing. Good thing I noticed, because hot oil would love to escape a running engine through that gap. It was caused by some metal ridged which I assume are artifacts of the molding process. A bit of dexterous Dremel work took care of that.
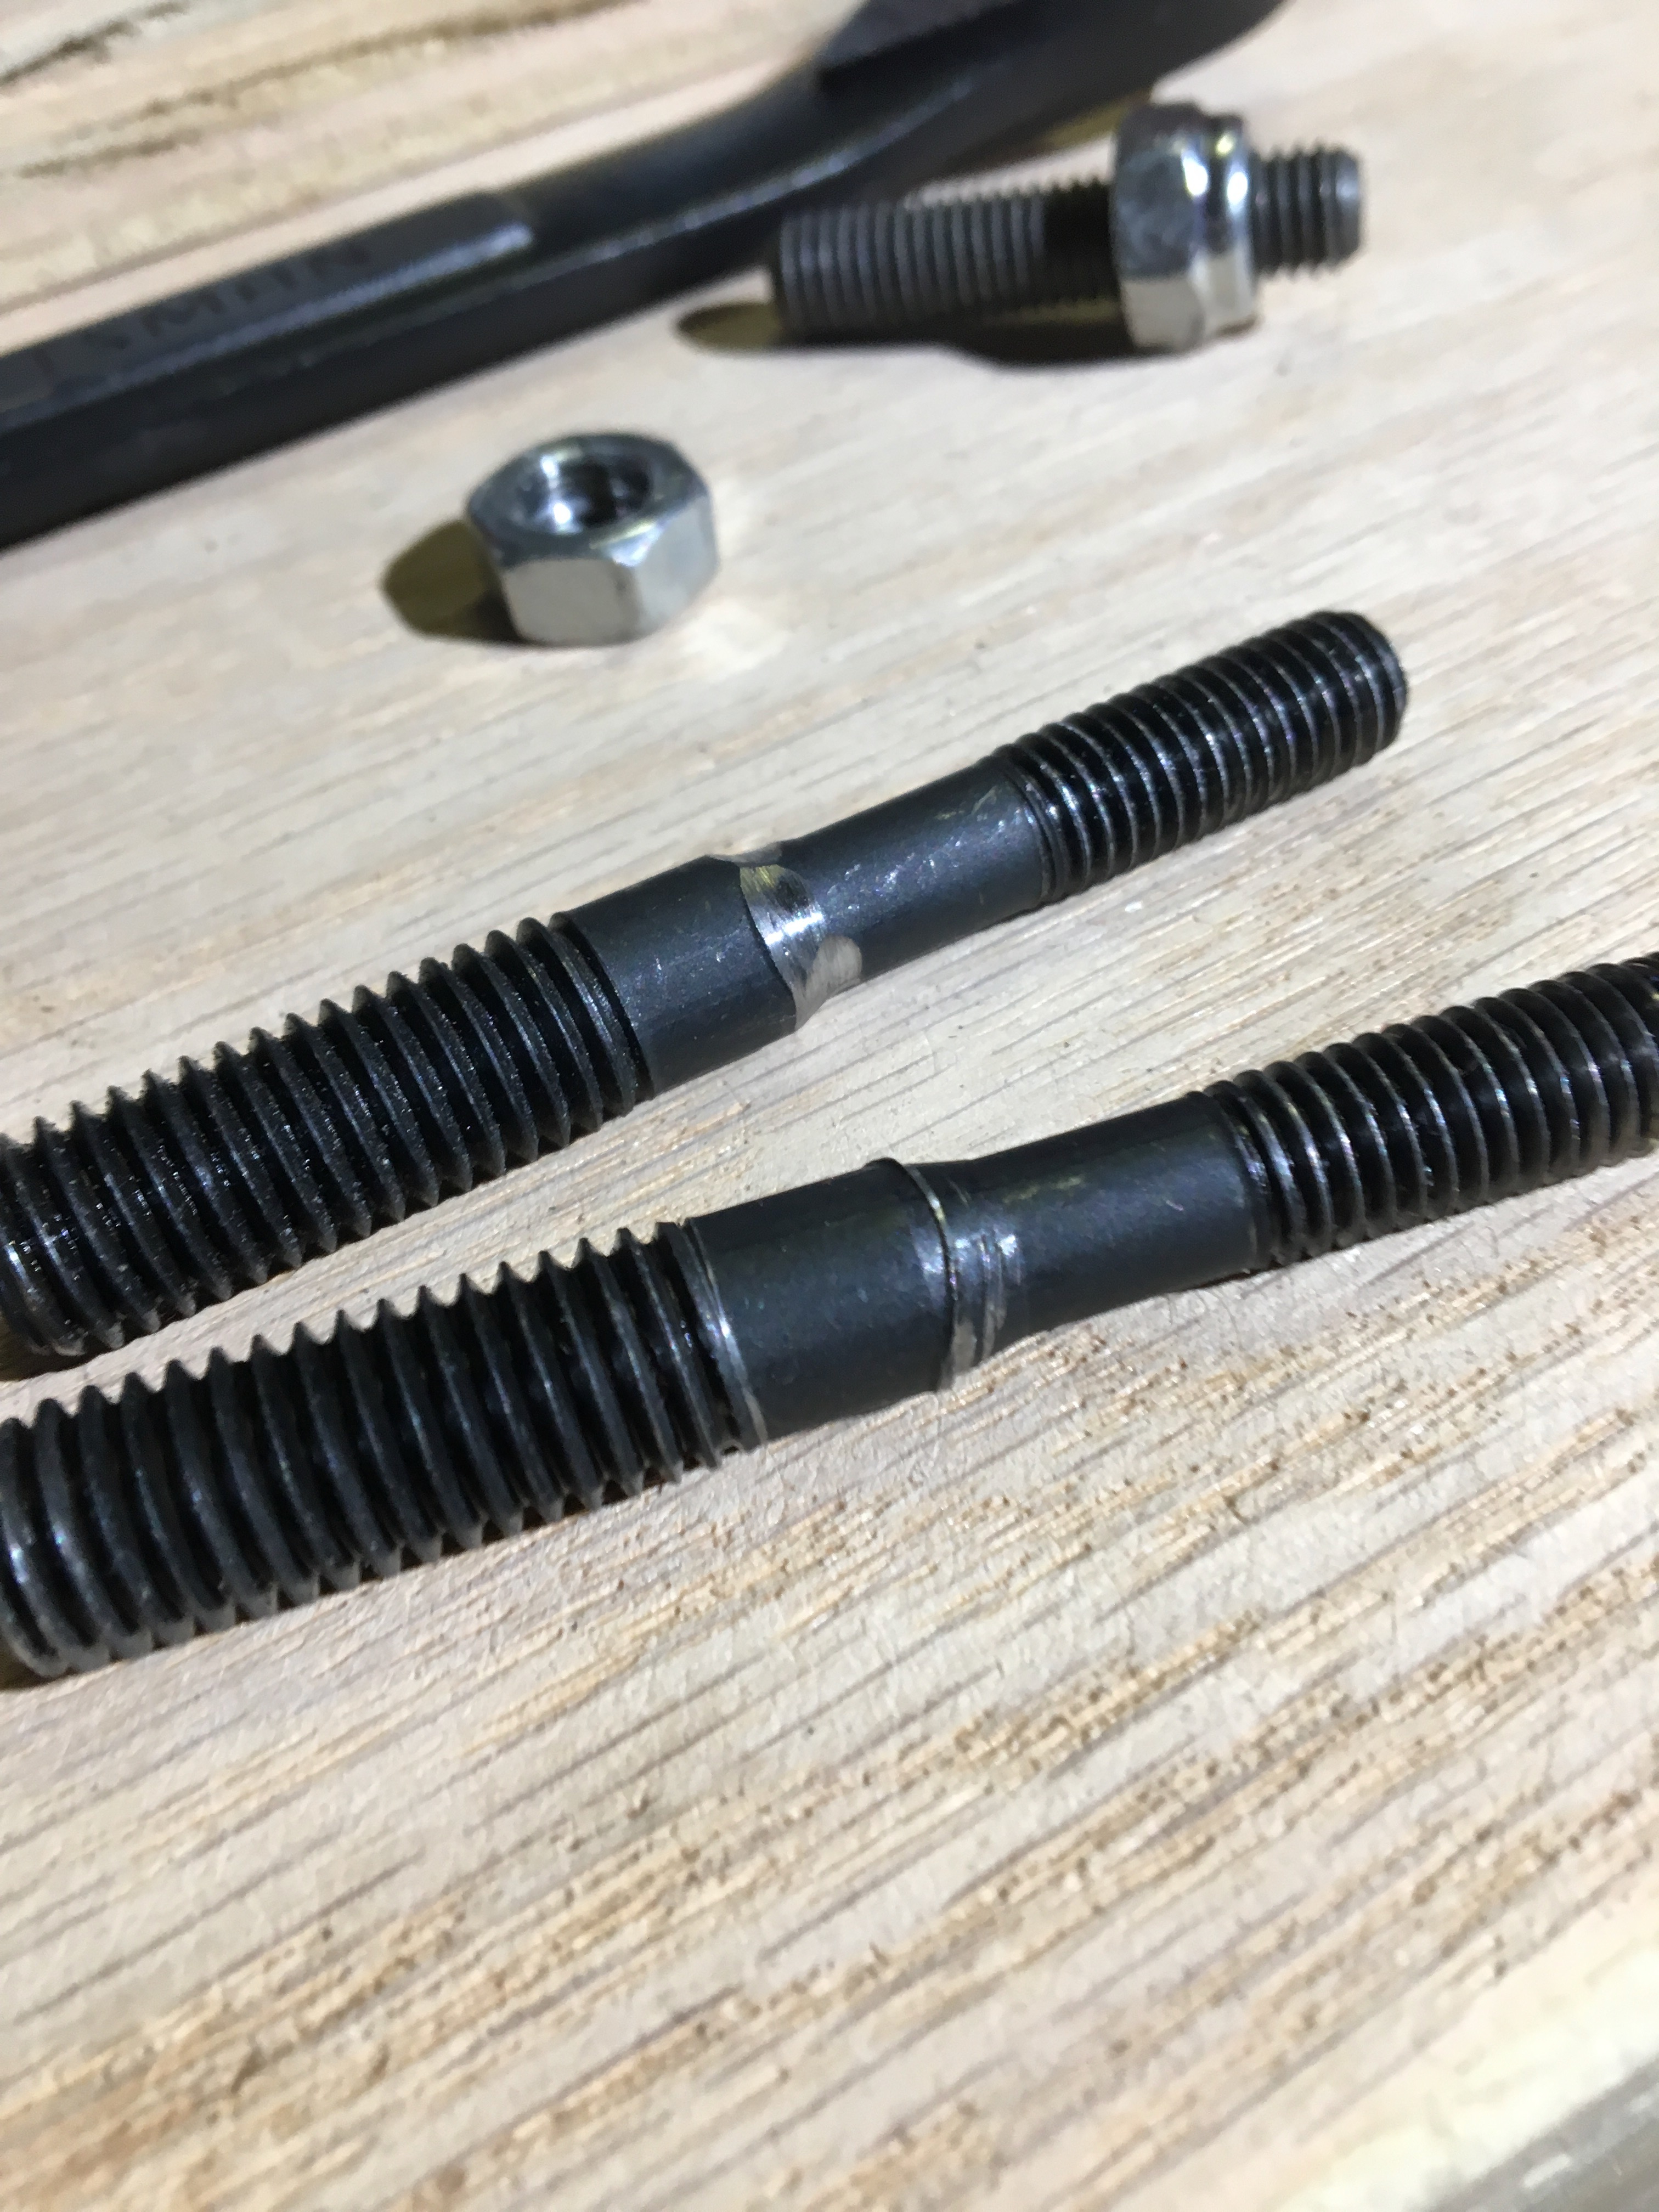
- Some of the cylinder struts (long bolts that hold the cylinders to the casing) are too long. They prevent pieces from fitting. They had to be cut. At first I tried a hack saw and an oscilating multi-tool, and although they worked, it took about 15 minutes and lot of elbow greece to cut one strut. The DVD mentioned a griding blade so I picked on up at Ace, and OMG does that work better. Cuts metal like butter and produces a fireworks show to boot.
- The push rods (seated against camshaft and rocker arms to open valves) needed to be cut to length. Thank goodness I had the grinding blade. But I began to fret because try as I might, I could not get each push rod to be the exact same length. Fortunately, the rocker arms about screws for fine tune adjestment.
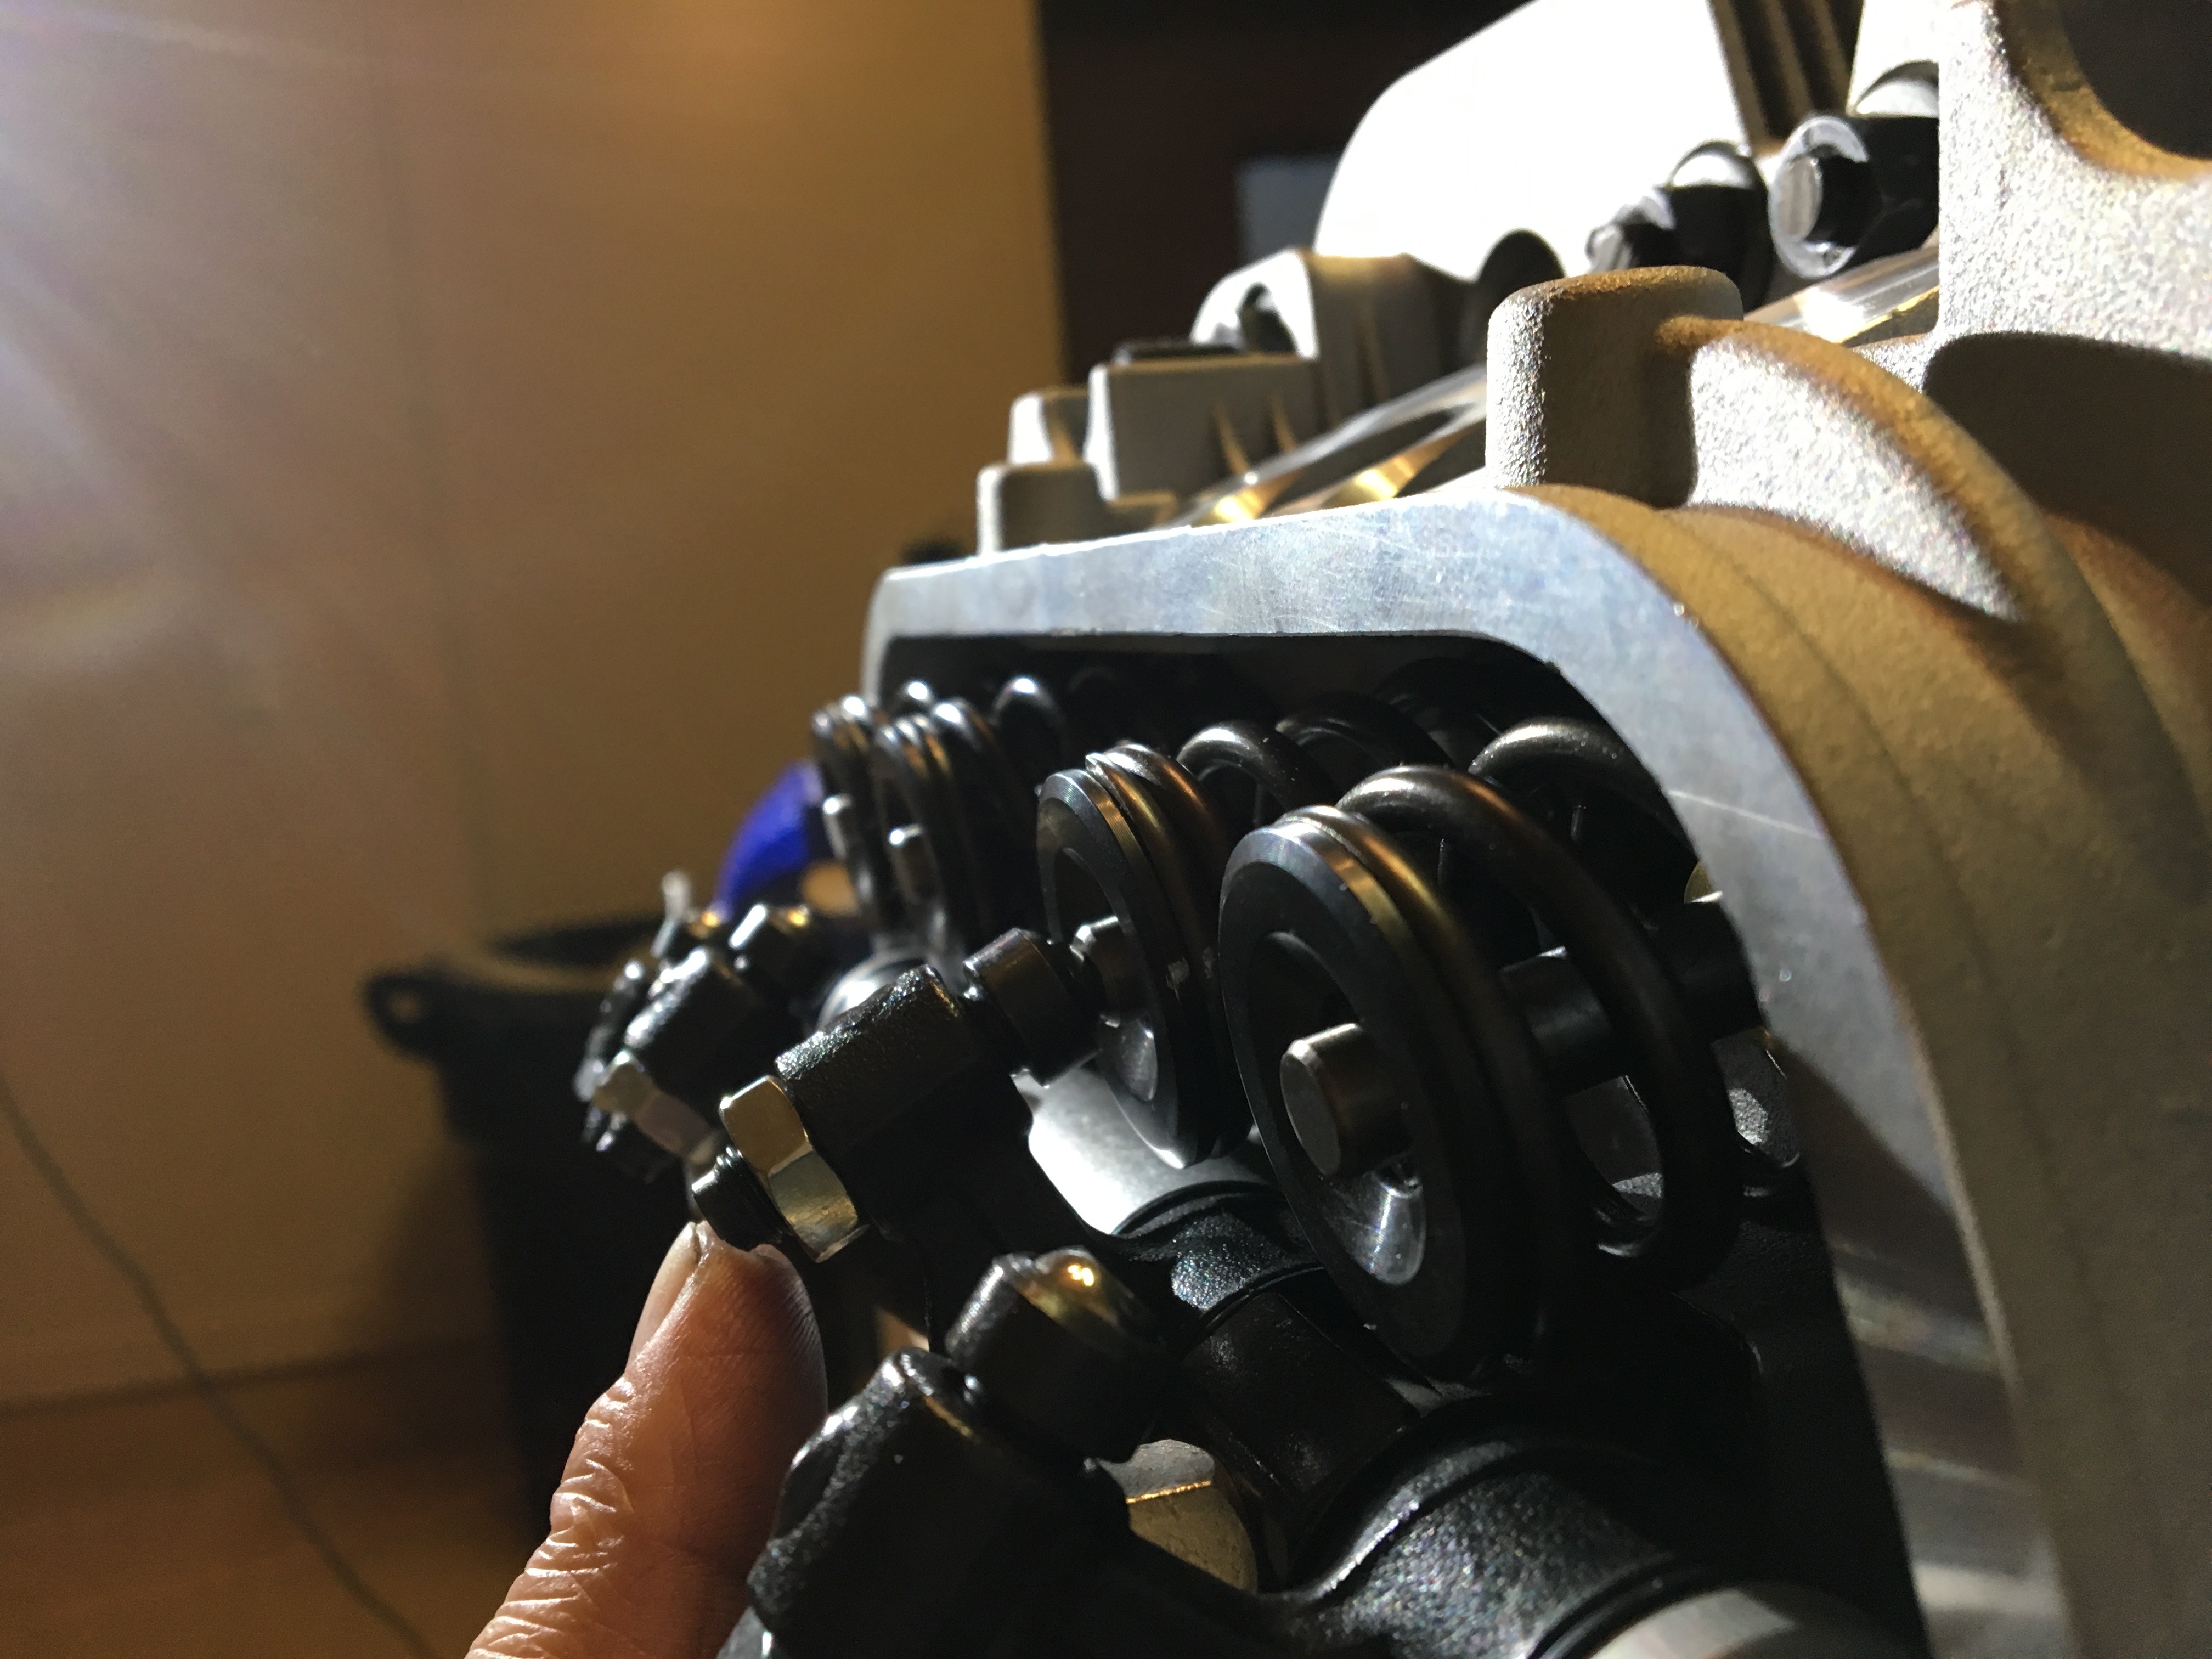
- The bolts that hold the rocker arm onto the cylinder head got a bit deformed. See picture. My fault. I didn’t screw the bolts in all the way apparently (see double nut trick below). When I torqued the rocker arms on, they dug into the bolts. Then they wouldn’t come off! After 30 minuted of careful convincing, I did get the rocker arms off, but then they wouldn’t go back on! The deformity blocked them. I was able to grind the deformity down with the my grinding wheel (not to be confused with the hand-held grider) and use the double nut trick to make sure they were all the way in.
- On the topic of rocker arms… I had to bolt them on, then take them off, then bolt them on, then off…. at least a dozen times! With all the alignment, measuring, and what not. I couldn’t believe it. Maybe that’s why they come with only two, big, easy to handle nuts.
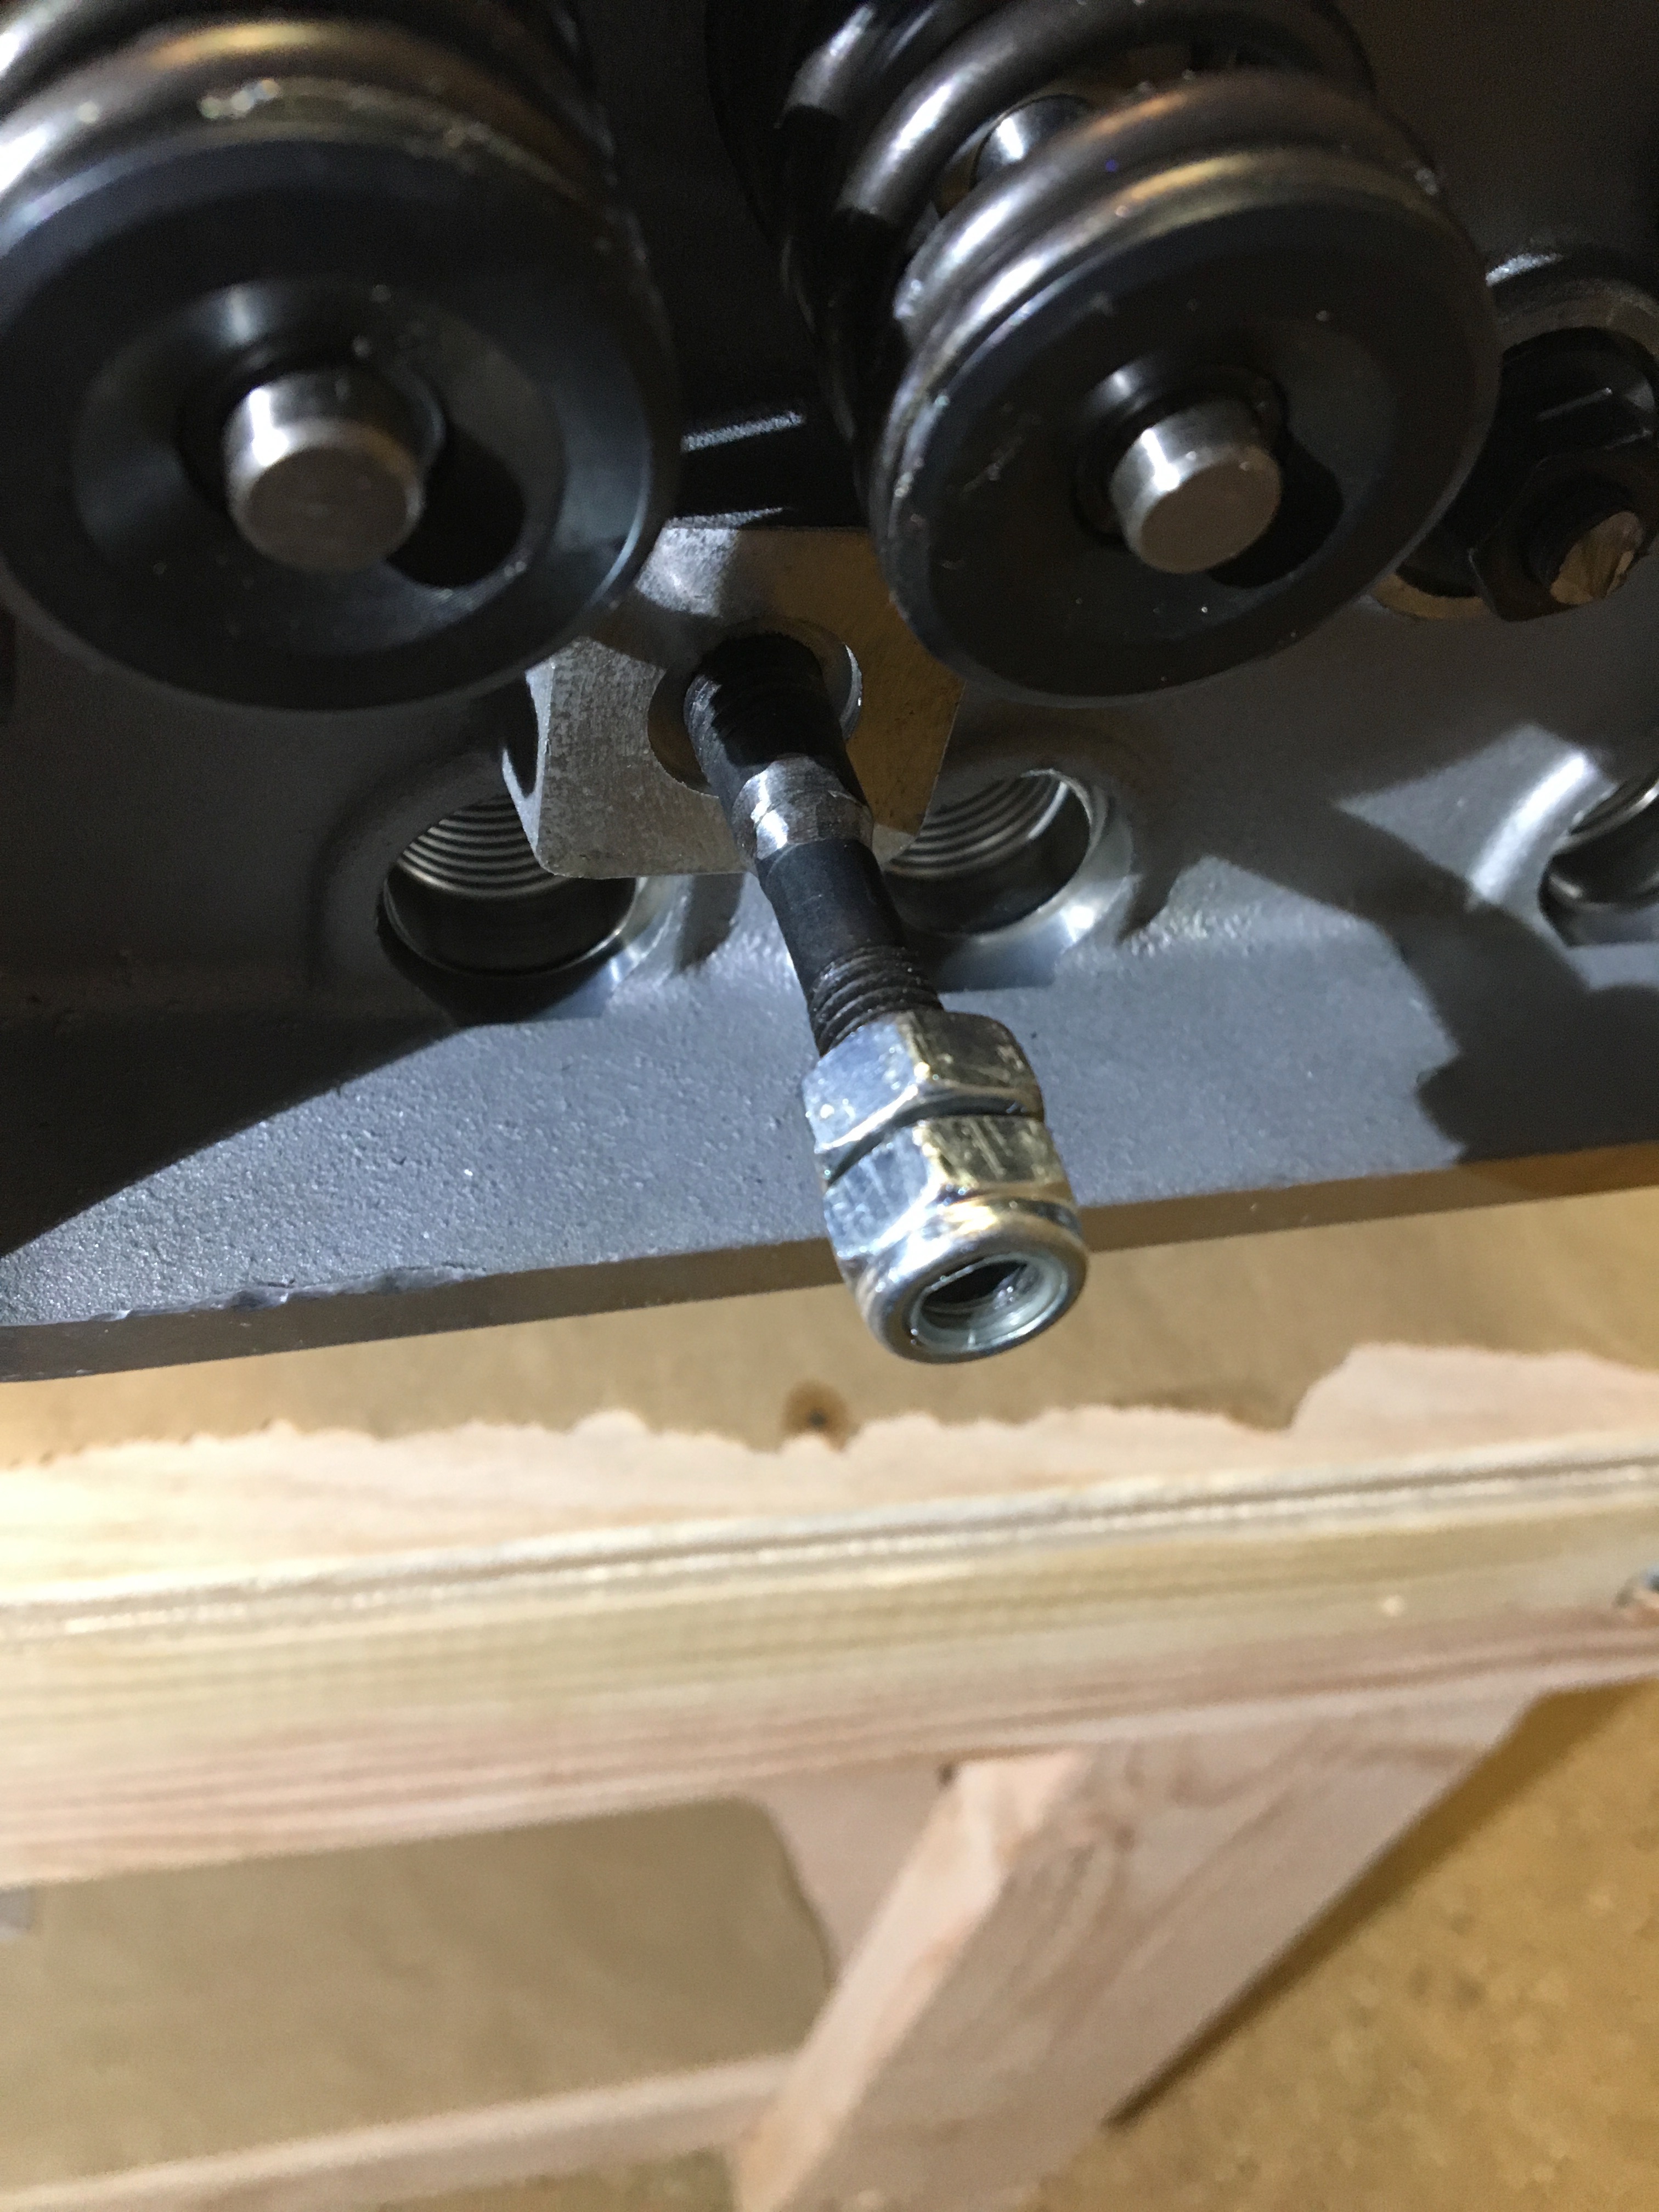
A recurring theme in this engine assembly is bolts with threads on each side and not hex head, or phillips head, or anything means to make sure they are on tight. See the bevel rocker arm bolt below as an example. My soft programmer fingers can only grip metal threads so hard. How does one tighten or loosen such bolts effectively? The Double Nut Trick! What you do is put two nuts on the bolt. Tighten them up against each other and then use the nut opposite the direction you want to go. This allows you to use a wrench and tighten as hard as you want, or until the nut/bolt cross-thread. This trick is probably common sense to a mechanic. But when the assembly DVD alluded to it, I immediately tried it and was ecstatic. I’ve used the trick dozens of times already,
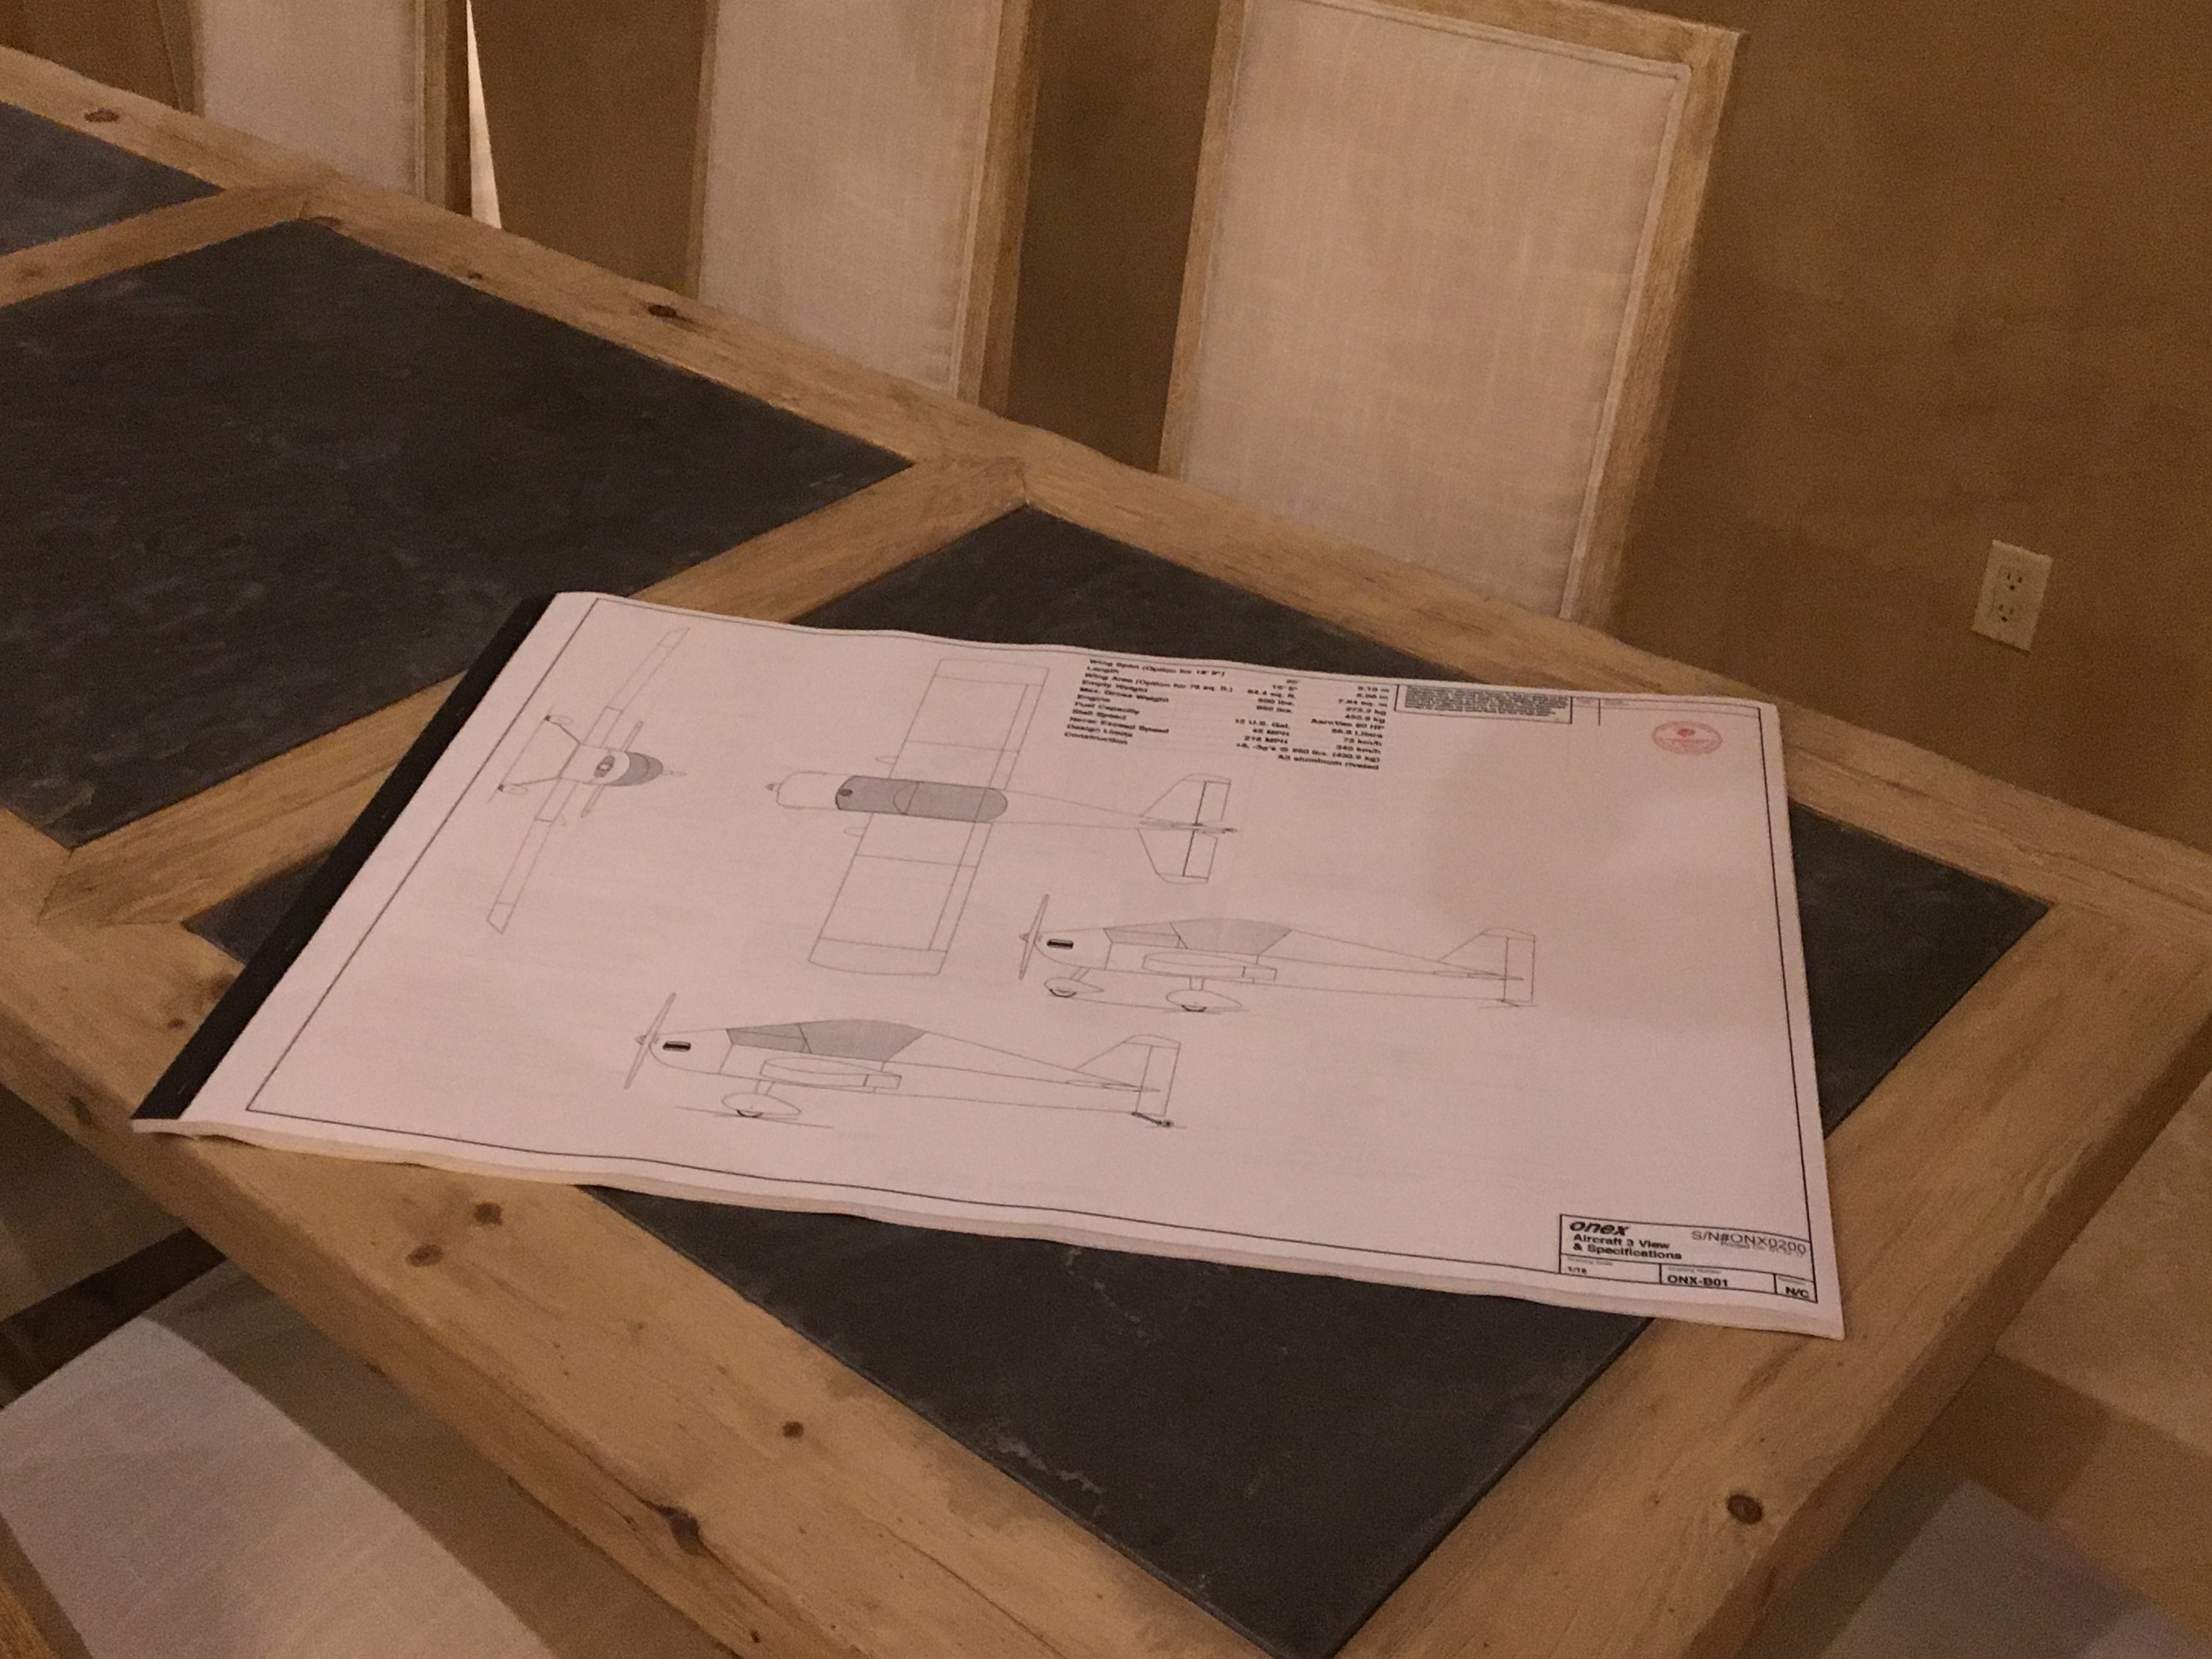
The plans arrived! I was expecting a book of instructions. What I got was a ~100 pages of 3’x2’ engineering schematics. I’m geeking out.