Burp Elimination
Cowling
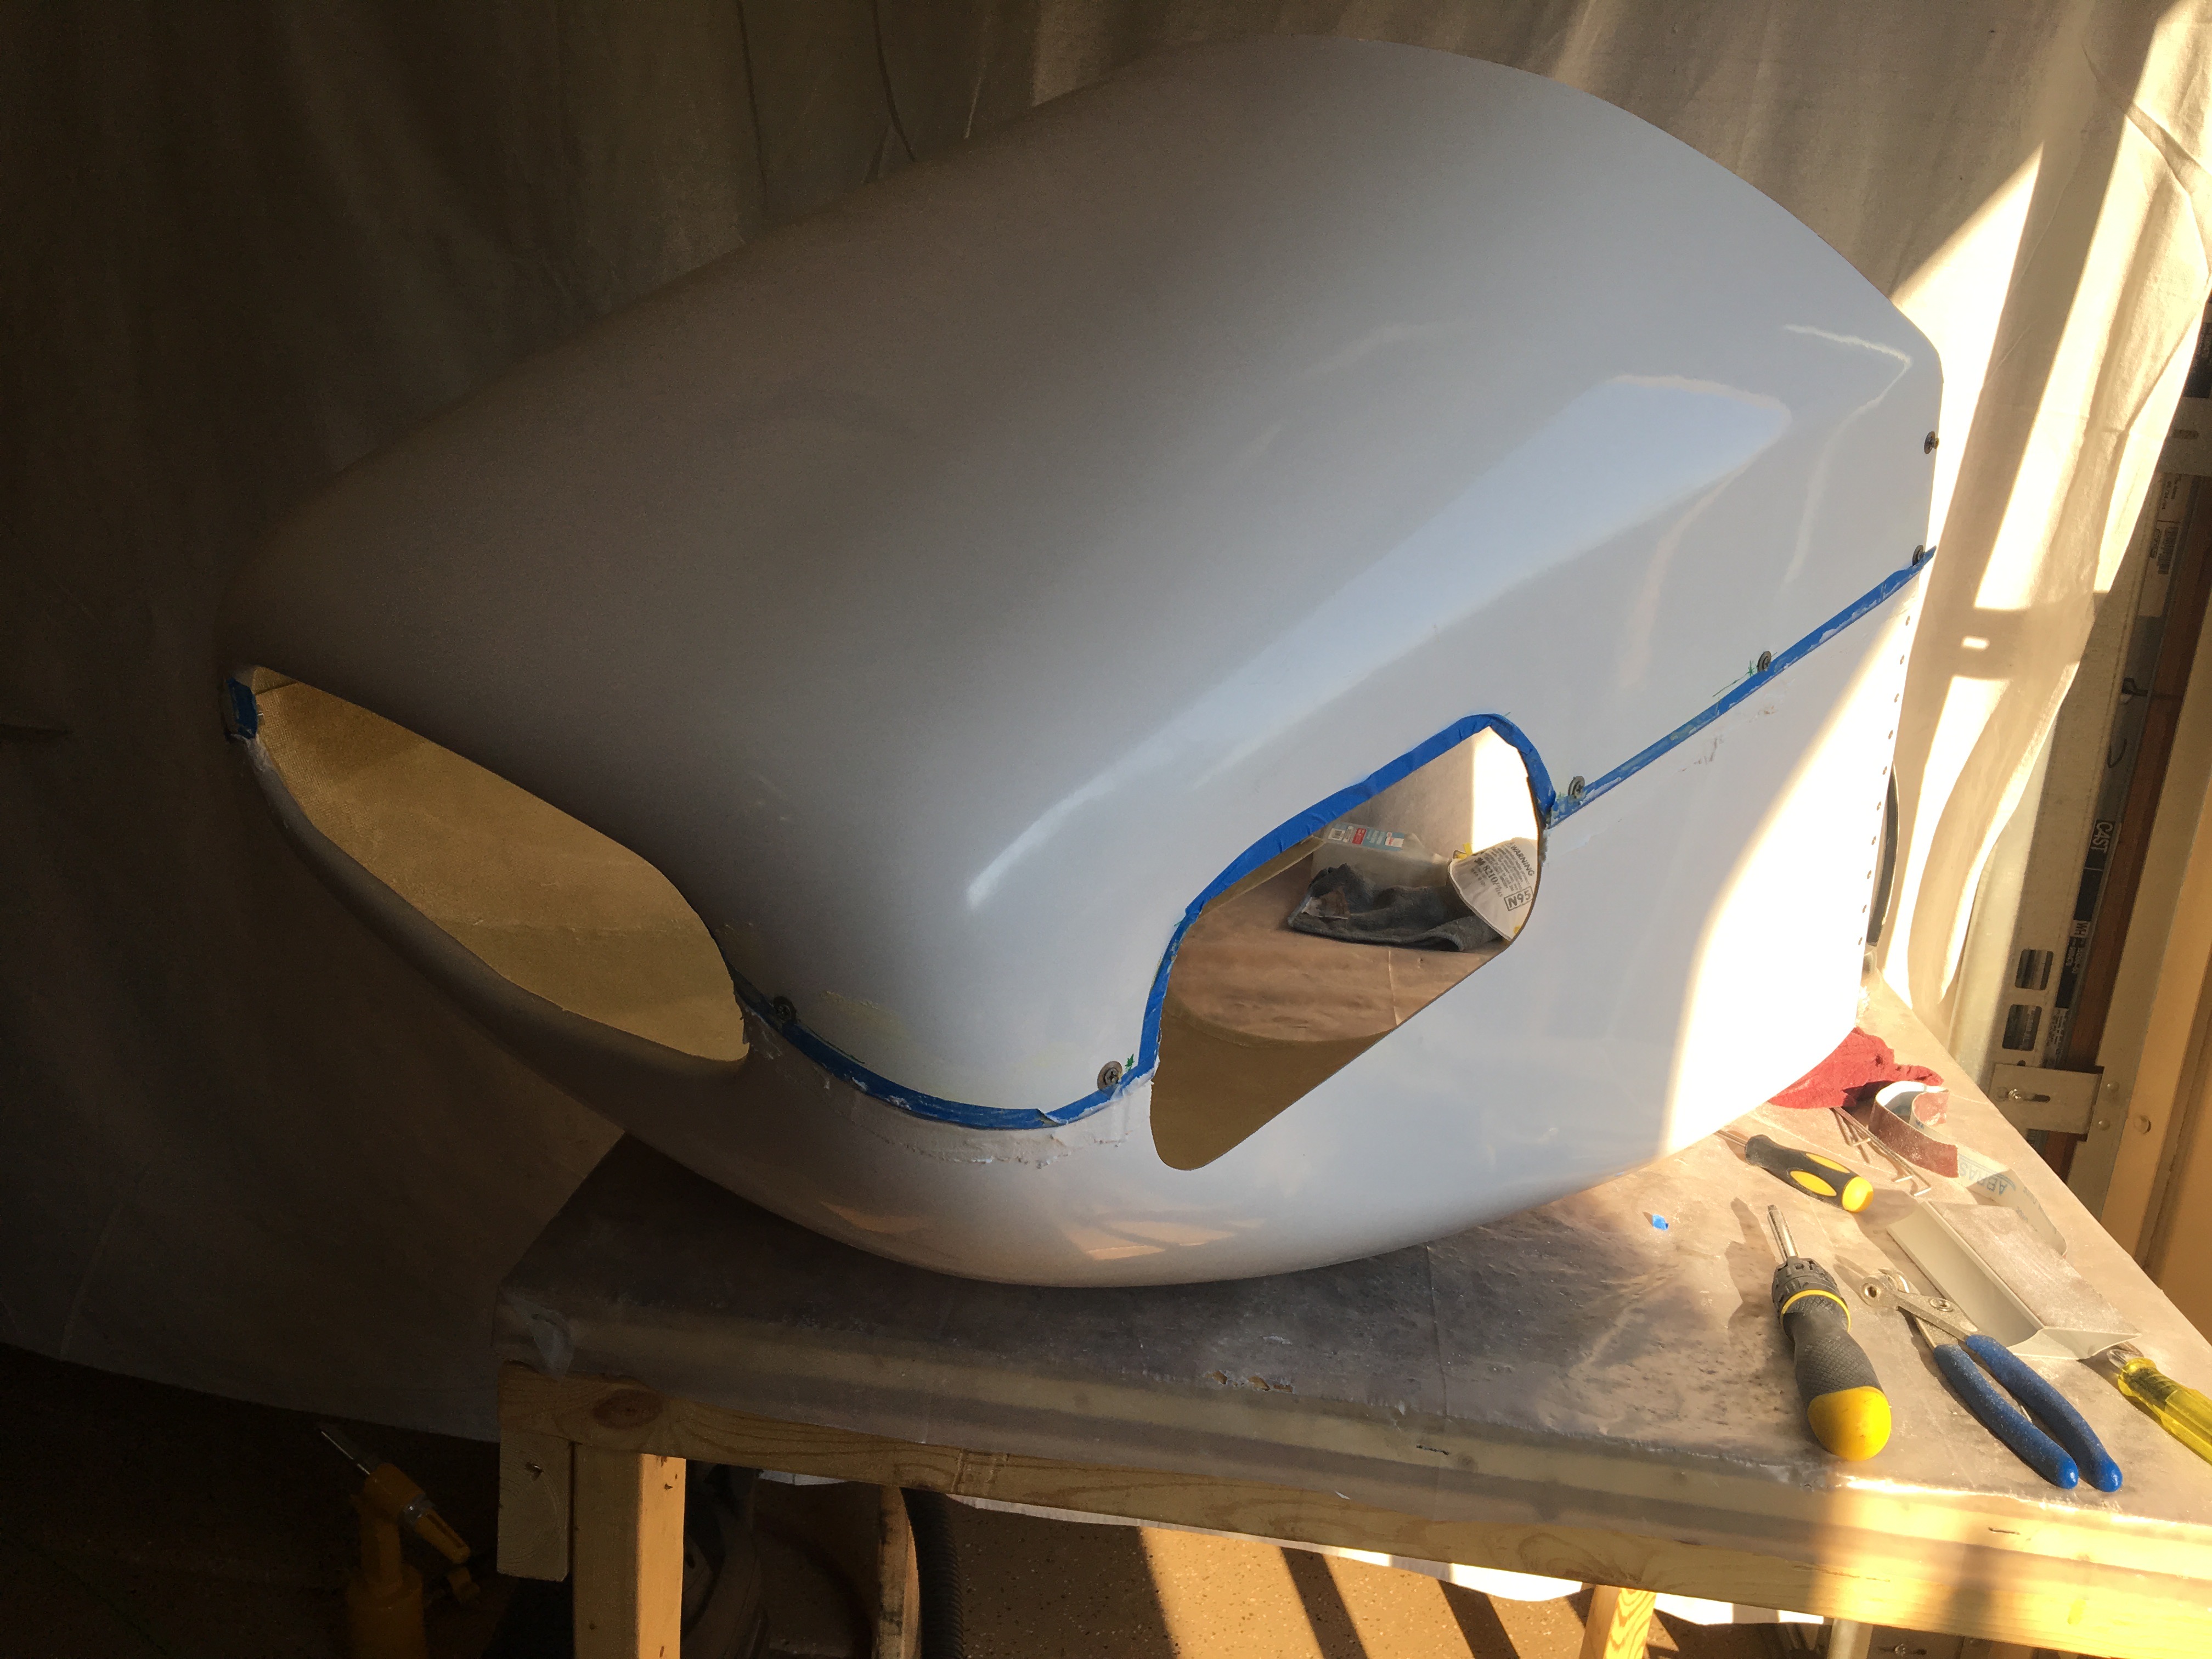
It took a great deal of time and care to get the cowling cut nicely. Once it fit well, I added the camlocks (from an Aeroward kit) to fasten the top cowling to the bottom.
The seams between the two halves were crooked (unavoidably) and I couldn’t leave it like that. I made some micro-paste with epoxy and micro-bubbles to fill in the seams (see the first picture) and sanded them flush. It turned out much cleaner I think. There was also some sag in the bottom corners because I didn’t notice when I lined up the hinge rivets. That part was probably a two man job but I did it solo. So I reinforced the inside of the bottom corners with maybe 10 layers of fiberglass. When dry, I sanded bottoms flush with the fuselage.
Throttle & Mixture Cables
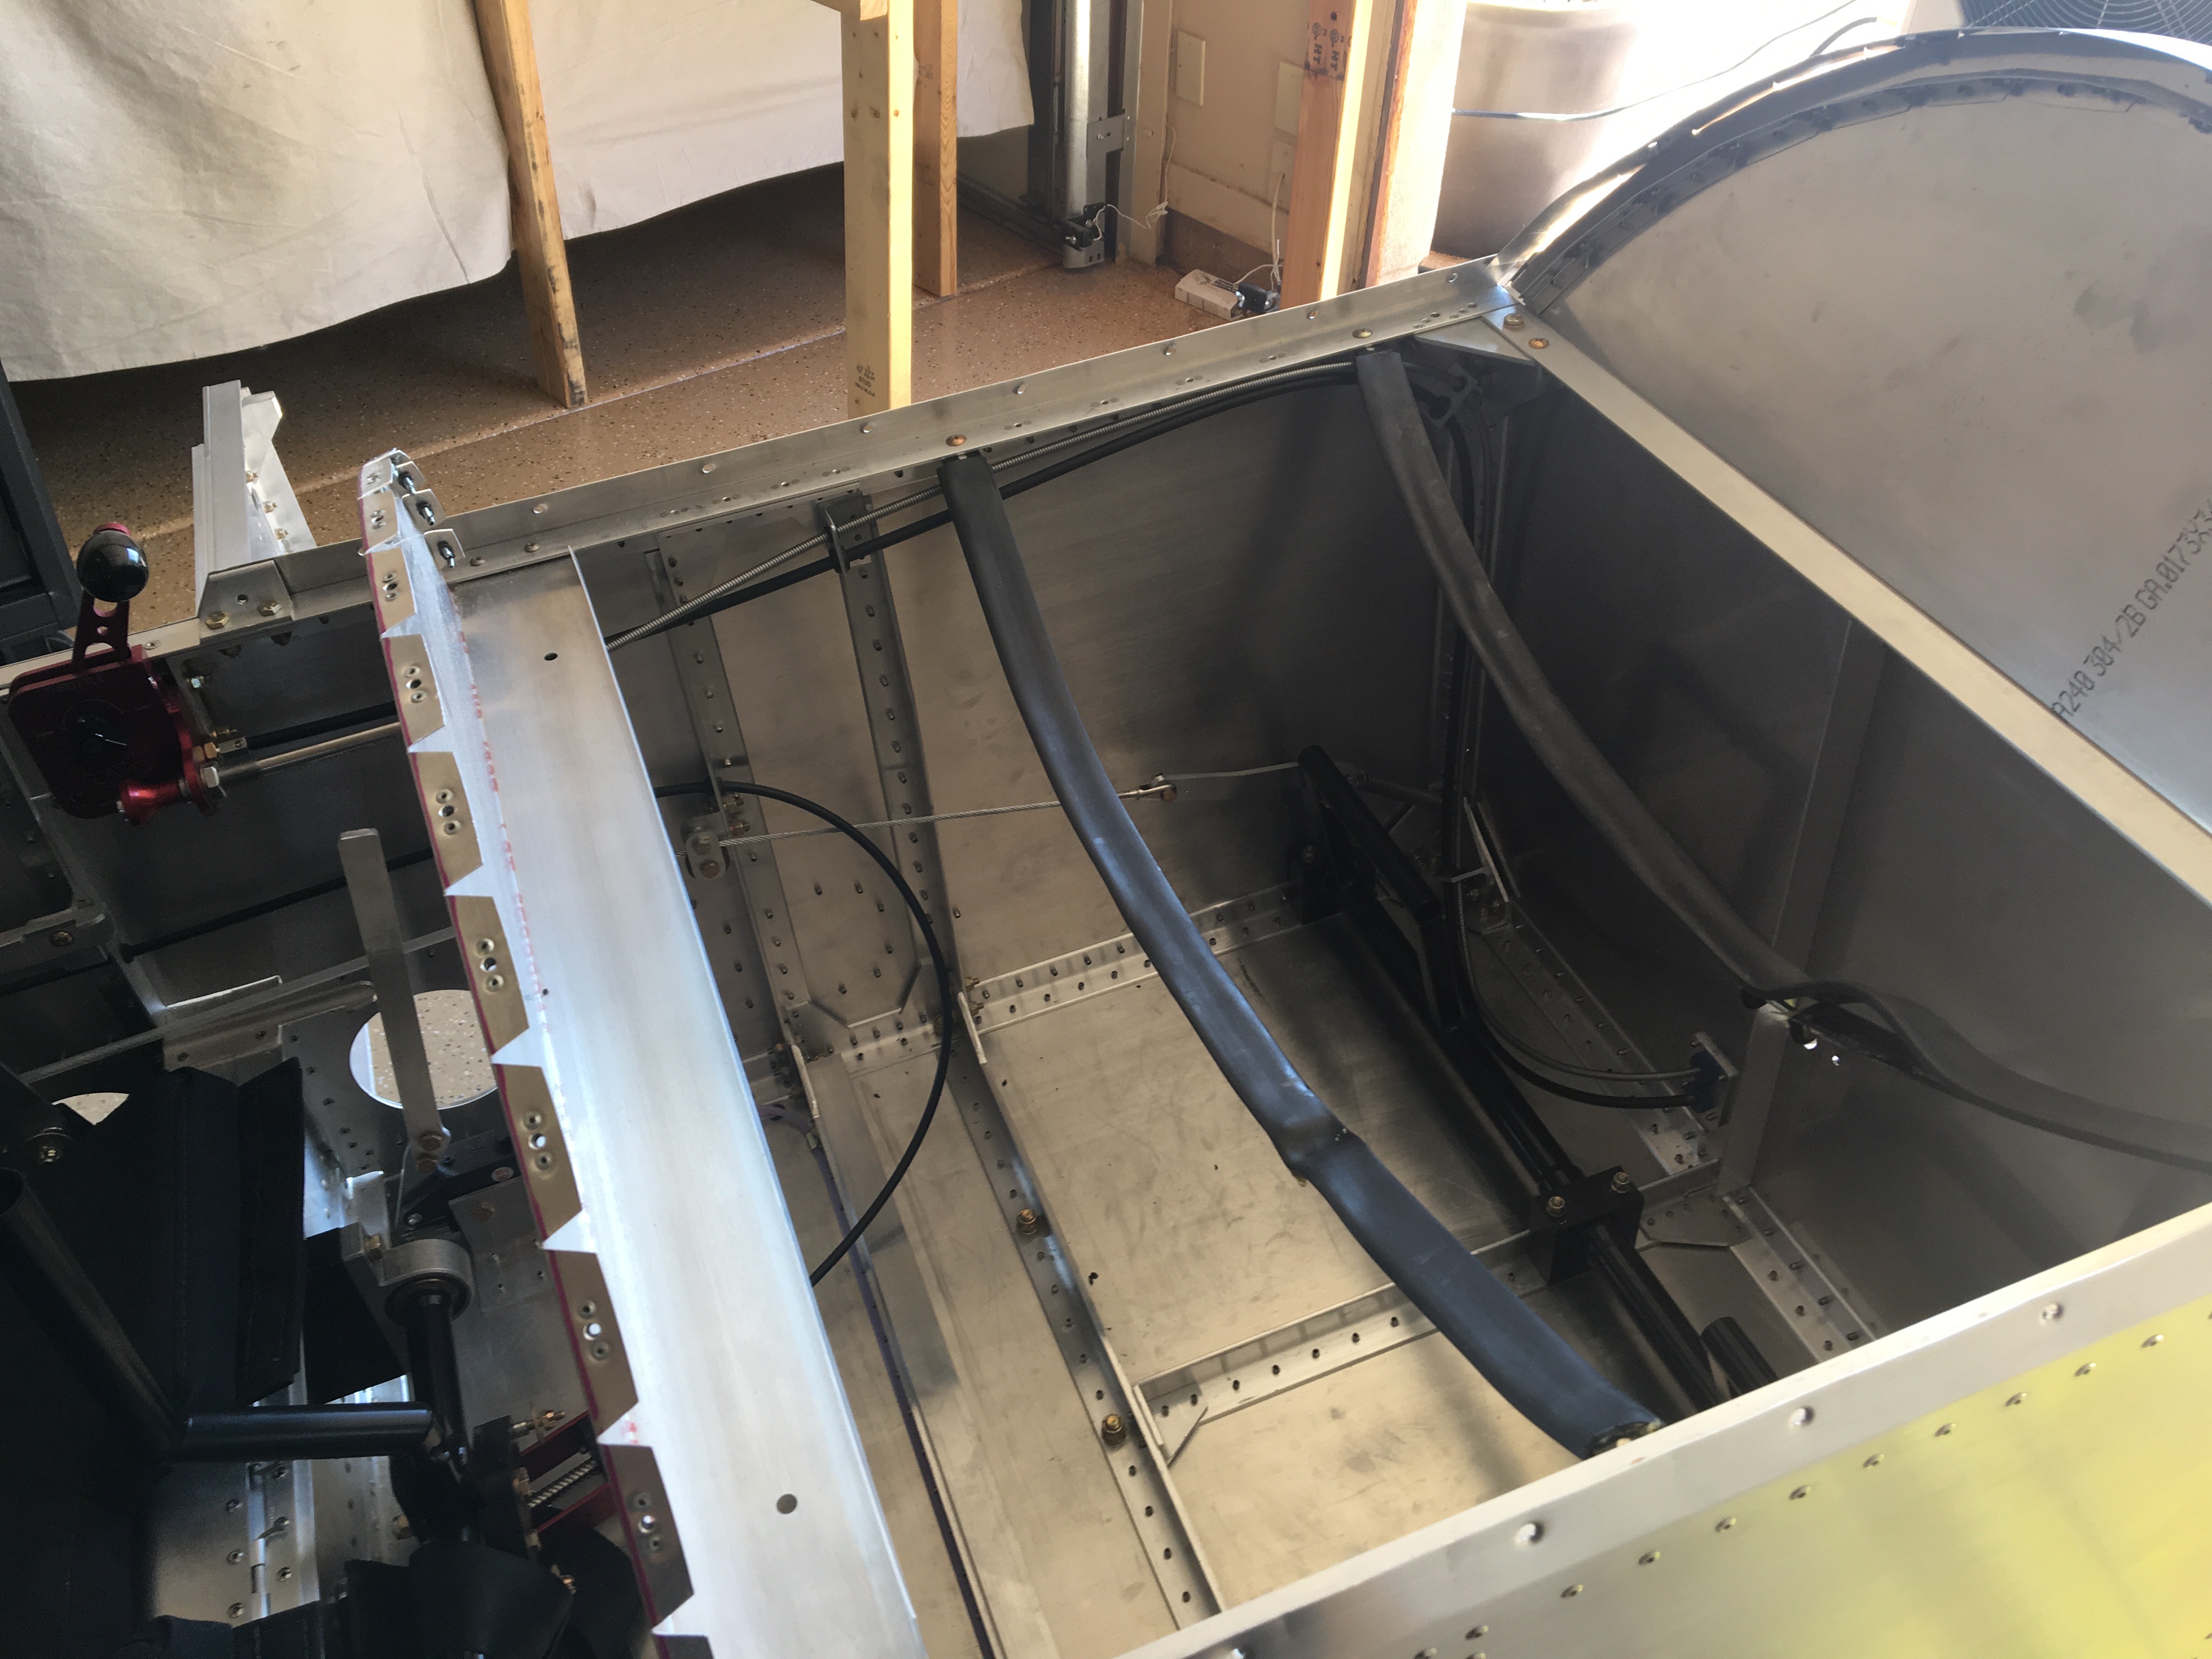
The plans leave it up the builder how to run the throttle and mixture cables. Not wanting to drill excessive holes in the longerons and support angles, I fabricated some brackets and mounted them to existing holes. The AirWard kit came with some nice cable-safe firewall pass-throughs to use.
When I drilled the hole for the gascolator line, I butchered that part of the firewall. The steel is hard to drill, but very bendy. The large drill bits catch and twist the thin steel. So for the throttle and mixture pass-throughs, I added aluminum plates on the inside and out. This reinforcement made very clean holes.
Rob helped me guide the cables through the bracket holes in which I had embedded rubber grommets. This was an ordeal because the grommets kept popping out and we had to pull the cables out, re-insert the grommets, and try again. The cables are a bit thicker where they bend and that’s where the brackets located, at the bends. We eventually got it.
This morning I connected all the cables to the controls and the AeroInjector. The throttle was straight forward. The mixture cable had a couple gotchas.
First, to cut the line to size you need to pull the inner cable out. The mixture cable comes with the warning tag that says something like: “Do not poll knob out more then 3 inches or a ball bearning will pop out and the control will not function.” Of course the first time I saw that I pulled it more than 3” and a tiny ball bearing did indeed pop out, and the knob no longer functioned. I managed to find the ball bearing, get it back in and the the knob worked once again. So today I was careful to catch the ball and no harm done.
Second, with the mixture cable attached to the AeroInjector, the inner wire had a tendency to bend when I push the mixture full-rich or pull it (lean it), and the arm would not fully open or close. With a washer to separate the wire from the mixture arm, and careful adjustment of the lock nut, the wire can swivel and avoid the bend. Add to that some safety wire to hold the outer cable in place, and it resists tendency to bend even more.
Fuel Lines / Burp Elimination
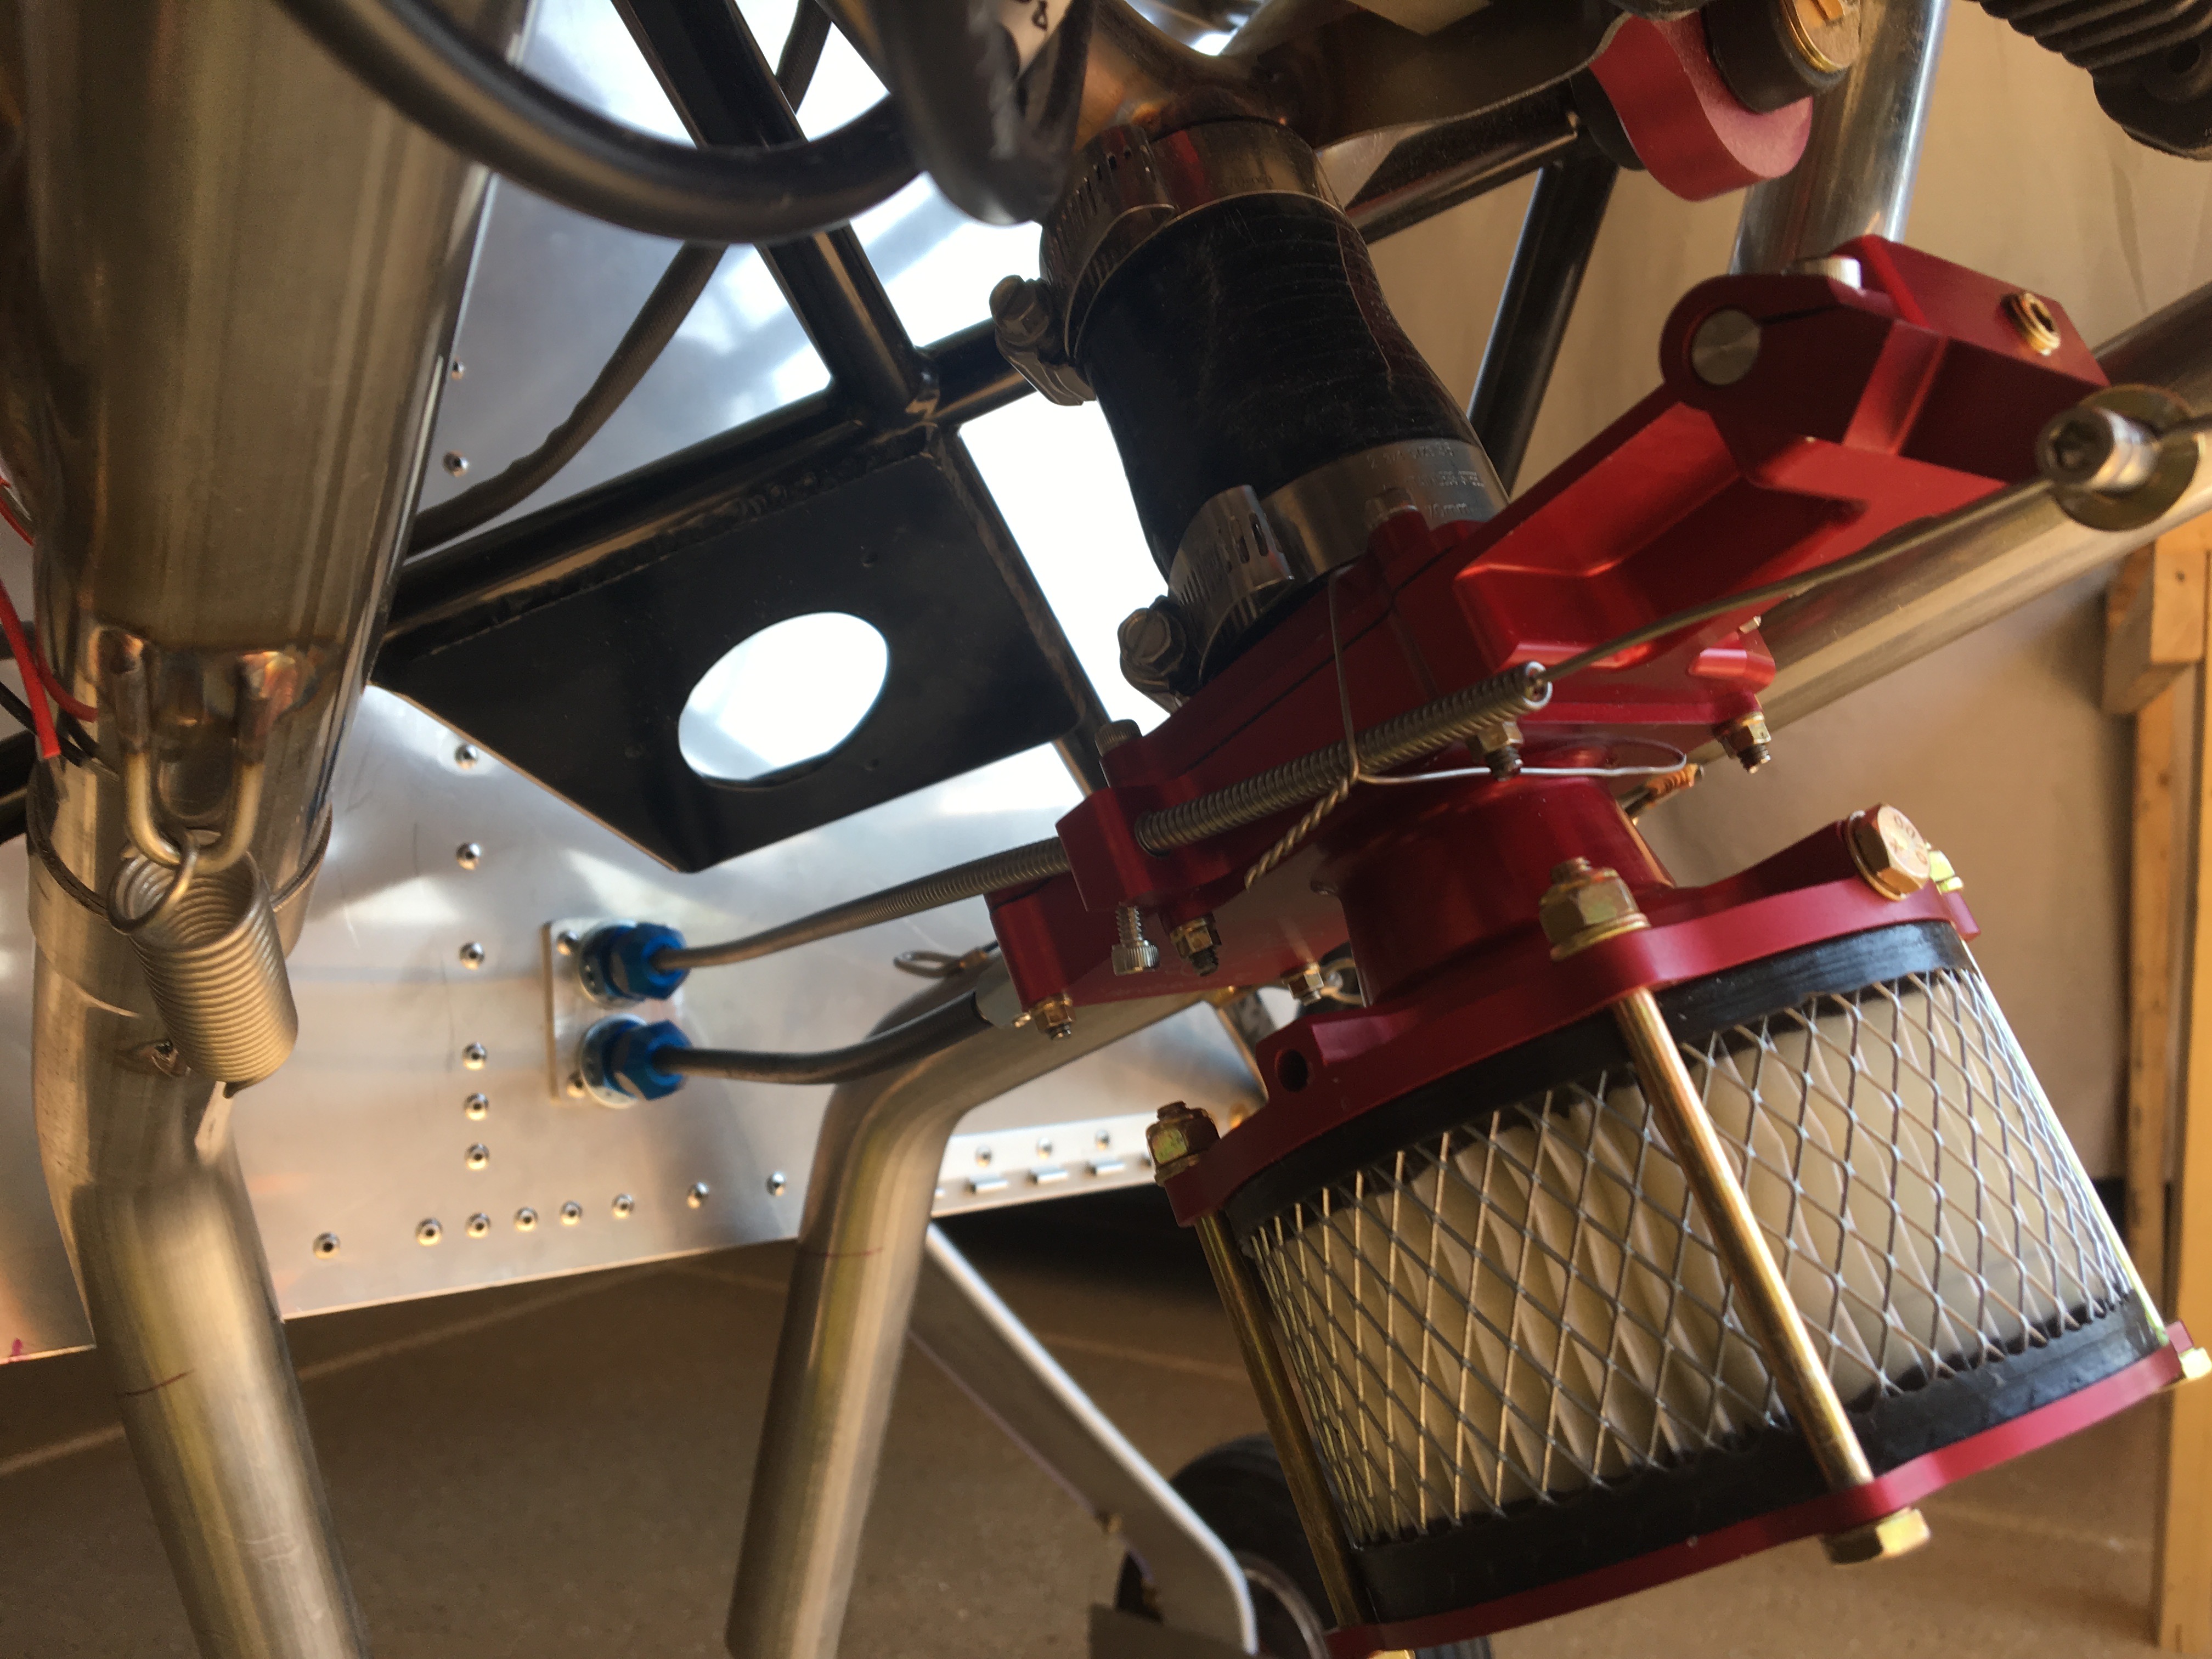
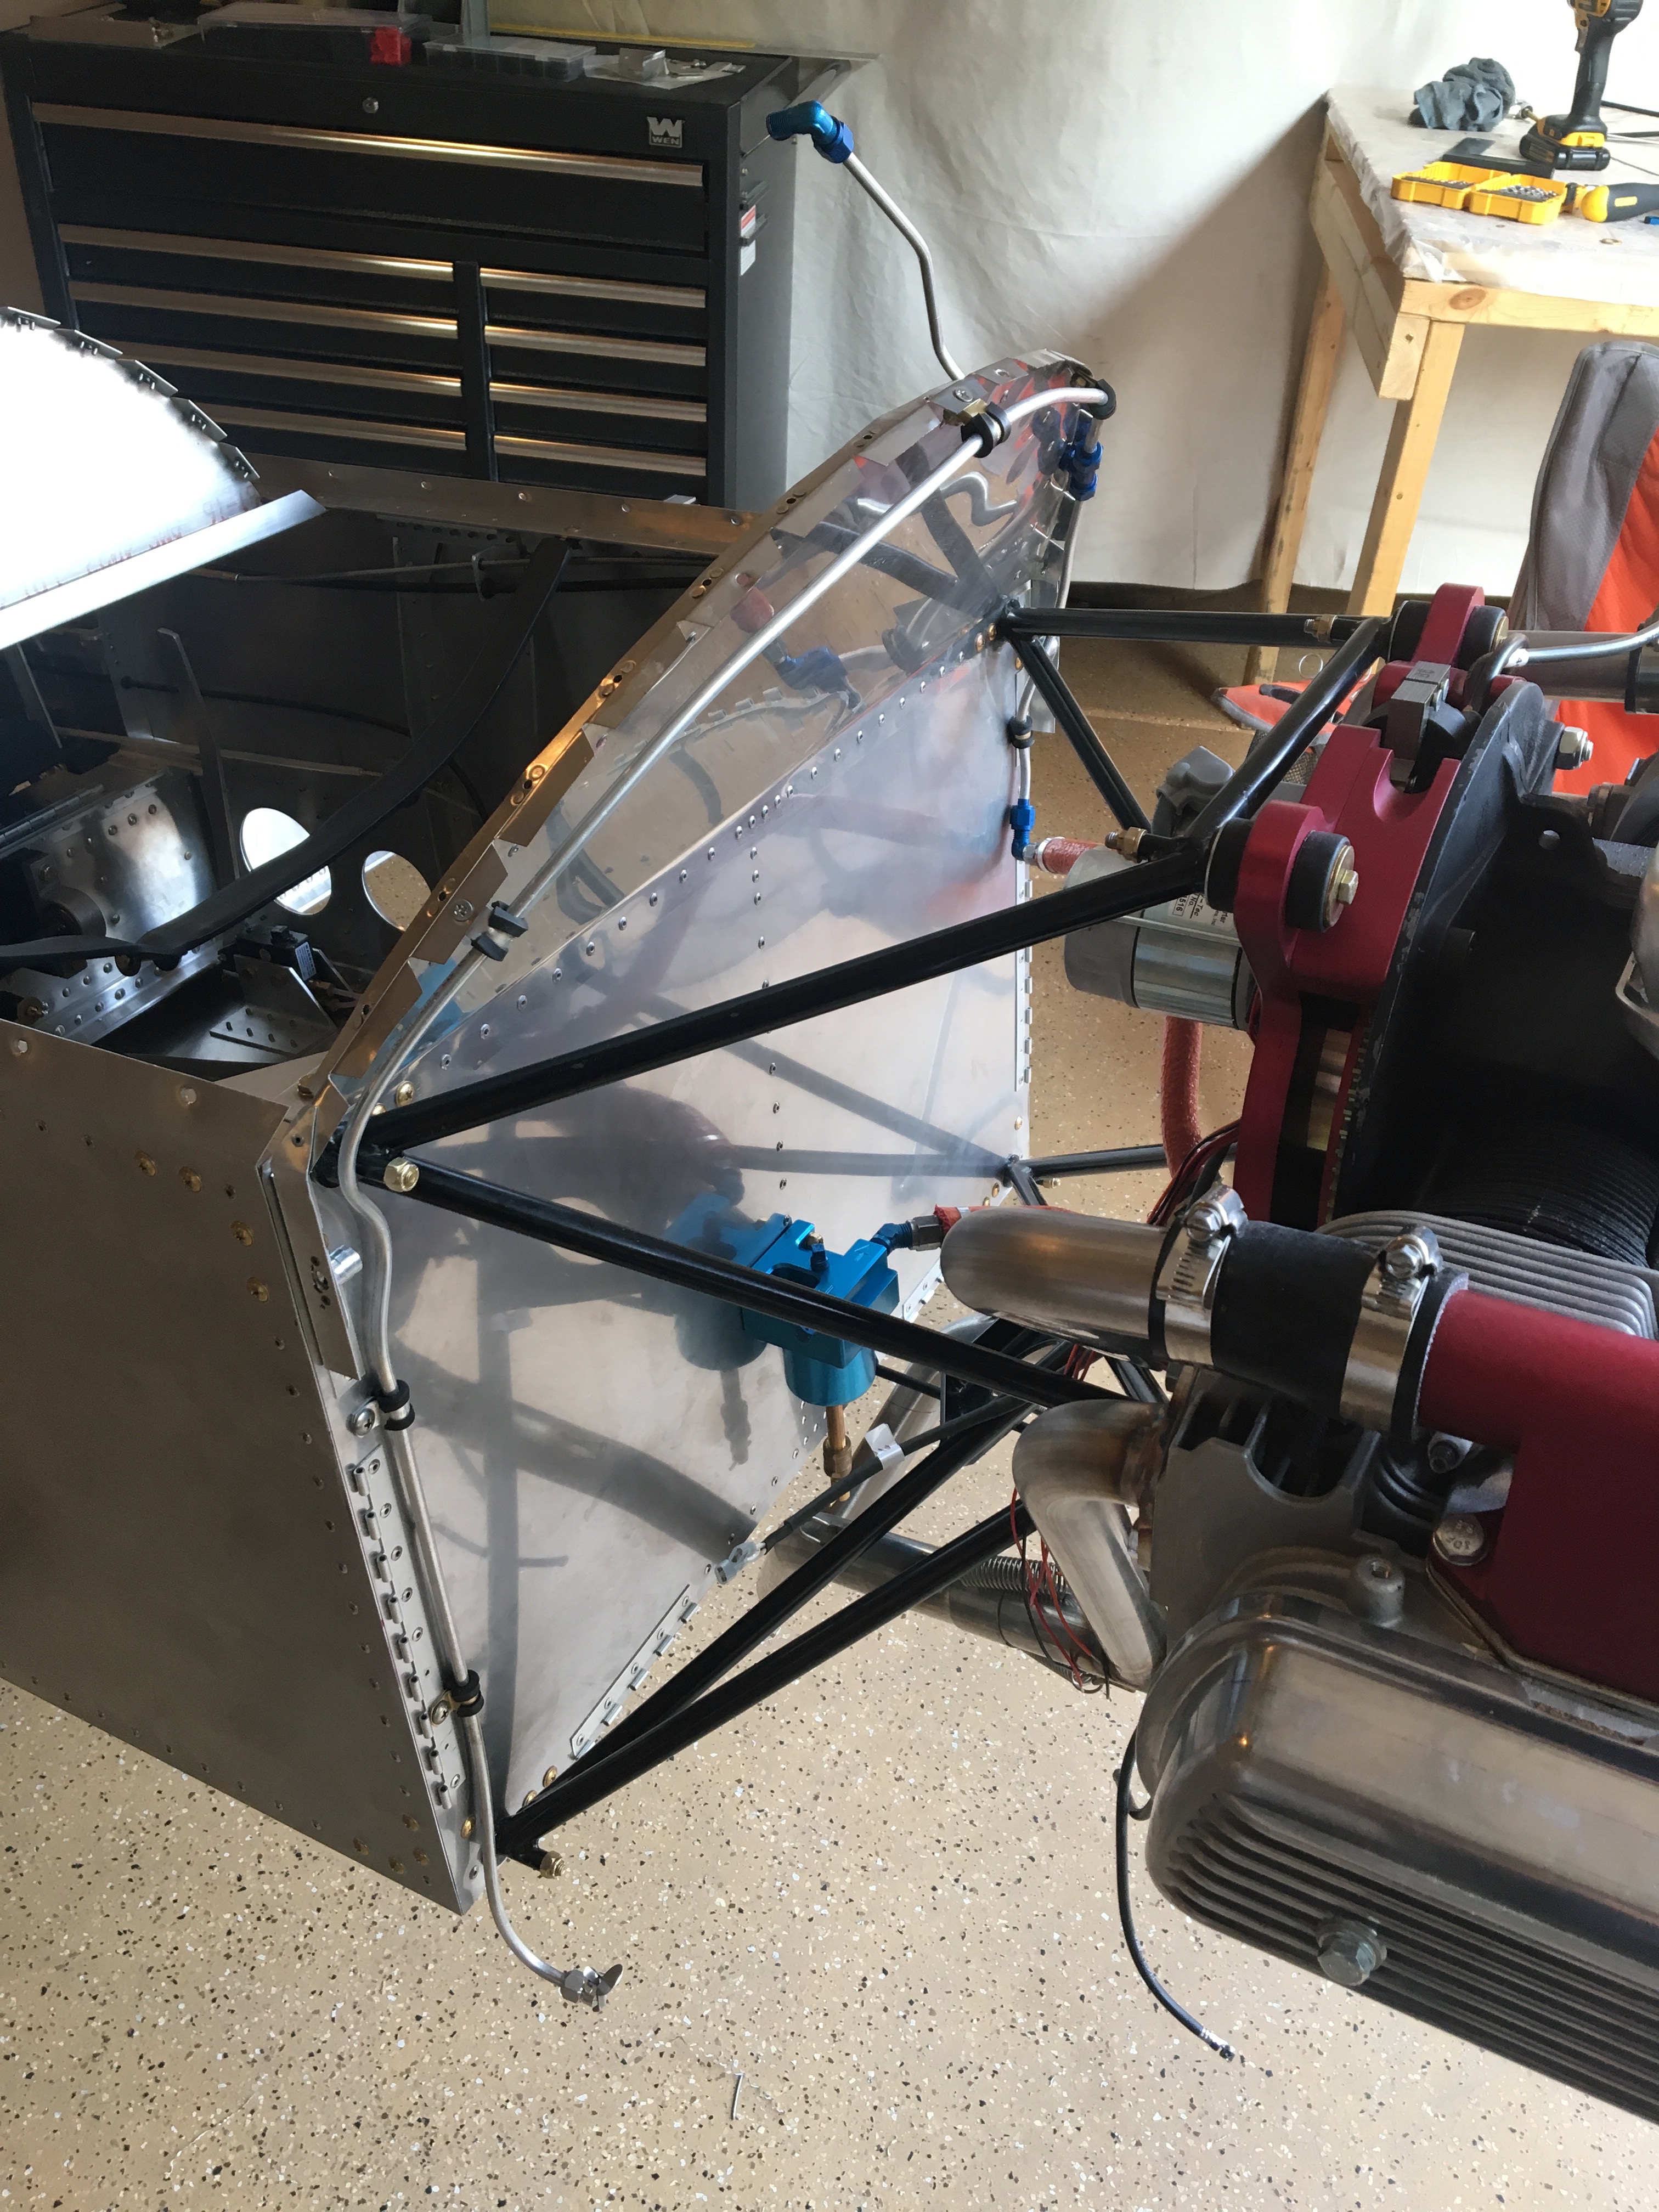
You can see in the next picture the AirWard burp elimination system. Aluminum tube running all along the edge of the firewall, an extra flex tube running to the AeroInjector, and a “T” junction that penetrates the firewall and connects to the fuel tank vent. The principle is that high line will allow any air bubbles to escape and since it’ll be filled with fuel, it’ll add extra pressure to the line.
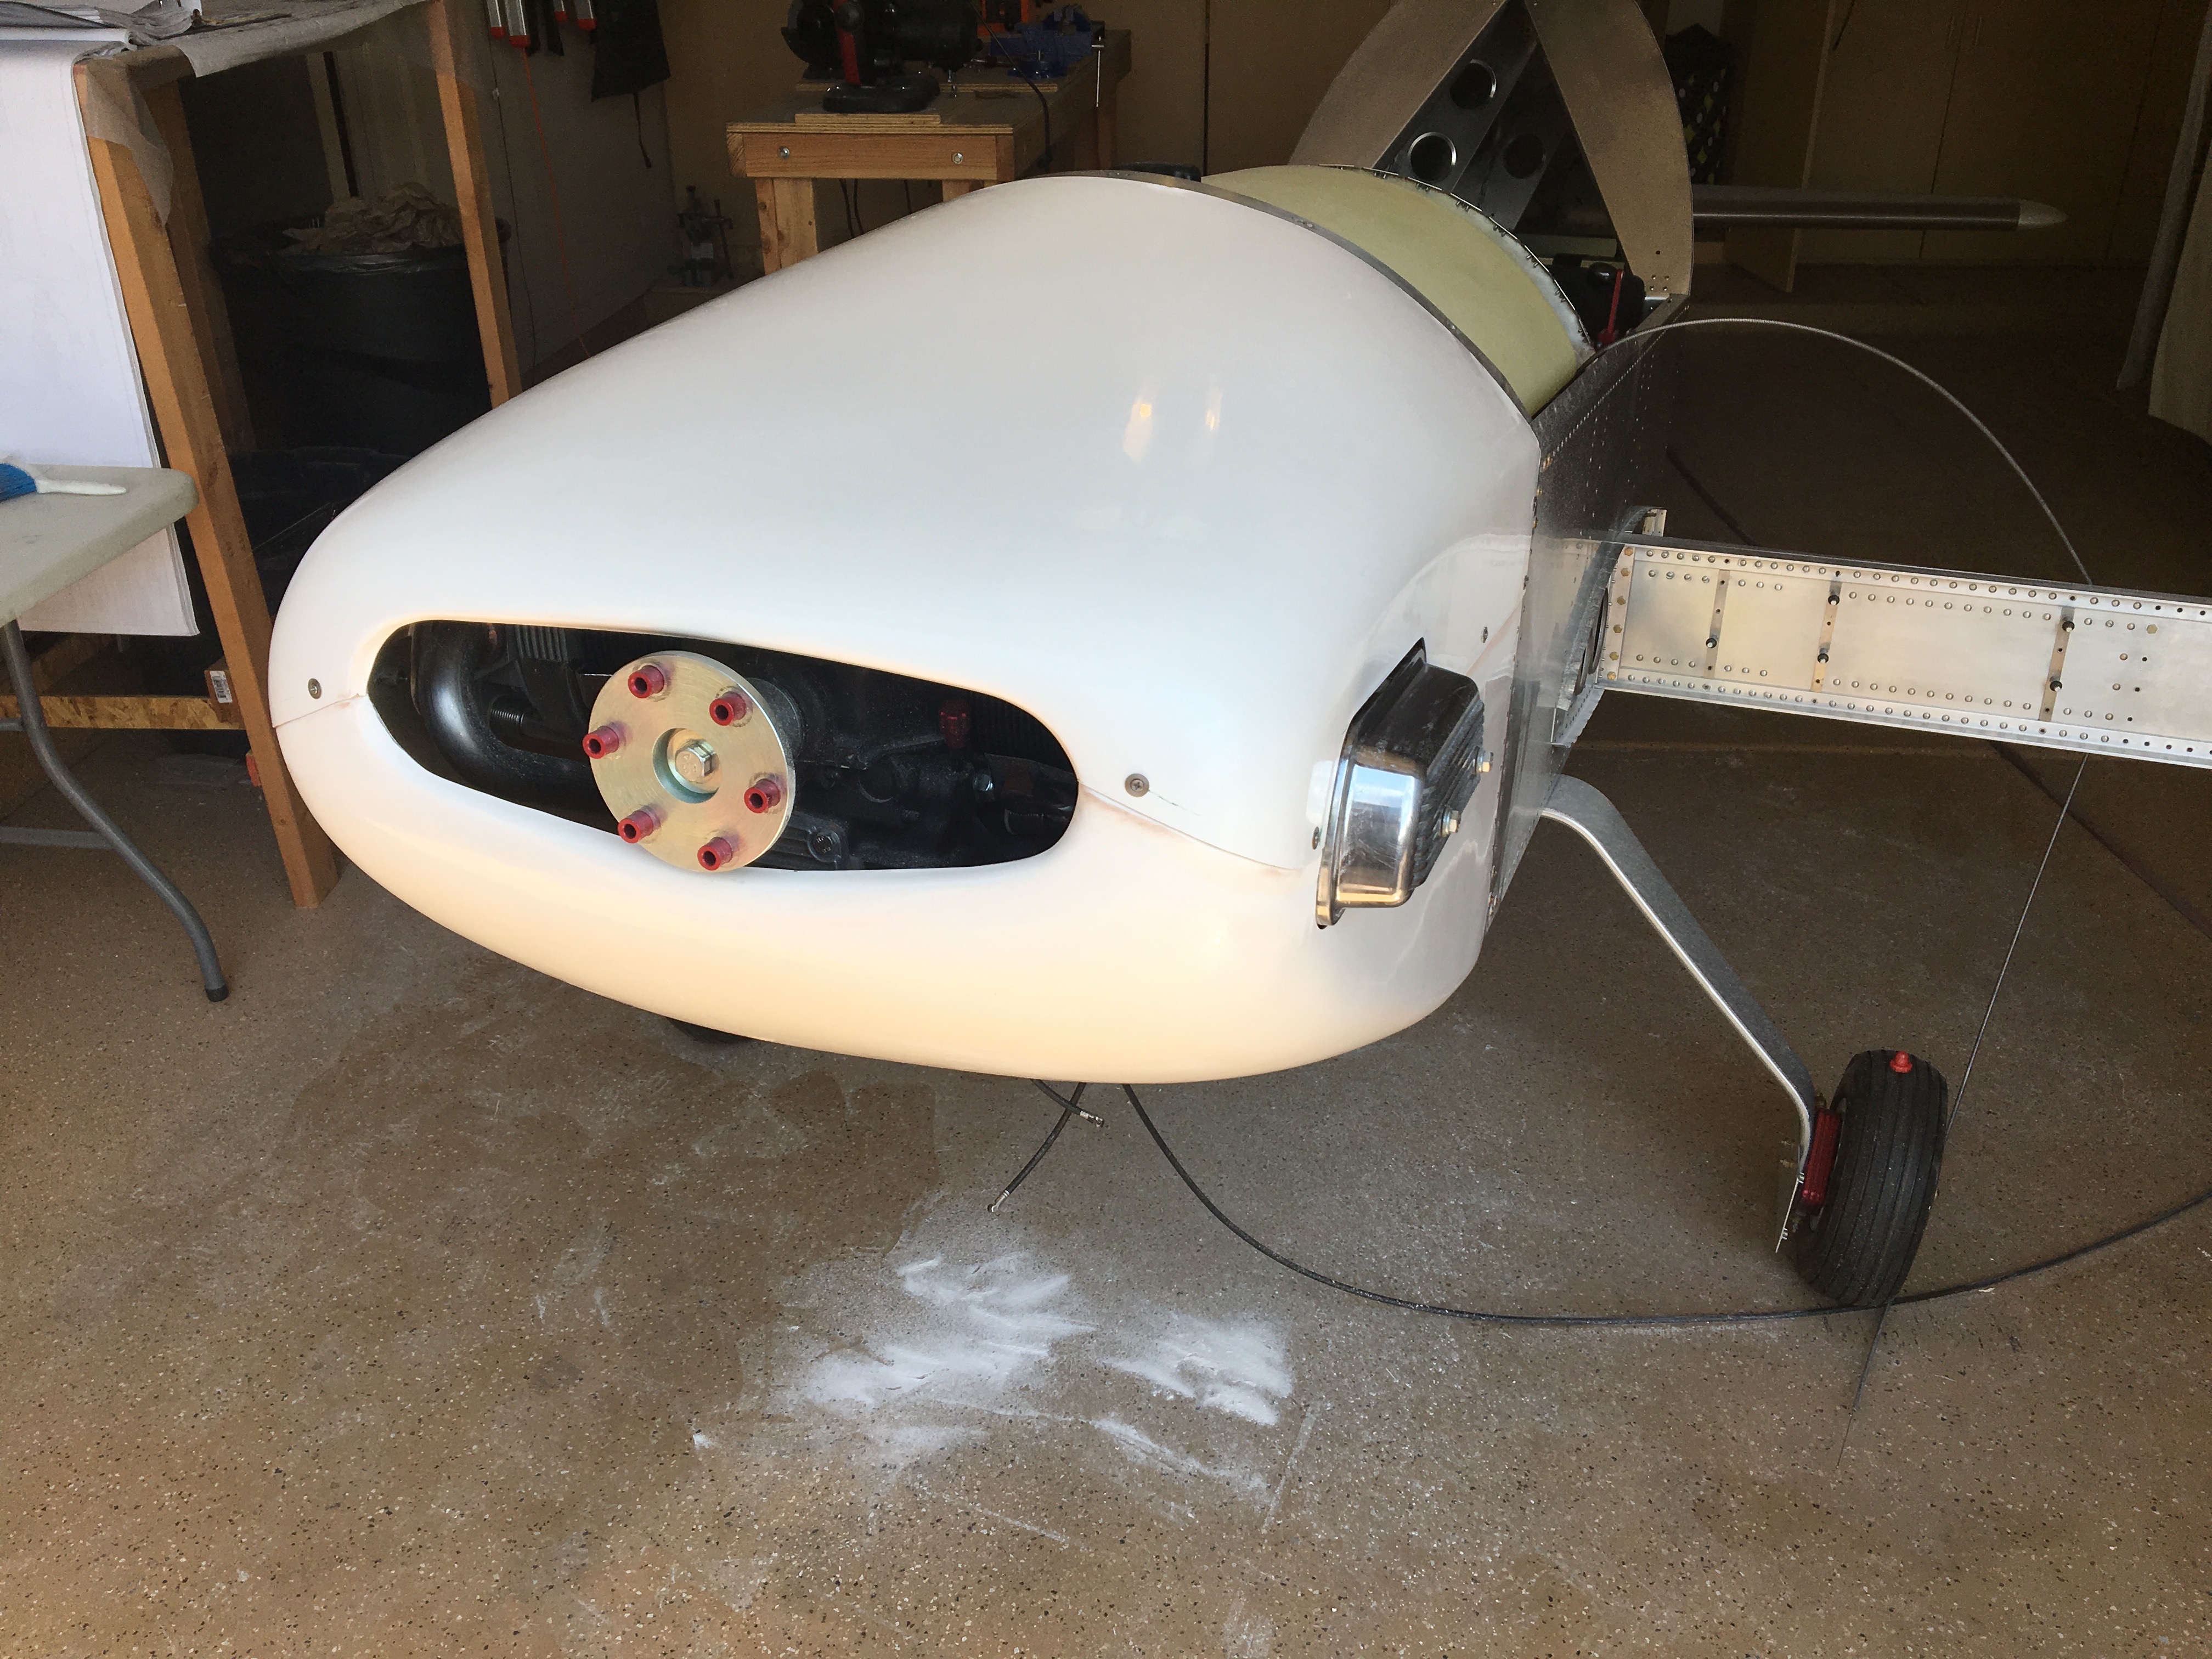
Bending and flaring these aluminum tubes was a new experience. Pipe bending, cutting, and flaring tools are fairly inexpensive. Those adel clamps hole the lines in place nicely. I had to cut an extra little hole in the bottom cowling for the vent tube. When I tried the cowling on again, it was blocked by air filter (I had installed it earlier today) which was rubbing against the bottom of the cowling. Sigh. I trimmed the rubber tube that connects the AeroInjector to the intake manifold to no avail. After googling the problem, other builders had resorted to alternative air filters. So I ordered a K&N RC-1980 from Amazon. Hopefully that works.
These are the last two Oops fittings that go in the fuel tank. A drain valve goes in one and the fuel level sensor will go in the other.
