Hydraulic Brakes
As Hannah and Rob (family friends) walked by the garage last week as I was fabricating brake parts, we chatted and I mentioned that I didn’t know exactly how to install hydraulic brakes. It turns out that Hannah’s dad (Vic) was coming to town. He’s handy with cars and knows about hydraulics. So he came to help!
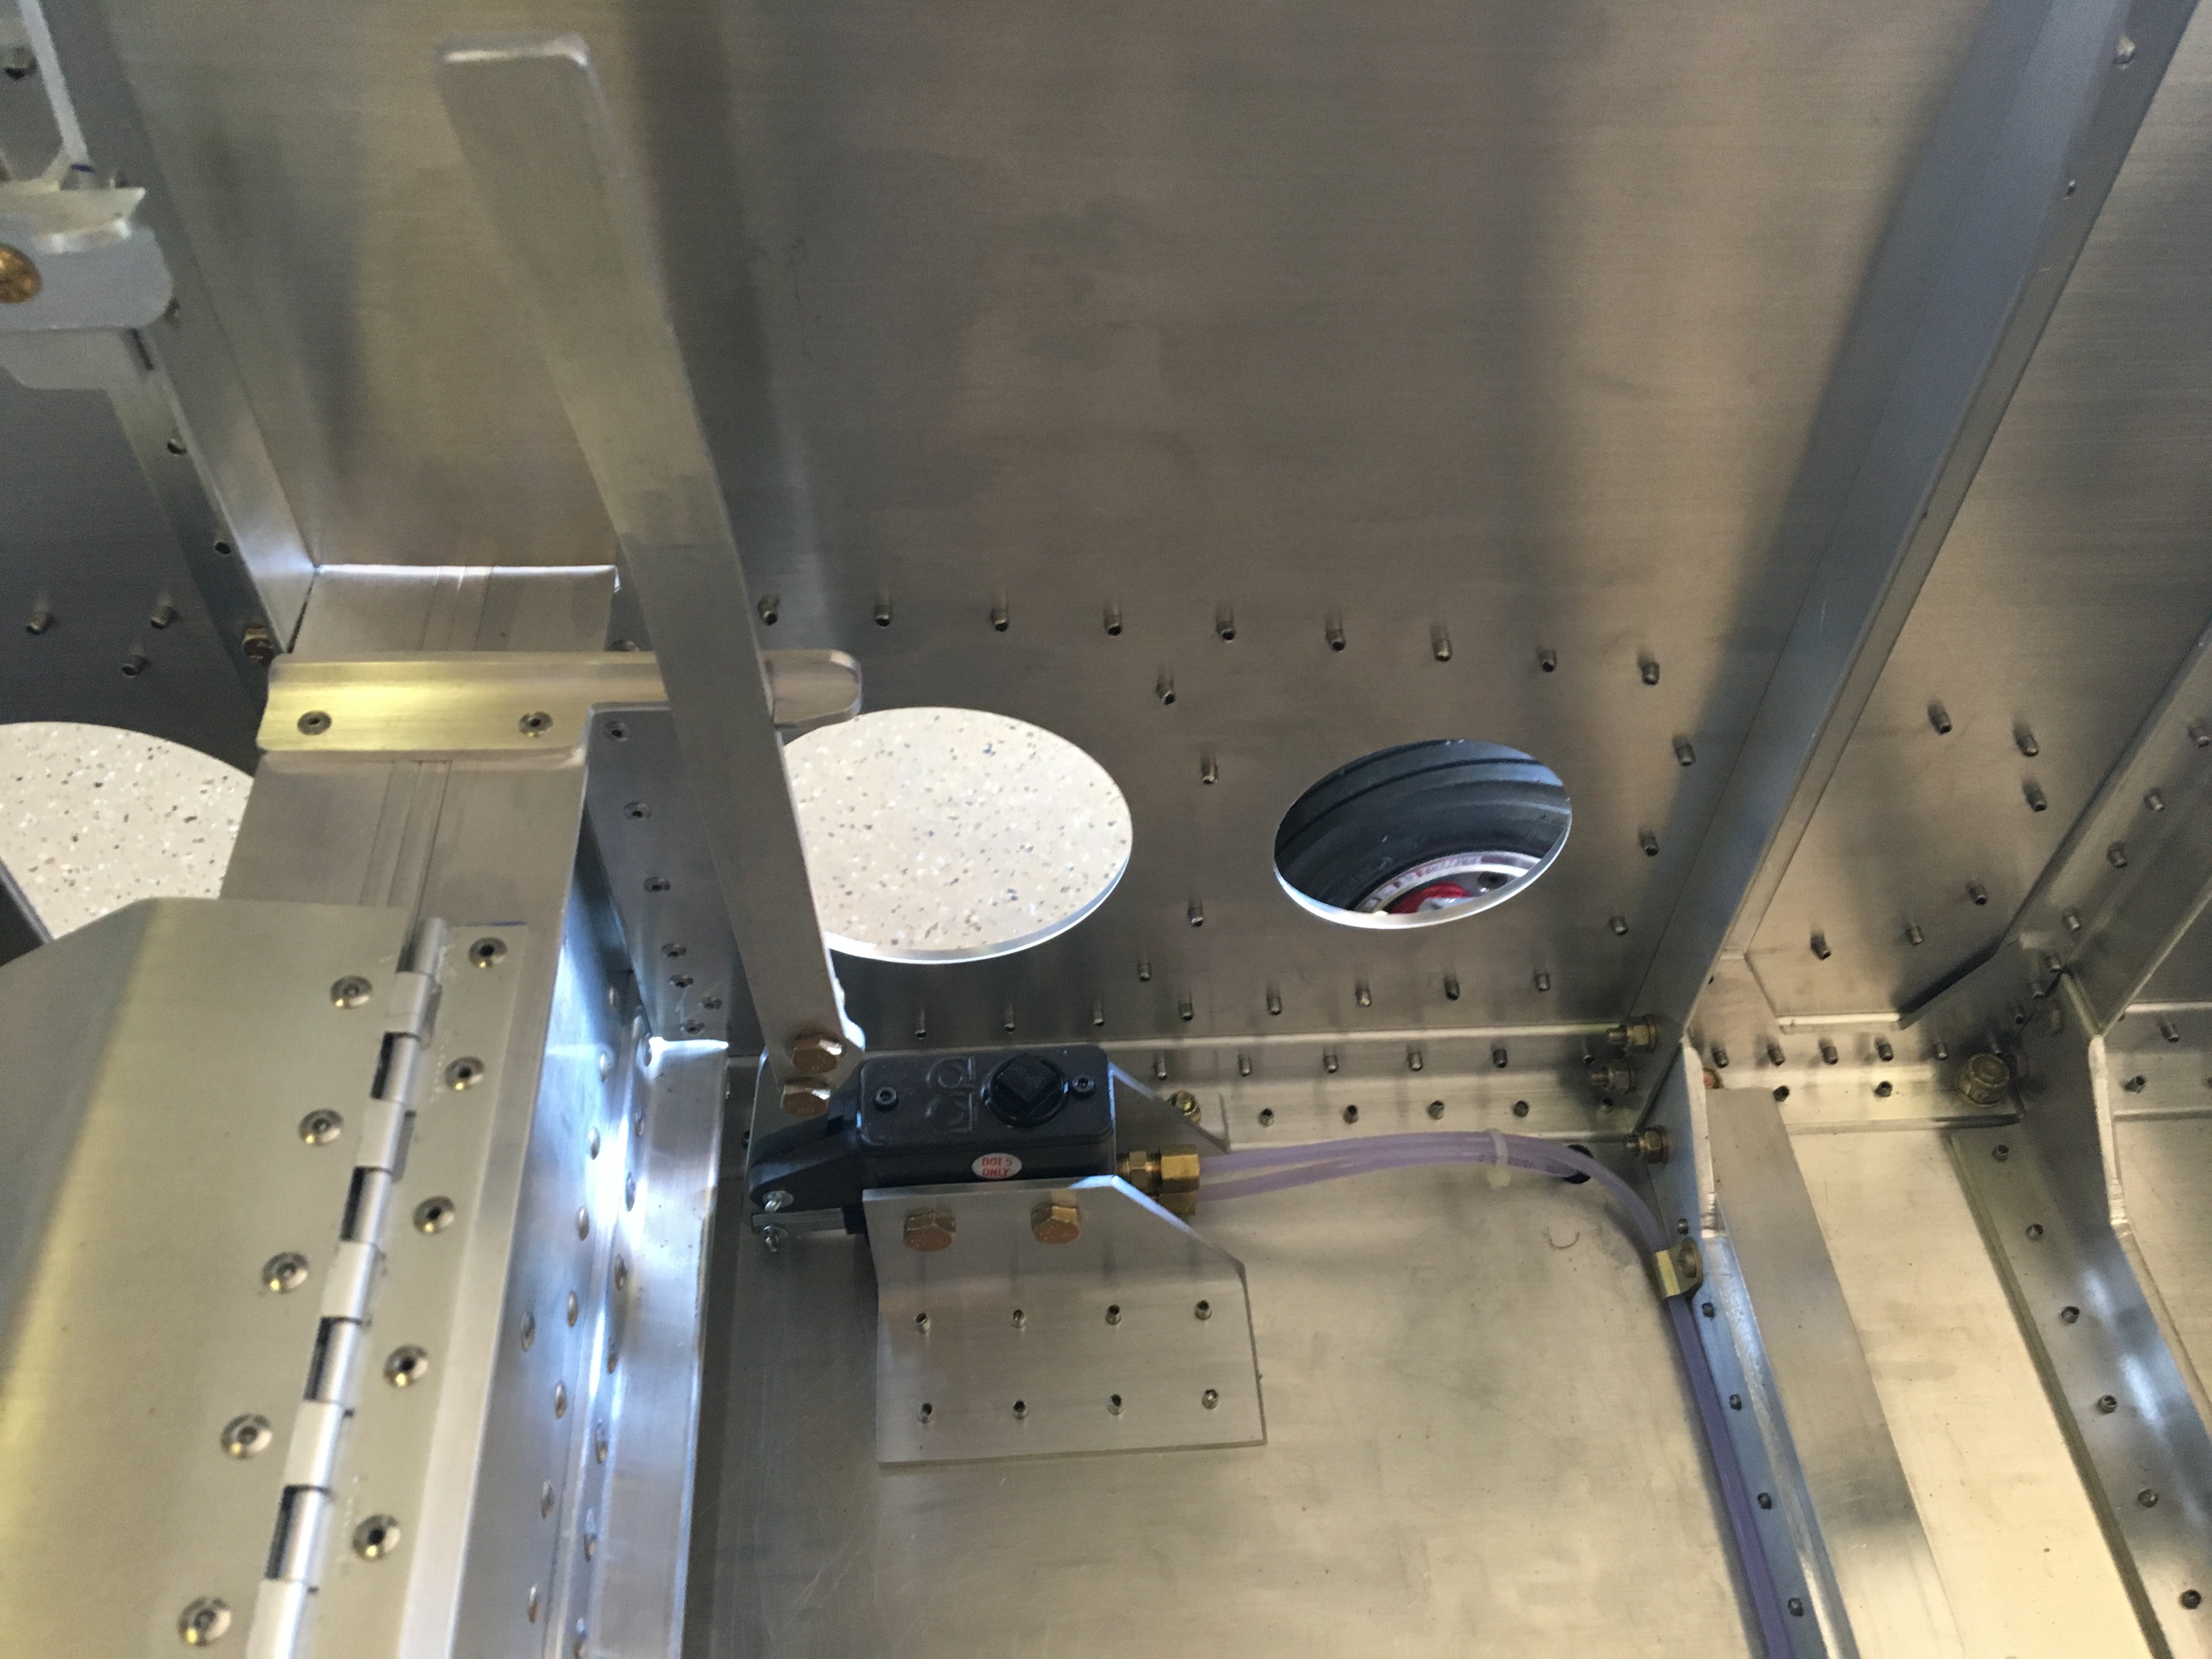
We mounted the master cylinder, no problem. Aside from the hydraulic lines, there was a brake handle to mount as well as a parking brake catch. What was unclear was how much play there would be in the brake handle with fluid running to the brakes. Without the fluid, there’s about 30° of play. That seems excessive and far more than what’s drawn in the plans. So the questions holding us up were this: At what angle do we mount the handle to the master cylinder and at what distance does the parking brake catch get attached? If we guess and get it wrong, we need to drill rivets and fabricate more parts.
Oh, there was also the question of where to run the lines. The master cylinder is inside the fuselage while the wheels are outside. At least one hole has to be drilled so the lines can exit the fuselage.
For these reasons, Vic and I decided to temporarily run the hydraulic lines wherever was easiest, and then redo it properly when we knew more. This is where Vic’s experience was priceless. He knew exactly how to connect the lines and how to fill them with fluid, and bleed them. I absorbed it all. We also whipped up a temporary handle to operate the brakes.
Bleeding the lines took the most finesse. This involves removing all the air from the lines. At the bottom of the brakes, there’s a little nut and when you loosen it, fluid (and air) flow out the bottom pulling fresh fluid from the master cylinder reservoir. But those pesky air bubble don’t cooperate. They prefer to flow upward and they find places to hide inside the brake housing. It’s definitely a two man job. One of us would get down by one of the brakes to loosen/tighten the bleeder, while the other would manage the brake handle to move the fluid and air around.
After about an hour, maybe more, we got all the air out and the brakes worked wonderfully. As suspected, the play in the brake handle was much smaller than the 30° we saw without the fluid. I was really impressed with how little motion was required to fully apply the brakes… and when you did, the wheels would not budge a bit! So with that, we knew exactly where to drill the holes in the handle and where to mount the parking brake catch.
Thanks Vic!
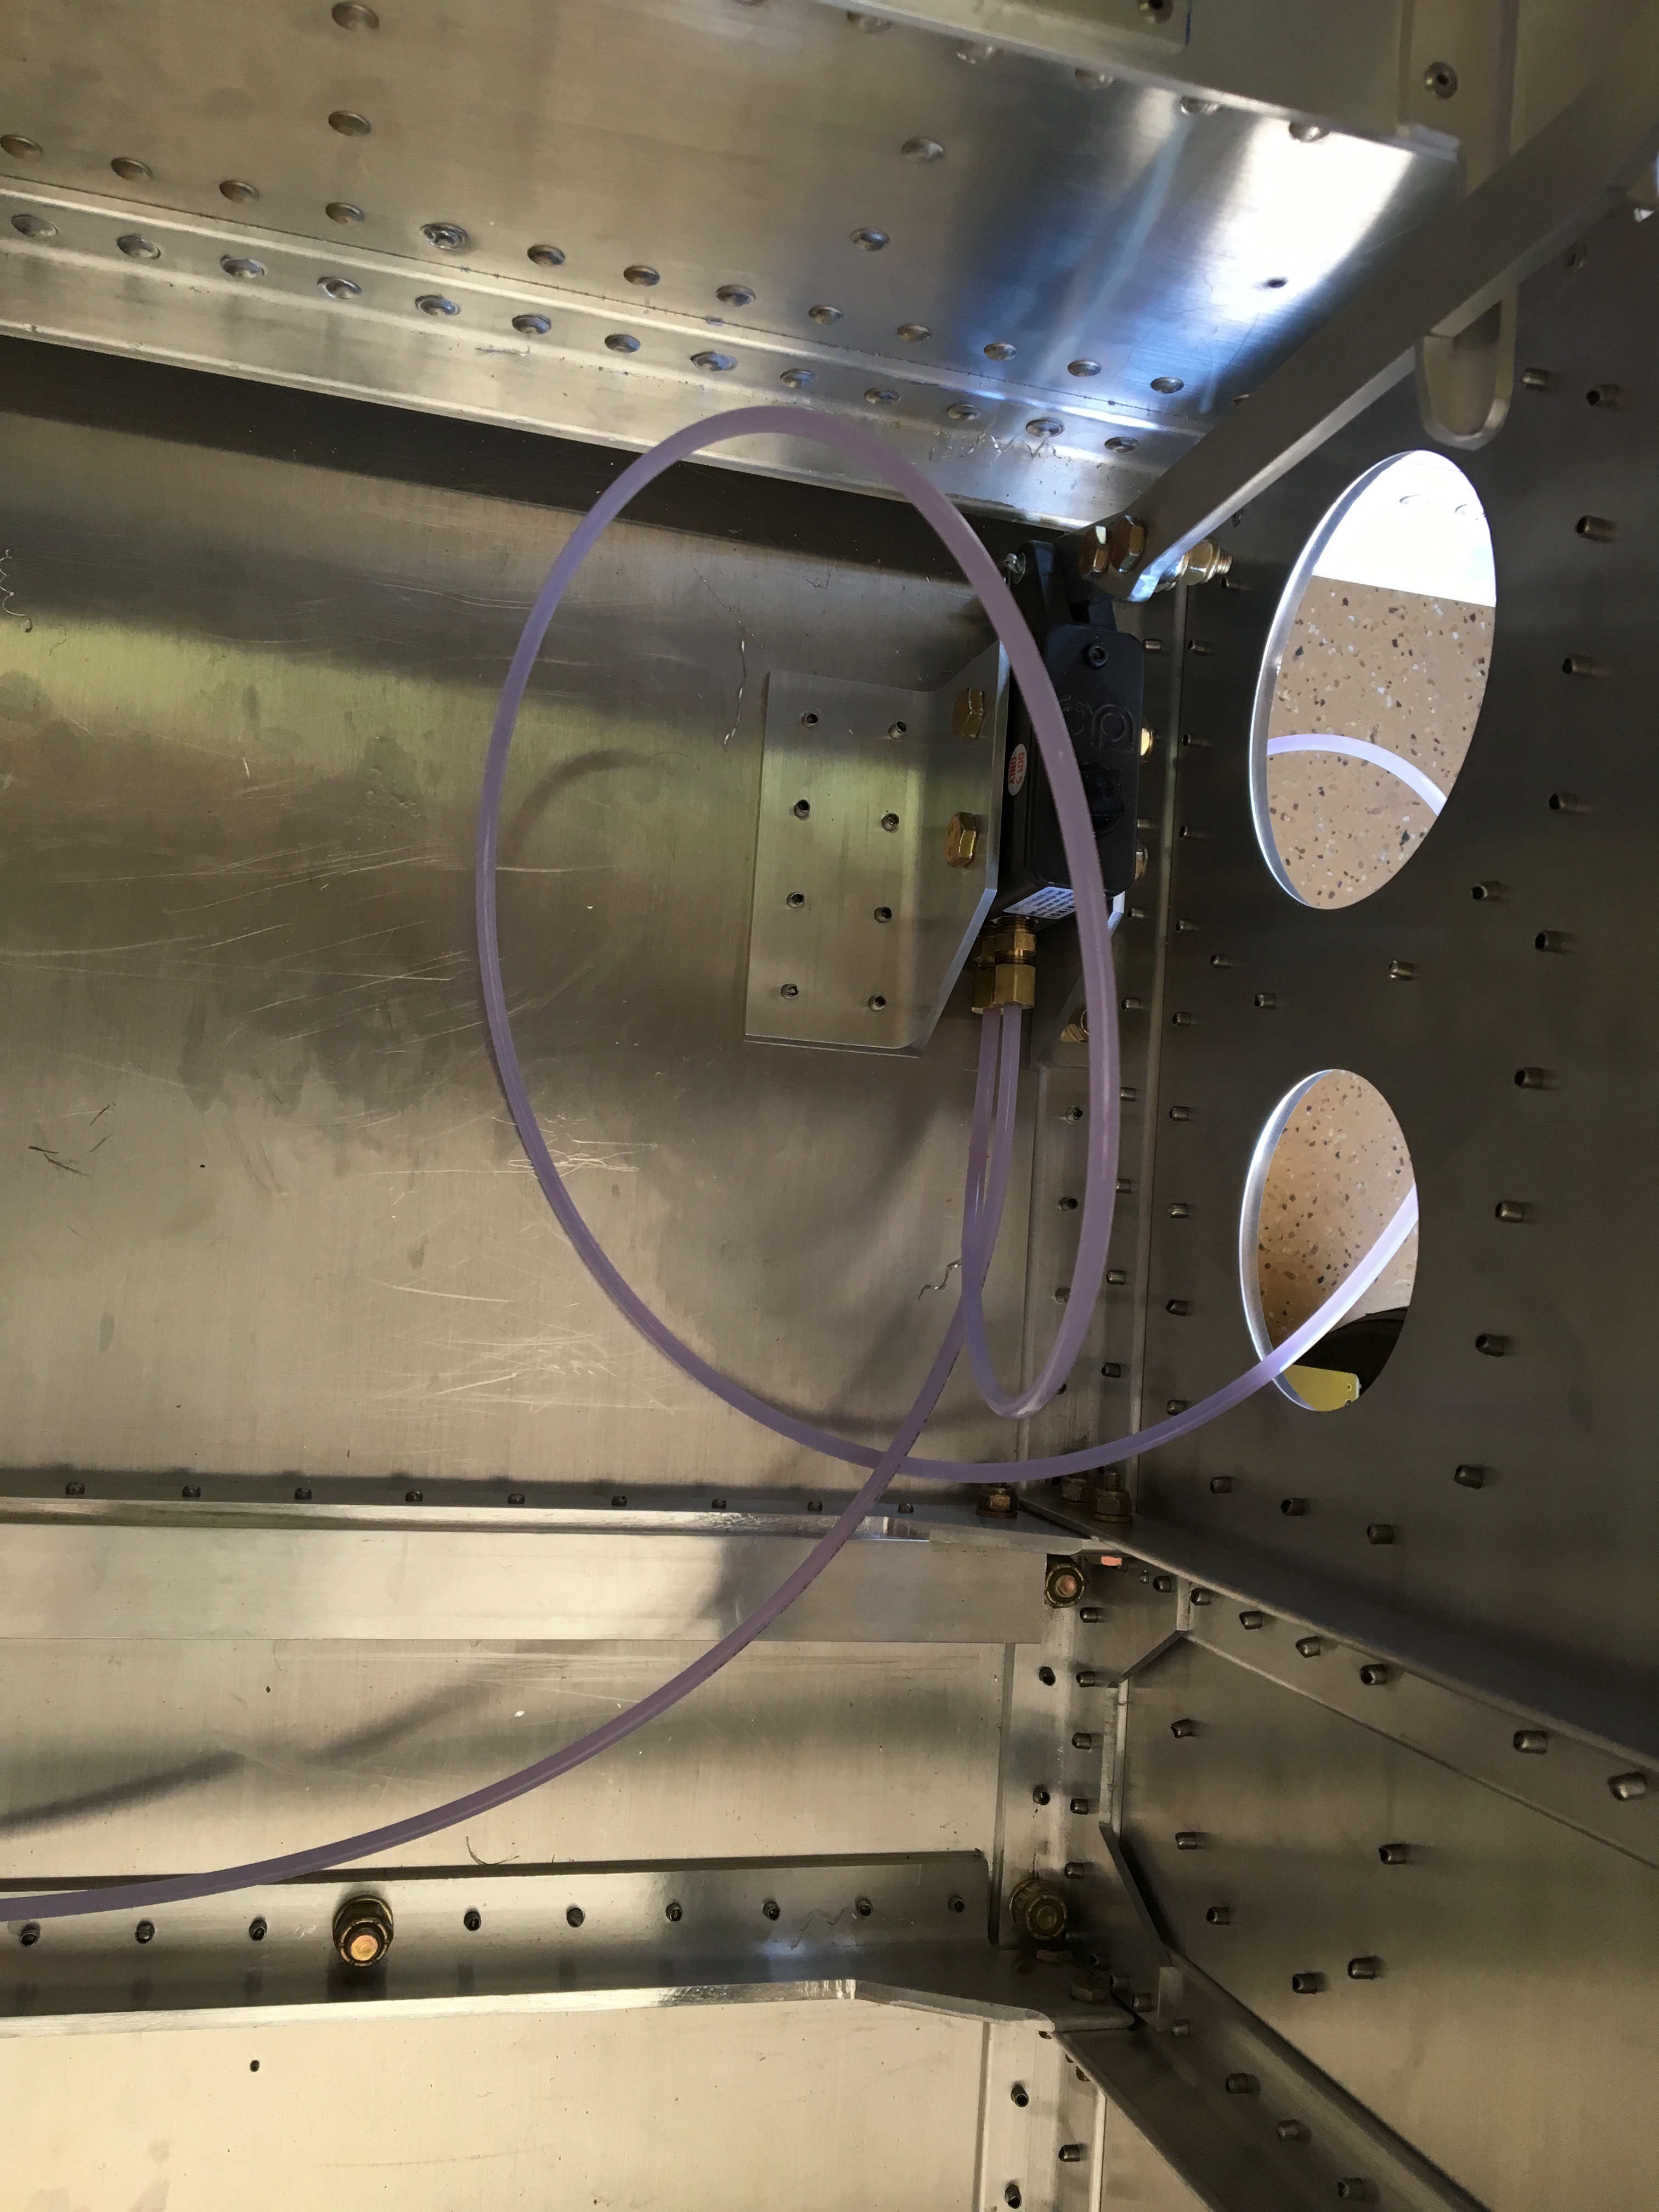
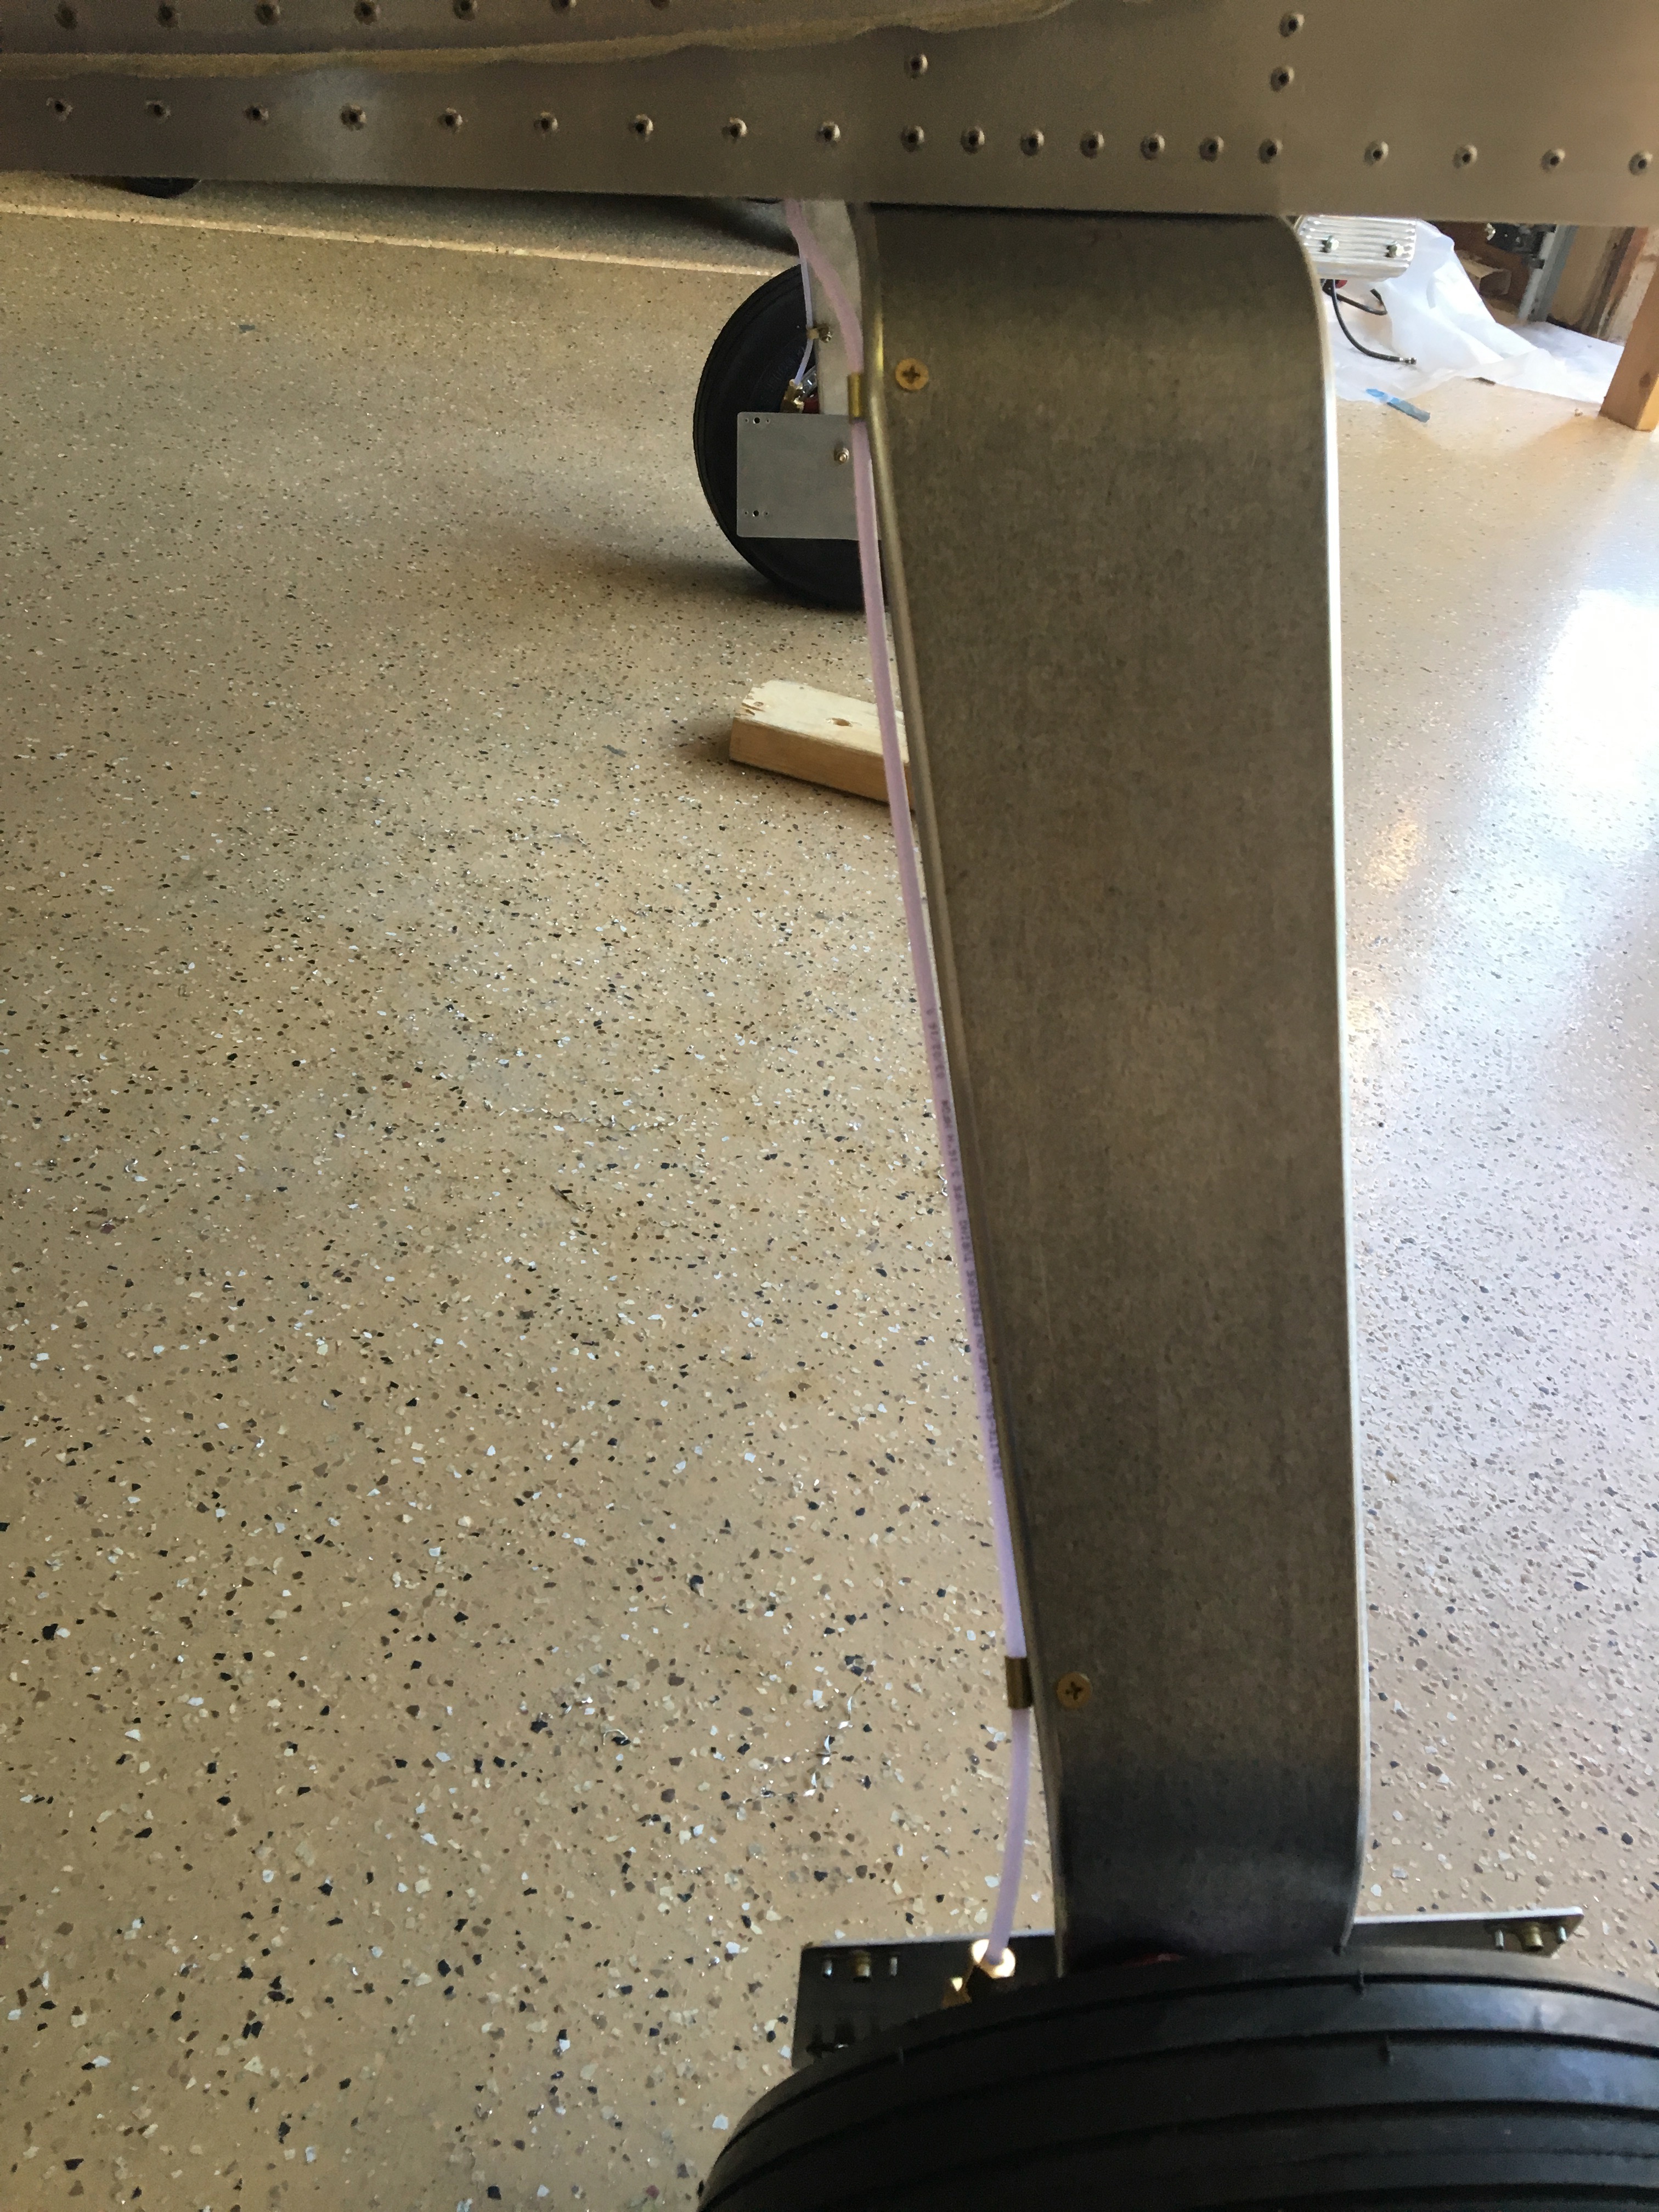
The next day I tidied up the lines. Before cutting the lines, I drilled all the holes needed and picked up some rubber grommets from Ace. Although the plans don’t tell you where to drill the exit holes for the lines, they do tell you to run them along the back edge of the gear legs. So I drilled two holes, one on each side of the fuselage right behind the gear legs. A couple holes on each gear leg allow for clips to hold the lines in place and two more holes on an interior strut to keep the brake line in a safe place.
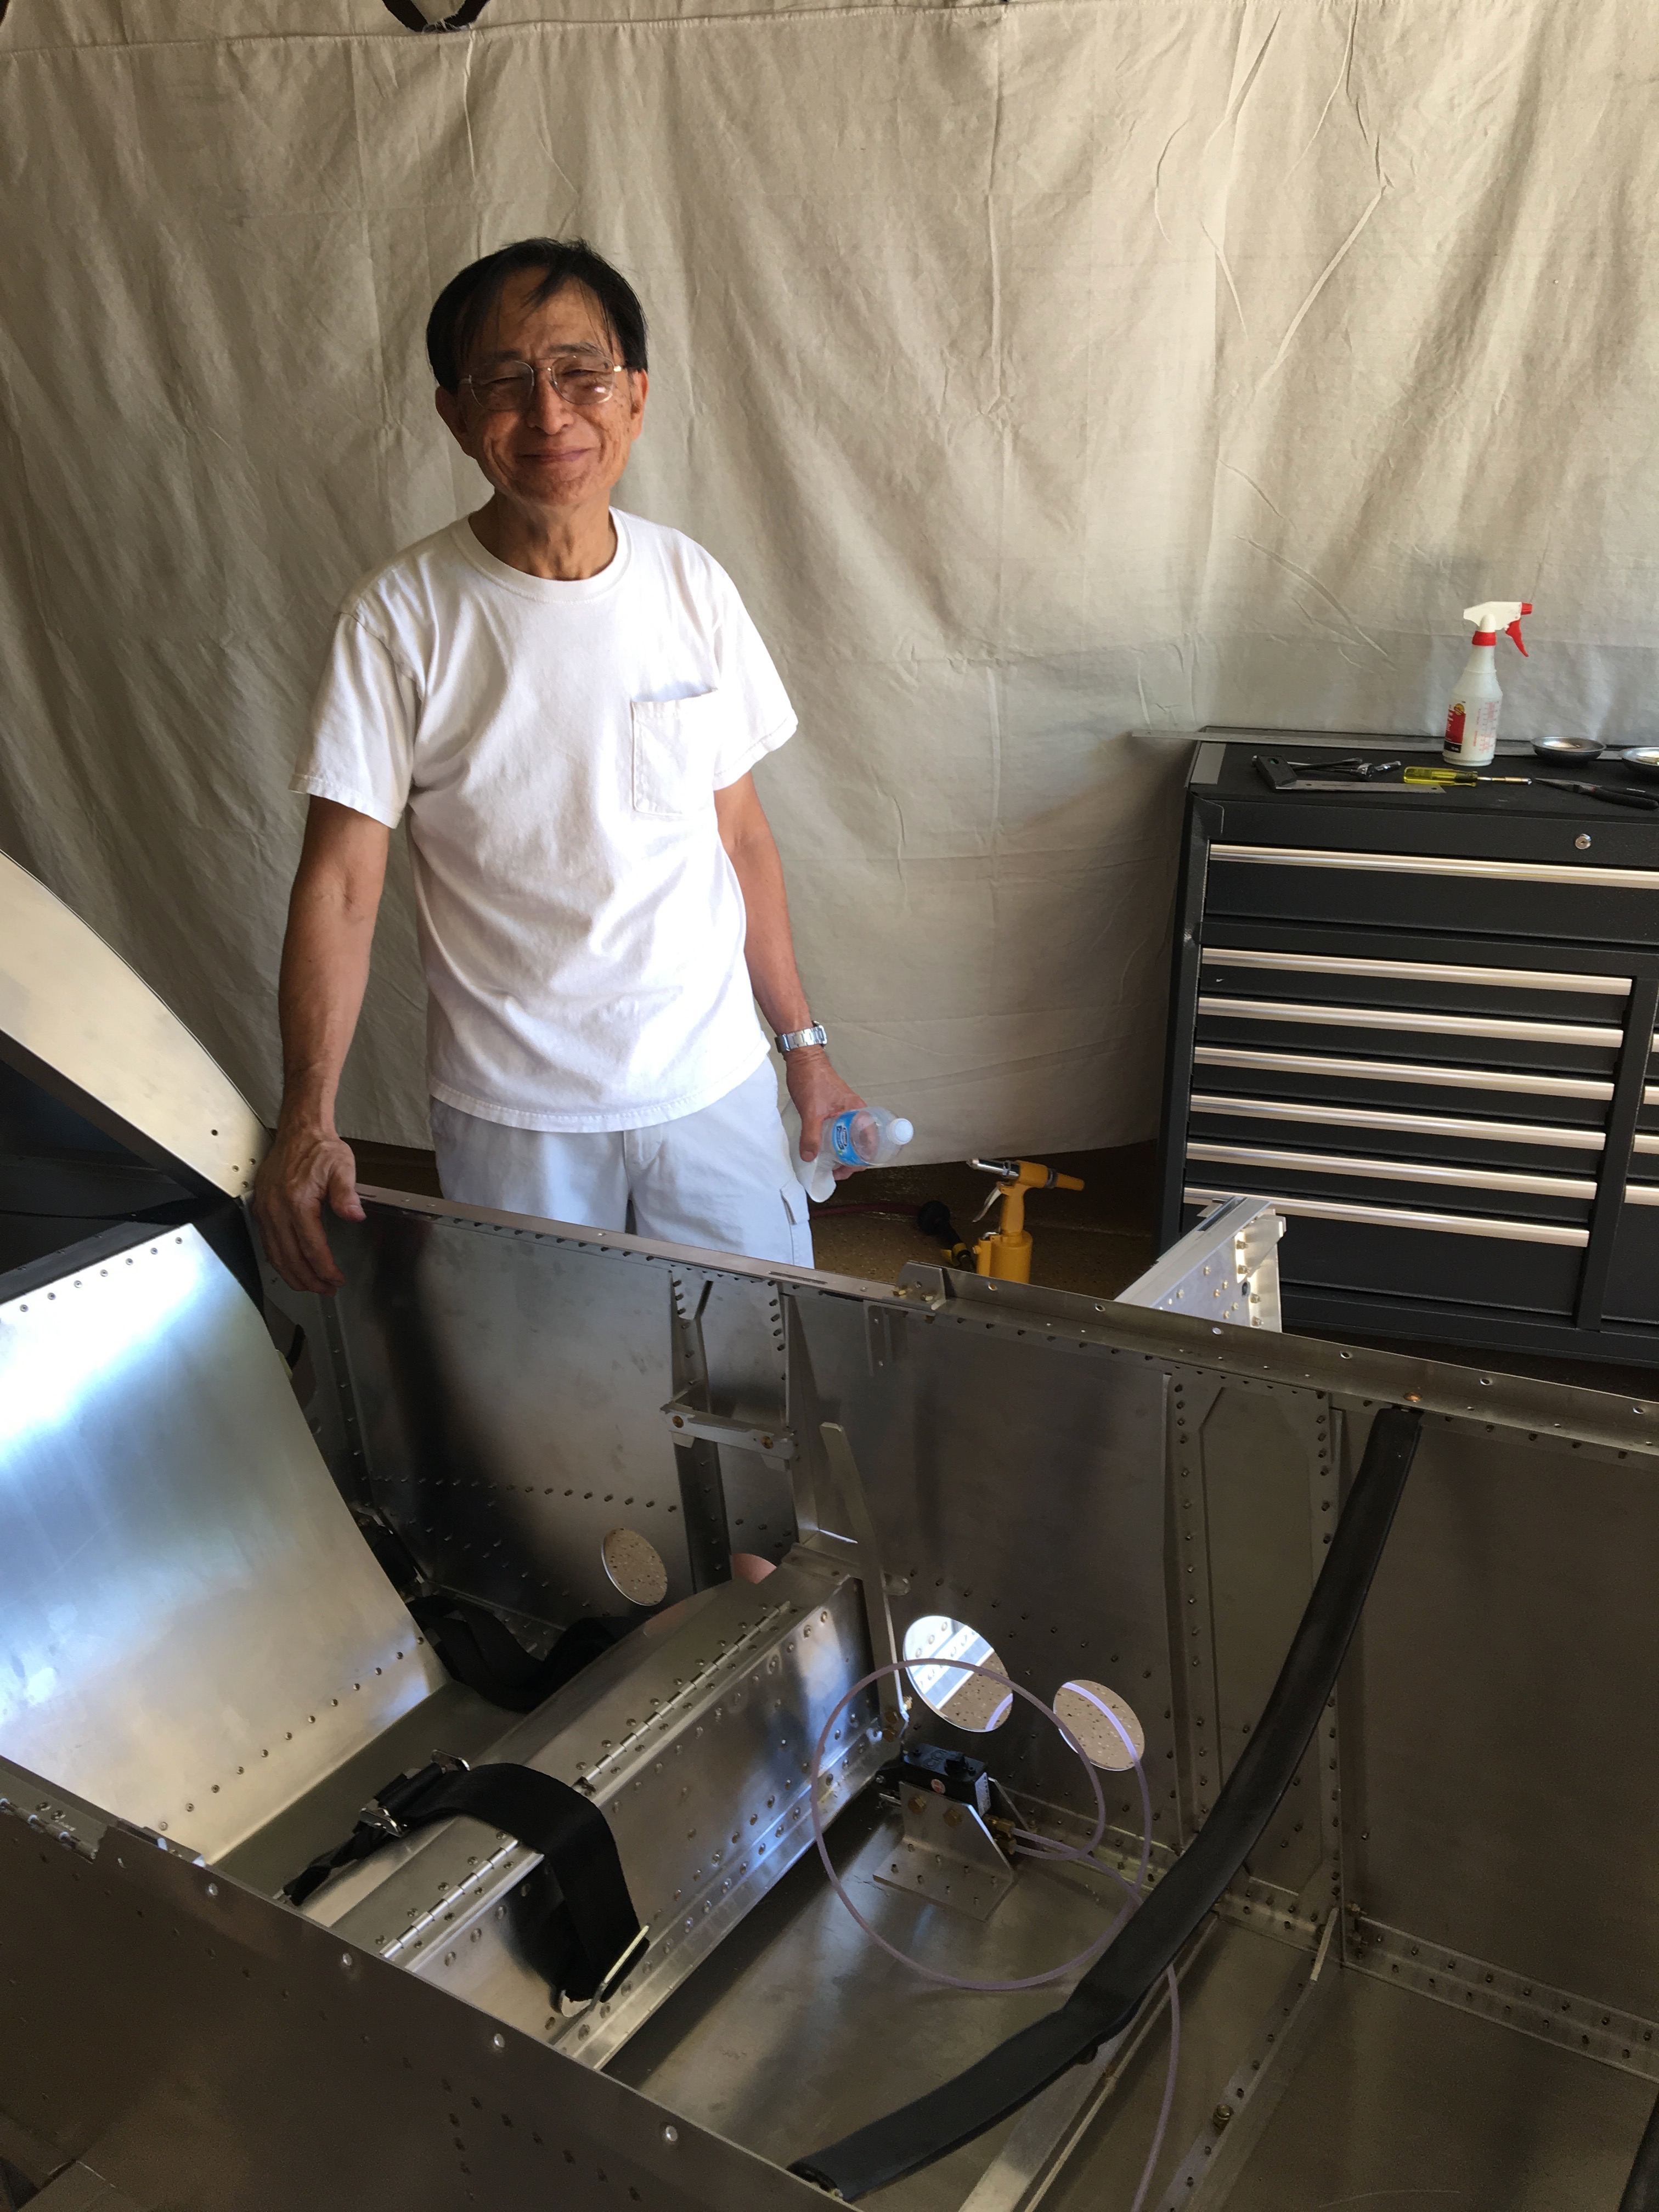
The Dot 5.0 brake fluid is silicone based and really slippery, so tried my best to minimize the mess when I cut the filled lines, with moderate success. I ran them through the holes and along their permanent path. Then Angelique was kind enough to come and help me bleed all the air out again. It took about another hour. I admit I like the pretty purple color of the hydraulic fluid.