Tight Quarters
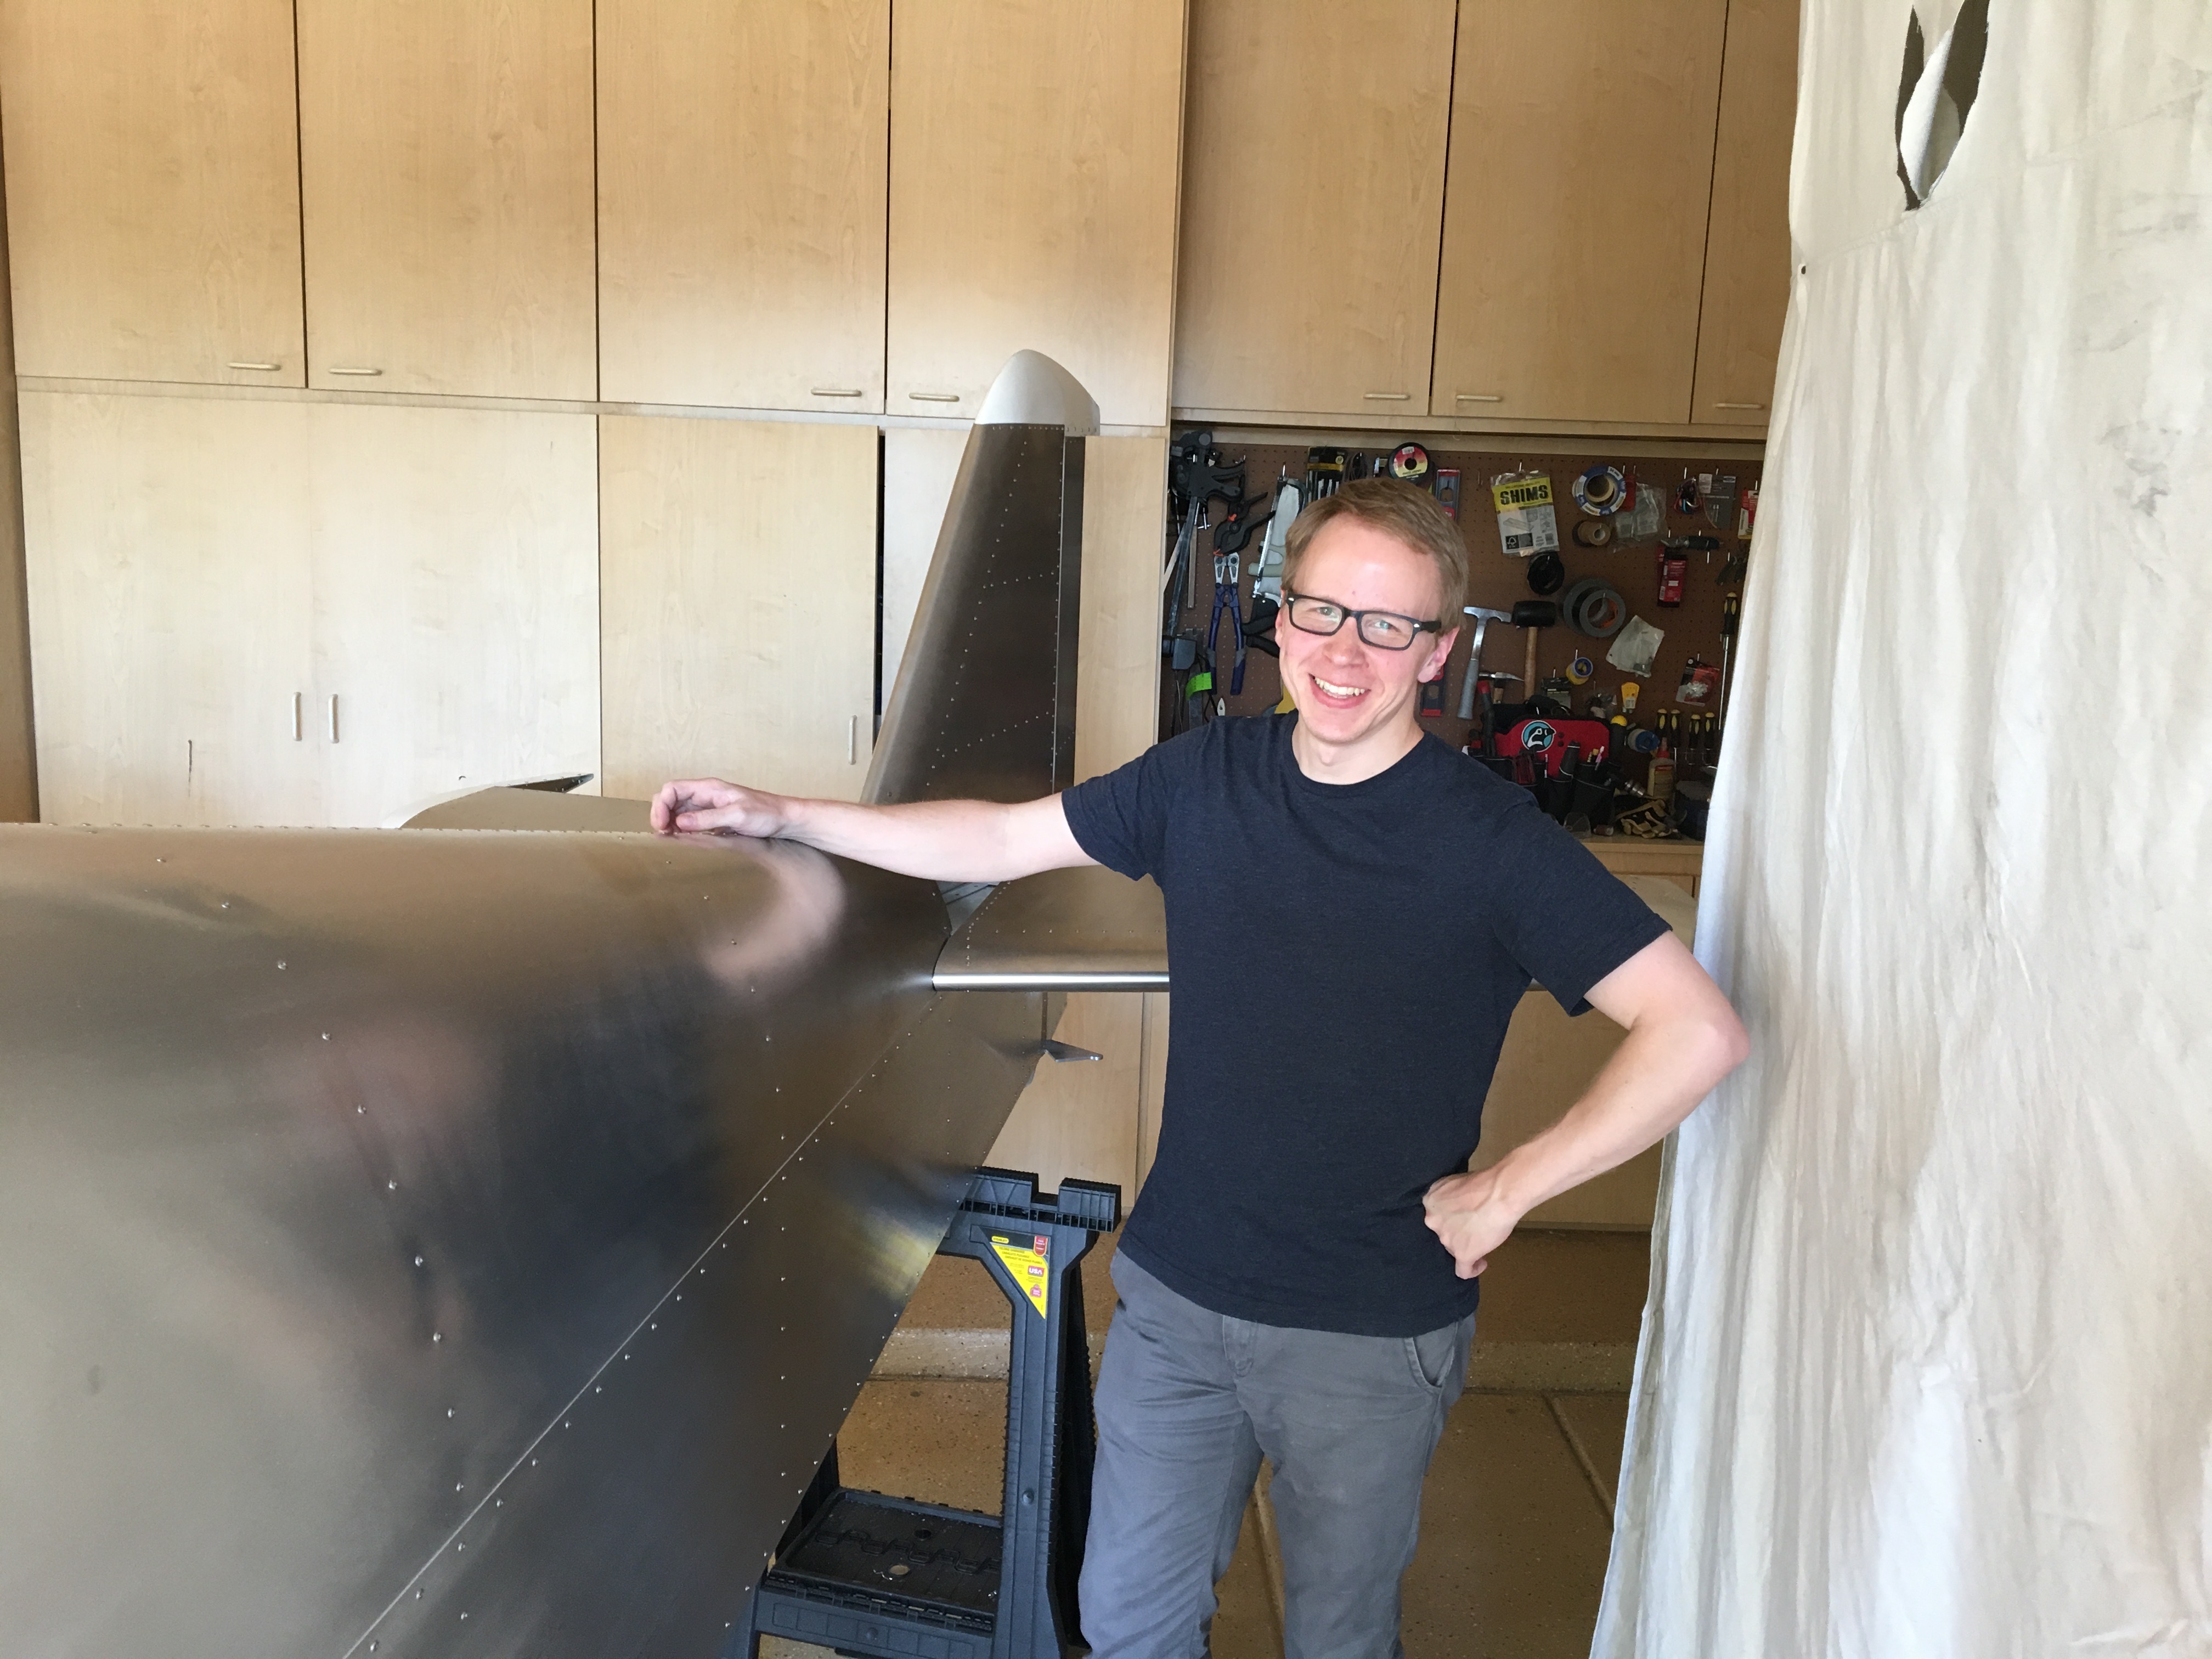
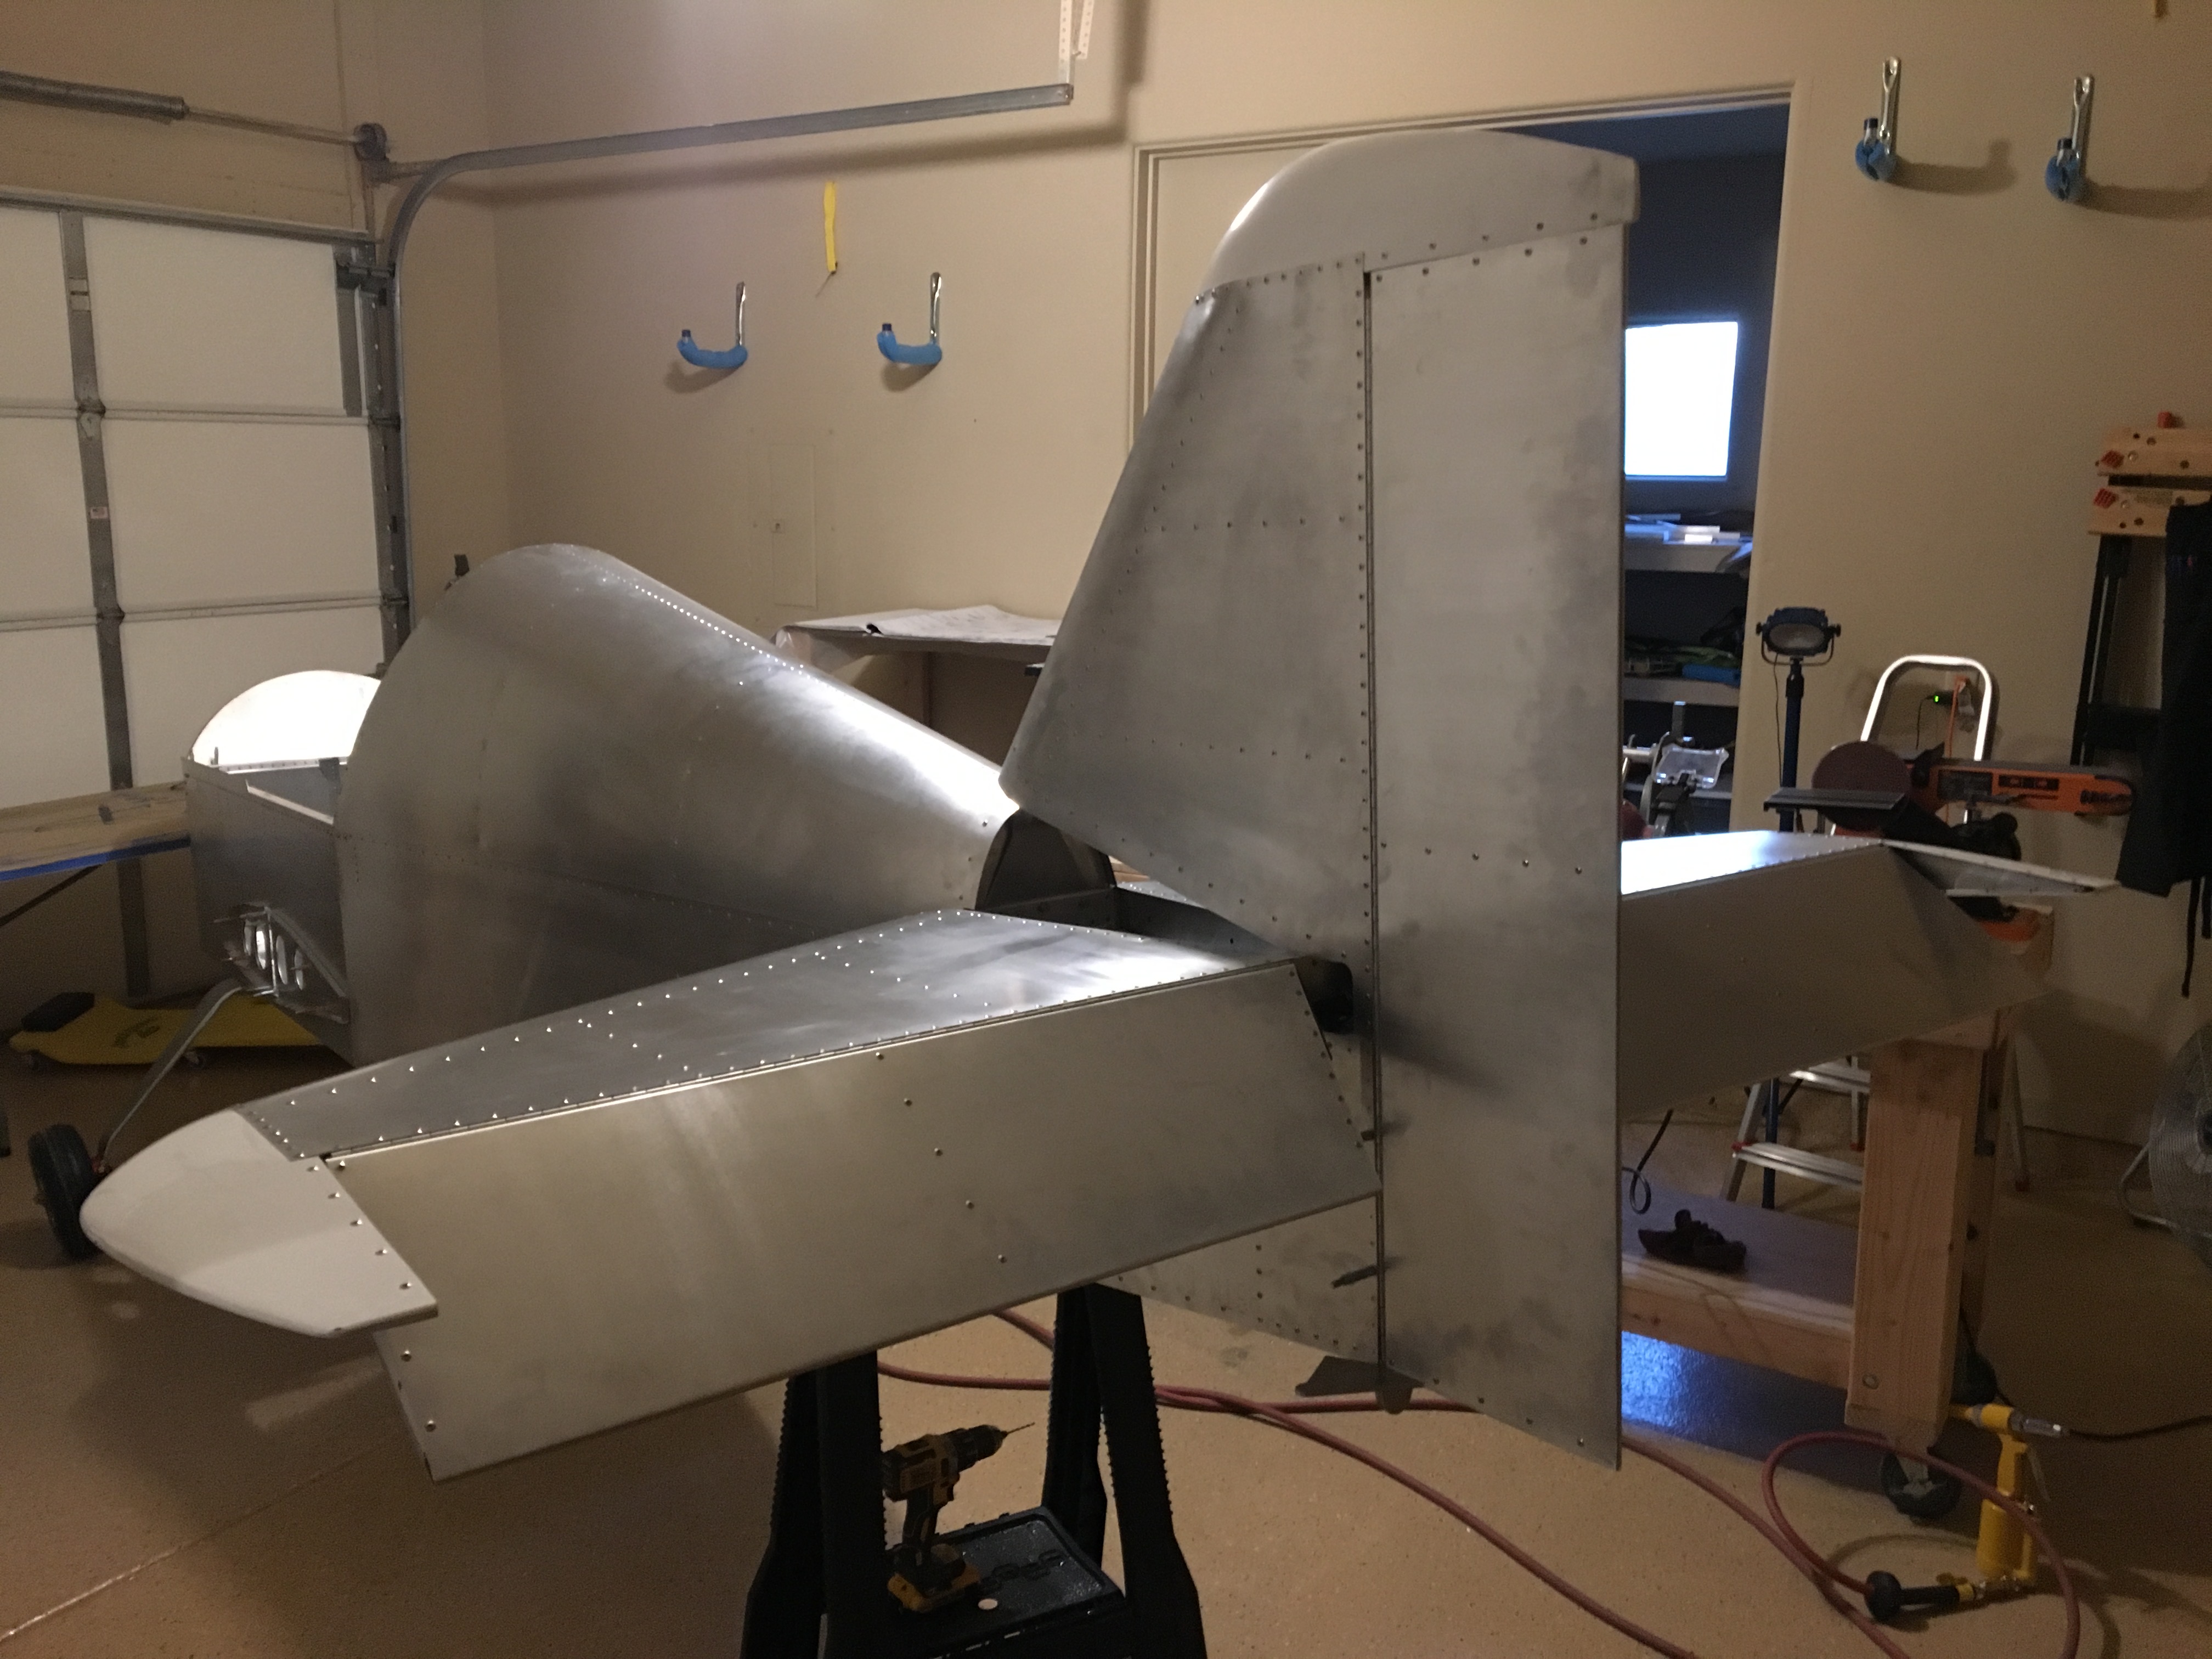
The tail is attached! It all began last Friday. Christoph, a colleague from 8th Light in London was in town for a conference. After we flew to Sedona for lunch I convinced him to help me attach the tail surfaces to the fuselage. We tried out the vertical tail and with a little finagling, got the gist of it figured out, though we didn’t fasten anything yet. Then we tried on the horizontal tail and this is where it hit the fan. It wasn’t fitting, at all. The bottom skin was too long. Then Christoph asked “Is it possible that the skin is up side down?” Fear overtook me. I checked the plans, made some measurements, and realized the truth. I had installed it upside down! How could it be? I checked them several times before installing and even wrote on the skins in sharpie to identify which way was up and which was was down. Some how I got them backwards. The horror!
Why is this such a big deal? The skin is held on with around 250 rivets. Reversing it means drilling out all the rivits, flipping the skins and installing 250 new rivets. As we’ve learned, rivets don’t always come out nicely. If I could drill 9 out of 10 rivets successfully, which would be pretty good, that’d leave 25 wrecked rivet holes, not to mention hours of effort. The upside is that reversing the skins is possible because other than the slight difference in length where they meet the fuselage, that are symmetrical top to bottom. But I felt like crying. Christoph and I called it a day and got some beer.
The next day I drove out to Deer Valley airport to fly with Denny (other OneX builder) in his RV-12. He did a great job building that plane and we had a very nice flight. But the point is that on the drive there and back I figured out a solution to my horizontal tail skins. First, I could cut the bottom side (which was supposed to the top) to fit. This would leave a 1/2 inch gap on the top. But I had already considered crafting some fairings. We learned a technique to make fairings out of composite materials (fiberglass) in the EAA workshops I went to in Las Vegas. Not only would this cover the gap, but it would also make the plane more aerodynamic! Double win!
On Sunday I cut the skins to size. Christoph helped me file it down, then file it some more, and again until it fit perfectly. It turns out that had I installed the skins properly we would have had to file away a good bit of material anyway. In the end, there was only a minor gap on the front top side, maybe 1/4 inch. This was all very relieving.
Today I continued fastening the tail surfaces, and I’m just about done. That tail section is tight! It has been very challenging to get the nuts on and tightened because nothing is directly accessible. I was constantly reaching through inspection holes and between parts, and half the time my socket wrench was useless because it wouldn’t fit. I had to go buy second set of wrenches to get it done. And Luka had to come and help me reach parts that were impossible for me and my fat hands.
There’s still work to be done here but I think the worst parts are done.