Power Up!
Lo and behold… after five+ days of wiring, when I turned on the master switch for the first time, the avionics came alive!
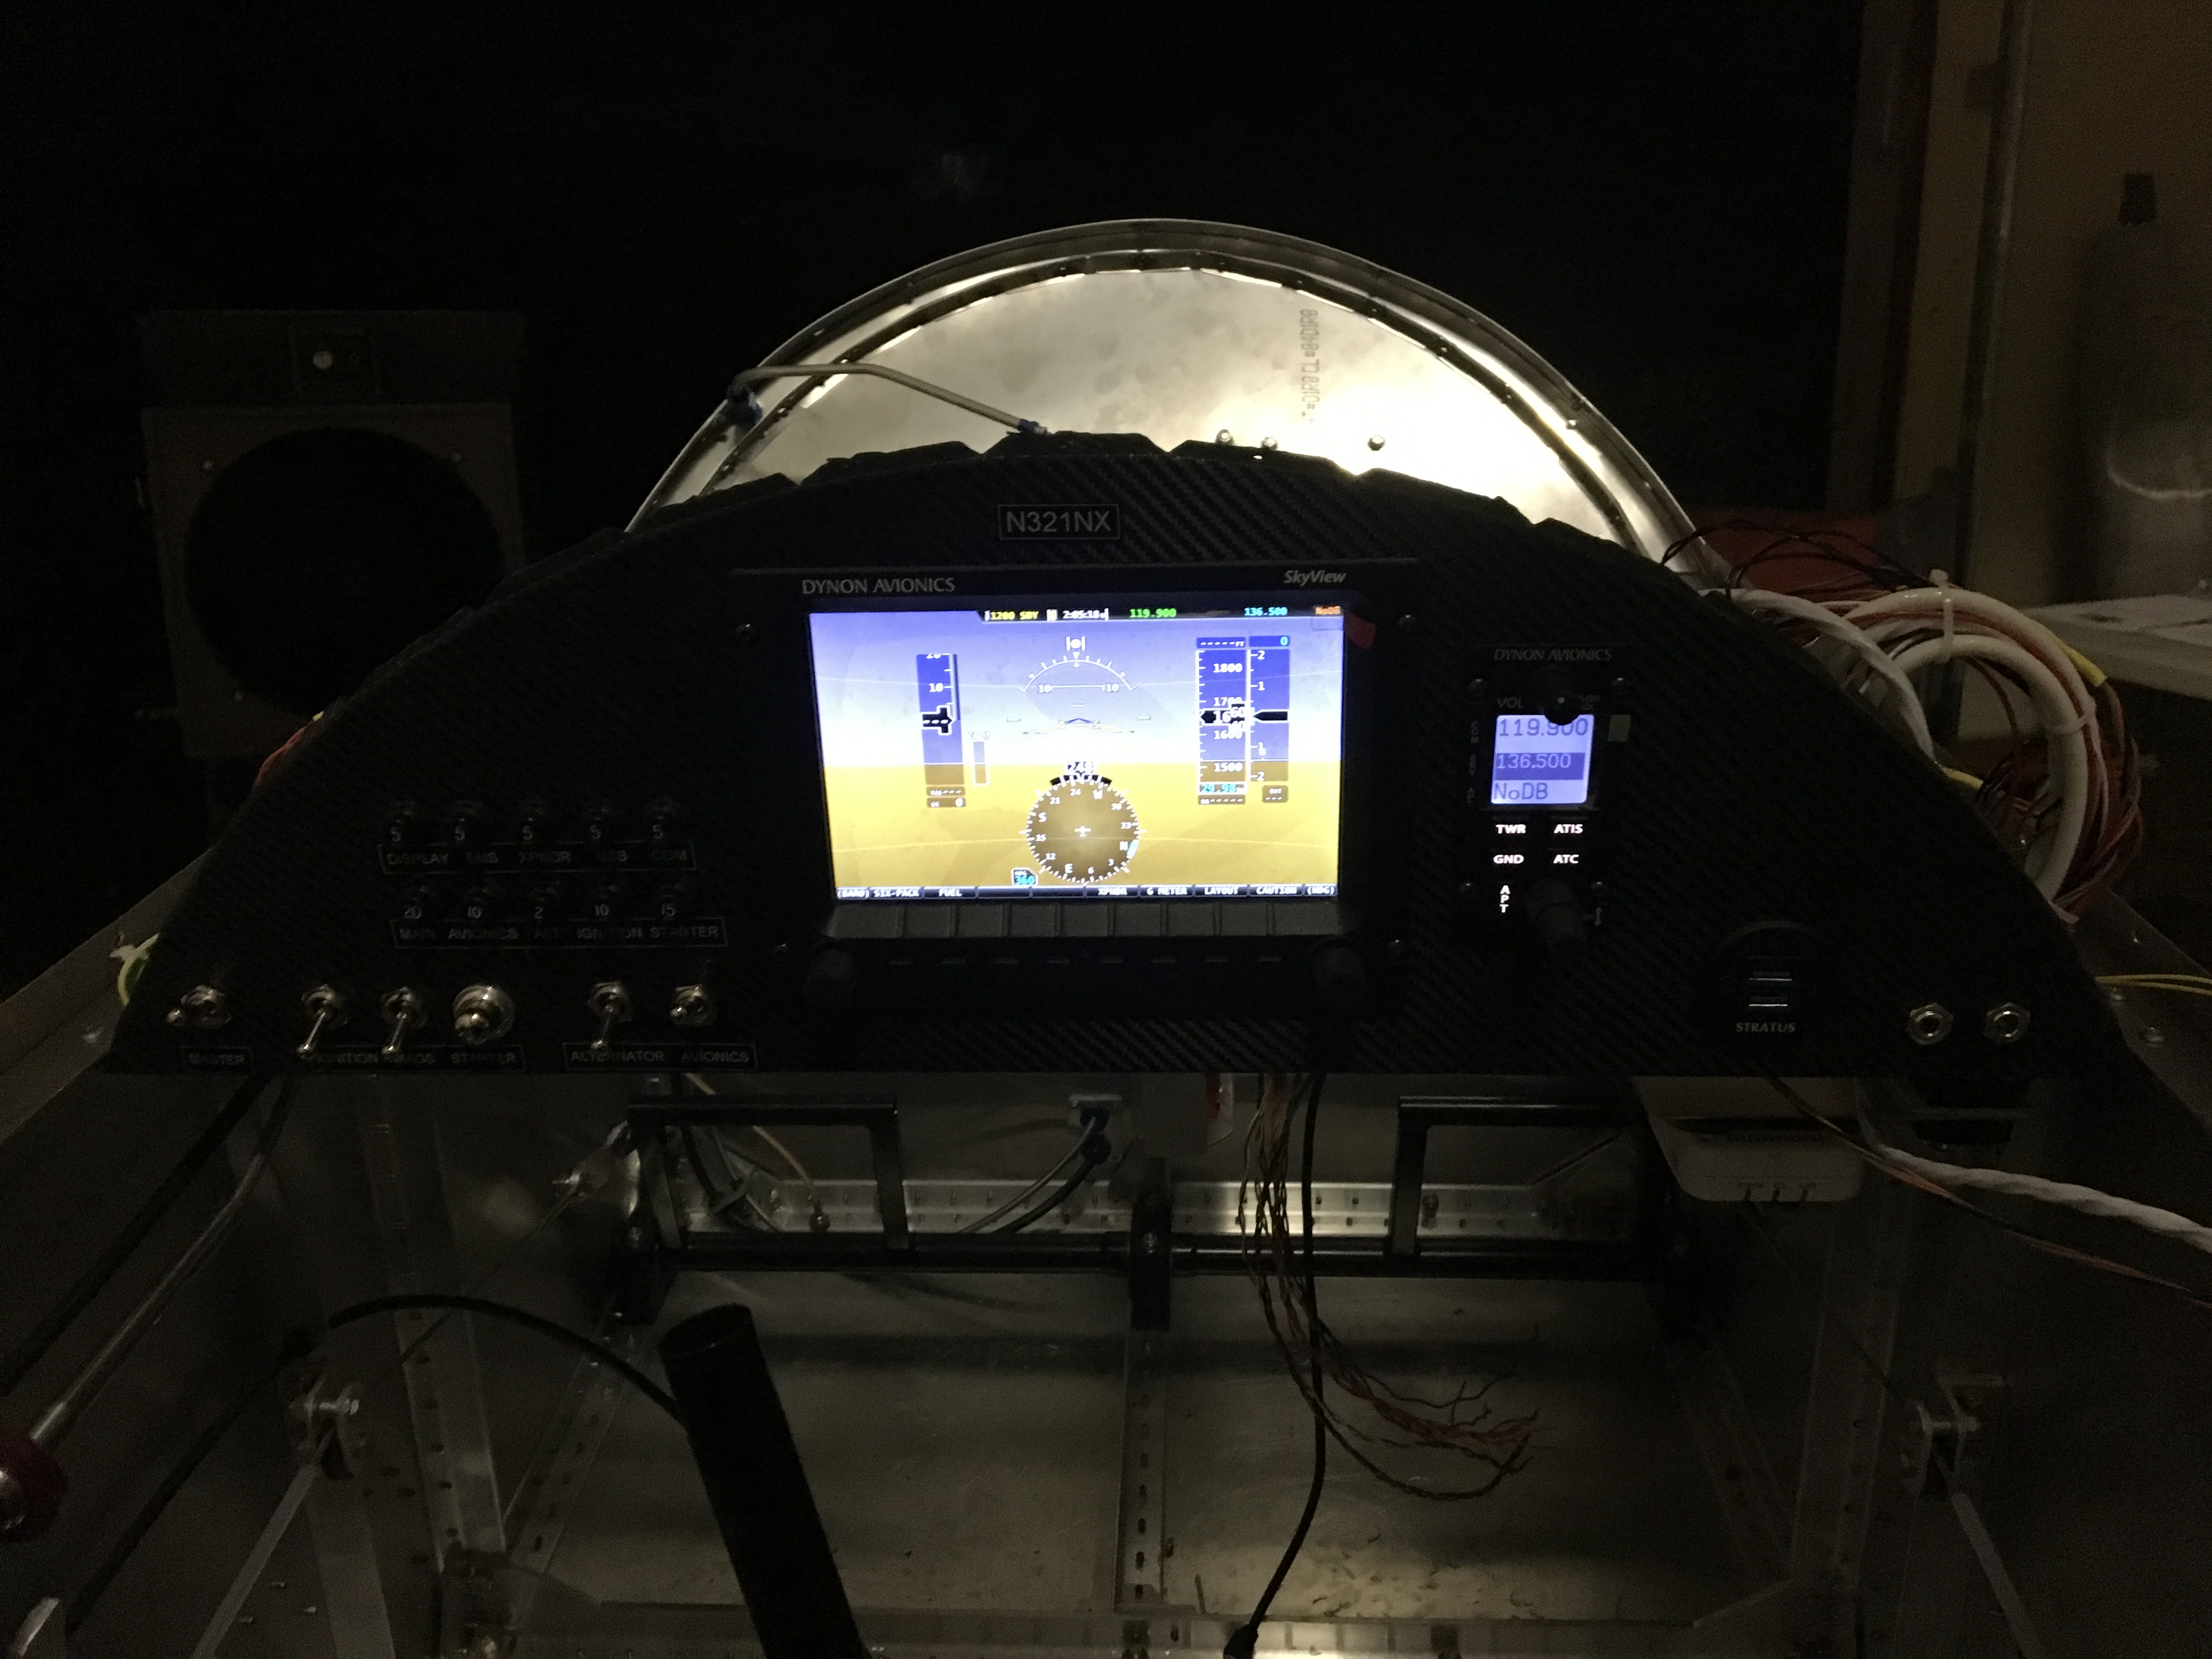
The prep work I did, planning and drawing the electrical schematic, was invaluable. The actually wiring, although detailed and time consuming, wasn’t as hard as I feared. There was some learning curve. For example, crimping the red (smallest) terminals with the red crimper setting is something I learned to avoid. Doing so had a tendency to cut the wires inside the terminal. Several wires had to be redone. Fortunately I was testing each wire, where possible, before installation. Over a dozen wire terminals had to be redone. So I used the blue (14 -18 AWG) crimper for even the smallest wires and terminals. They held tight.
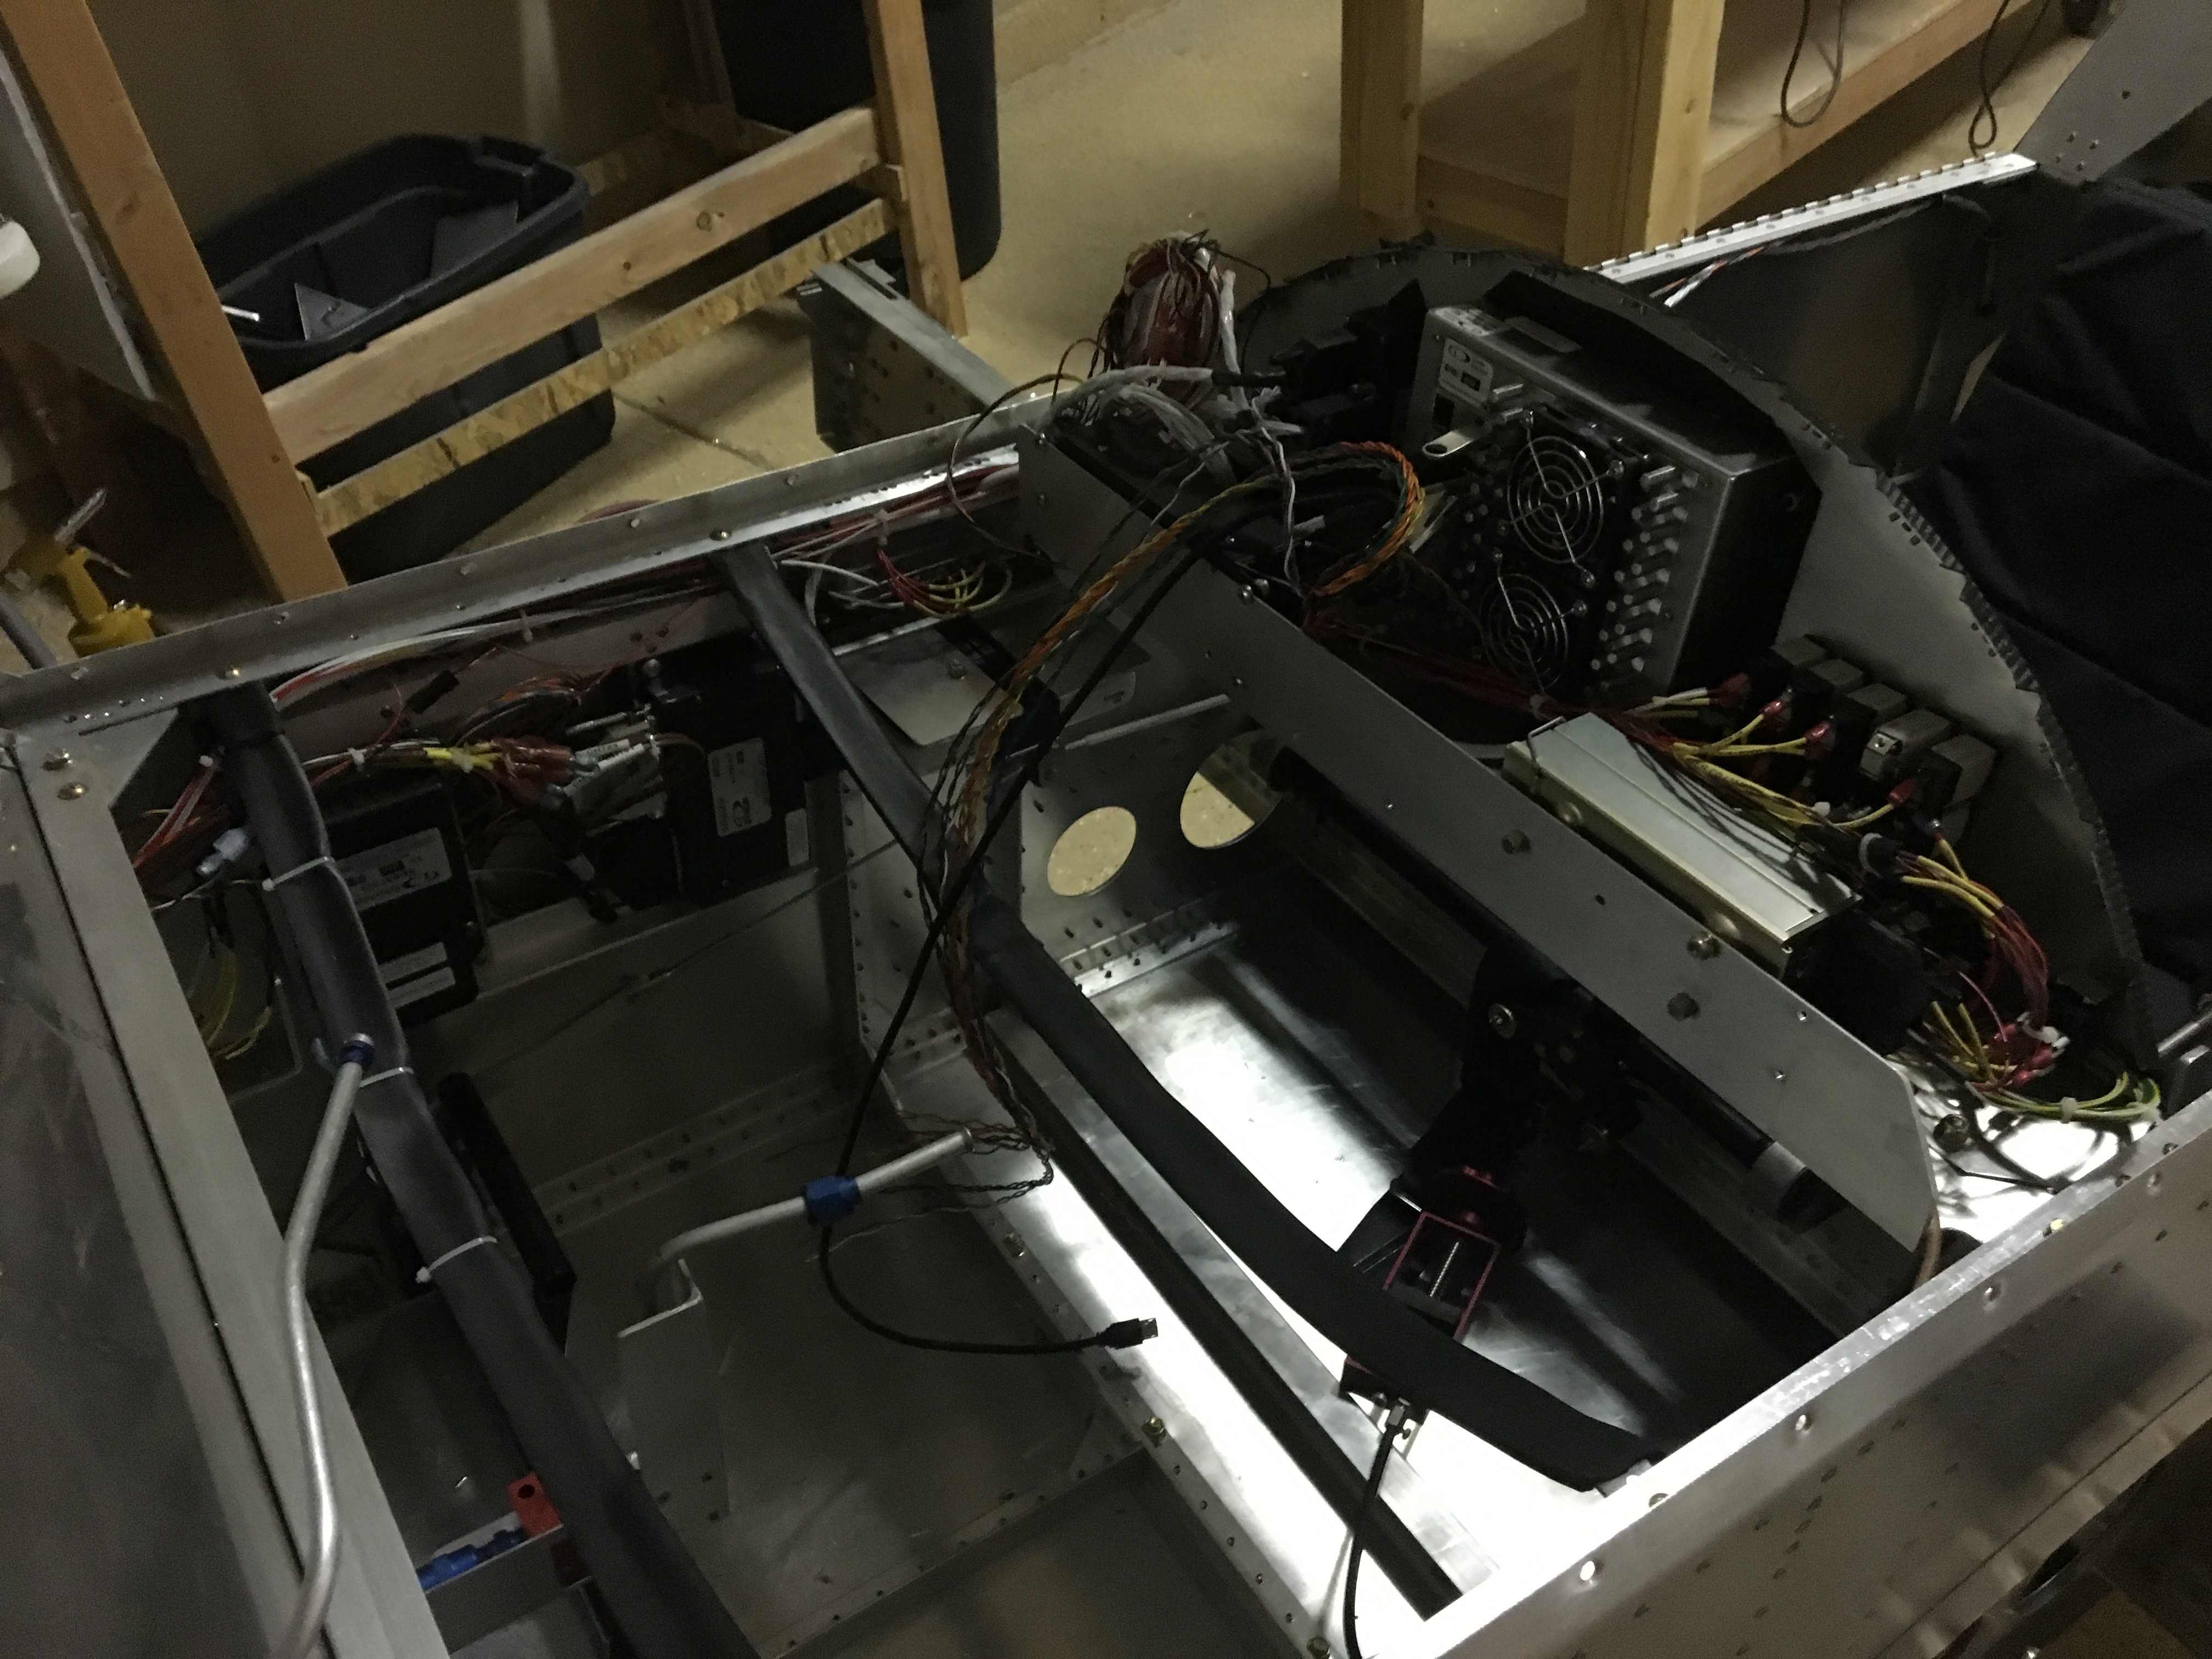
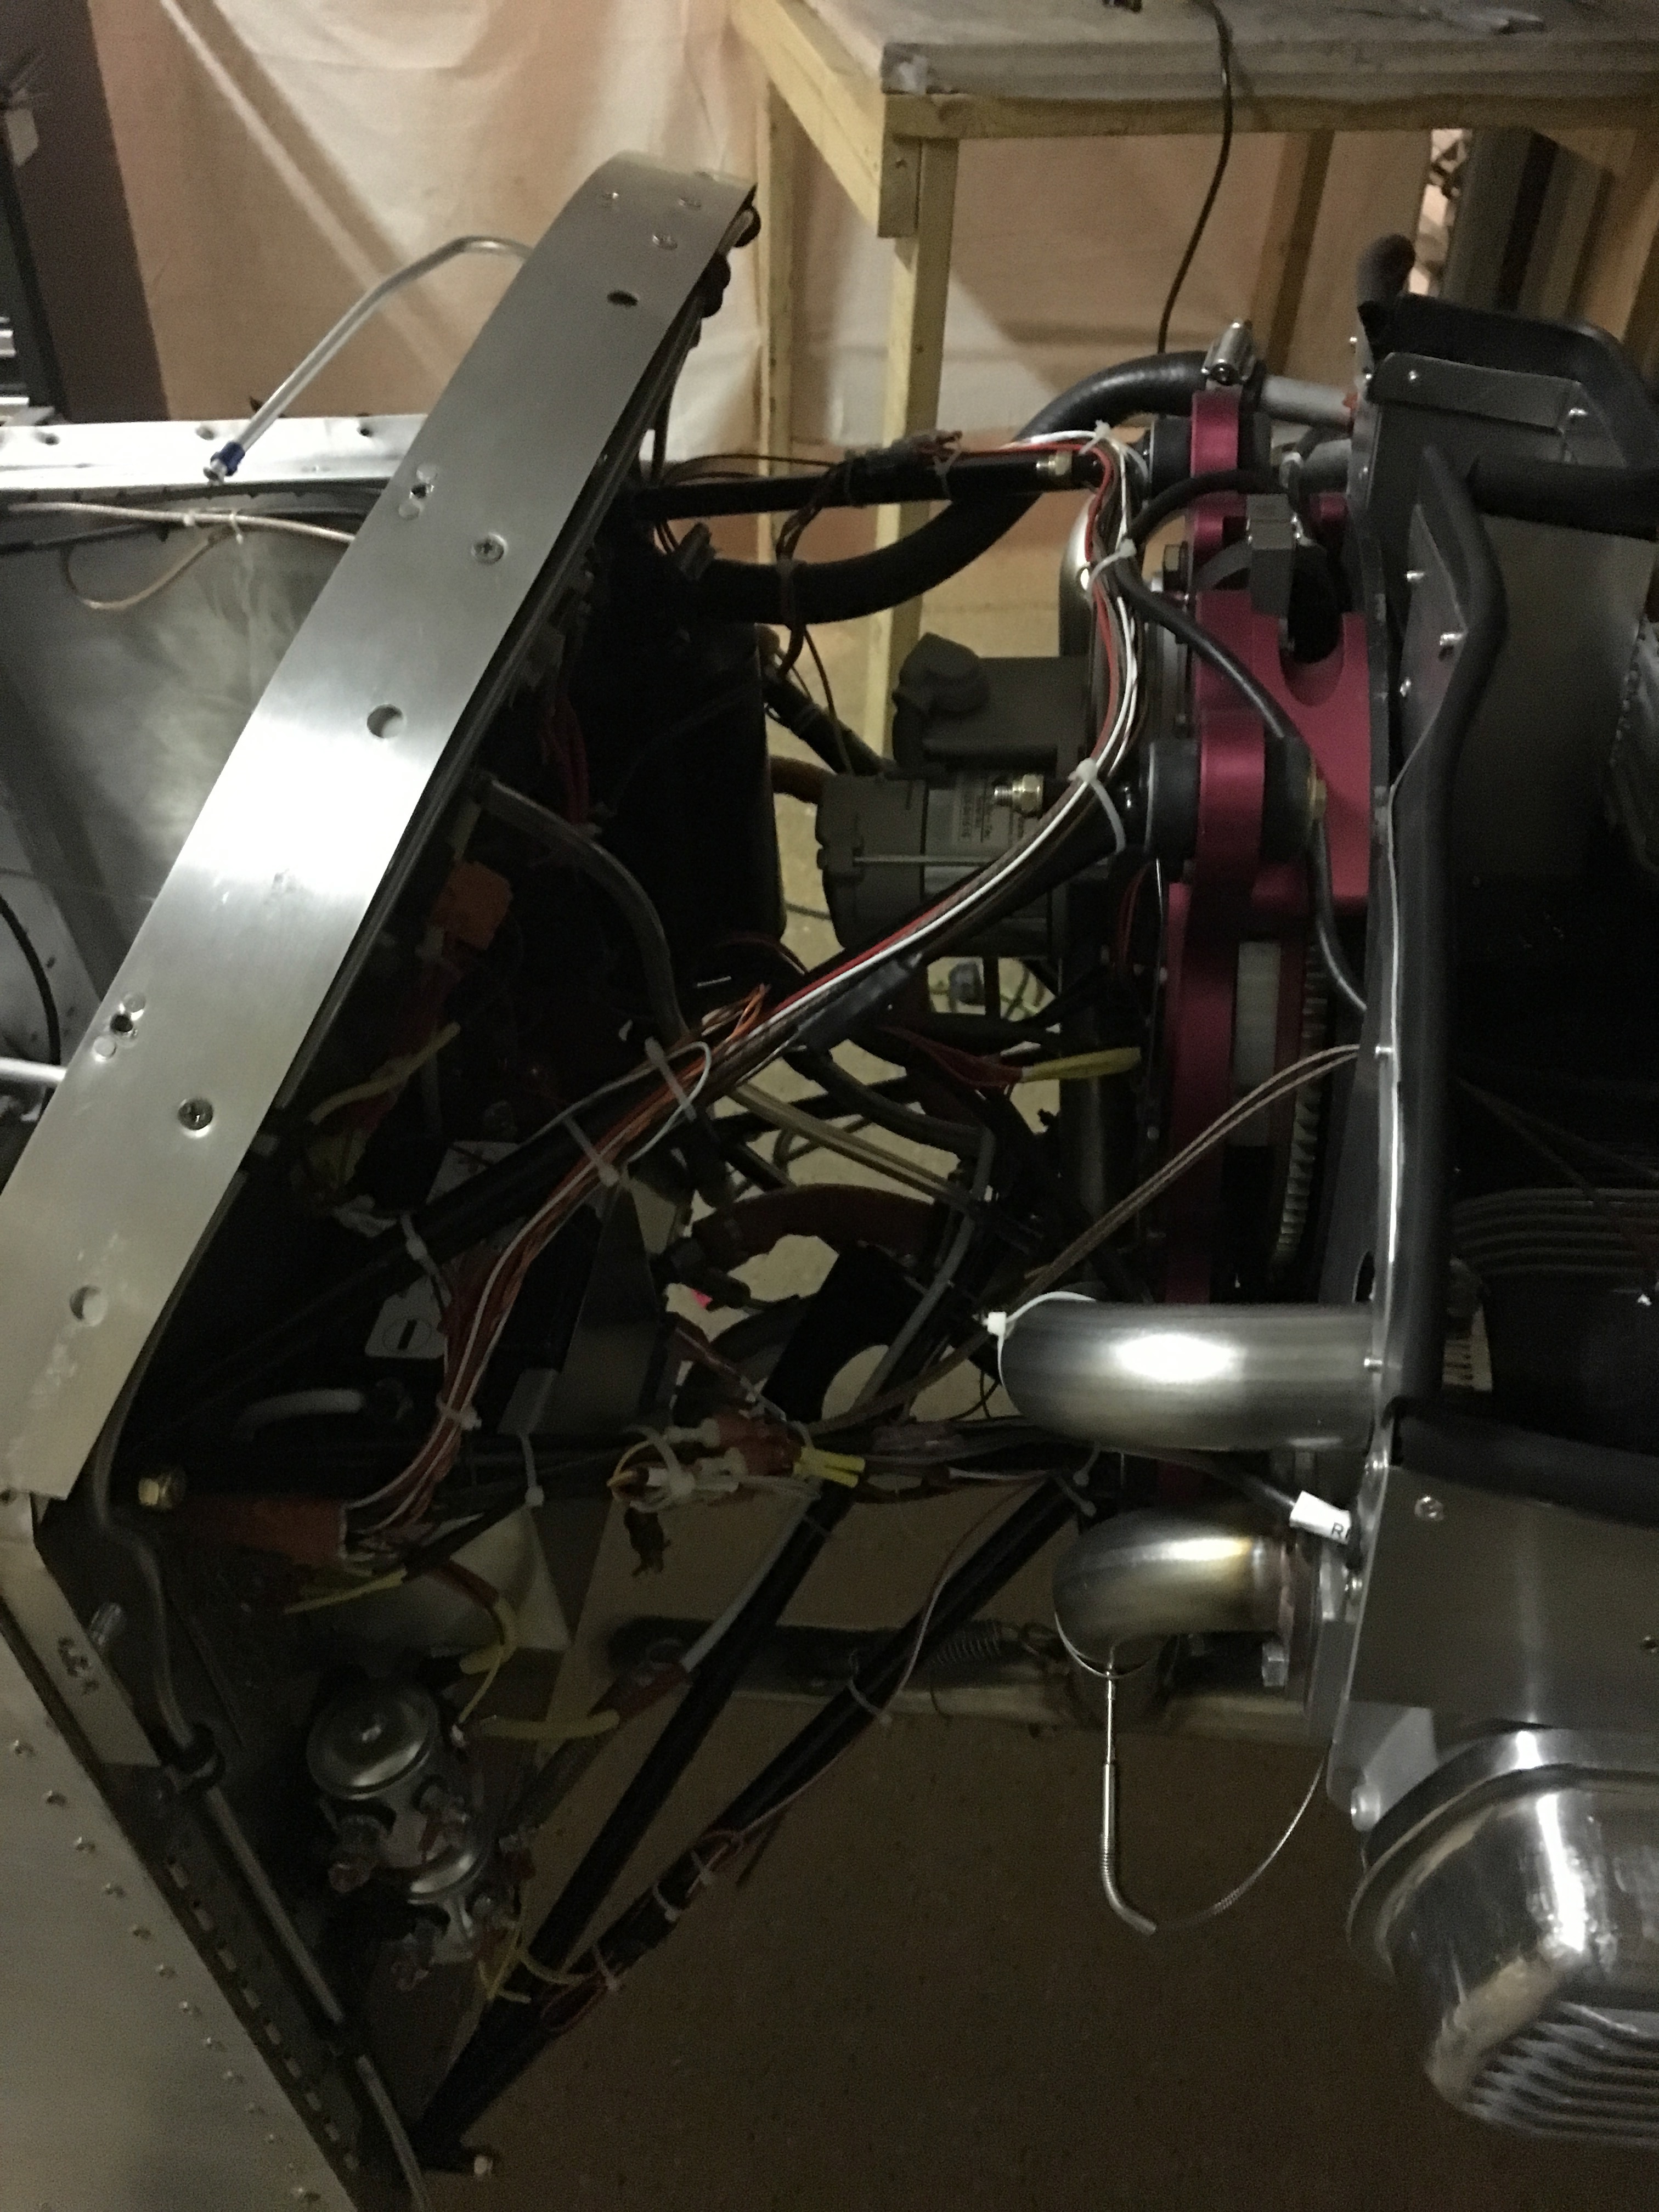
The firewall forward wiring was just as complicated as the wiring on the inside. There’s a 1/2” firewall pass-though for all the wires that need go from inside to out, or visa-versa. I had thought that’d be plenty big. Not so. About half way through wiring the forward side of the firewall, I couldn’t pass any more wires through the hole. The only way to continue was by removing the inner fiberglass sleeve of the pass-though. That essentially doubled the volume of wires that would fit. The hole is so packed full, and there’s a gel I have yet to apply that will fully seal it, so I’m confident it’s an acceptable compromise.
Based on advise, I installed an over voltage module that’ll cut our the alternator should it misbehave. Of course I wanted to test it. So I turned power on, fliped the alternator switch, and with two 9V batteries in series (the OV module has a threshold of 16V) I put 18V on the alternator contactor leads, and …. click. It worked… or maybe not. I tried again but the alternator contactor wouldn’t close.
I called BandC tech support and he warned that the contactor can weld themselves shut when arcing occurs. Well the 18V definitely did arc! It turned out to be faulty wire on the alternator switch. It was one of those wires I had crimped with the red crimper. It must have been nearly cut by the terminal such that the arc melted the tiny connection that was being made. Wire repaired, I called back tech support and asked how to test it without arching. He said “Your test is good. Alternators can throw big arcs. Use the two 9V batteries again.” So I did. It arced. And the circuit breaker popped, exactly as it should. Baller!
The next milestone is to fire up the engine. Here’s my todo list before that’ll happen:
- install and wire stick handle / push to talk button
- connect oil pressure tube to sensor (parts still on order)
- reinstall fuel tank and connect fuel level sensor
- test fuel flow (should get at least 10 gallons/hr)
- install new oil sump kit with filter that I decided to get from Sonex. The AeroVee doesn’t use a filter by default?!?!