Tail Trophies
Lots got done today. The vertical and horizontal tail are done. (fist pump) Yeah!
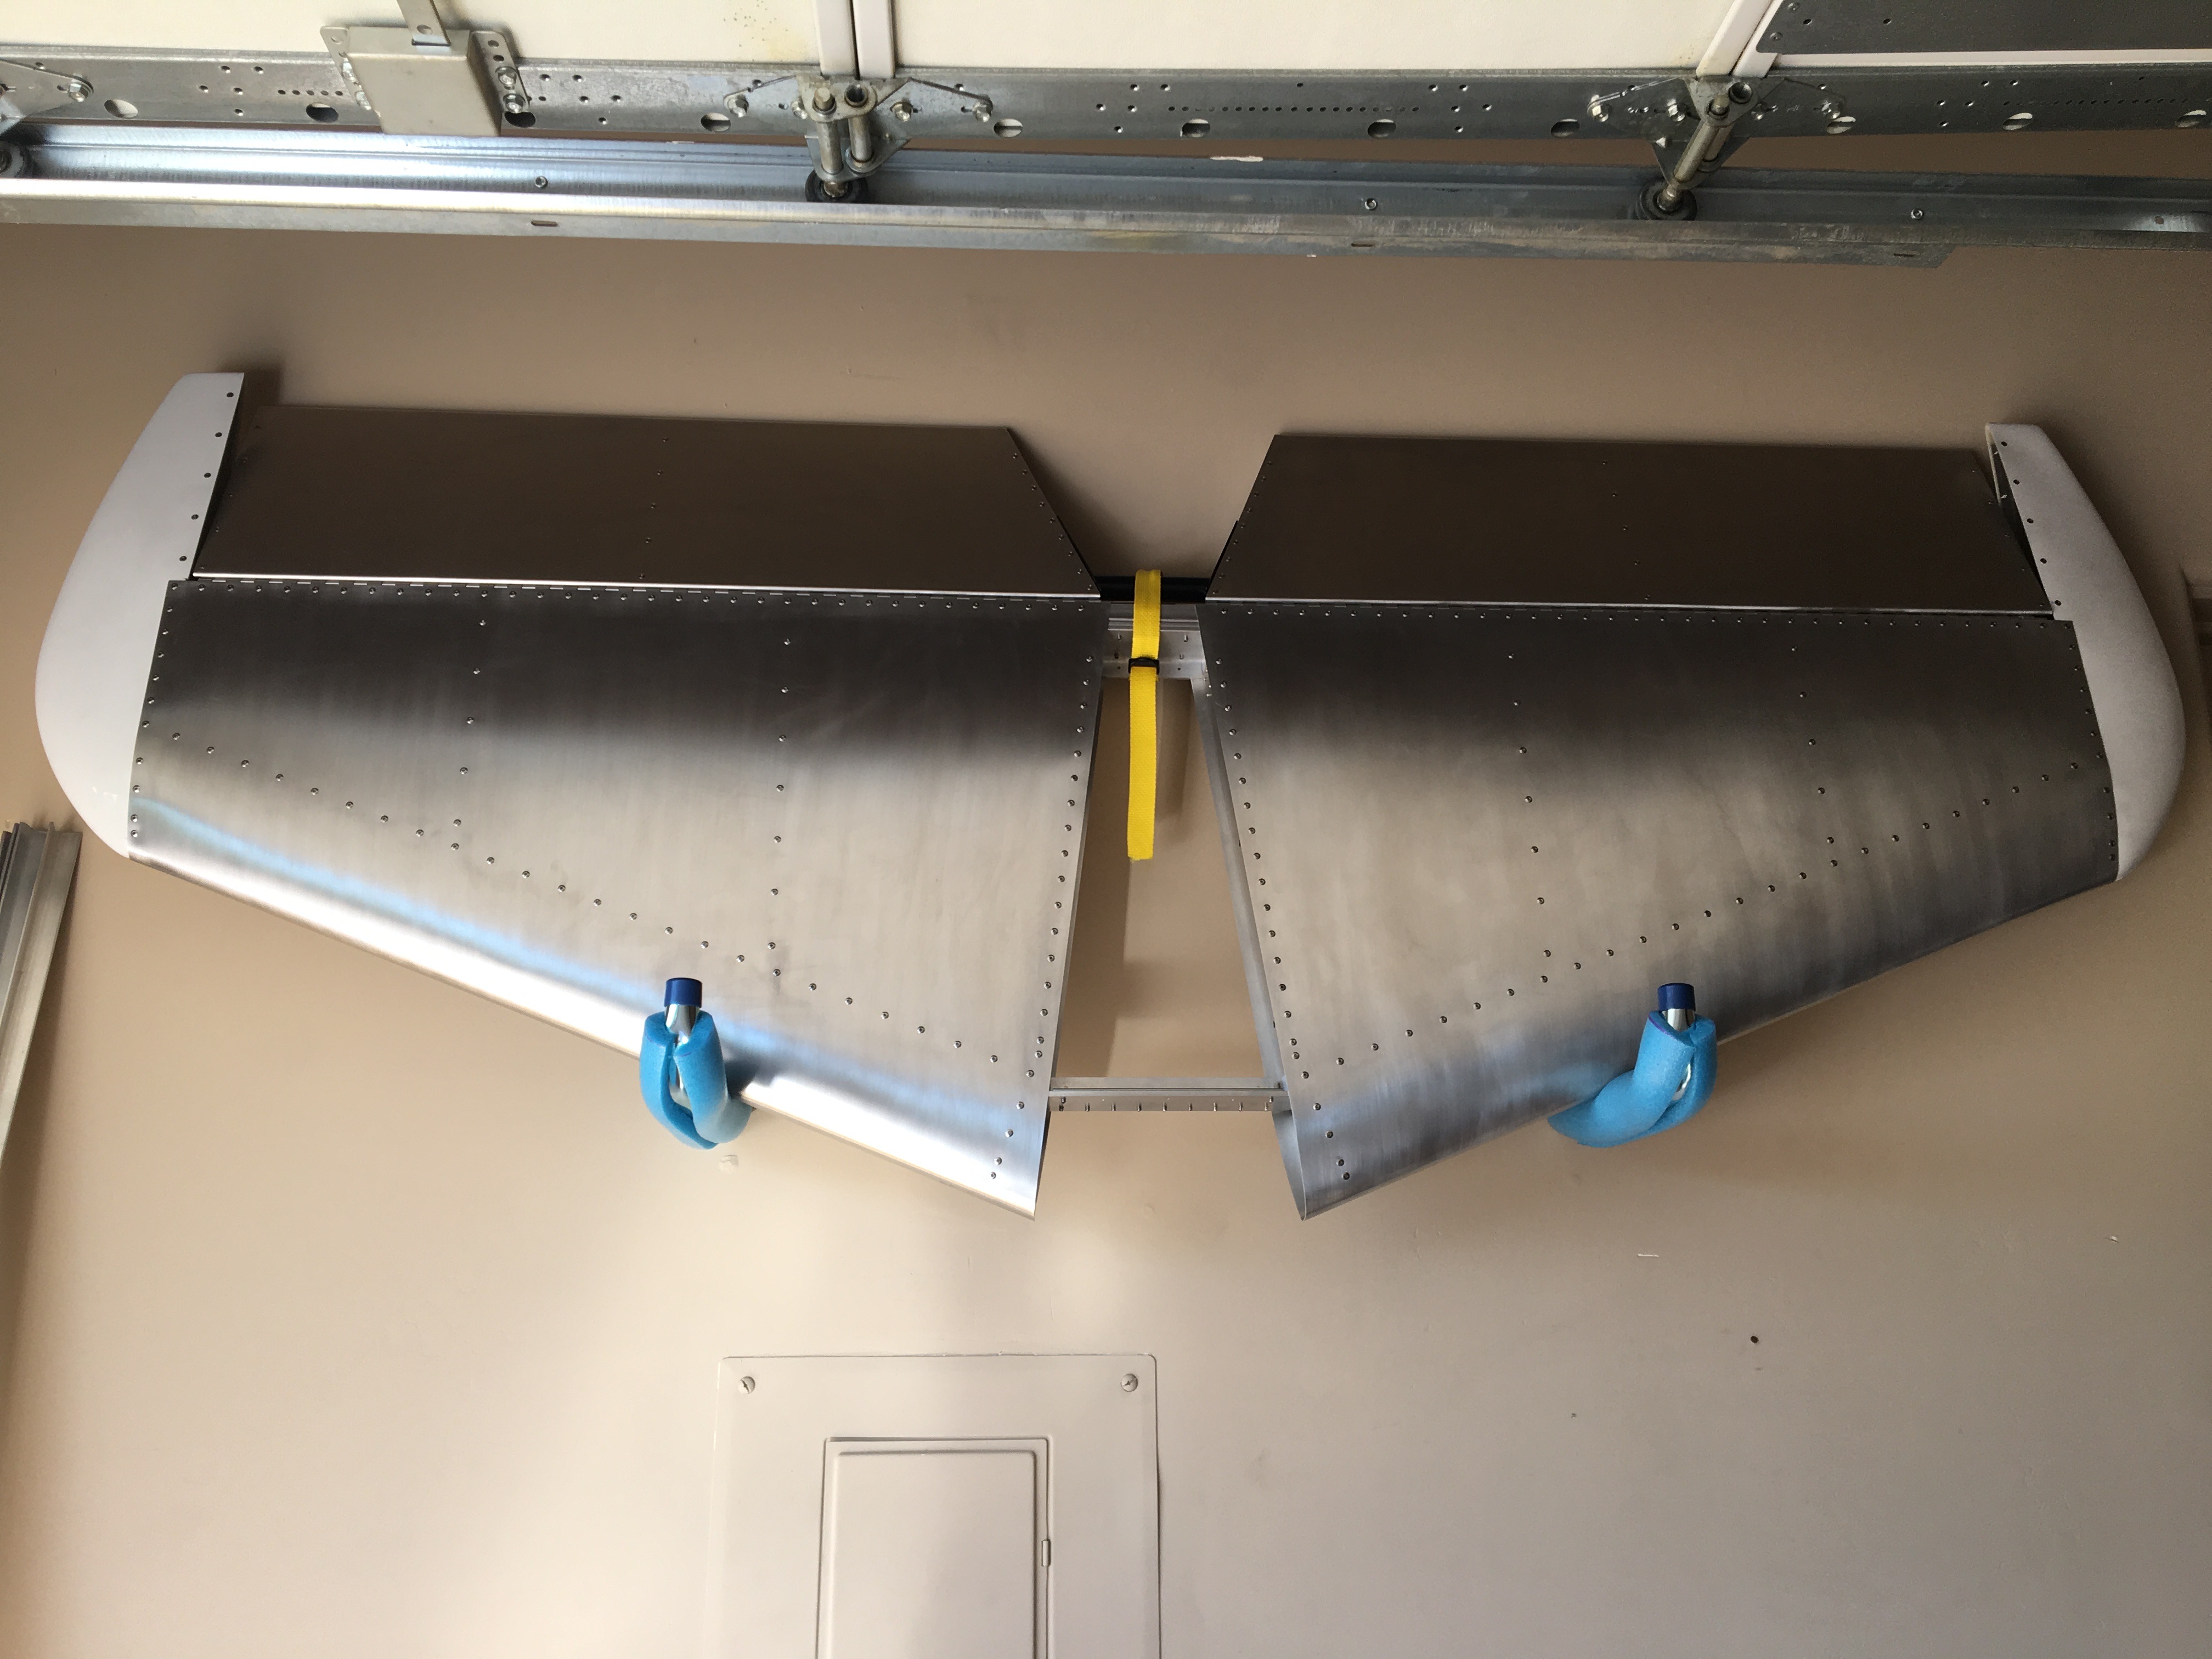
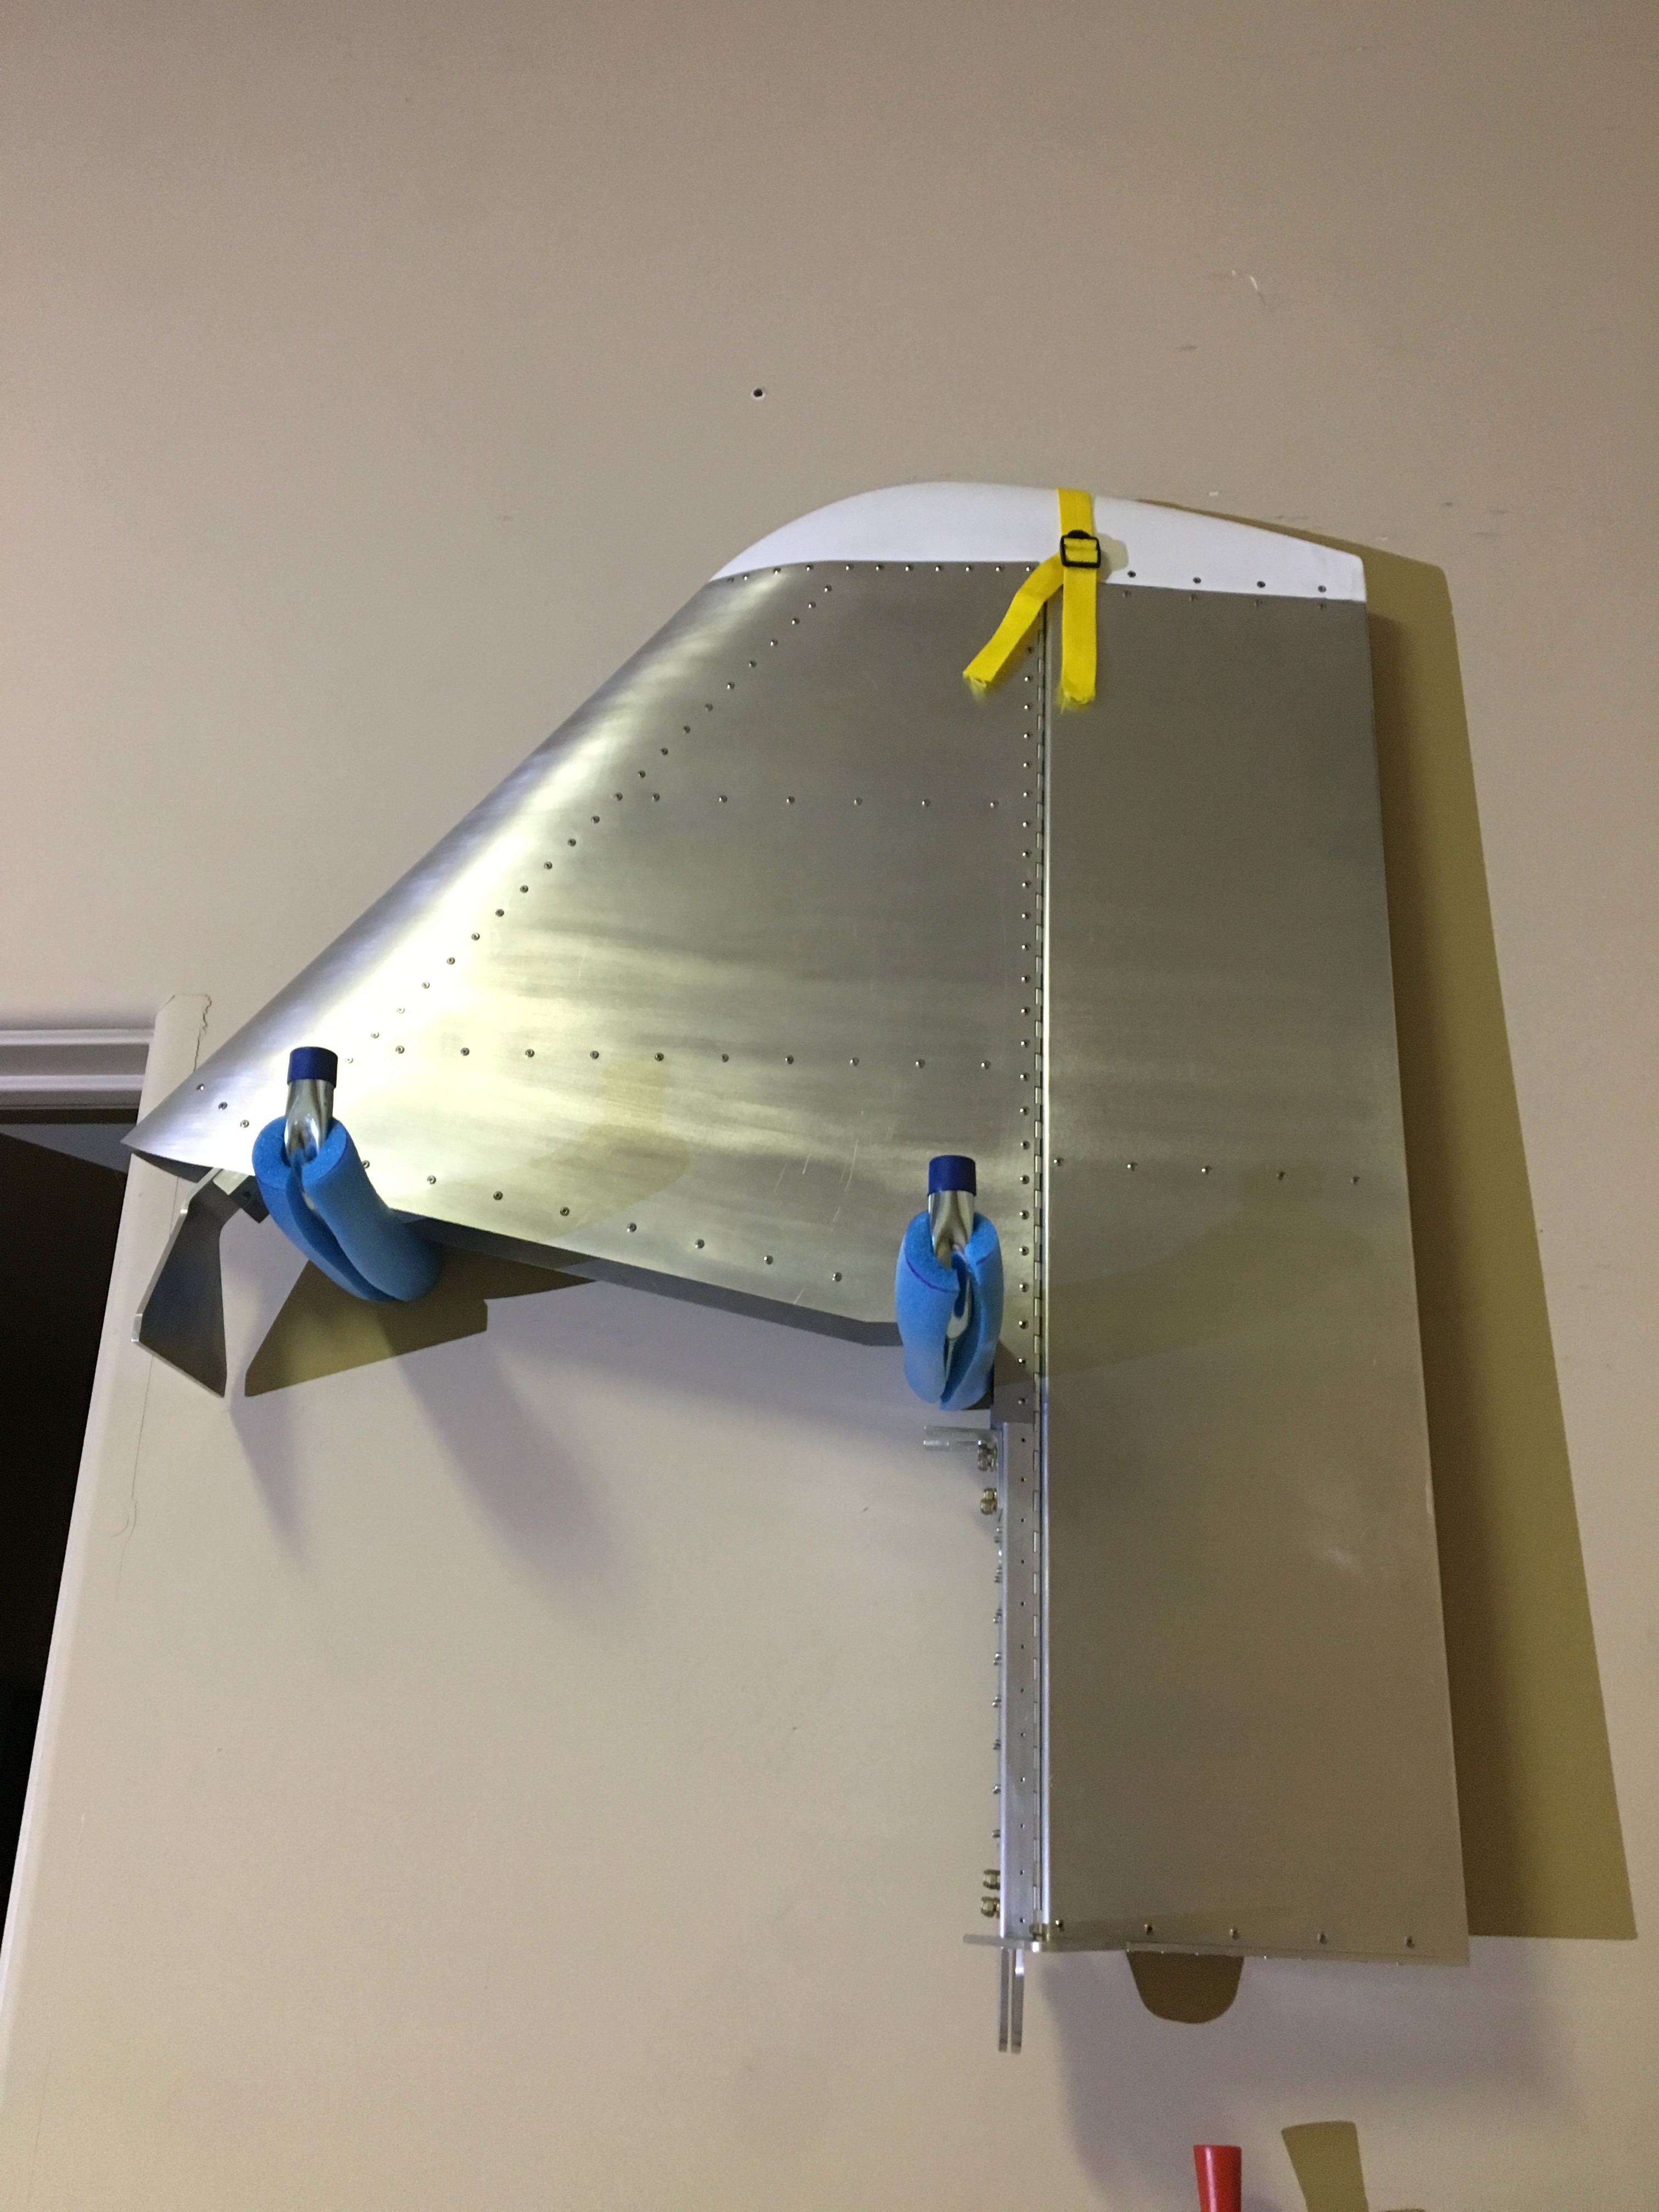
The horizontal tail is 7 feet long without a flat surface to rest on the floor safely. So, in what appears to be tradition amonst home builders, I mounted it to the wall, along with the vertical tail, as trophies of the build progress. See the first two pics below.
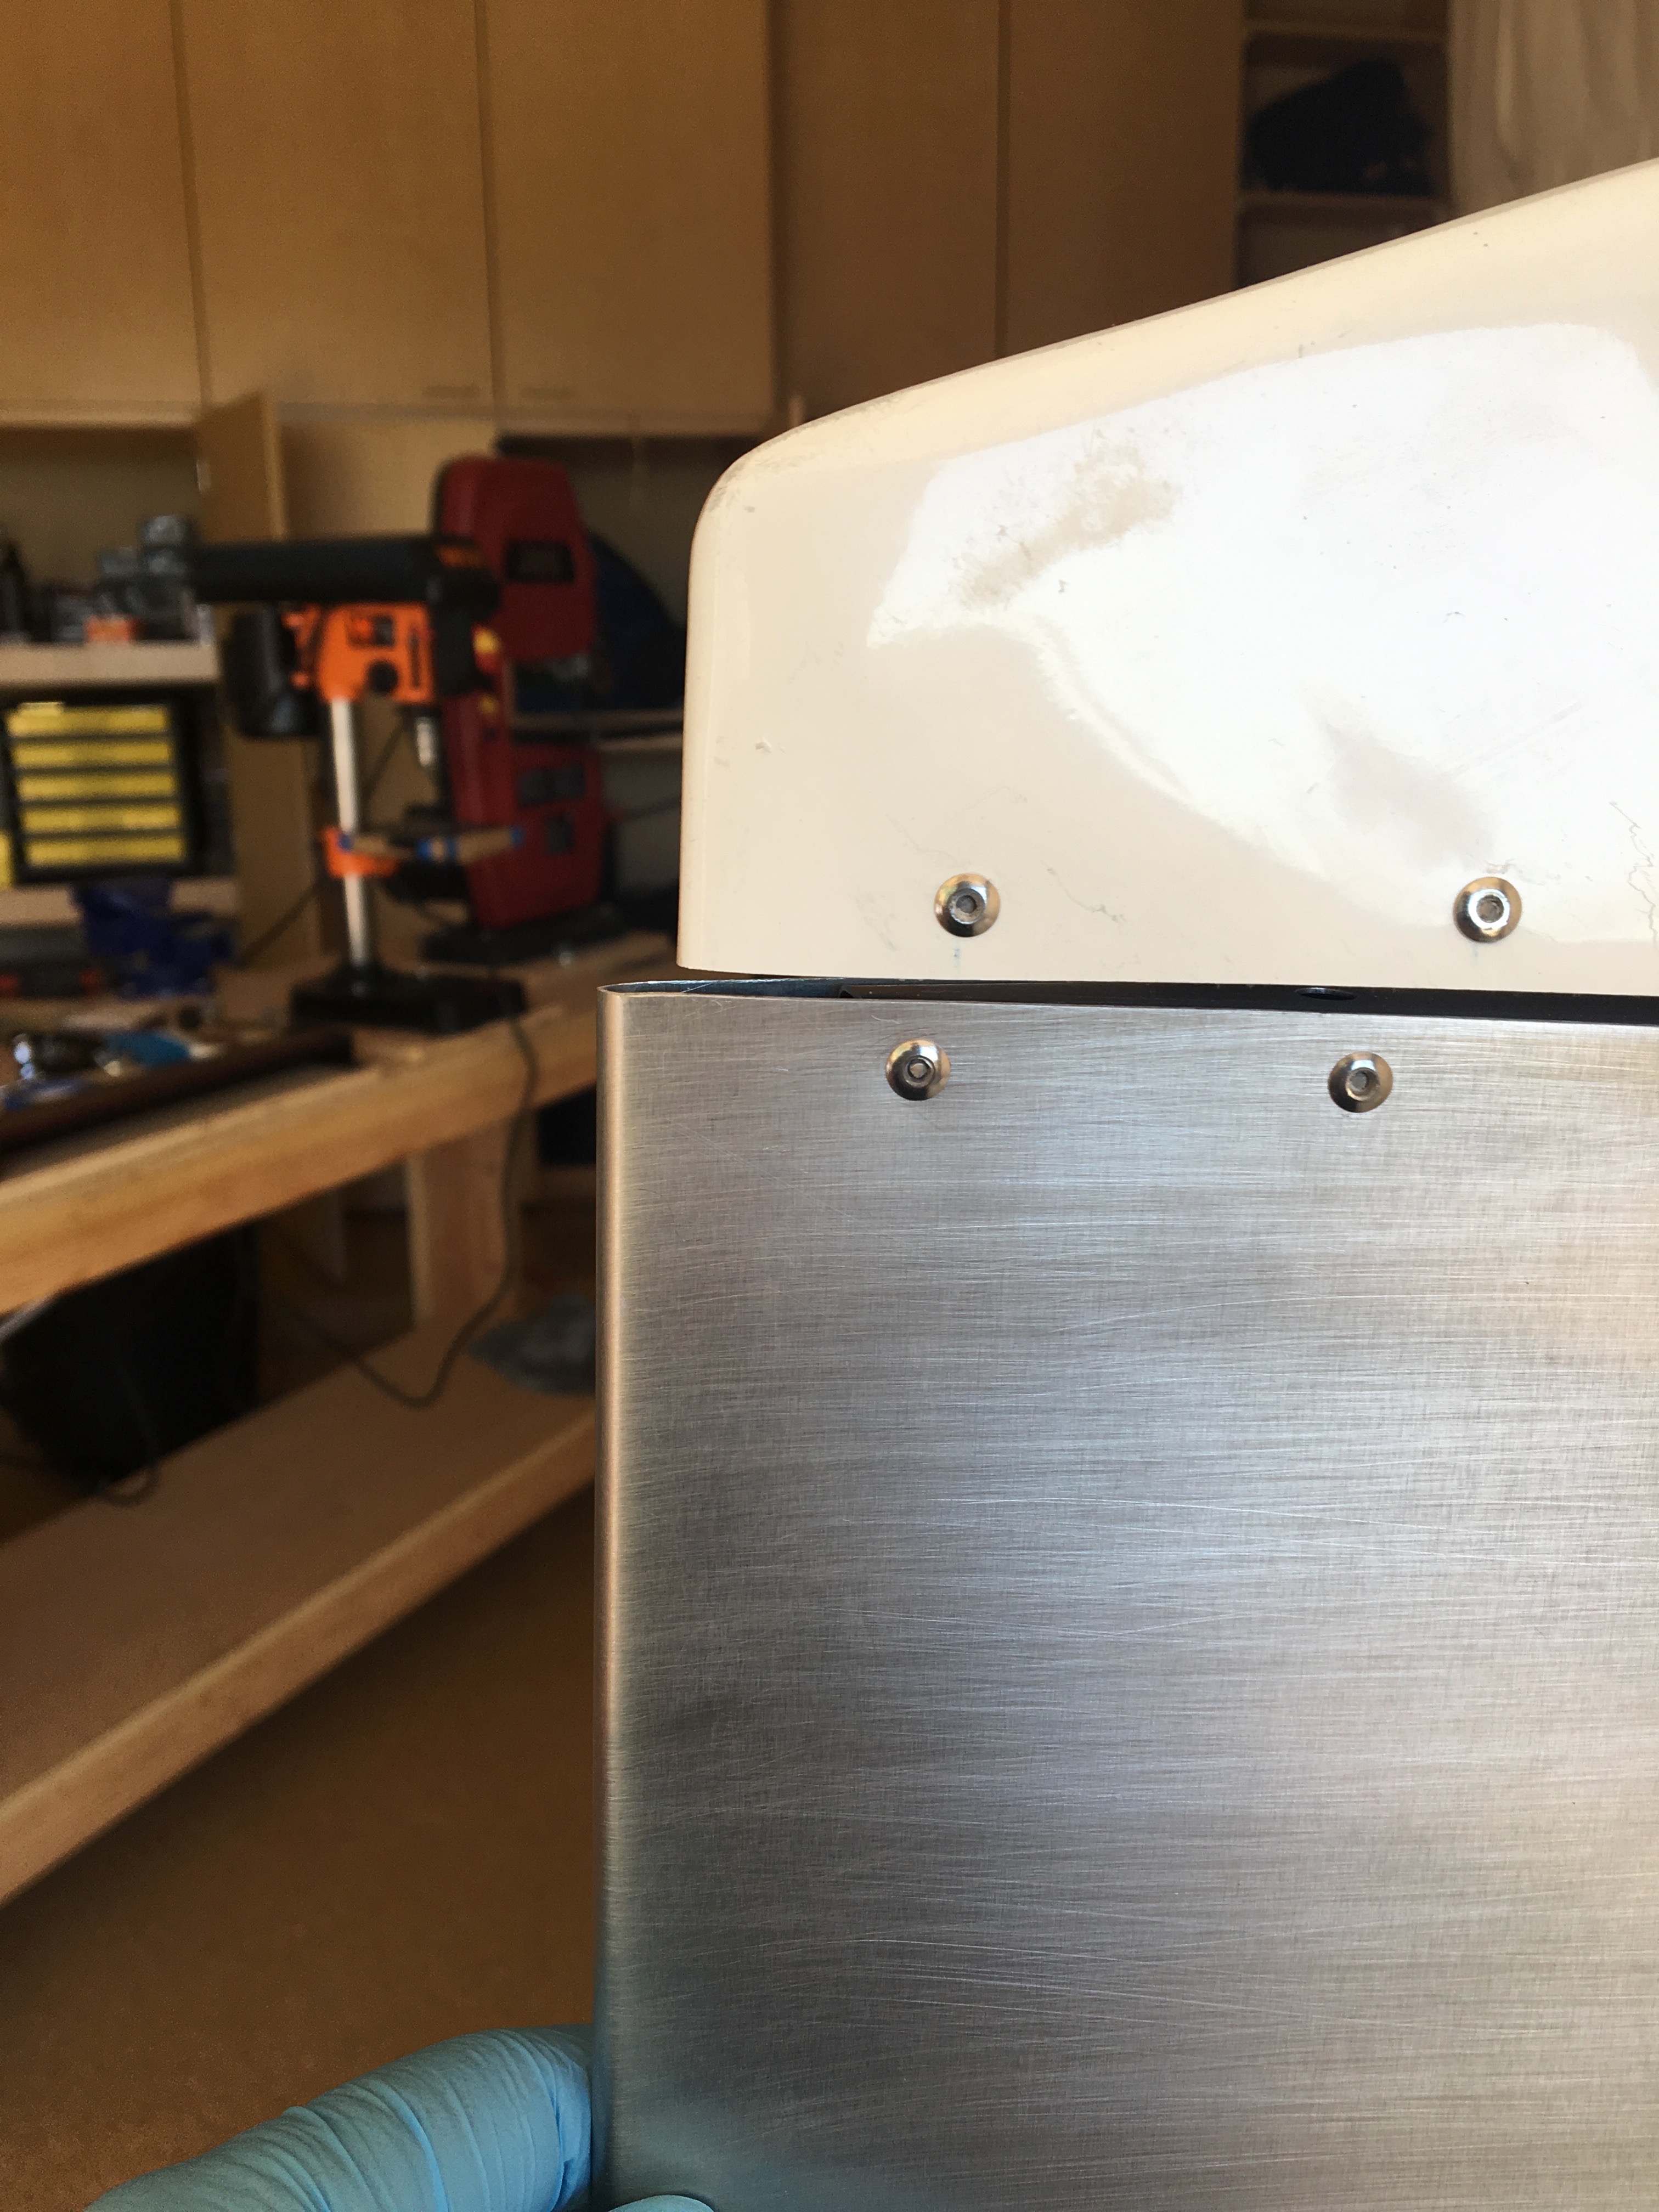
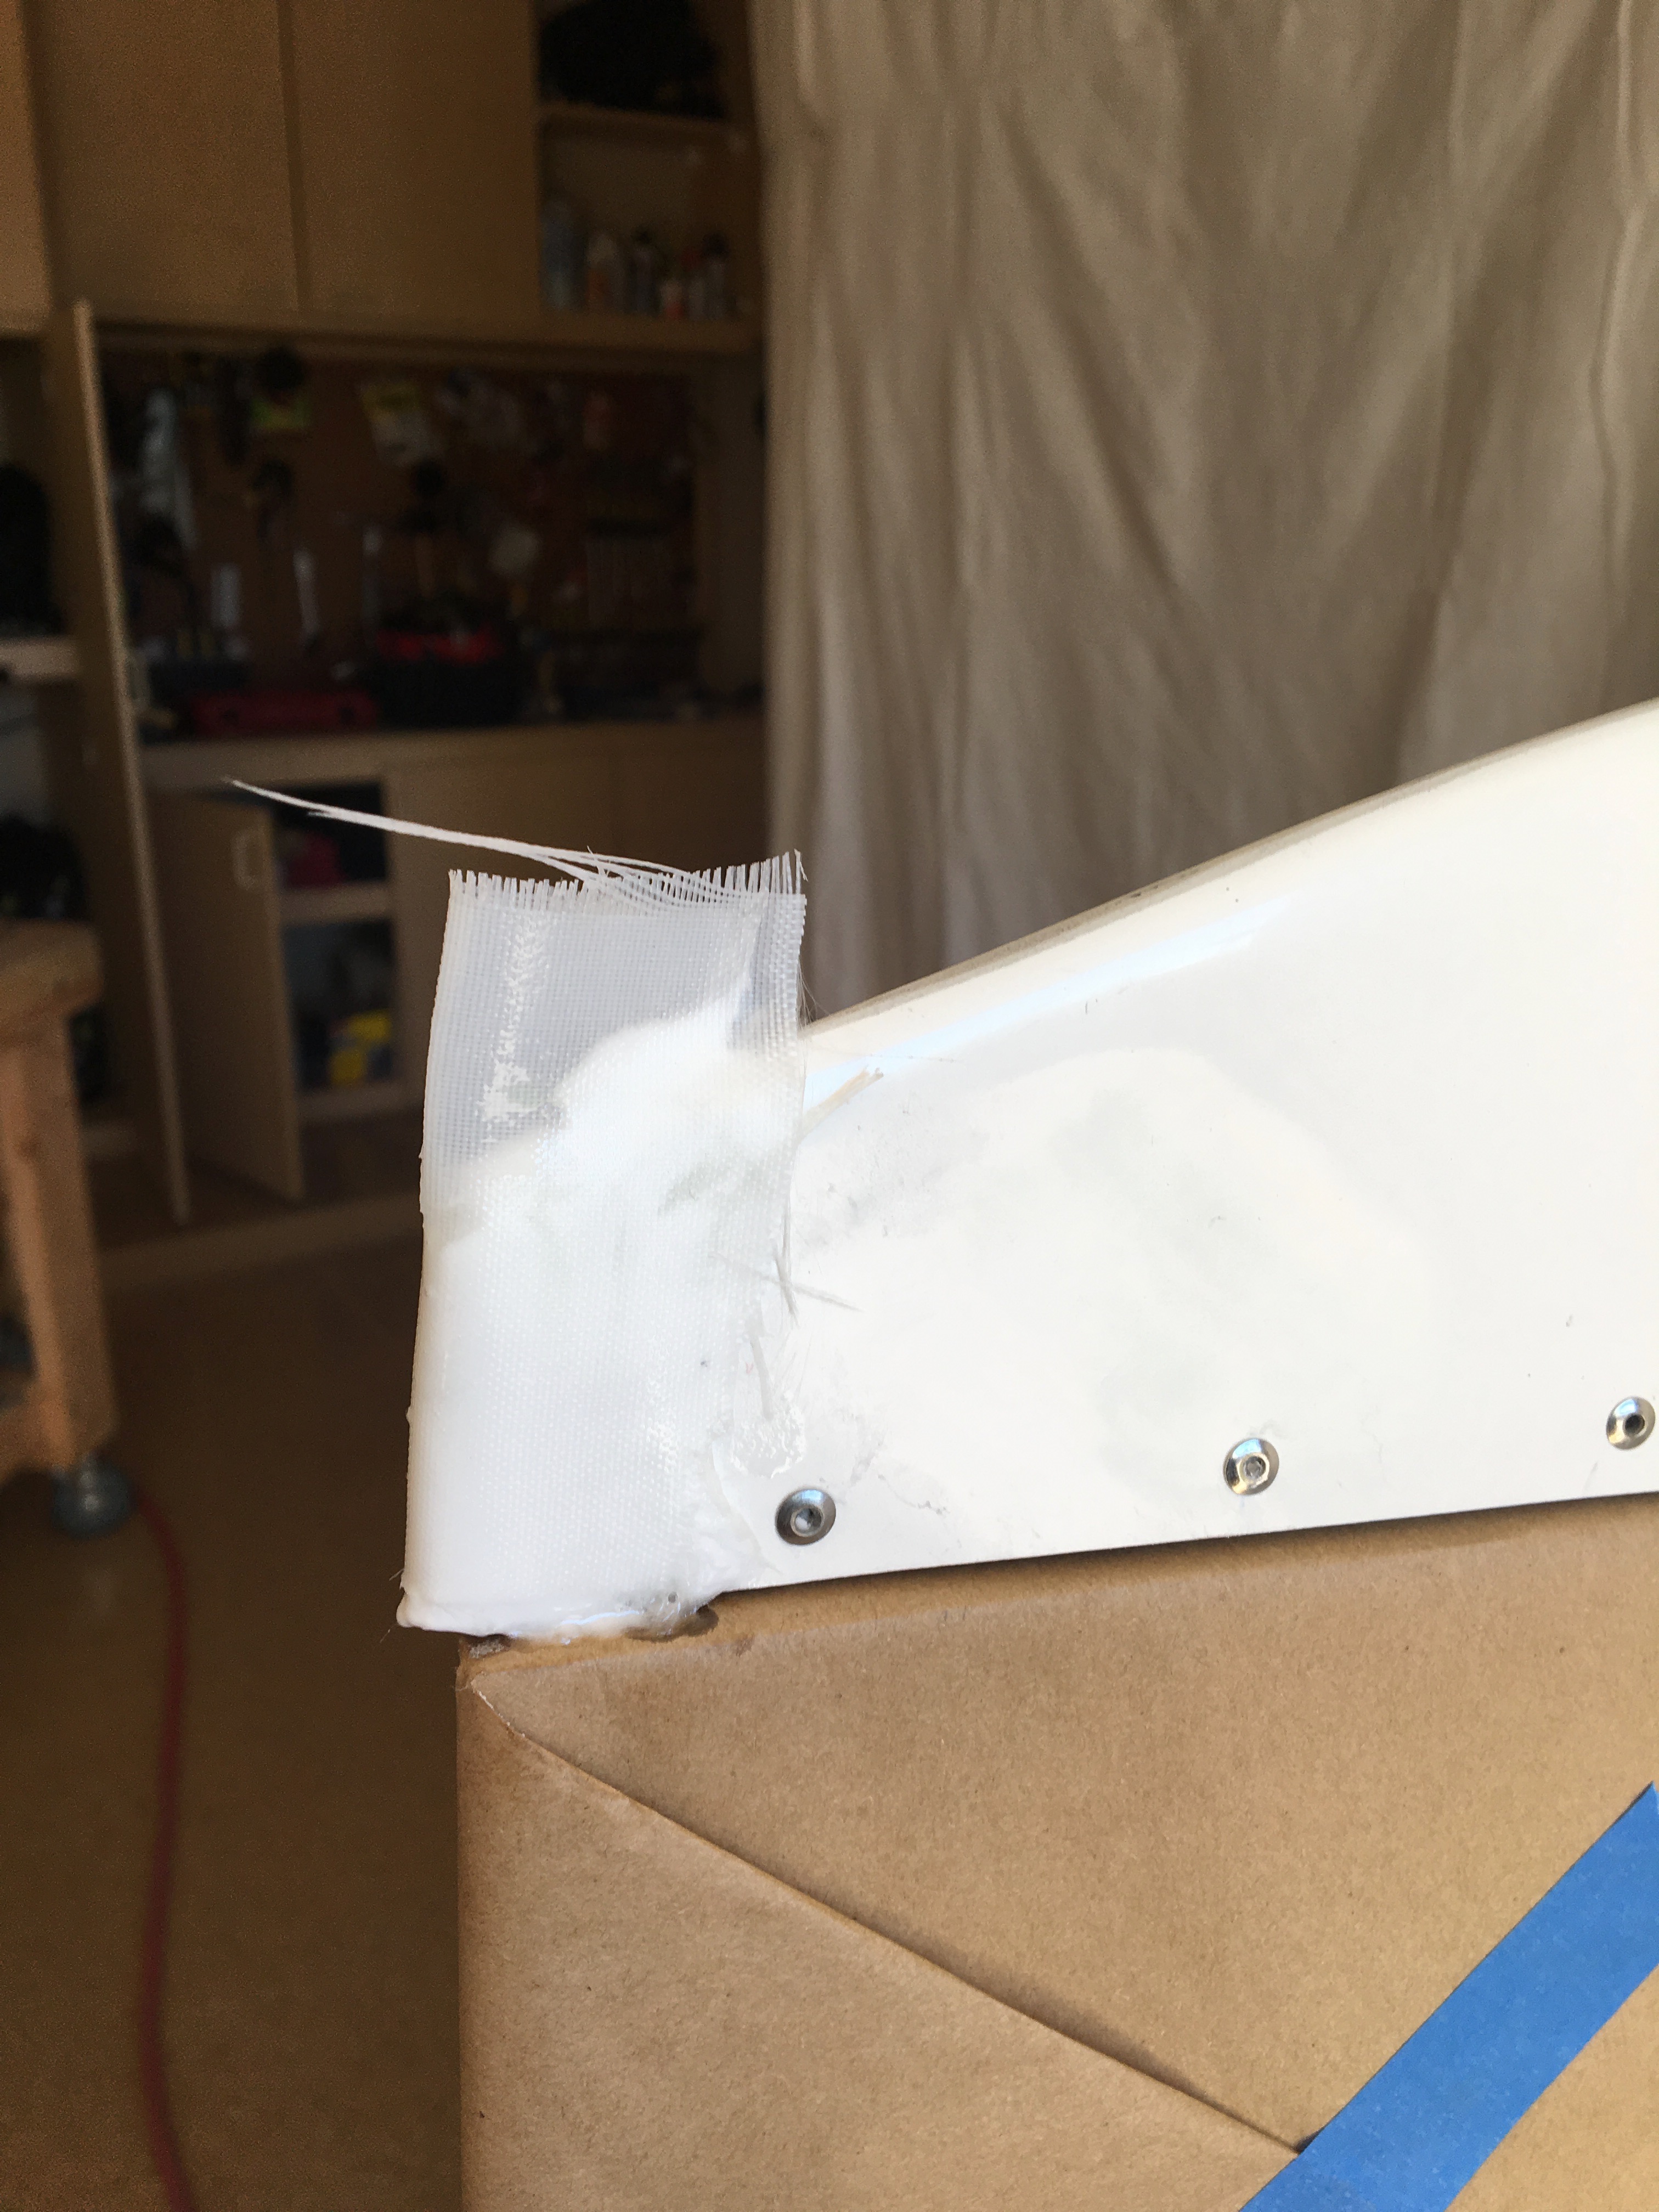
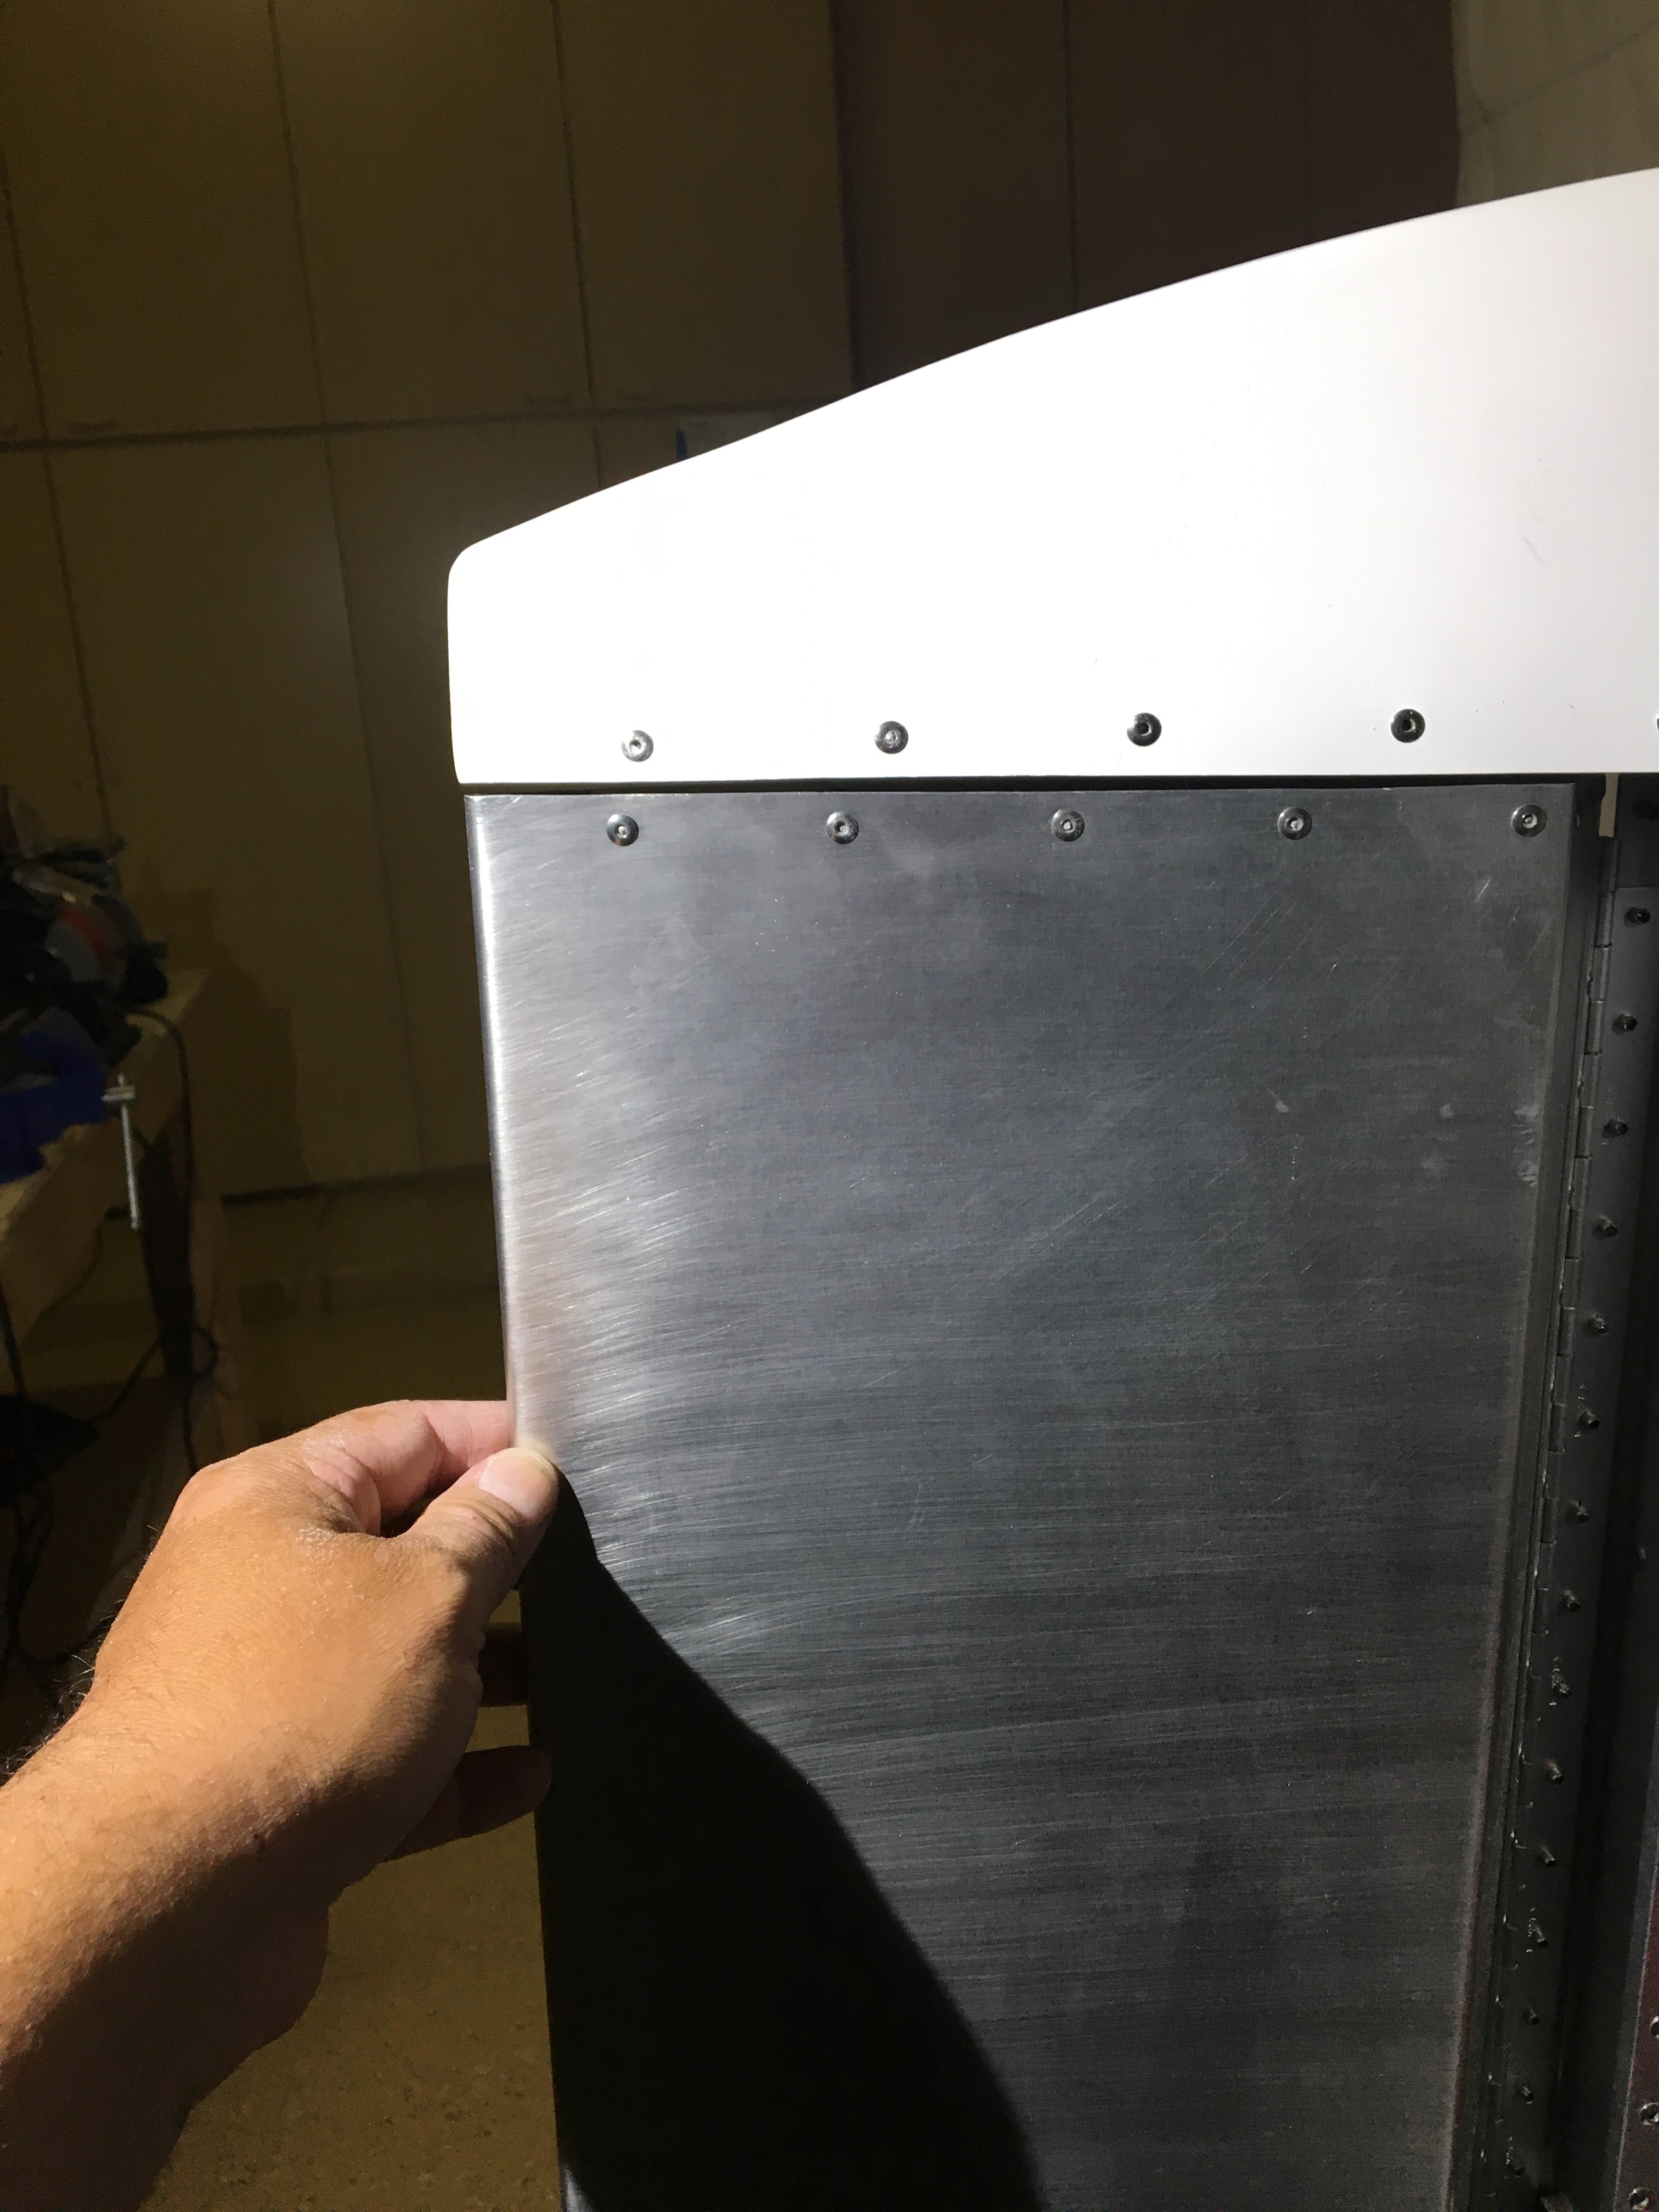
It was time to revisit the short vertical tail tip. I pulled out all the composite materials: epoxy, fiberglass, peel-pry, micro-bubbles, cups, and popsicle sticks; donned my breathing mask (the micro-bubble are not good to breath) and got to work. I did it just like the EAA workshop taught us. The 5th picture show the layup. You’ll see that I added quited a bit of extra material because it was tricky to form just the right shape. The nice thing about composites is that you can sand it to shape, which is what I did. Picture 3 and 6 show the before and after. It’s perfect now, although the picture makes the tip look bigger. I’m pleased with how well this technique worked and how easy it was.
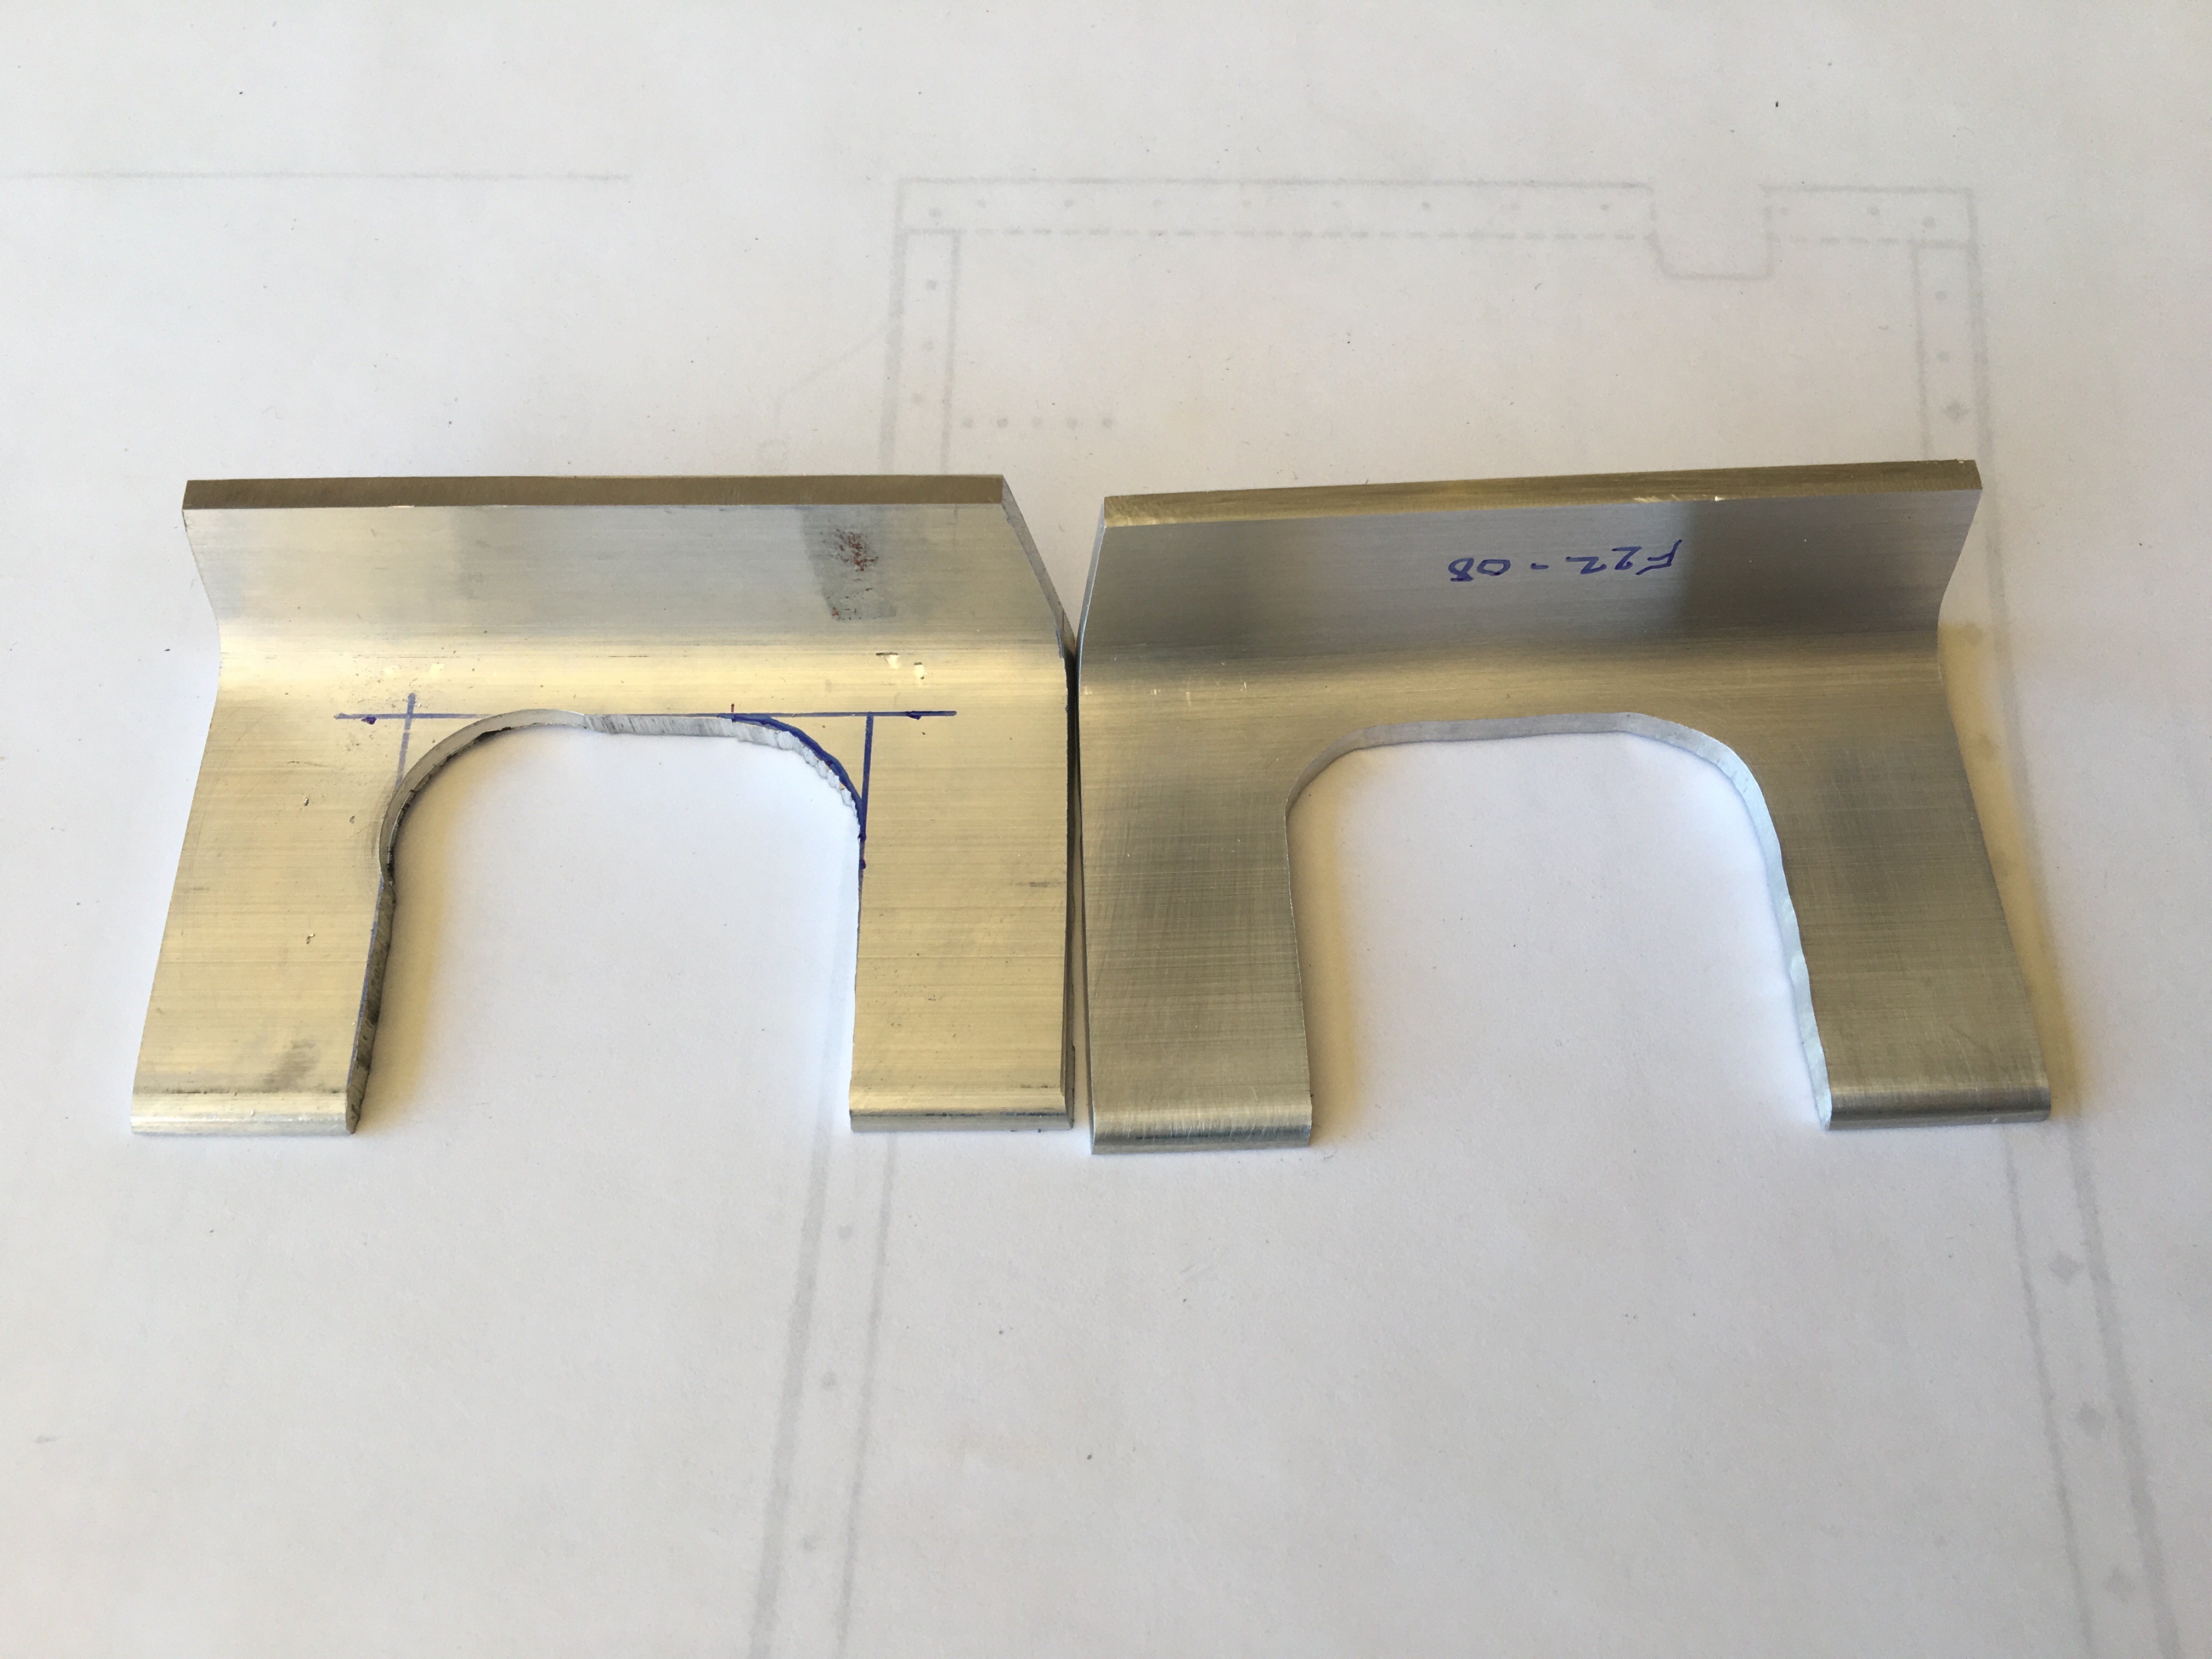
With the tails done, it was back to the fuselage tree of the build plans. There was a piece that I must have skipped over so I started with that. See both results in the last pic. It is made from 2x2x1/8” angle and my first attempt was terrible. It has those round interior corners. At first I thought it best to drill them with a 1” graduated bit. But the holes overlapped and I just did a poor job. On my second attempt, I drew the arc and just used the band saw to chip away at the interior until the shape approximated the arc and finished with a dremel filing bit. Not only did the second attempt turn out way better, it was done much quicker.