Progress on Engine
Finally! I did some real assembly of the engine today.
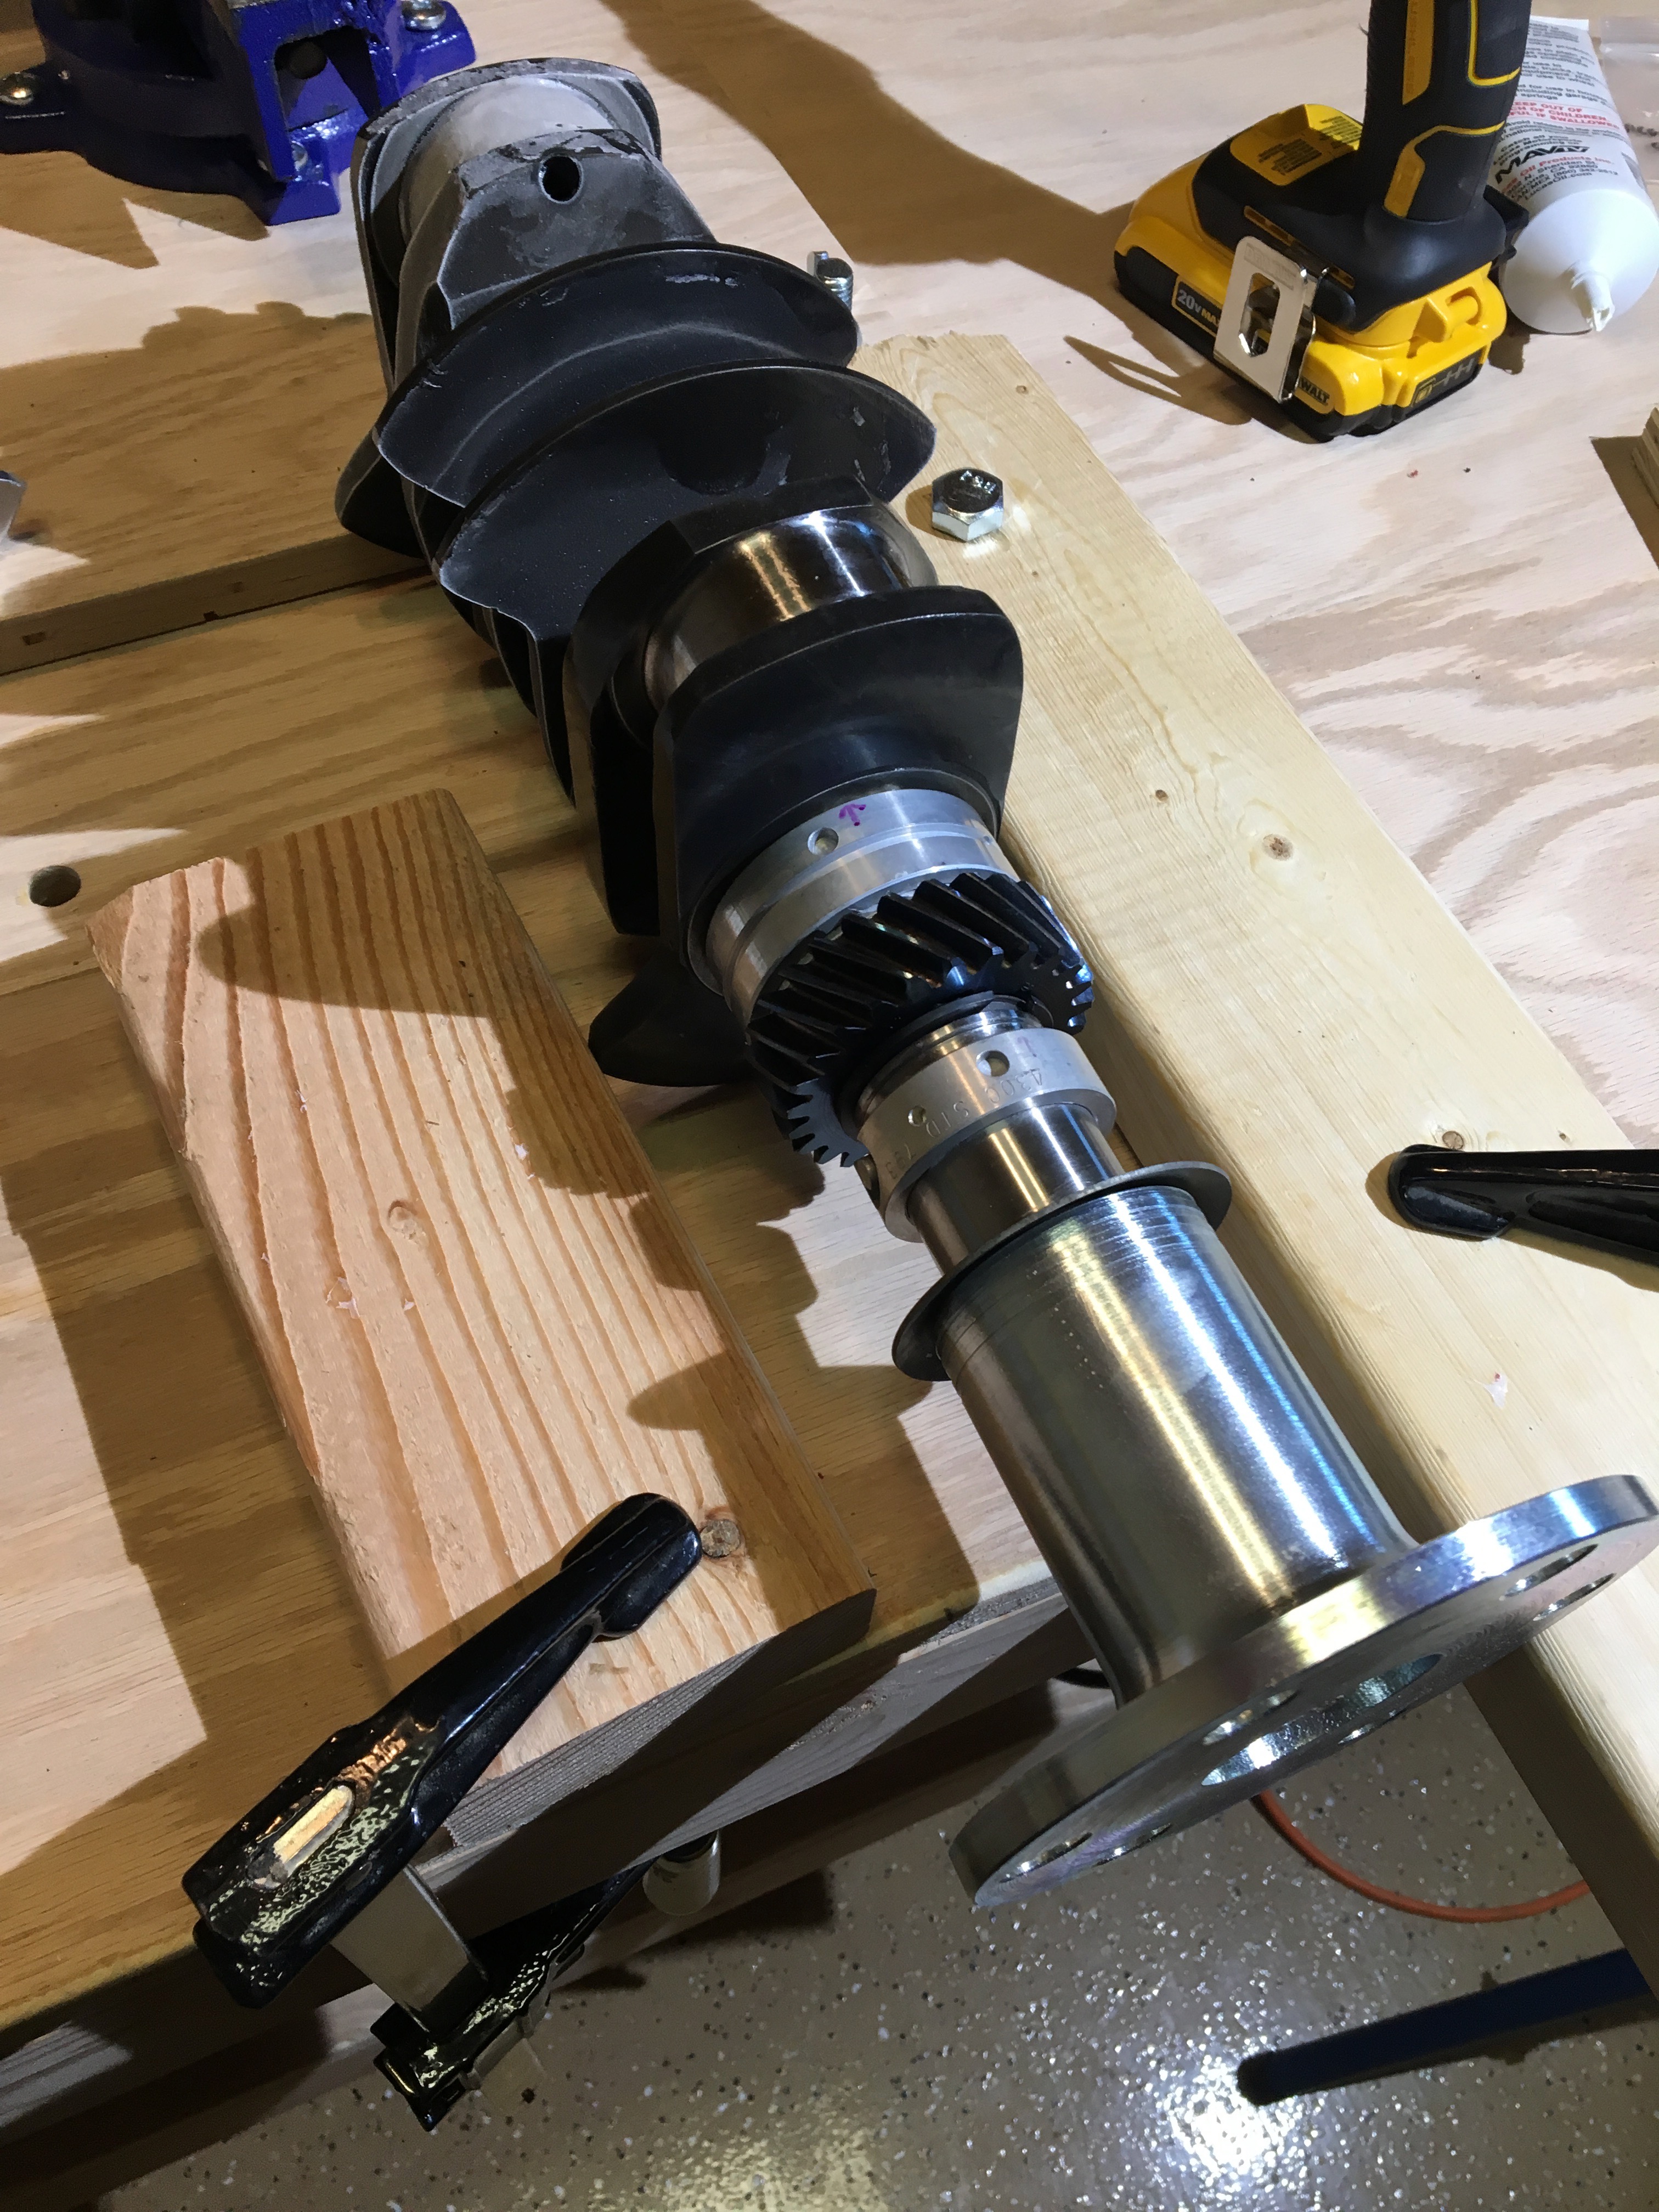
1) First thing in the morning, as I was preparing breakfast for my family, I put the timing gear and prop hub to bake in the oven. The crankshaft assembly went seamlessly. The icy cold crankshaft came out of the freezer and I secured it to the workbench. The timing gear and prop hub came out of the oven one at a time and amazingly, where these parts did Not fit together before, they fit perfectly. Oh, and the timing gear changed color from steel silver to a deep blue… awesome! Check out the icy/hot pic below. Shows like “How It’s Made” talk about how metal expands and contracts under temperature, but seeing it in action sure was satisfying.
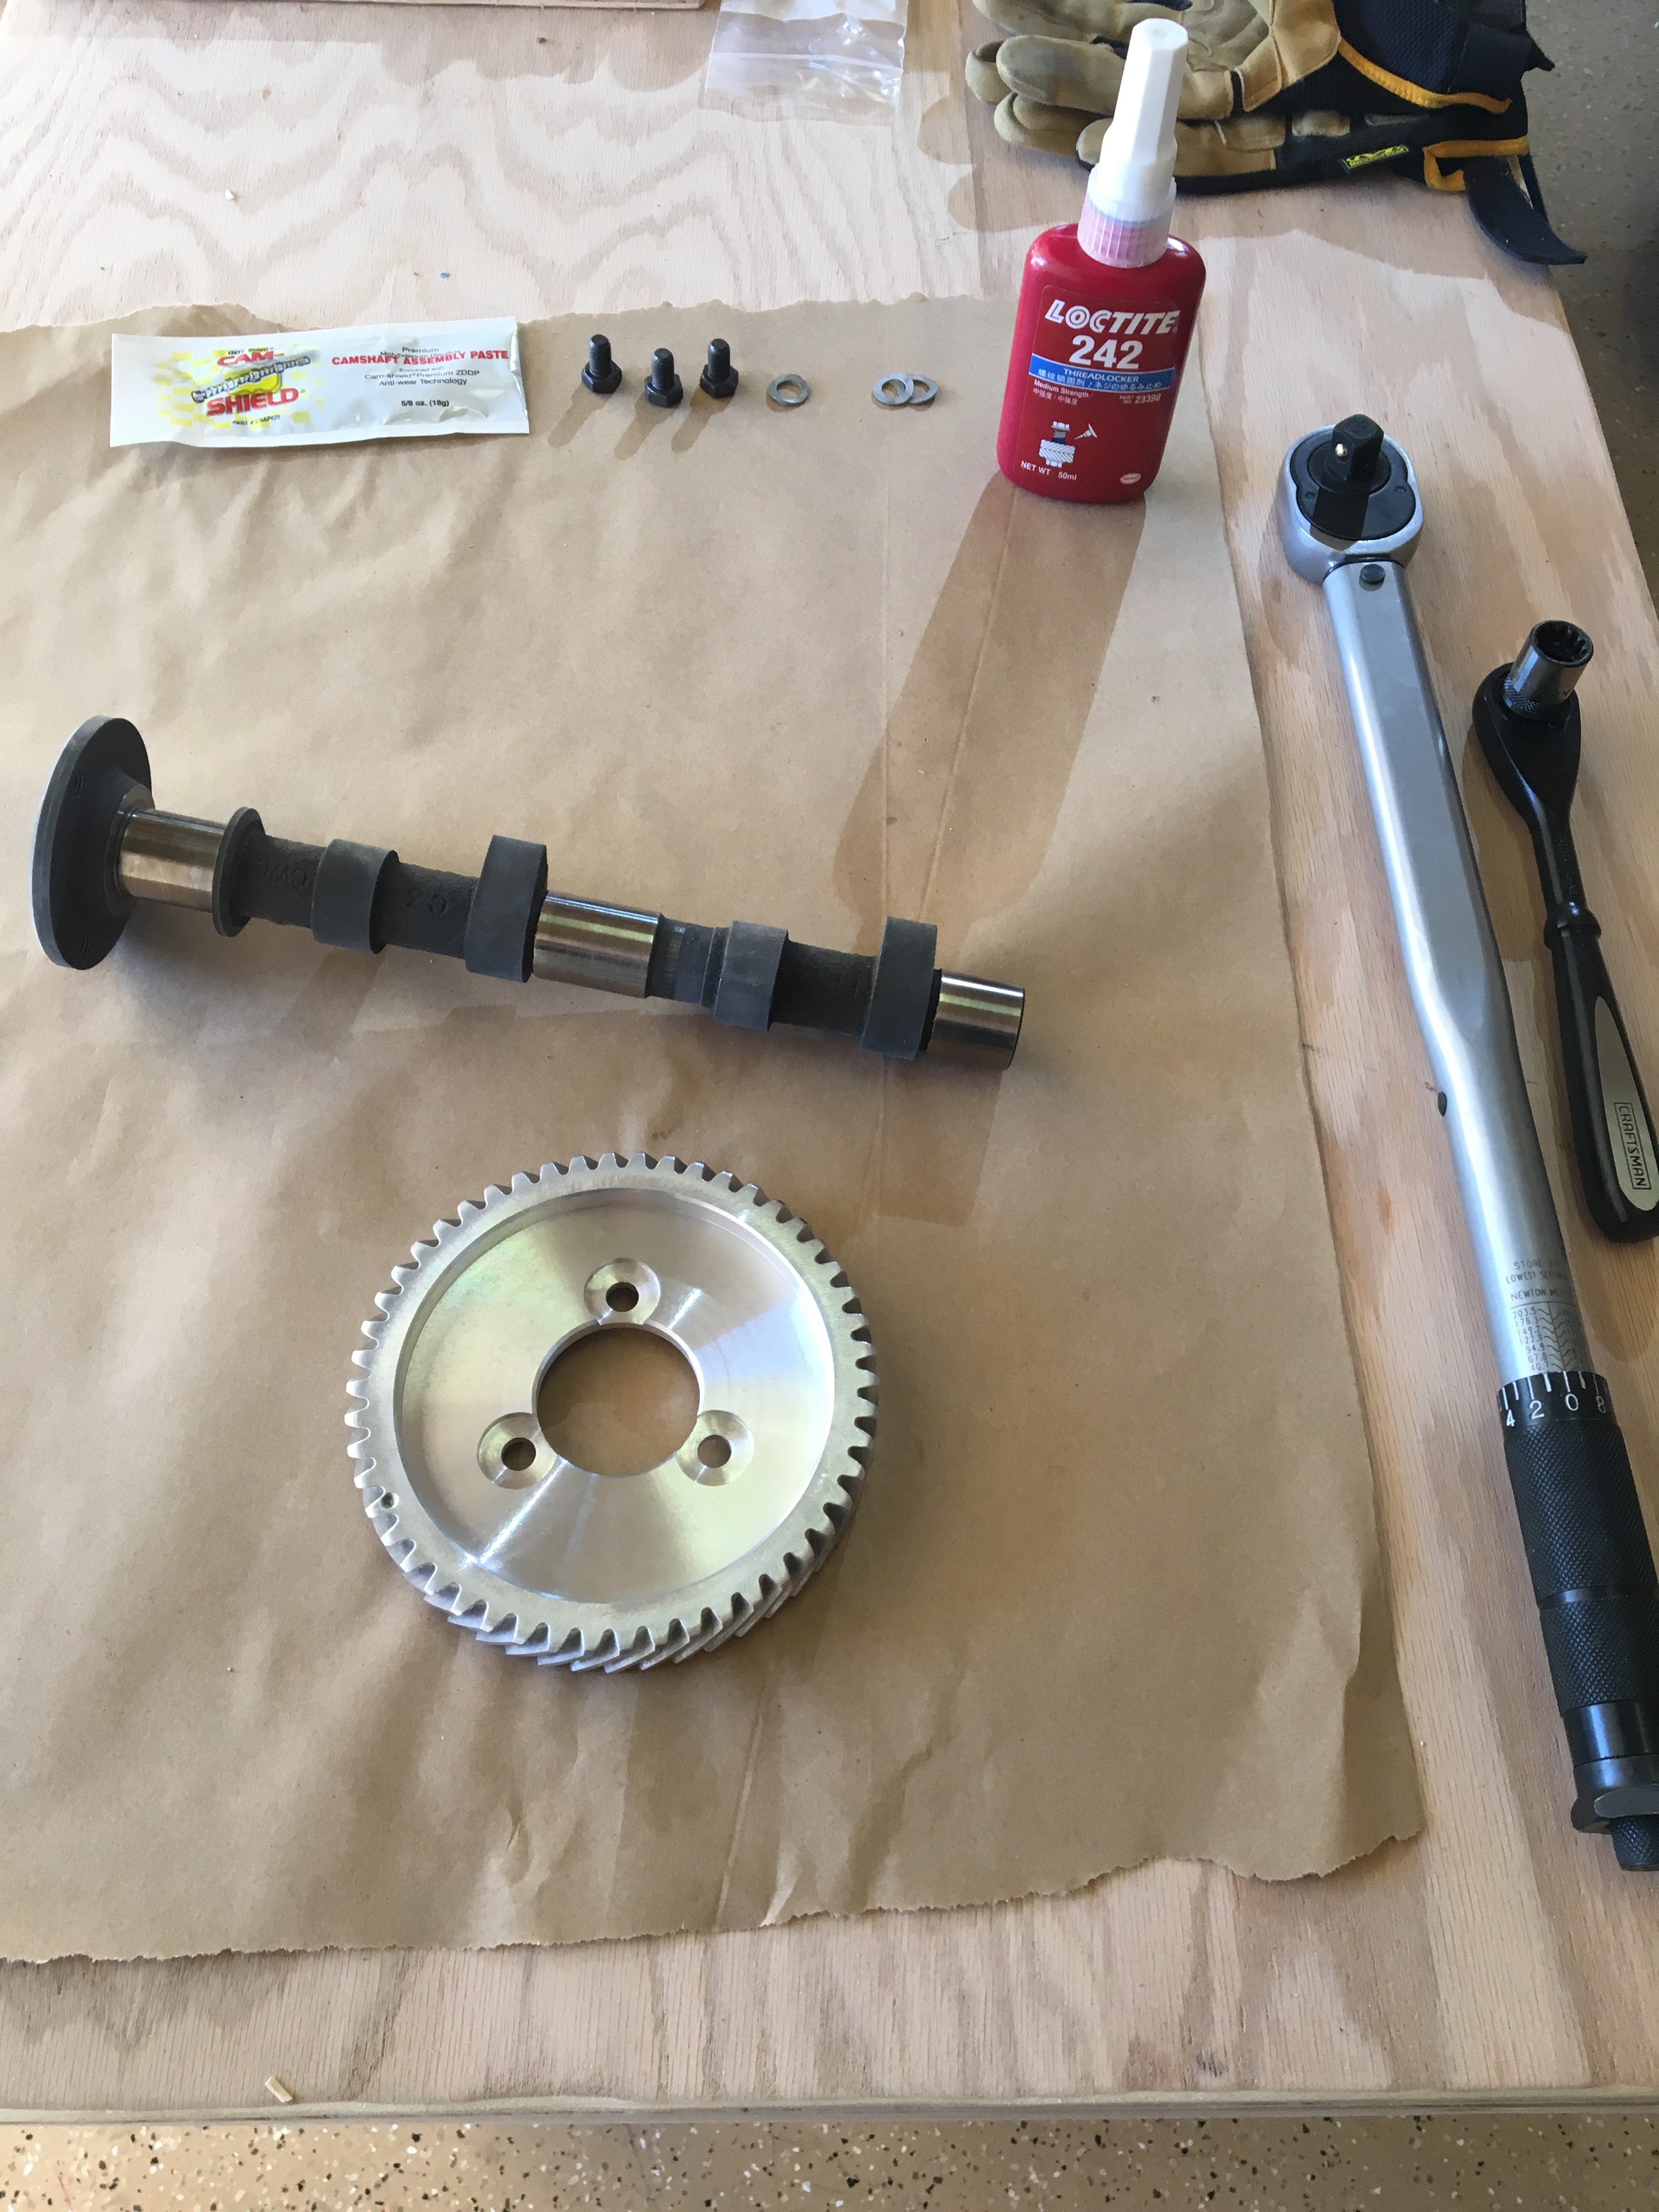
2) Assembled camshaft. Not much to it.
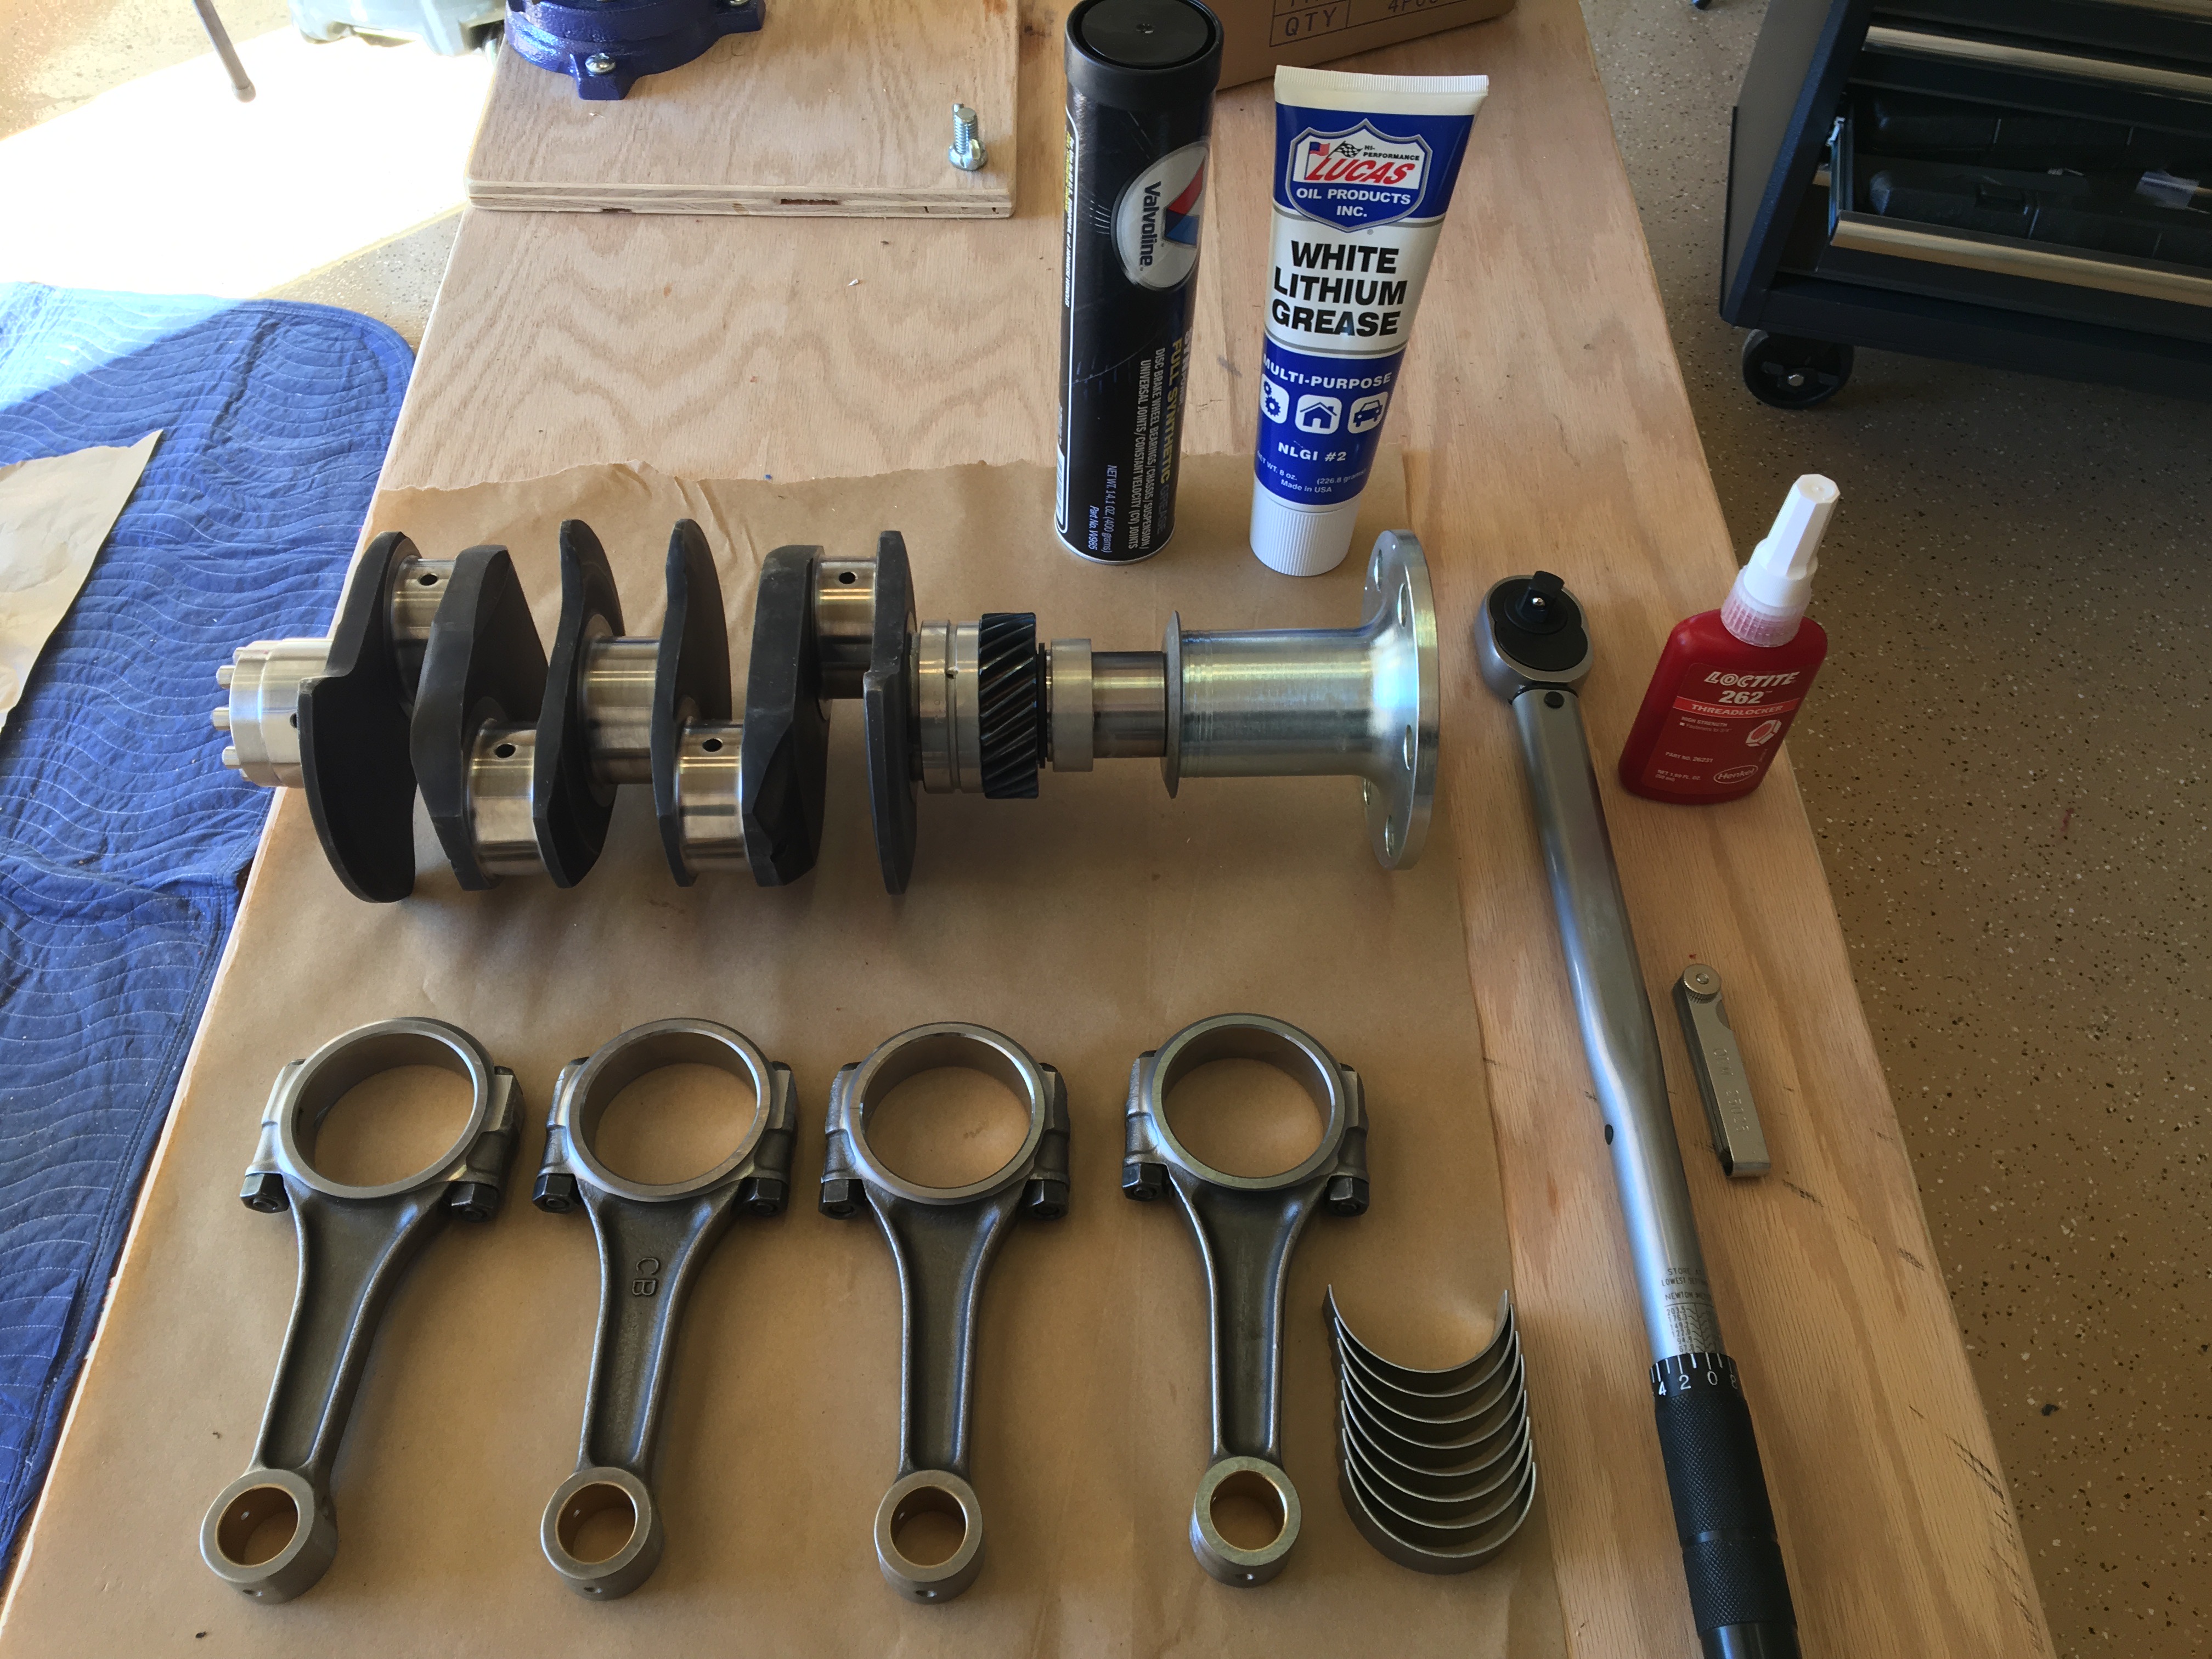
3) Attached connecting rods to crankshaft. The interesting part here is how the rods are tightened. Each rod is basically two semi-circle parts that fit around the circular crankshaft. There are two bolts to fasten each side of the semi-circles. A torque wrench is used to tighten these bolts precisely, and it’s done in increments. First the bolts are tightened to 8 ft lb (foot-pound), then 15, 24, and finally 38 ft lb. I suppose this is done so that they don’t encounter any significant off-center forces.
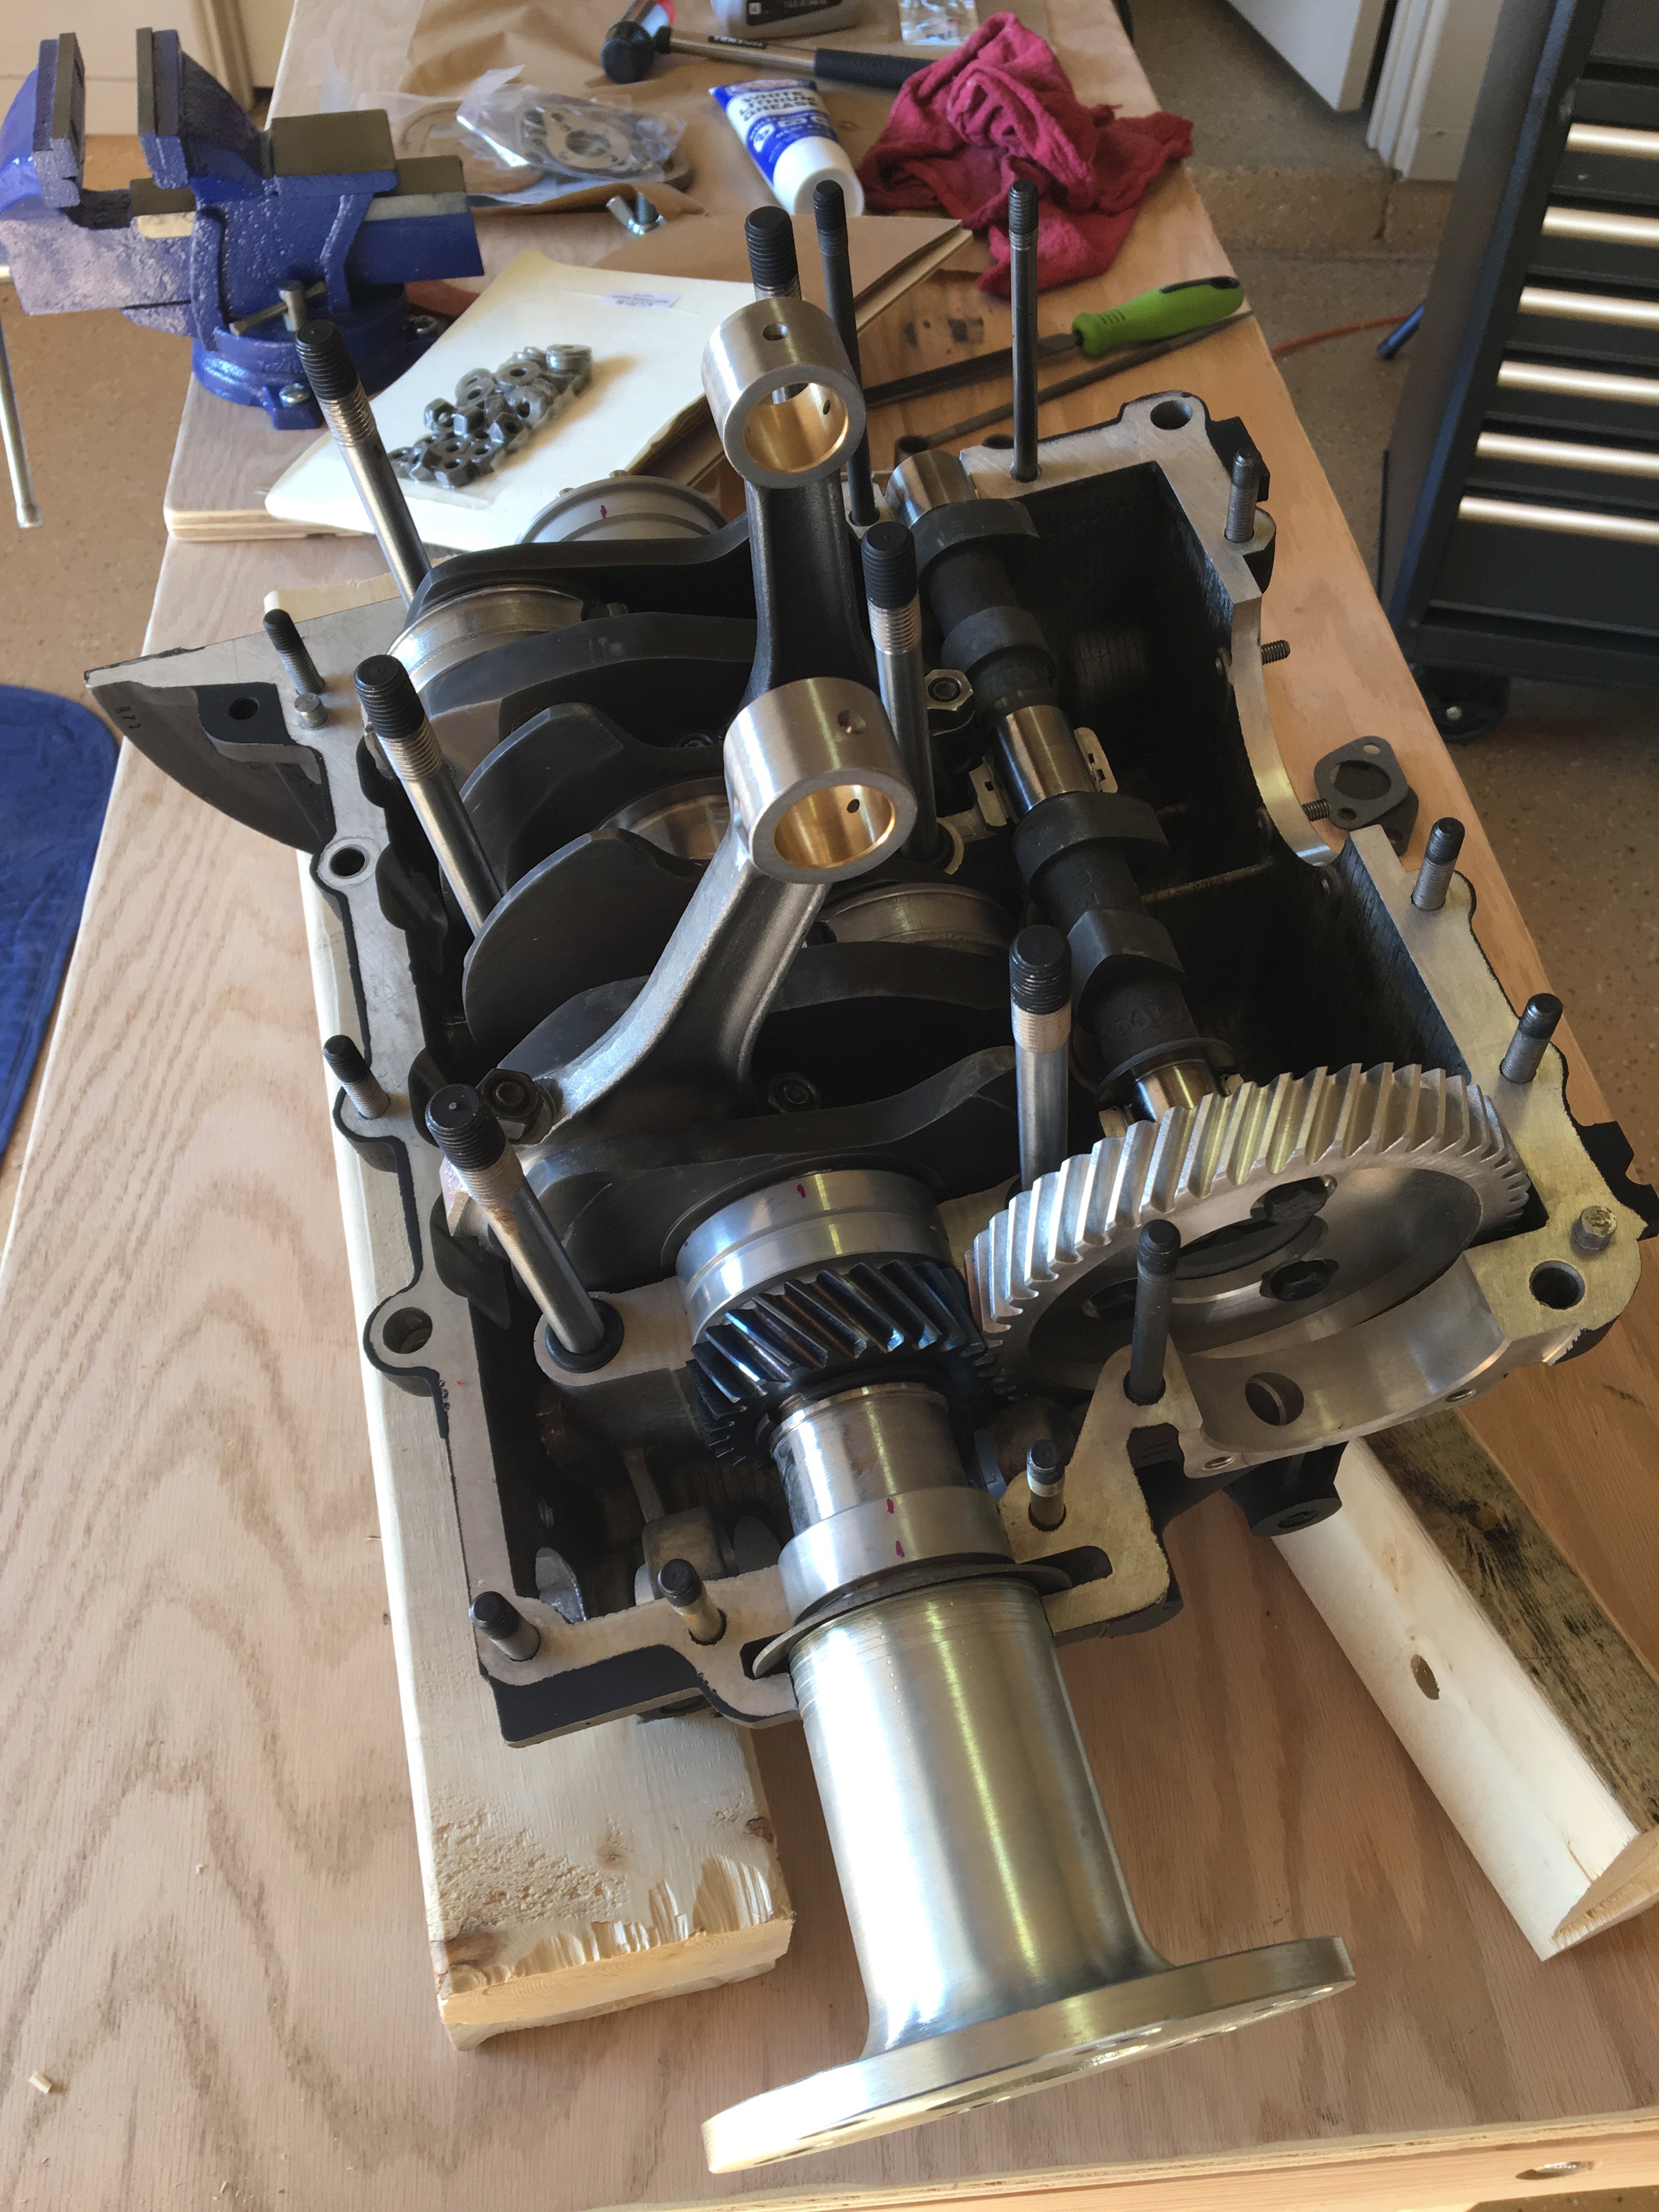
4) Prepared the inside of the engine casings: greasing up bearing and seating them along with some pins.
5) Dropped in crankshaft with rods into casing
6) Installed camshaft and lined up timing gear.
And then, with hours of daylight left, things came skidding to a stop. The next part I needed was the Flywheel and I couldn’t find it. I look through all the parts! Then I noticed it was on the backorder list. sad trombone
Sonex! fist waving
Without plans to build the airframe, and without the missing engine parts, I’m stuck. Nothing to build.