Electric Skateboard
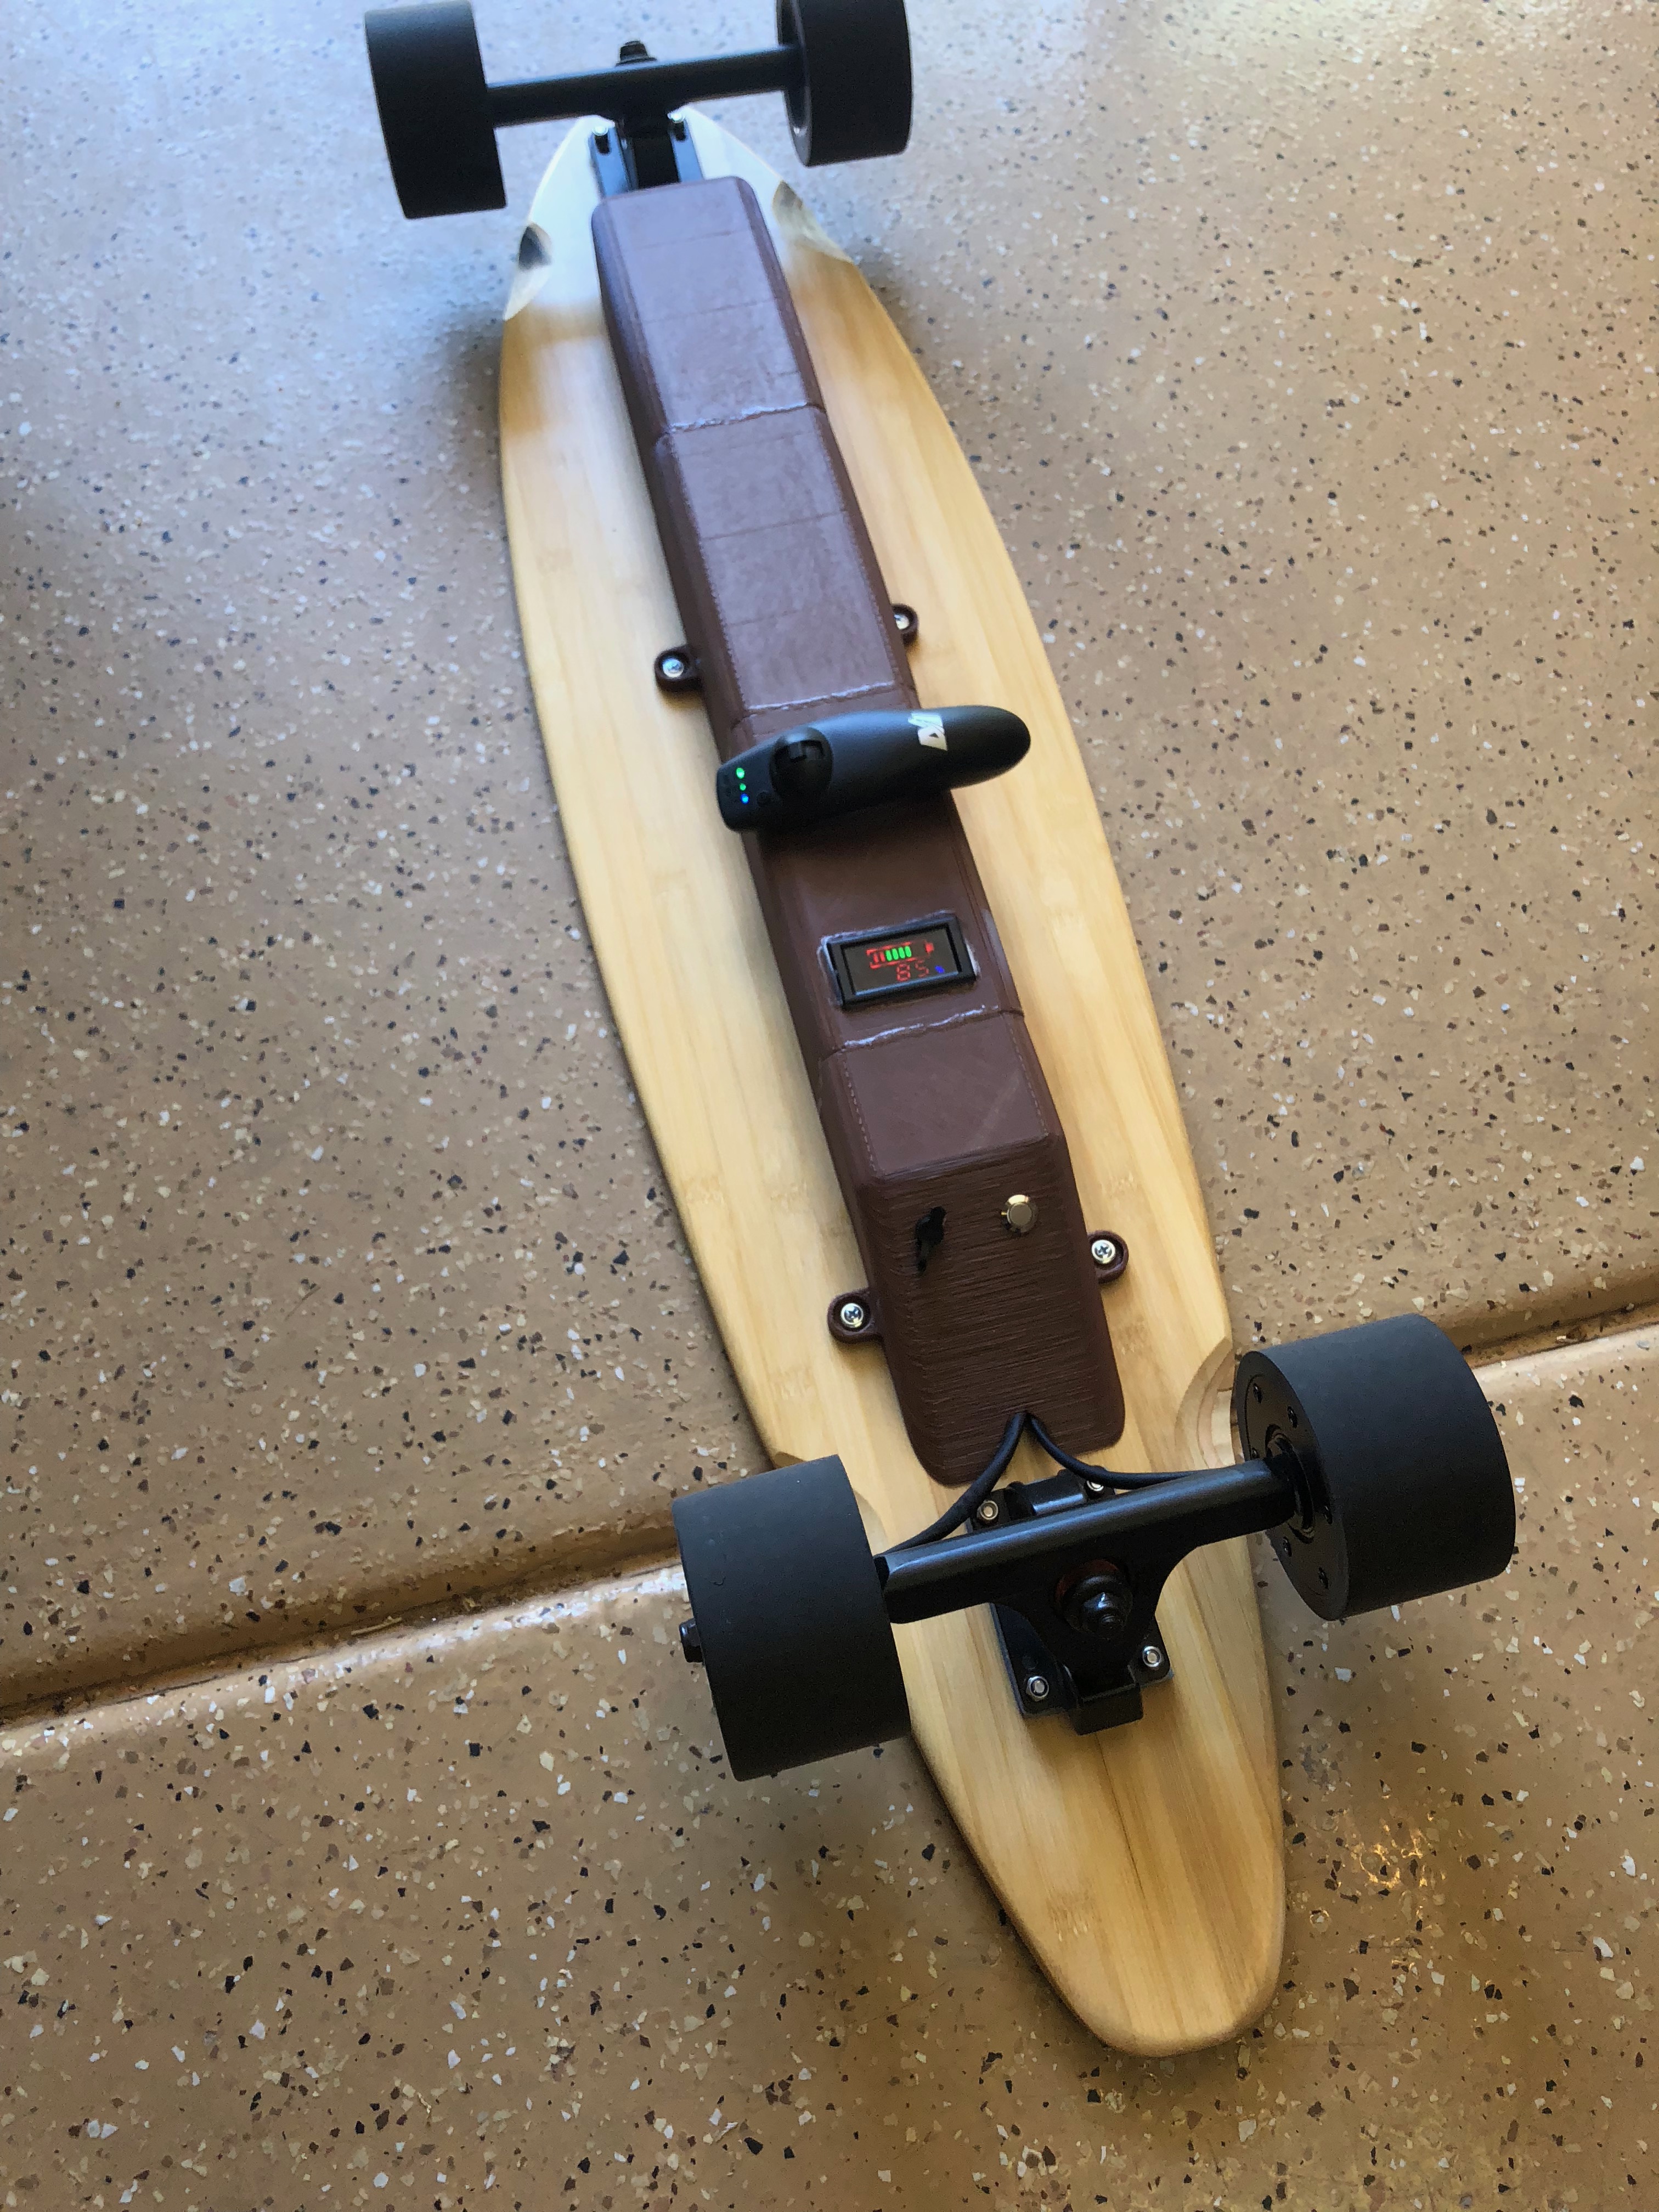
An electric plane is a large project. I need to start small, so I built an electric skateboard. It has all the same basic components as the plane will: motor, controller, and battery. To get familiar with that trio, this is an ideal project. Below is shot of the finished “esk8”.
Getting Started
The LA gang of 8th Light introduced me to esk8s with their Boosted Boards. I loved them! My son Luka and I had talked about building one for a couple years. This was the time to do it.
While watching YouTube videos on the topic, I found this video by a guy named Micah Toll. (Great name!) Not only did Micah do a great job on the video, he has a site where he sells electric skateboard kits. I bought one. However, I did not buy the battery because I wanted the experience of building the battery pack myself. And it turns out Micah wrote a book on how to do that. I bought the book too and read it one morning.
Buying lithium batteries is tricky. They’re expensive, they’re in high demand and there’s a good deal of fraud out there. This project only required a handful so I went to my trusted source, Amazon, and purchased 20 Samsung 25R 18650 cells. These cells have a medium capacity of 2500 mAh and a really nice discharge rate of 20A. With a 10s2p (10 cells in series, 2 in parallel) the pack will yield 36 nominal volts at 40 amps max.
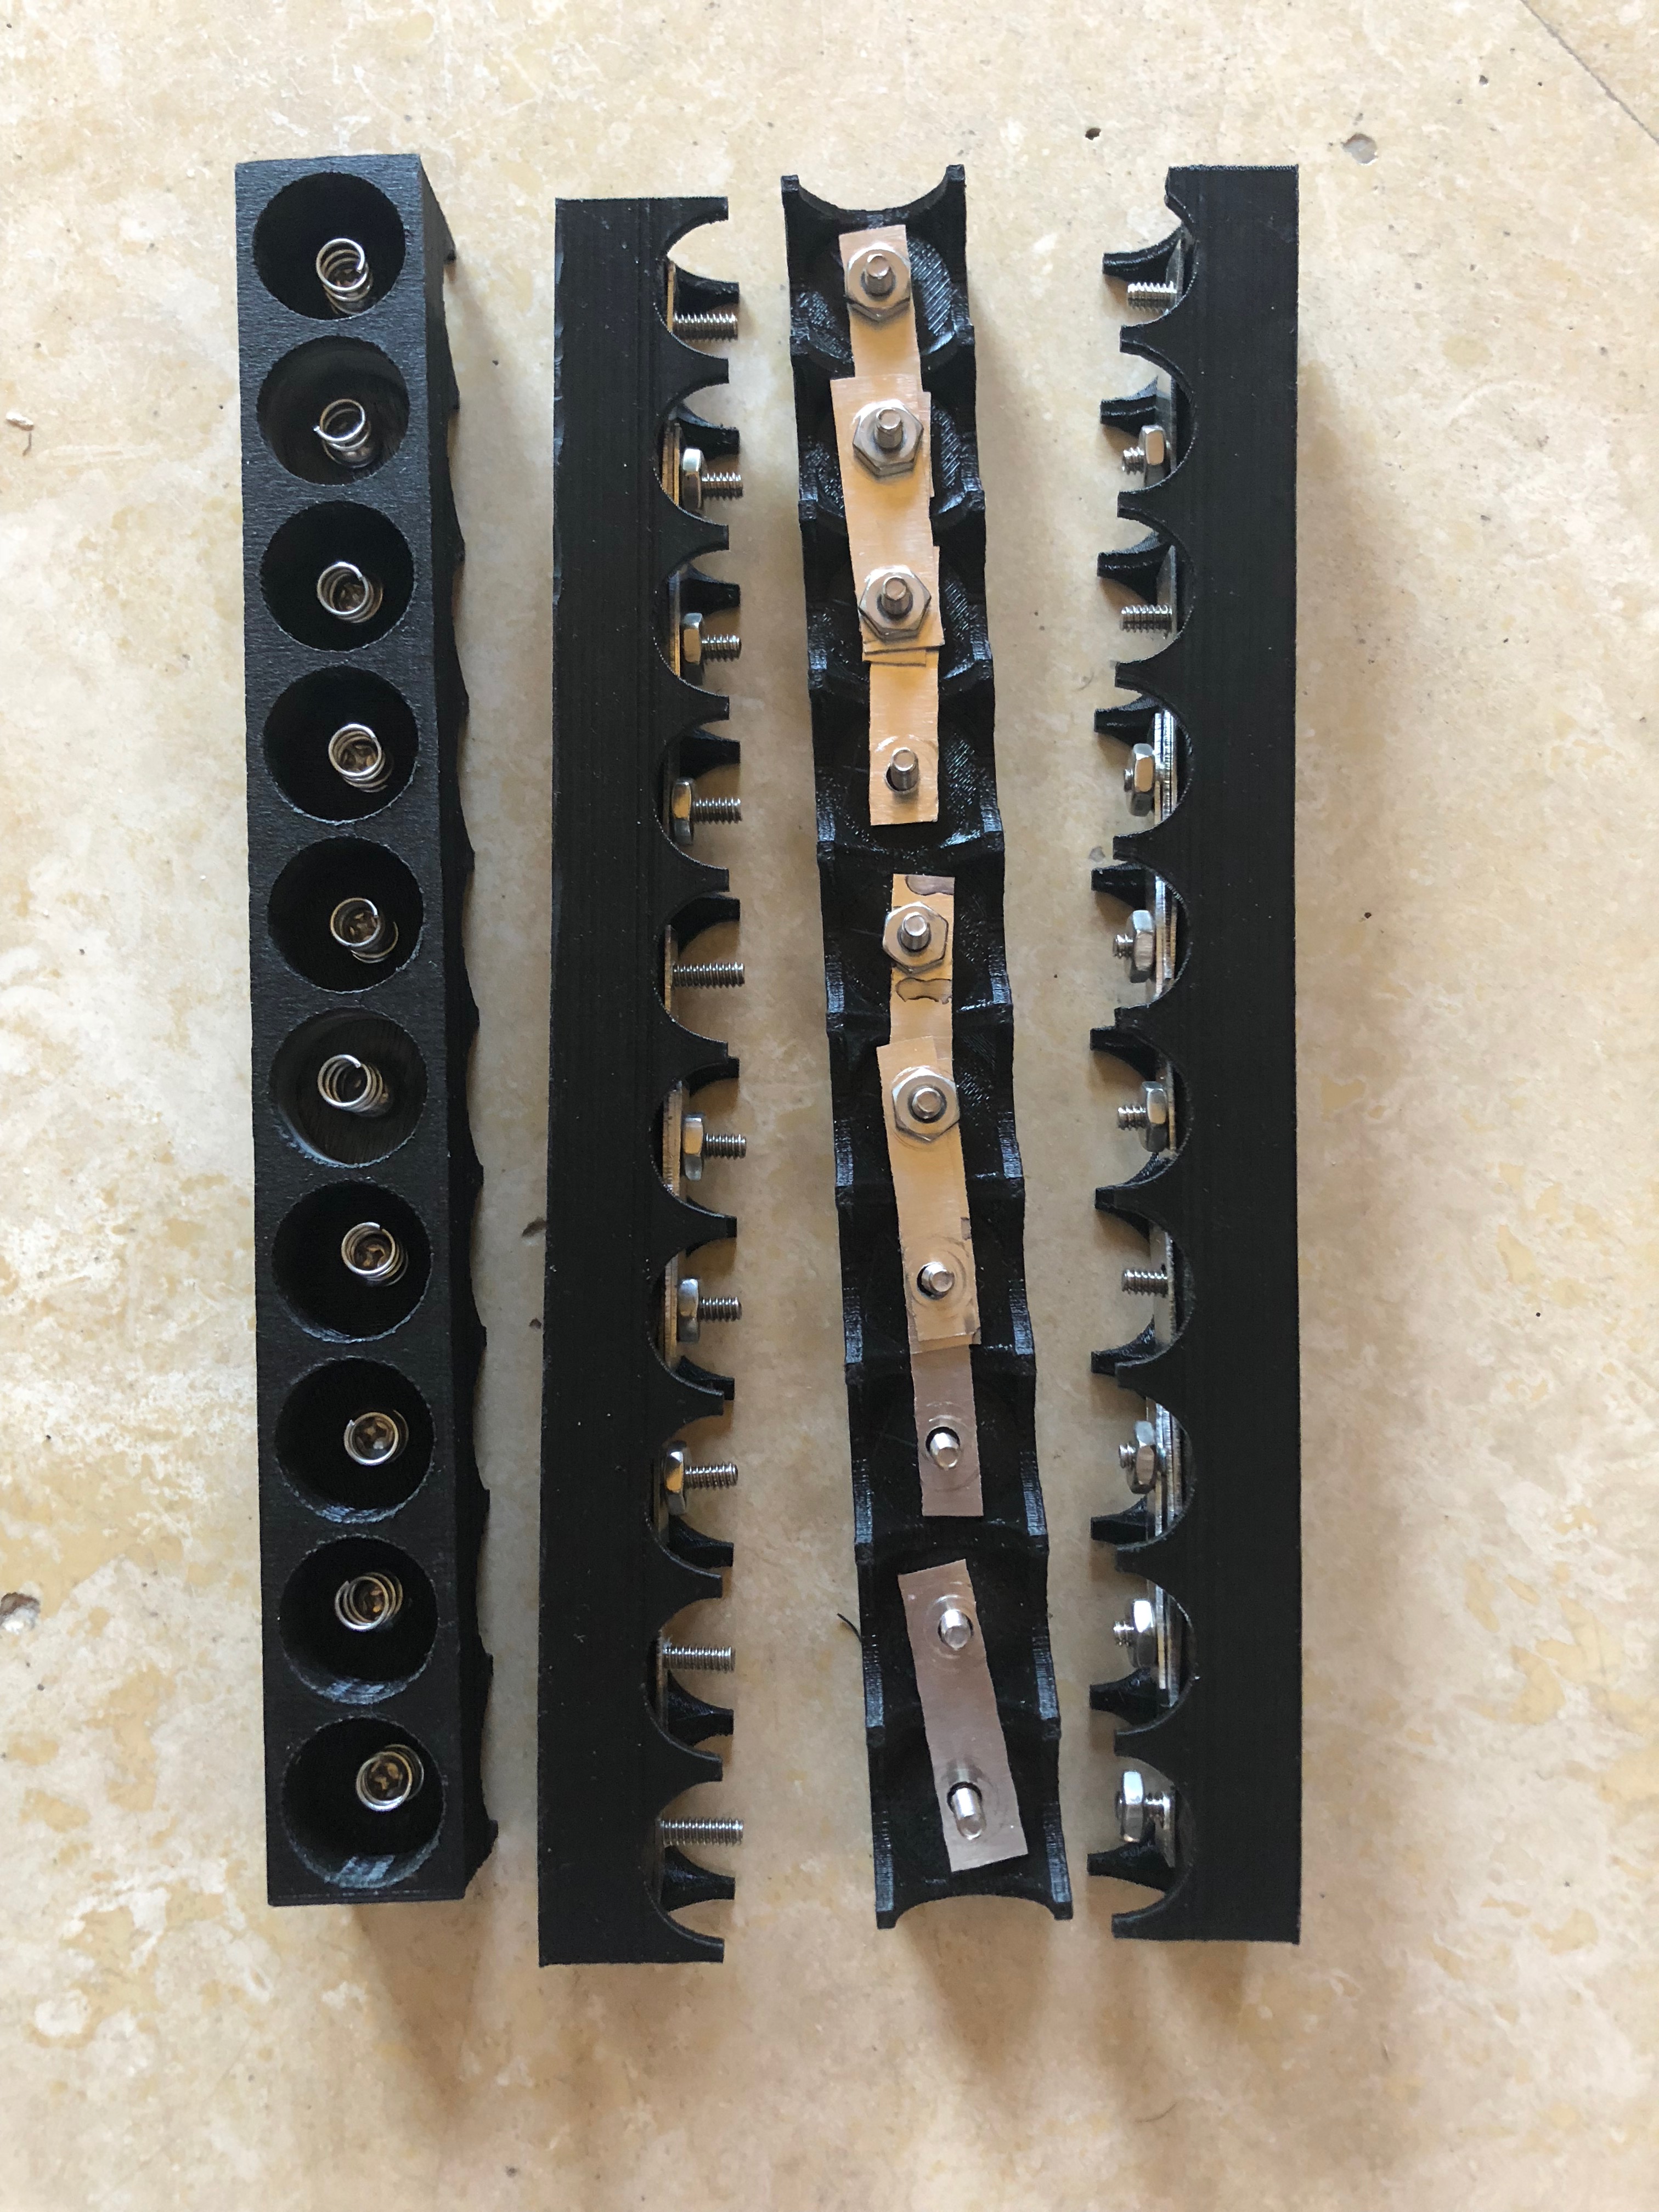
The the video shows off those nifty Vrusend battery pack builders. Unfortunately they were sold out. No big deal, I can design something similar in CAD and 3D print them into existance. The picture below shows the results. While they were printing I ran to Ace to buy the springs, bolts, and, nuts you see there. The metal strips are made from left over aluminum sheet from the OneX. The battery pack came together nicely.
Things Go Wrong
Lithium batteries can be easily damaged if they’re overcharged or drained too much. Good battery chargers will charge the cells to the perfect voltage, but how do you make sure not to drain them too much? Even worse, this battery pack has 20 cells of which some may charge or discharge faster than others. To manage this complexity most battery packs include a circuit board called a BMS, Battery Management System. It will disconnect cells before they under/over charge and make sure all the cells have a balanced charge.
The BMS I got was about $20 off Amazon. That’s cheap as far as BMS’s go. You get what you pay for. When I connected it, it appeared not to work. So I ordered another. It did work. I charged the pack and all the cells showed a nice high voltage.
Assembling the rest of the skateboard kit was uneventful. So with the battery charged I plugged it into the dual motor controllers and they came to life with a beep and solid red LED. On the handheld remote I pushed on the throttle and the wheels spun! Awesome! It was time to ride. With some zip-ties I strapped everything to the board, put it on the ground, stepped right on and throttled up. The board moved, but only a bit, and then did nothing. I unplugged the battery, replugged it, tried again, and the same thing happened.
There was a major problem that I attributed to bad controllers. I emailed Micah. He had me run some tests and concluded that the BMS was cutting off the battery due to low voltage. But how could that be? The lithium cells were brand new and I measured really high voltage coming out of the pack. Well, Micah pointed out to me that the springs and bolts in my pack were the culprit, causing “voltage sag”. They are made of steel, and steel has a relatively poor conductivity. With me on the board it has to pull a significant amount of current to spin the wheels. Ohms Laws, V=IR. The voltage drop is proportional to the current and with the high resistance of steel, the voltage drops enough to make the BMS think the batteries have been drained too much. It cuts out.
Rebuild
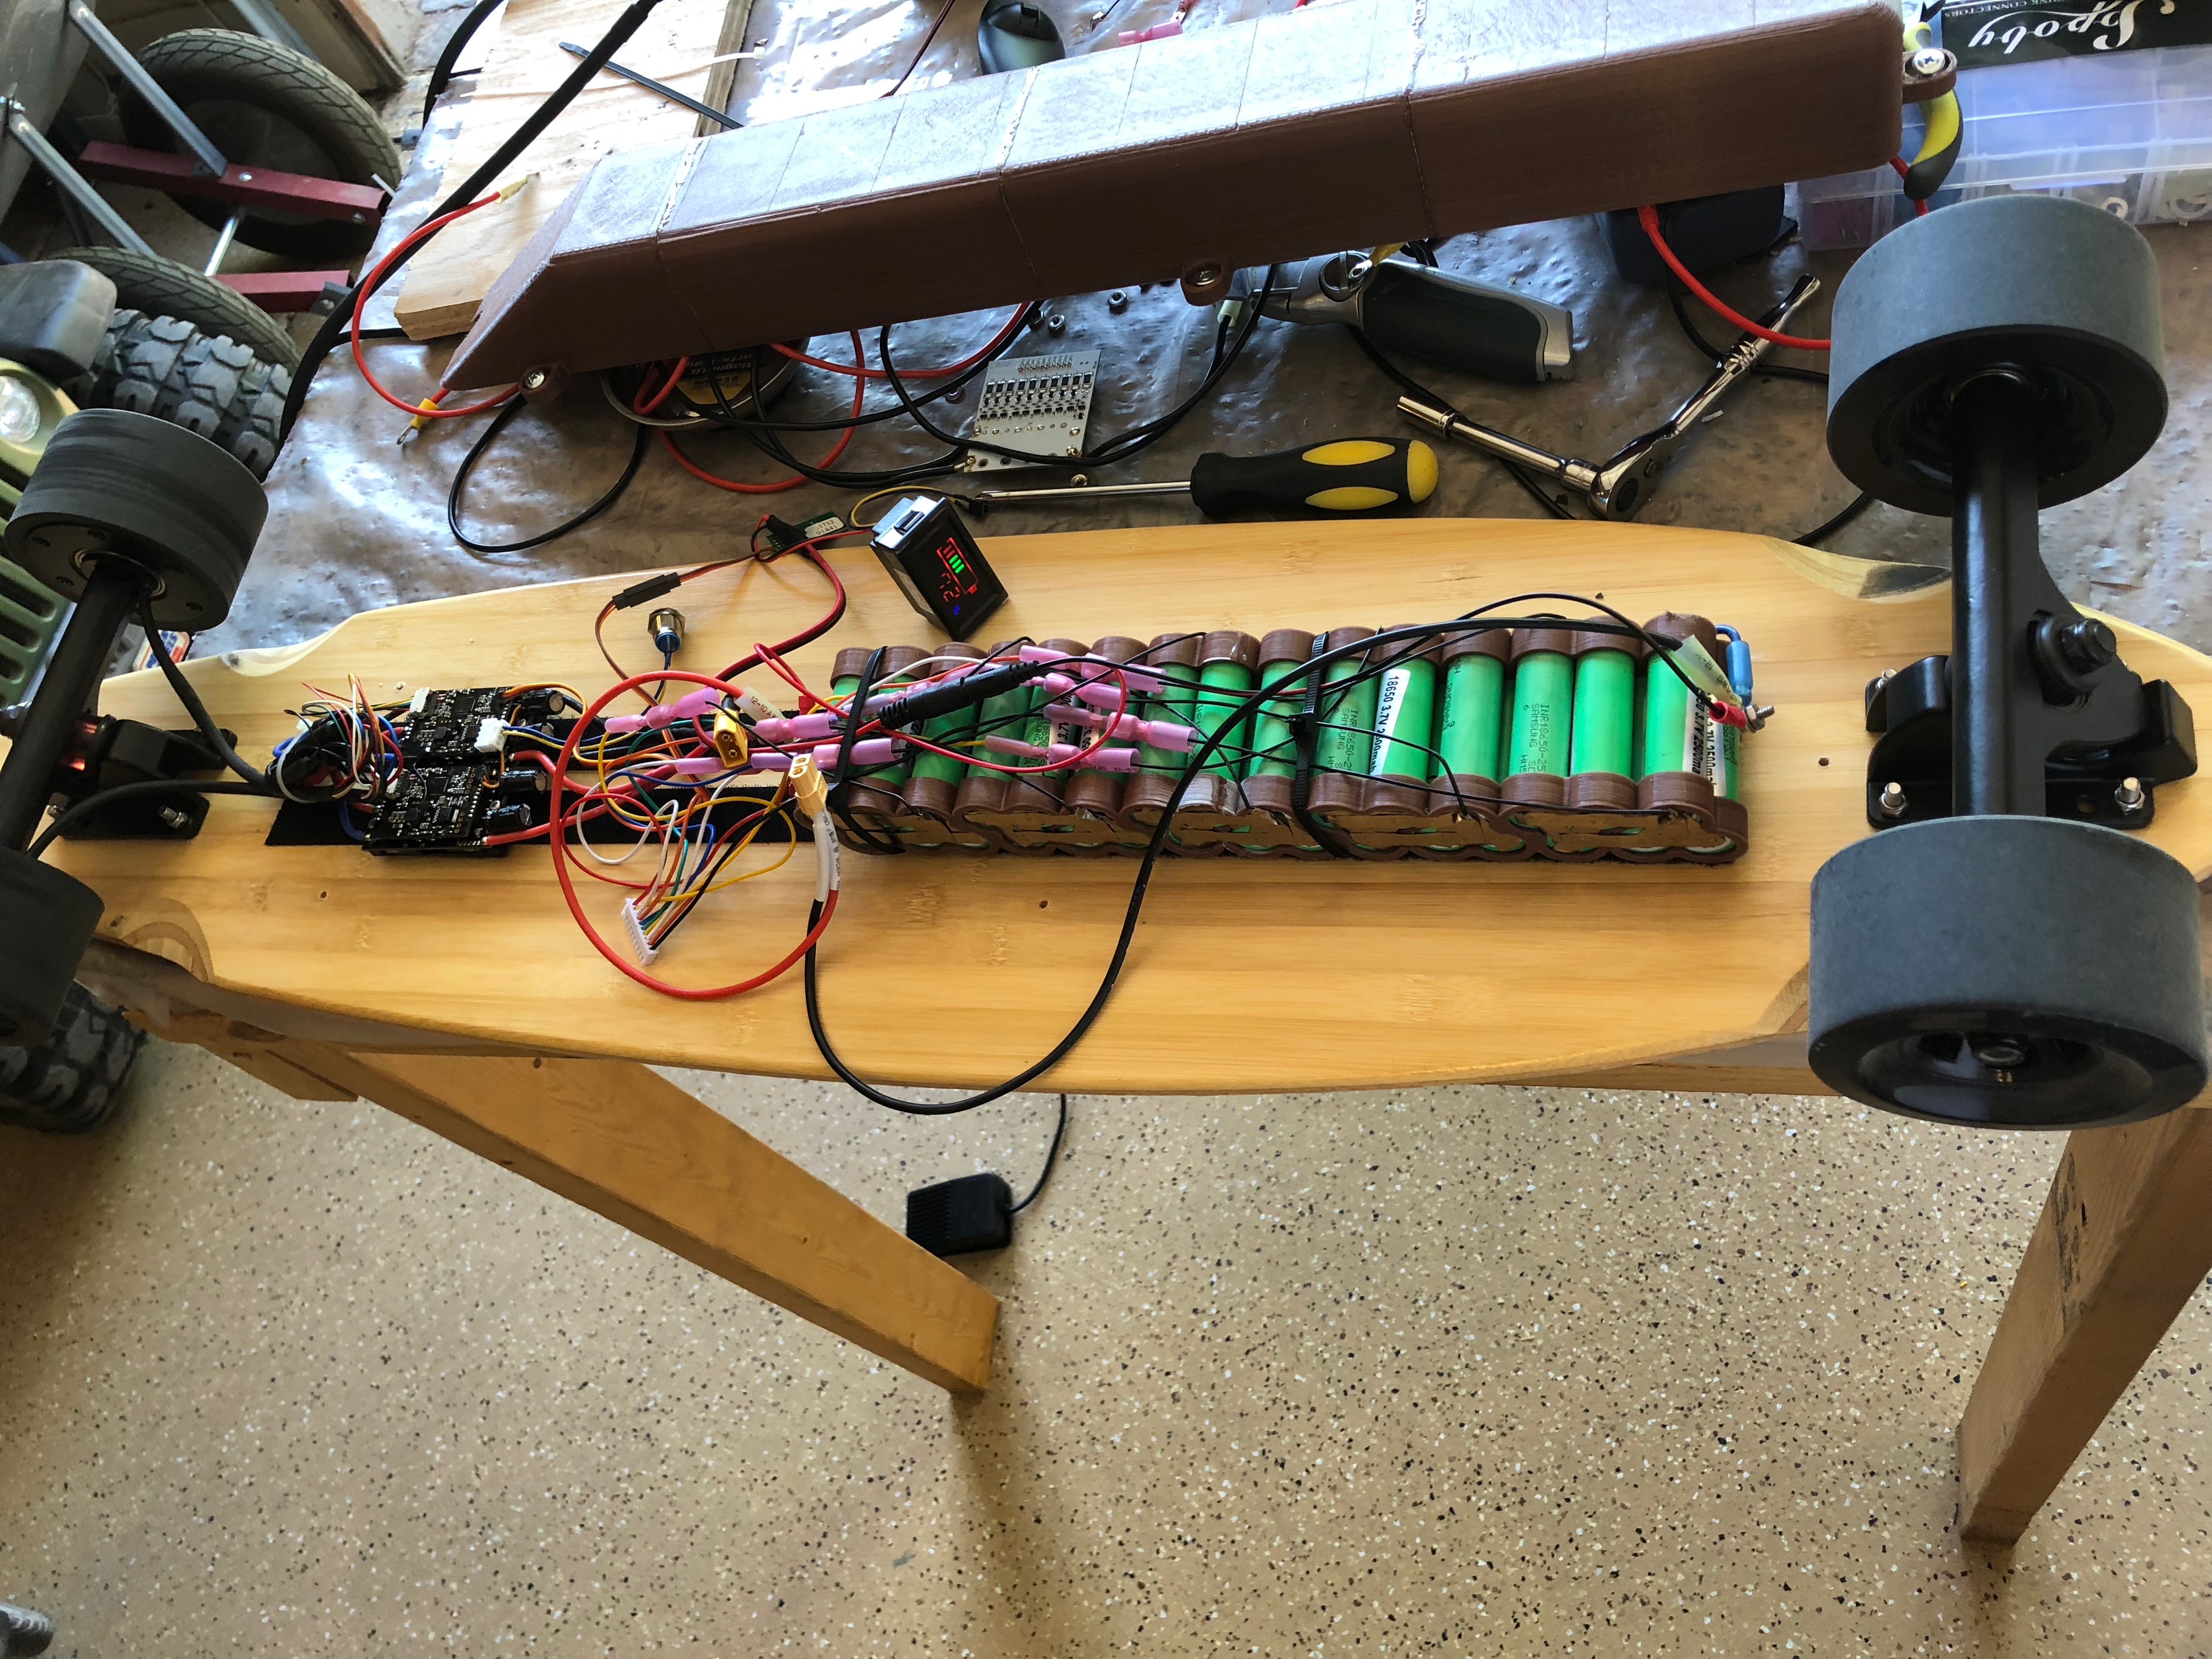
Over time I rebuild the battery pack using more industrial techniques of which I’ll discuss in a later blog. It’s cool. And I added 10 more lithium cells to the pack because I had the space and more range is always nice.
The BMS’s caused more problems but I can’t really explain it. They are like black boxes, giving no indication of what they’re doing, or not doing. And I may have fried one while I was disassembling the first battery pack. It made a big spark when it shorted against a sharp piece of solder poking through the positive battery terminal insulation. Eventually I got the original BMS working. Don’t know how exactly.
Below you can see all the guts of the board.
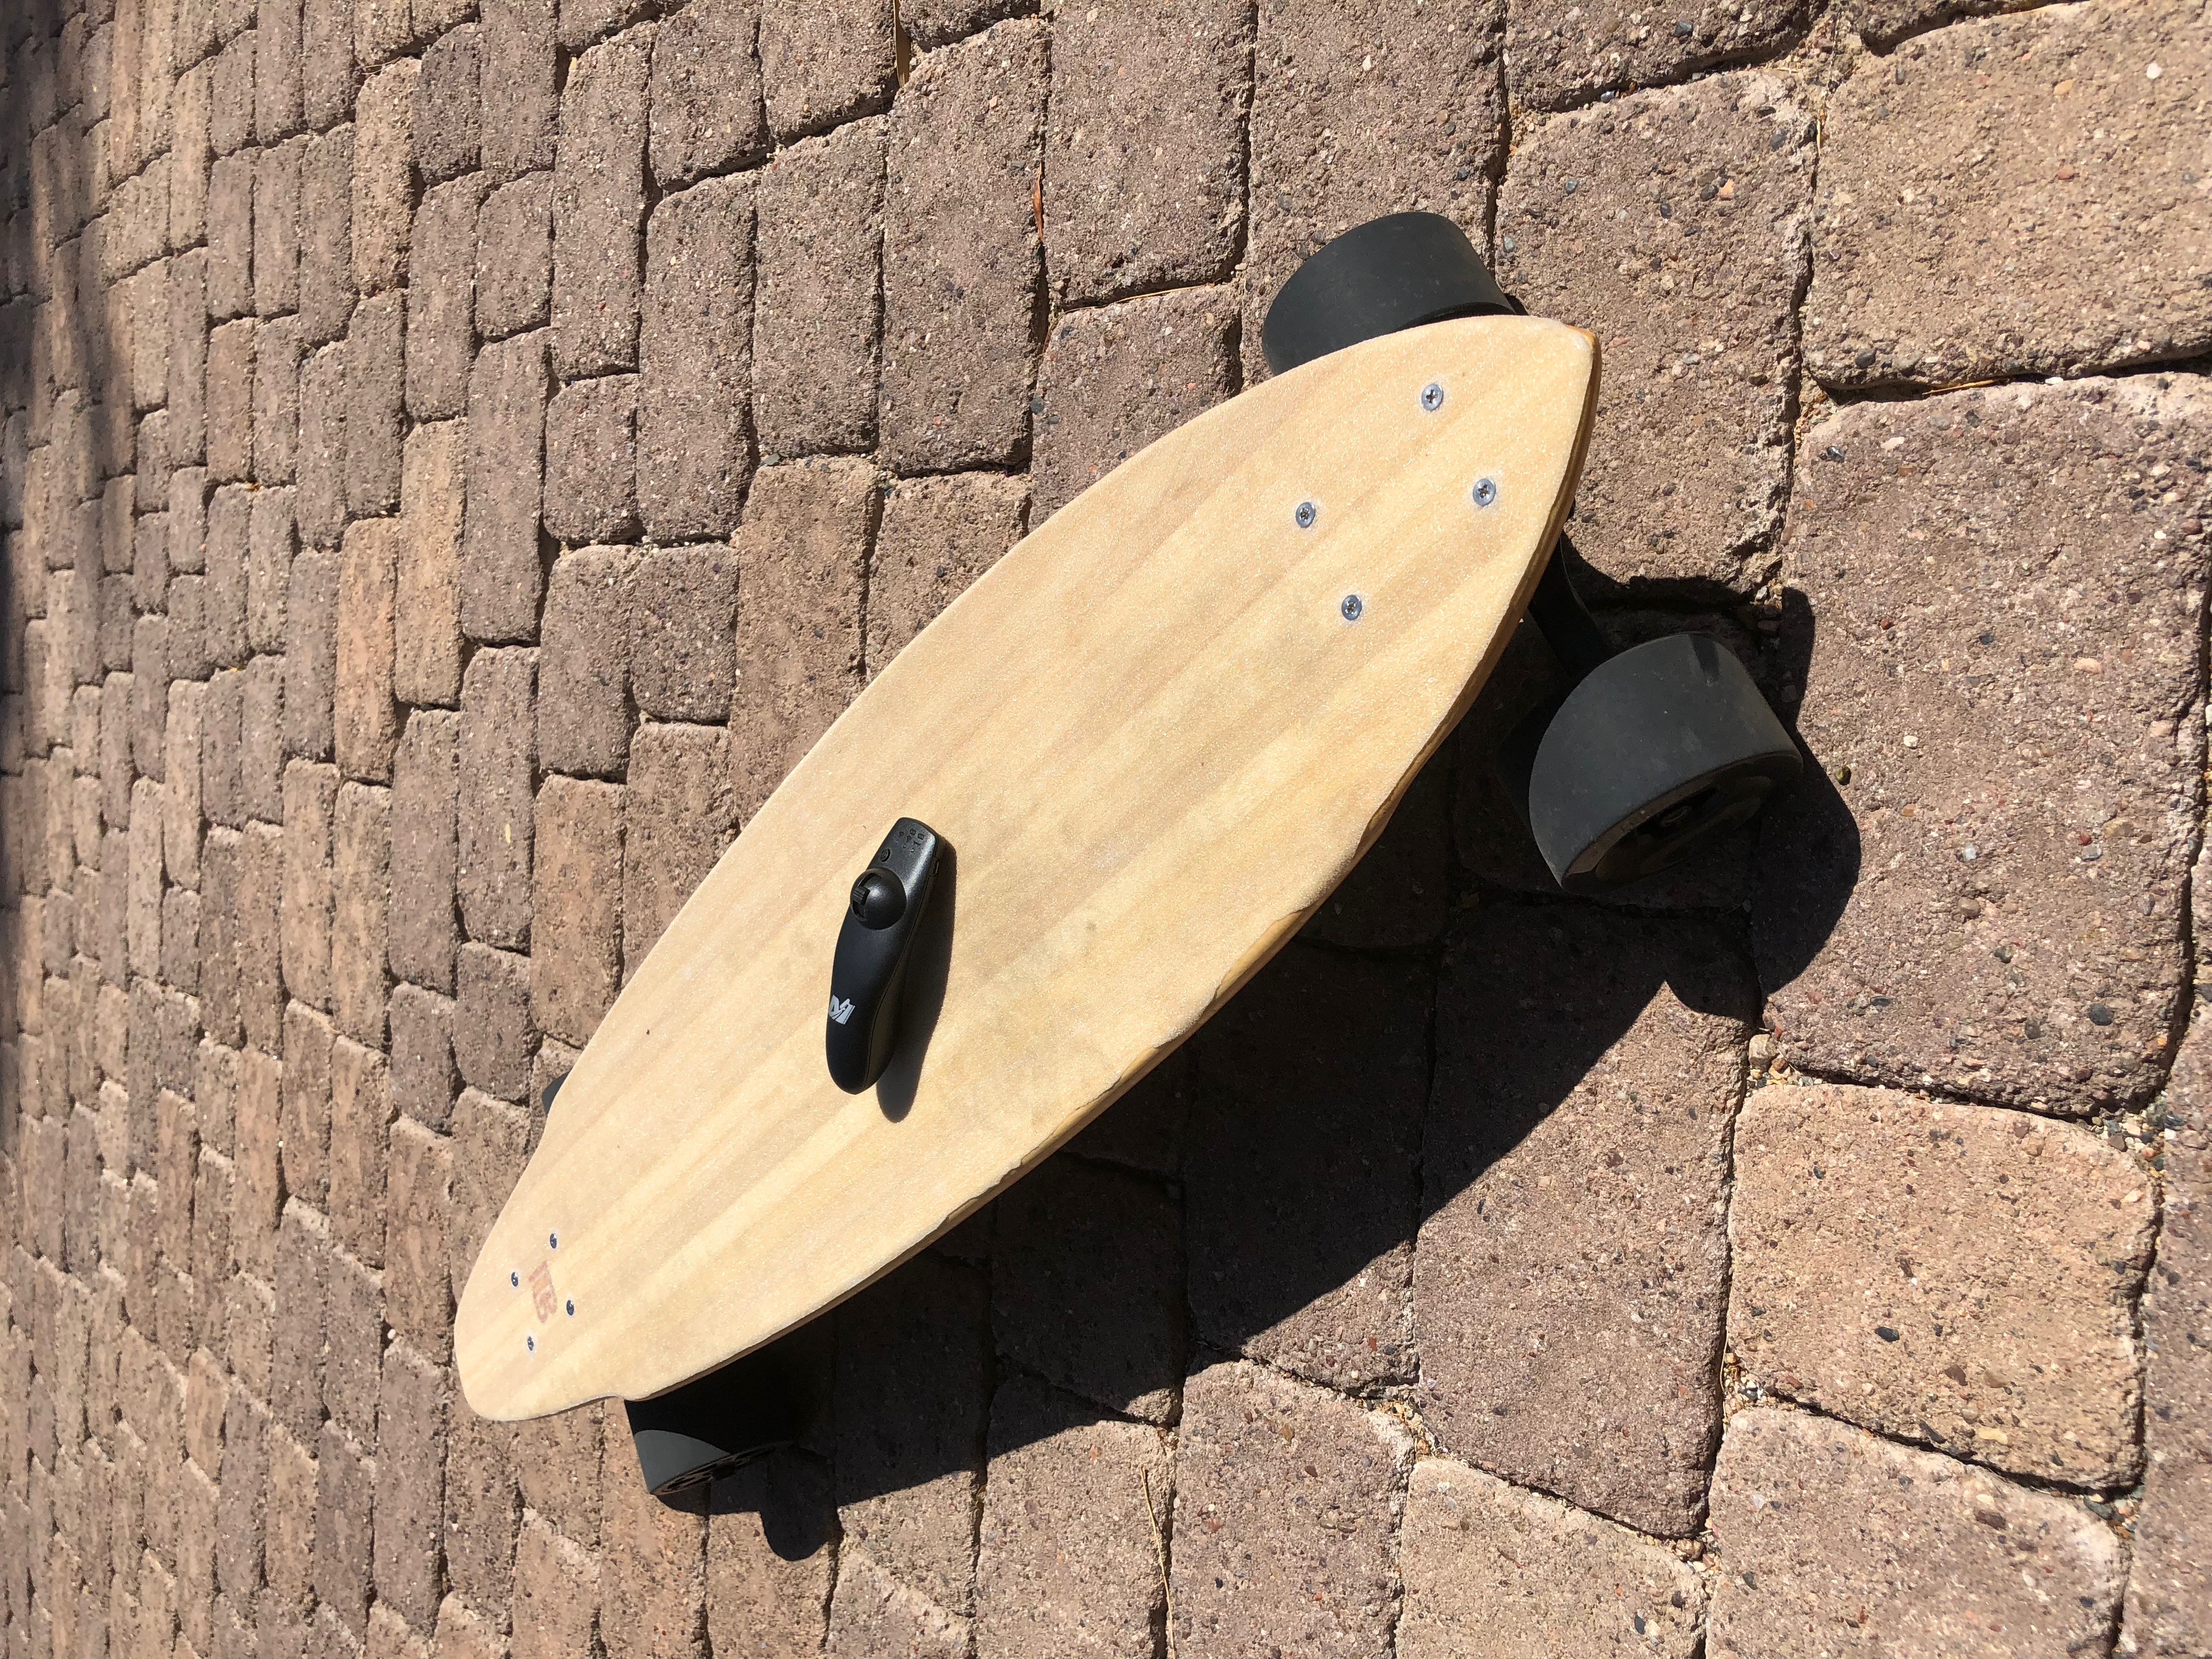
Finished Board
The final step was to create a protective cover for all the electronics. I whipped up a simple design in Fusion 360 and printed it over 2 days. There are 5 attach points to mount the cover to the board, and there are 3 holes for the charging plug, on/off button, and battery status screen. I installed it today and it fit perfectly.
There was nothing left to do except ride it! I cruised around the neighborhood for maybe a mile or more, averaging 10 mph perhaps. Gee, what fun it was! The board performed like a champ and had 85% battery charge remaining. However, it did get hot. The rear trucks, attached to the motorized wheel, must have been almost 200°F. Of course, if you carried me for a mile at 10mph on a 110°F day in Pheonix, you’d be hot too.